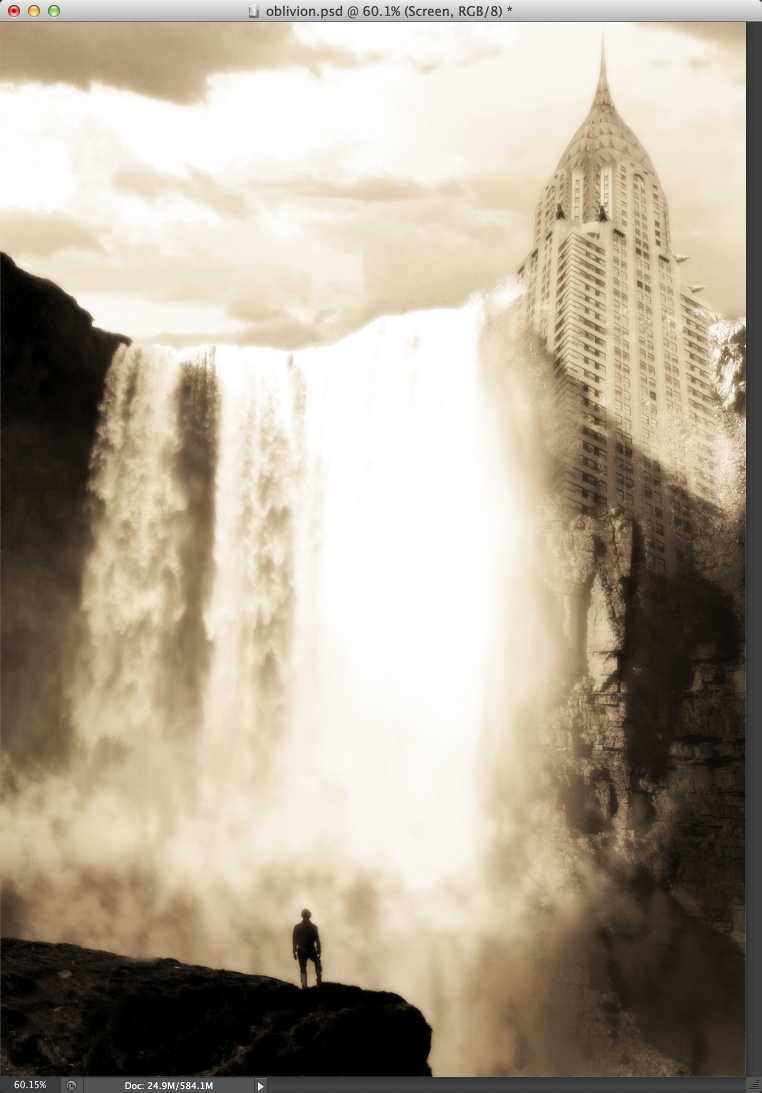
Following our movie poster inspired tutorials, today we bring to you an image inspired by Oblivion, the new Tom Cruise film we can't wait to check out. The poster has a post-apocalyptical composition of a waterfall with some ruins of old buildings including the iconic Chrysler building in NYC. Of course we loved the poster and we decided to create something similar in Photoshop.
So in this tutorial we will show you how to create a photo manipulation of an 'end of the world' style image. To do that we will use stock photos and adjustment layers to make sure the image looks legit.
Step 1
Open Photoshop and create a new document. I am using a A4 format for this document.
Step 2
The most important thing when doing this photo montages is to get the right images. To start the compostion we will use a sky picture found on Google Image Search downloaded from http://www.beachwallpapers.in/bulkupload/New_beaches/Sunset/Sunset%20Sk…. We also used a photo of the Chrysler Building, courtesy of <a href="http://www.shutterstock.com/gallery-718624p1.html?pl=edit-00&cr=00">gagliardifoto</a> / <a href="http://www.shutterstock.com/?pl=edit-00&cr=00">Shutterstock.com</a>.
Place both images in the composition, erase the sky from the building photo an position them like the image below.
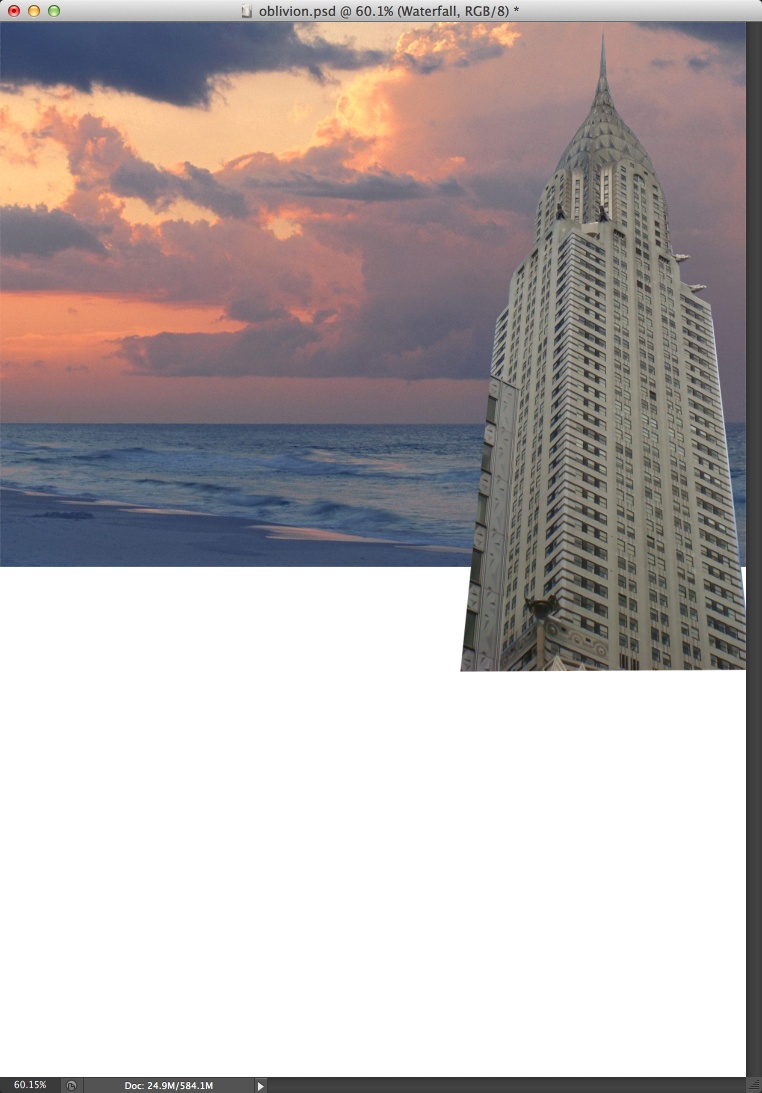
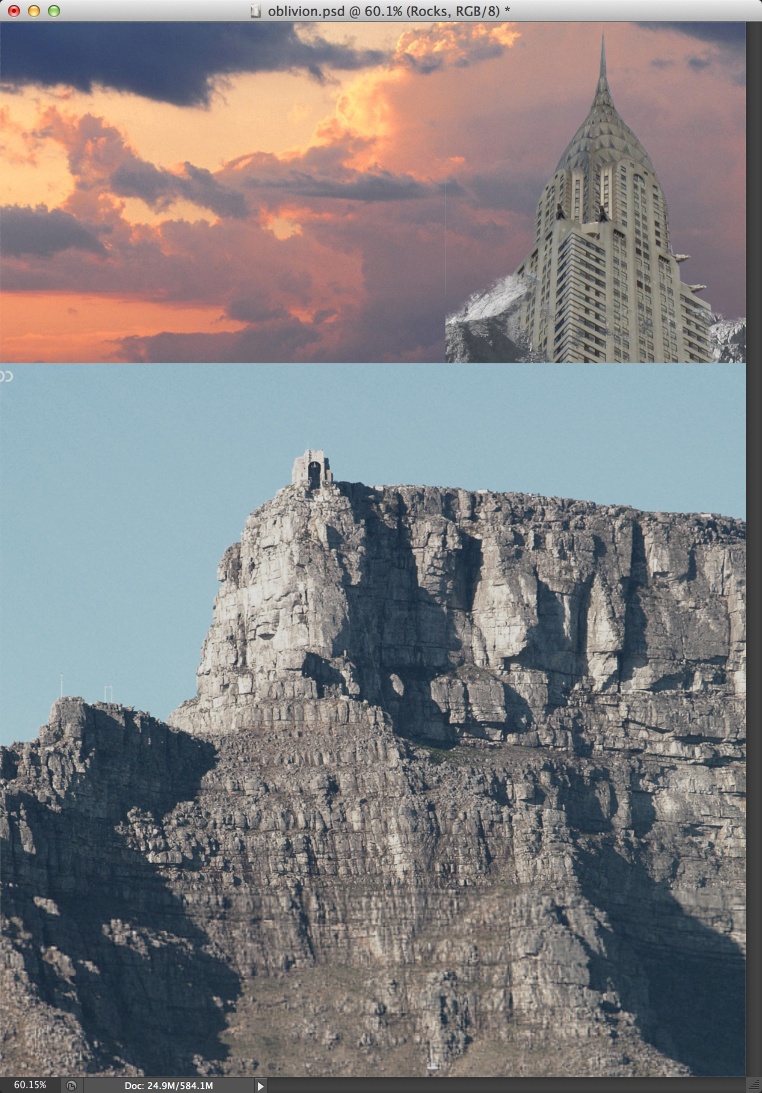
Step 3
Now let's add another photo of a mountain in order to mix it with the building. You can download it at (http://www.backpacker.com/media/originals/RockyMountainNationalParkCont…). Use the Brush Tool (B) with a custom brush using a stone pattern for the Texture.
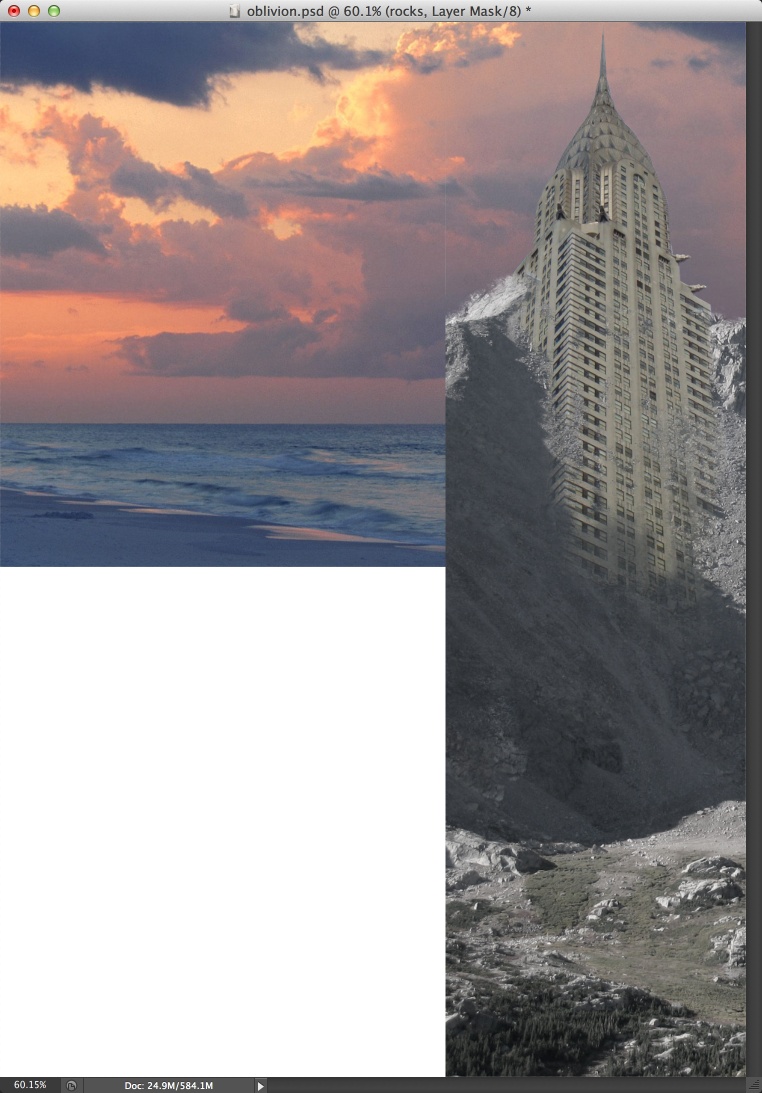
Step 4
Let's add another photo blend it with the building and mountain images from the previous step. This one can be found on Google Image Search.
Step 5
Start deleting some areas of the mountain image like the image below.
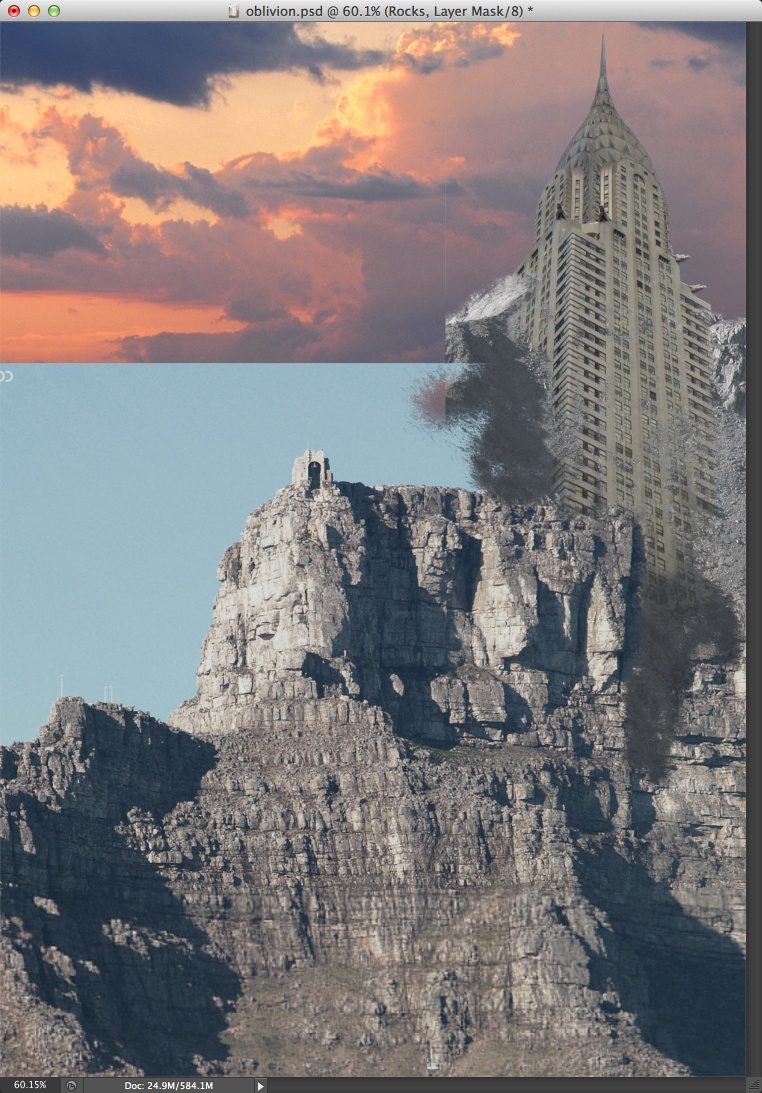
Step 6
Now, to make it very cathastrofic, let's add a waterfall photo. The one I am using is courtesy of Shutterstock, it's called A woman dressed in a red jacket carrying a red umbrella standing at the base of a waterfall. Shot on location at Skogafoss in Iceland by Darren Baker.
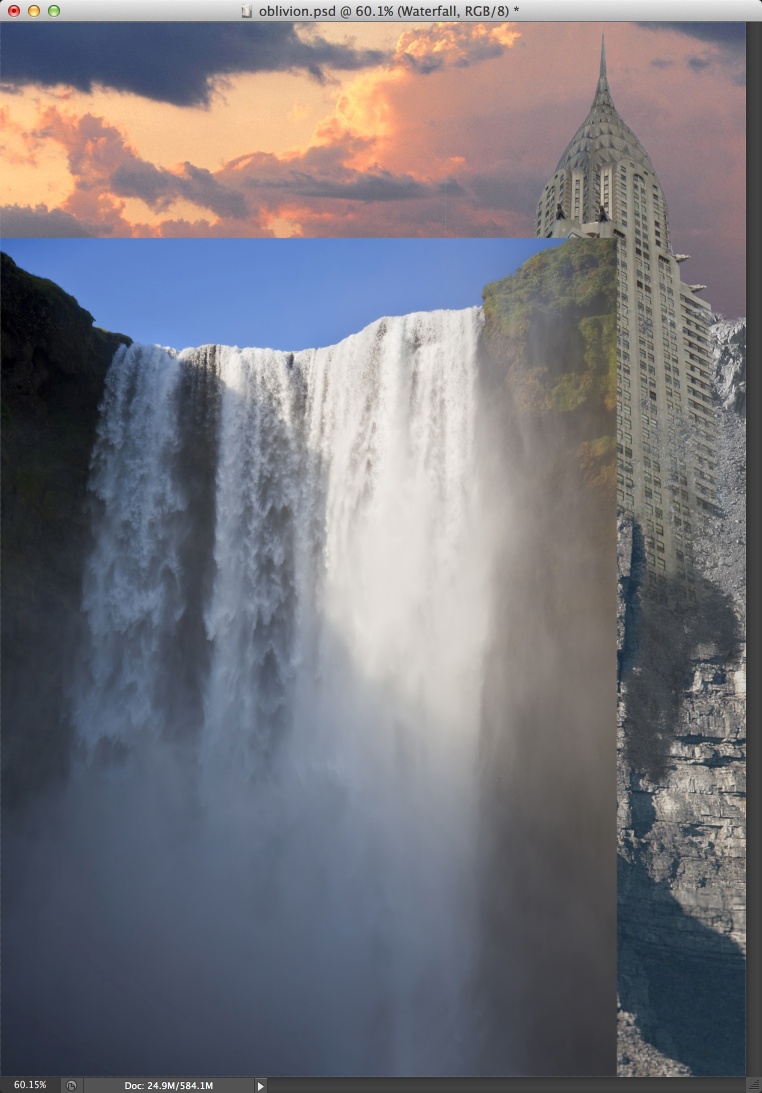
Step 7
With the Eraser Tool (E) and a regular and very soft brush, start deleting some areas to blend the images together. One of the most important things when chosing images is to make sure that the light sources are almost the same. It's almost impossible to find images with exactly the same light source, but having them with similar sources will make your design more realistic.
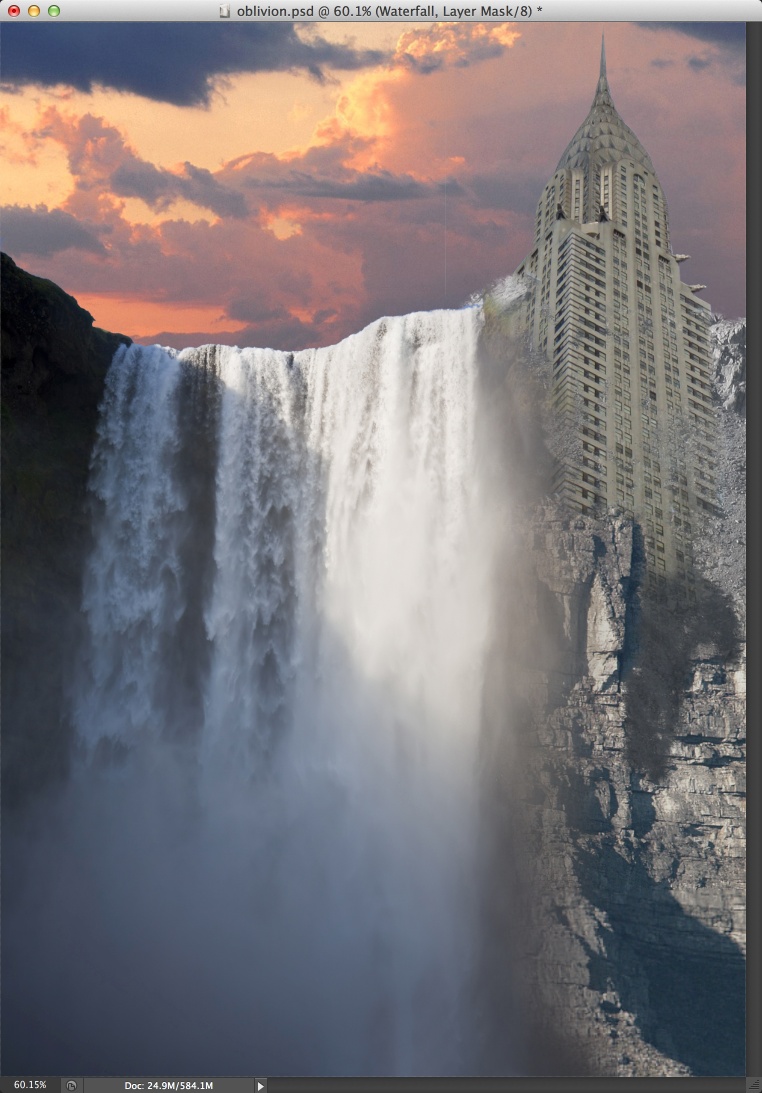
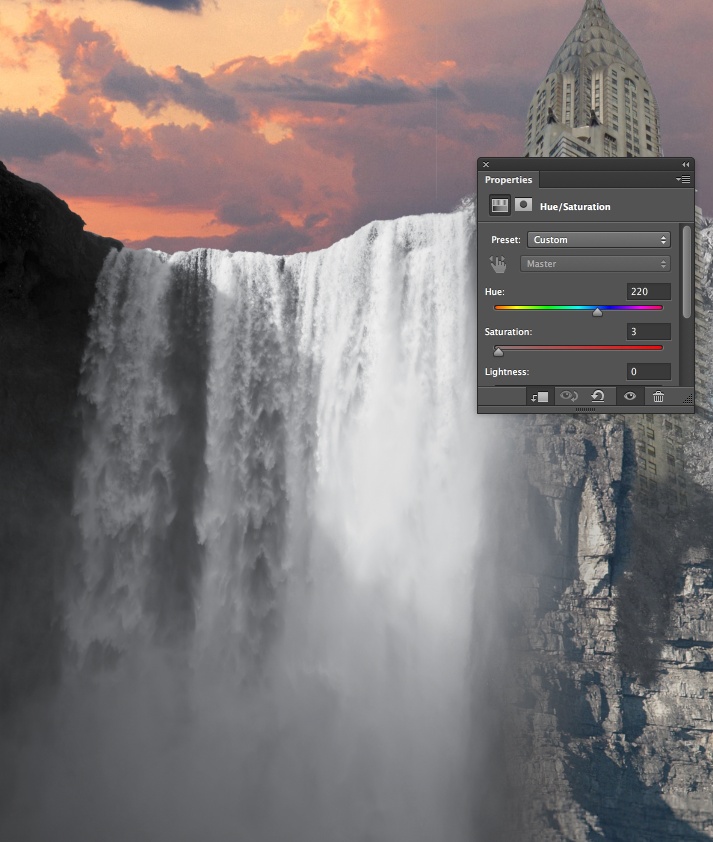
Step 8
Once you position all images together you will have to match the colors and saturation. There are different ways you can achieve that, for this tutorial we will use Hue and Saturation. Use adjustment layers on top of each layer and them Clipping Mask to apply Hue Saturation to each of the images. For the Waterfall lets use 220 for the Hue, 3 for the Saturation and 0 for the Lightness.
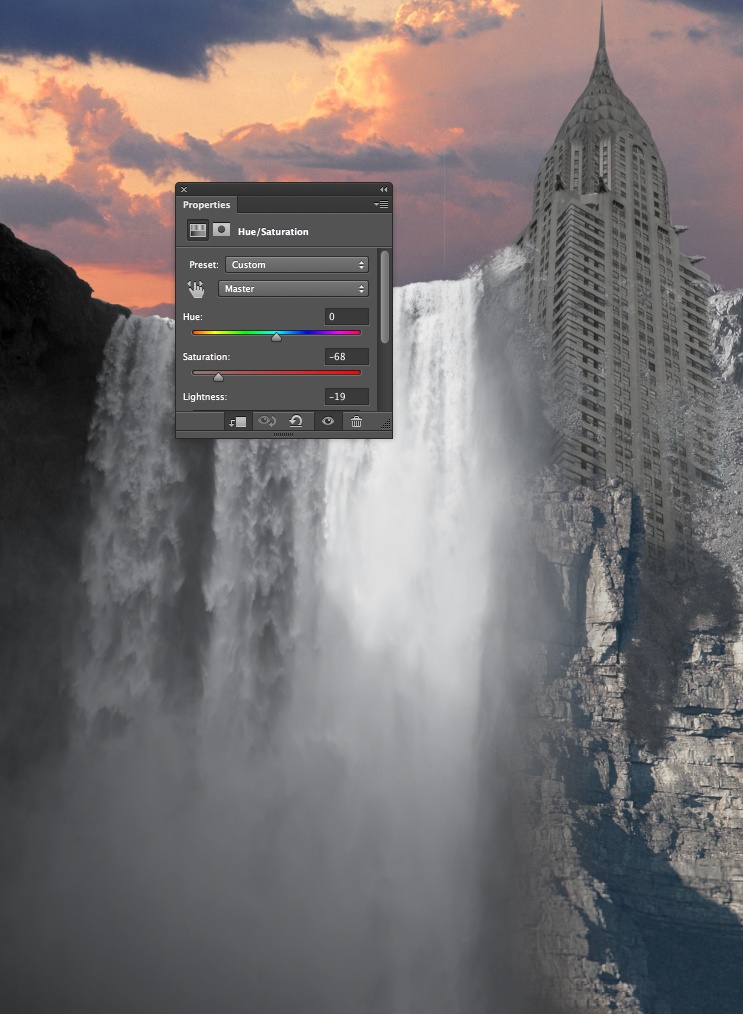
Step 9
For the building and mountains use 0 for the Hue, -68 for the Saturation and -19 for the Lightness.
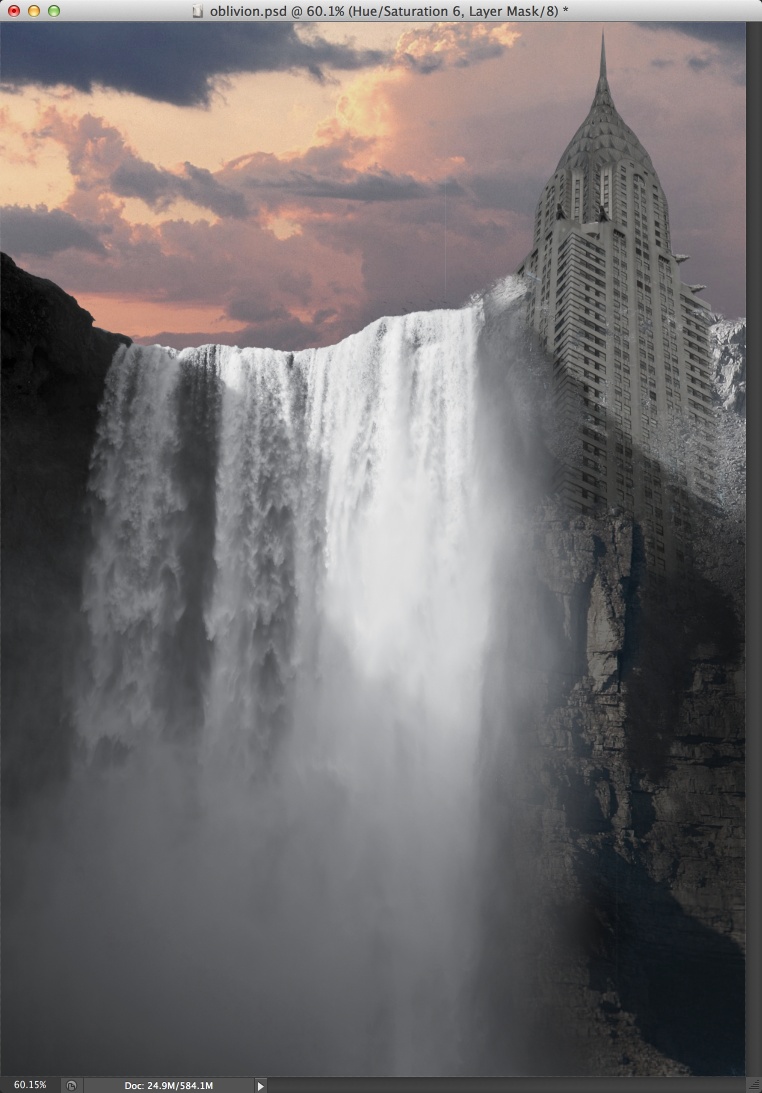
Step 10
Add a new layer on top of the mountain and building layers, then change the Blend Mode to Multiply. With the Brush Too (B) and a very soft brush, use black for the color to create a shadow over the building and the mountain.
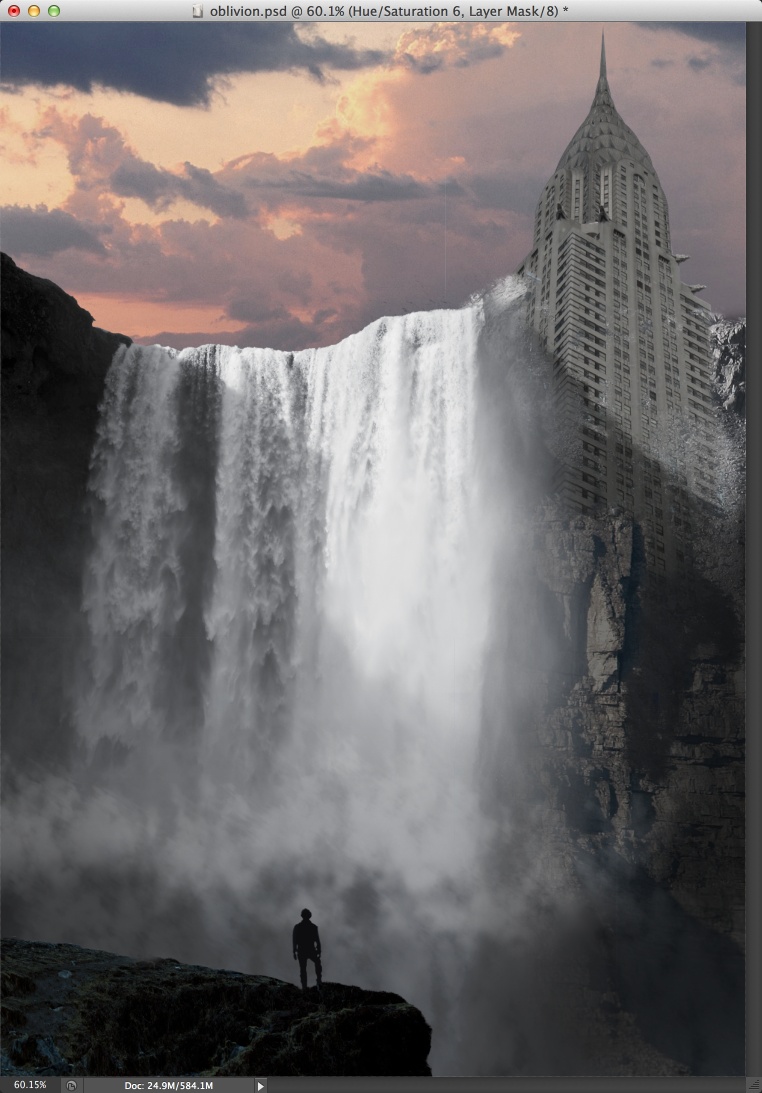
Step 11
Now lets add 2 more images, one for a base of rocks and a guy staring at the utopic view. You can search for the images on Google Images to get them. It's up to you here as this step is not really necessary.

Step 12
Once you have all images together, use the Brush Tool (B) with a custom brush using Clouds for the Texture to paint some sort of clouds/water on the base of the waterfall.
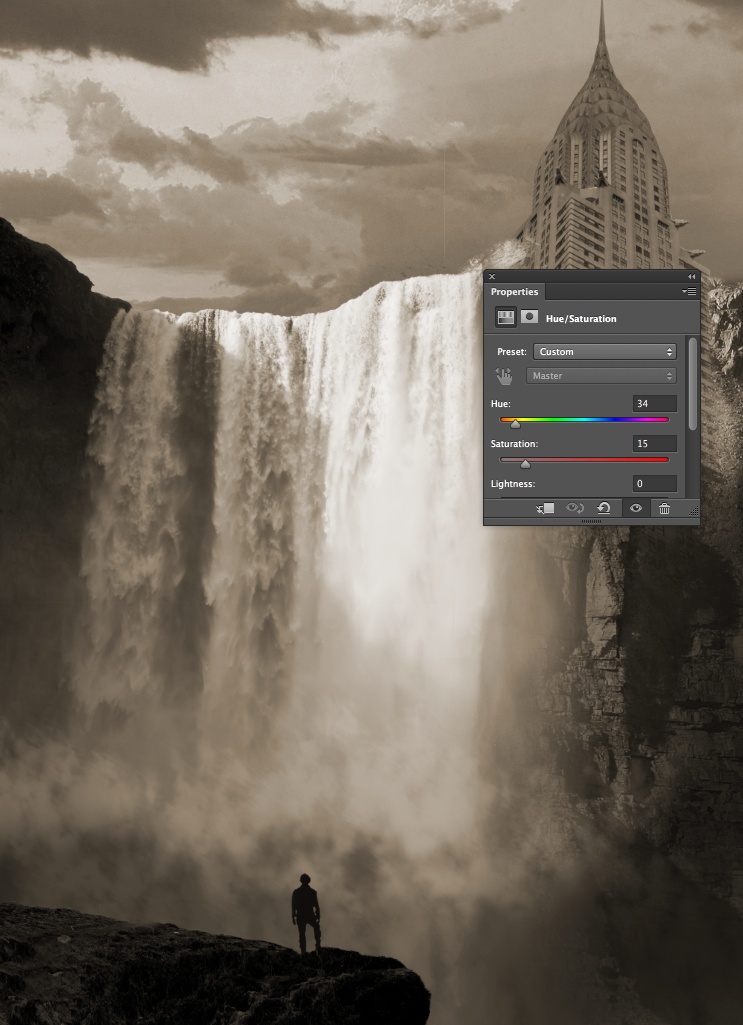
Step 13
In the layers panel, make sure that the layer at the top is selected, then go to Image>New Adjustment Layer>Hue/Saturation. Use 34 for the Hue, 15 for the Saturation and 0 for the Lightness.
Step 14
Select all layers and duplicate them, after that with all new layer selected, merge them into a new layer. Go to Filter>Blur>Gaussian Blur. Use 10 pixels for the Radius. Change the Blend Mode of this new layer to Screen.

Conclusion
Select all layers and then duplicate them again. Merge the new duplicated layers again and then change the Blend Mode of the new layer to Overlay. These two last steps will give more realism to the composition and help the images to match the colors and styles. After that it's up to you to add more elements or adjust colors and styles.


