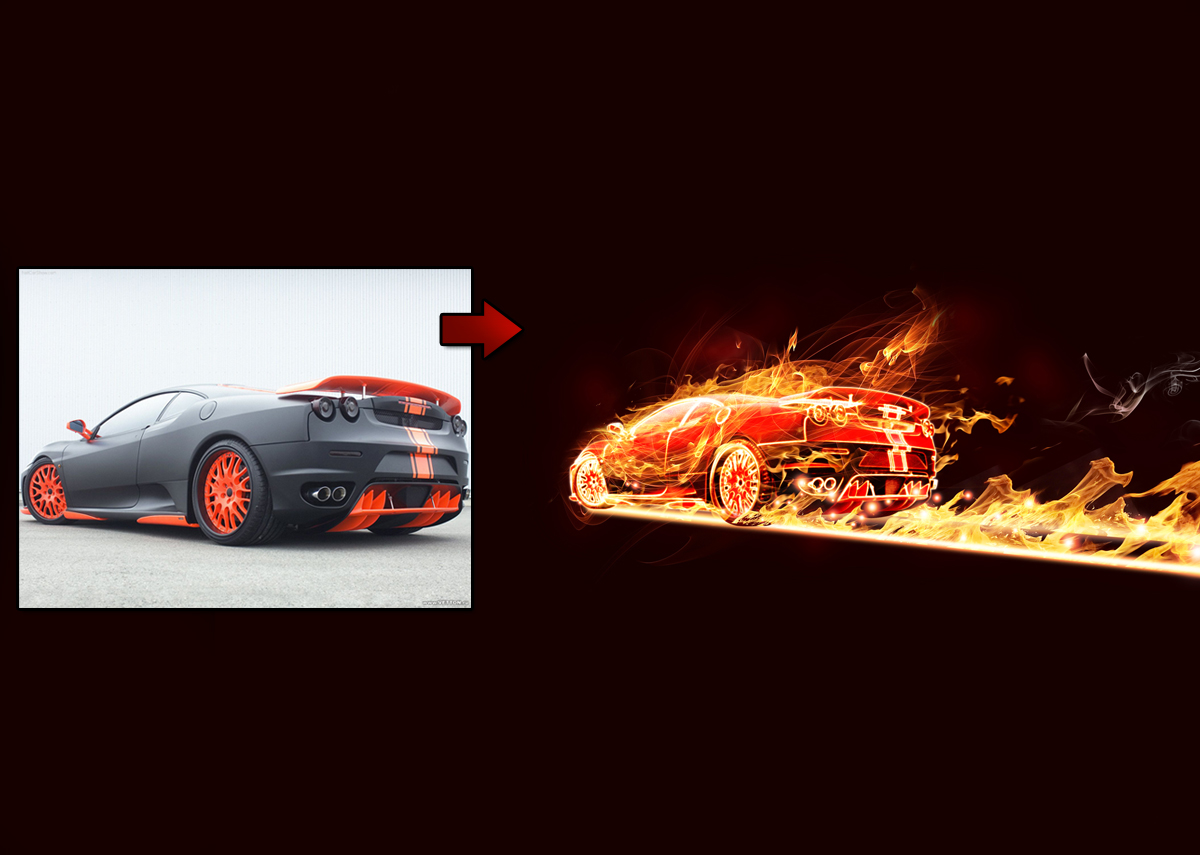
This week’s tutorial we will show you how to create a flaming car. We saw this effect before and it’s quite simple but it’s a good exercise and the result is quite good. You can also apply this effect on other images.
So let’s do that.
Step 1
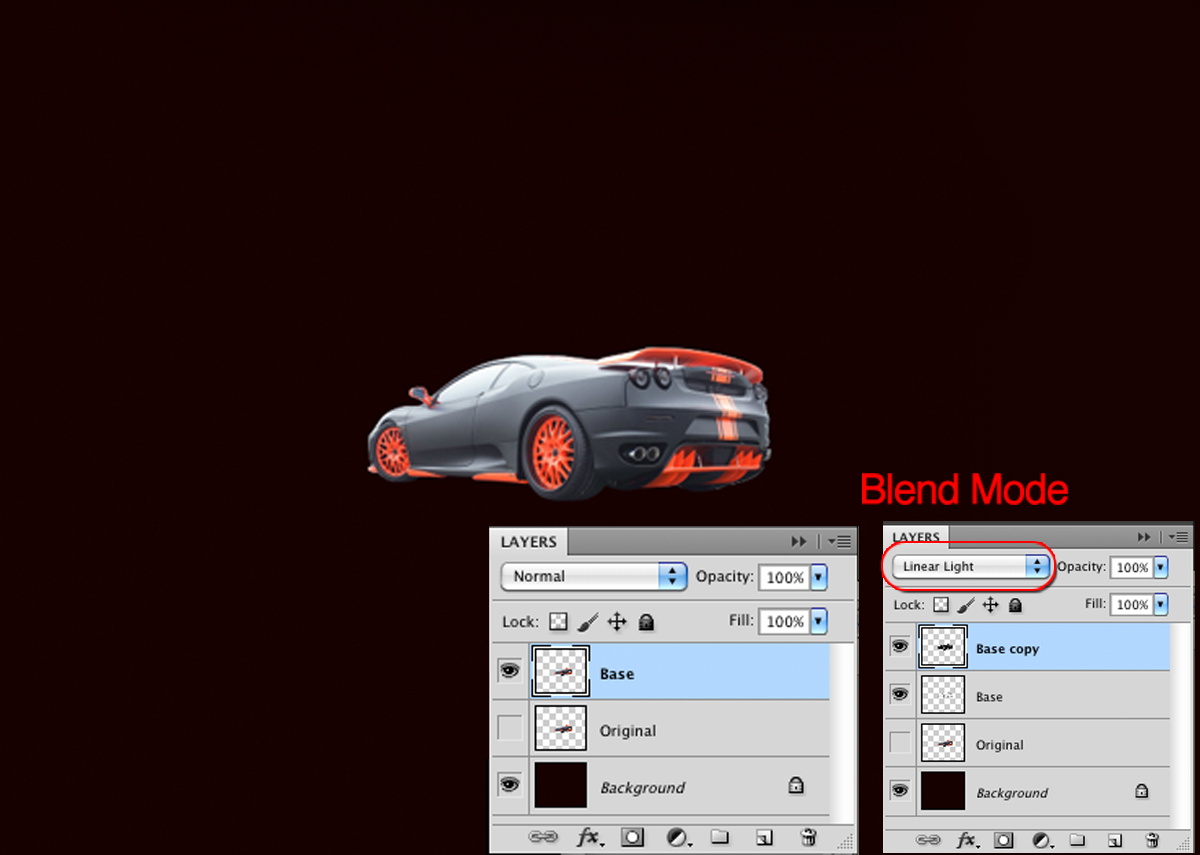
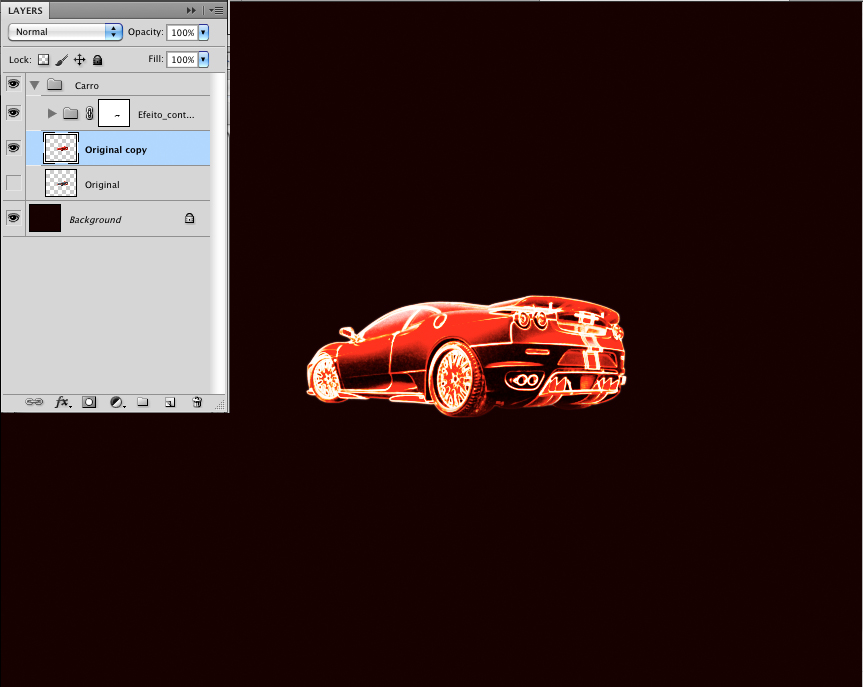
Open Photoshop and create a new document. Make the background with a mix of black and red (#160000). Then with the image of a car with no background. For this first step the idea is get the outlines of the car for our image. To do that, it's pretty easy. Create a new layer by duplicating the car's layer. Rename it to "Base" and hide the original. Go to Image>Adjustments>Invert.
After that go to Filter>Stylize>Find Edges. Repeat the same thing again in order to have another layer but for the Blend Mode use Hard Light. After that you can merge those 2 layers into one.
Step 2
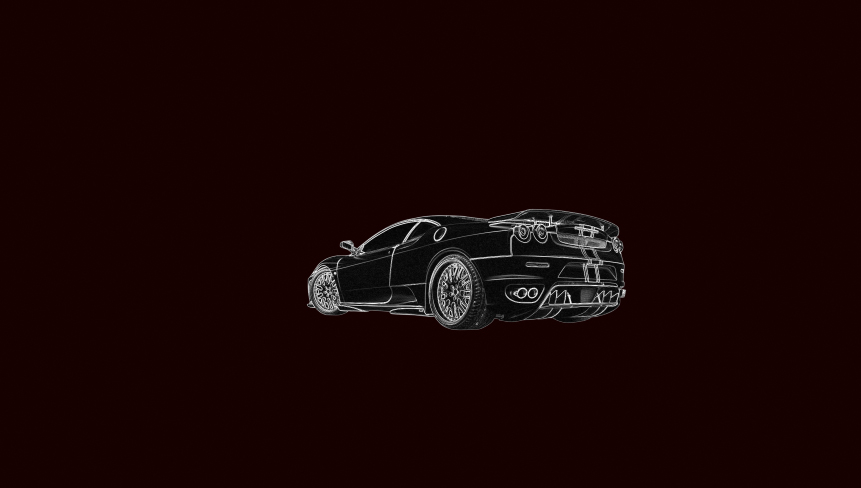
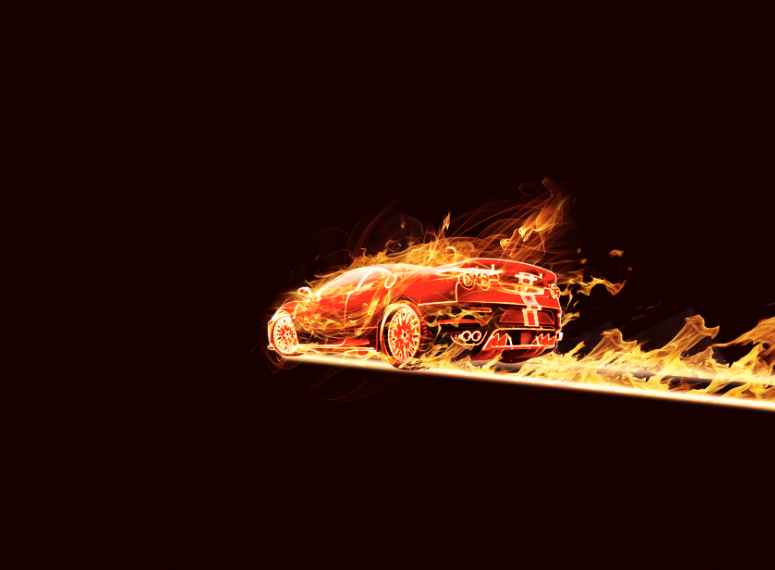
Your image will look like this:
Step 3
Now that we've gotten the cars outline we will have to apply the light effect on it so it will look like a flaming car.
In the same layer that we created in the step 1, let's apply a Gaussian Blur. Go to Filter>Blur>Gaussian Blur. The value will vary depending on the resolution you are working on. In my case I used 1.6 for the Radius. After that change the Blend Mode to Scree.
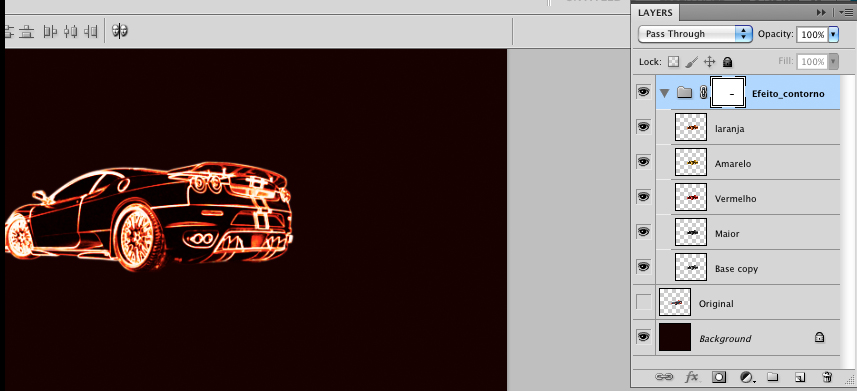
Duplicate the the layer keeping the same blend mode, however let's apply a Gaussian Blur again, go to Fitler>Blur>Gaussian Blur and use 3.6 pixels. Rename this layer to "Top". Duplicate the layer we created in the first step and merge it down with this one. Then duplicate the first layer again and rename it to Red and go to Image>Adjustments>Hue and Saturation. Select Colorize and change the Saturation to 100. The Blend Mode of this layer will be Overlay.
Let's repeat this again to create the yellow version. Go to Image>Adjustments>Hue and Saturation and use 40 for the Hue. Do the same again to create an orange version, then for the Hue and Saturation use -22.
After that change the Opacity of the yellow and orange layers to 50% and put them inside a folder. You can do that by selection both and going to Layer>Group Layers. Then with the group select go to Layer>Vector Mask and then delete the outlines on the rear part of the car.
Step 4
Our effect is pretty much done. Now let's duplicate the original layer that we hid on the step 1. Select it and go to Image>Adjustments>Hue an Saturation. Select colorize and change the Saturation to 100. Put this layer in a folder and rename it to Car.
Step 5
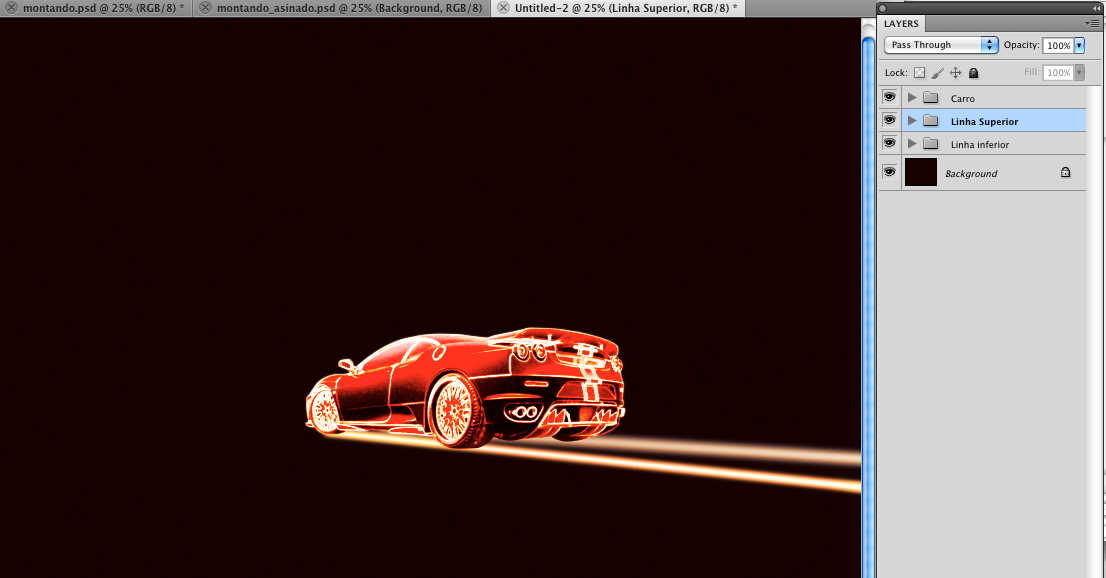
Add a new layer and name it "Superior Line" before starting adding flames and other light rays. With the Brush Tool (B) with Hardness 0 add a line following the tires skid marks and go to Filter>Blur>Gaussian Blur. I used 4.5 pixels for the radius. After that go again to Image>Adjustments>Hue and Saturation. Use +76 for the Hue. Tip: You will have to do that for the right side tires and the left ones as well.
Step 6
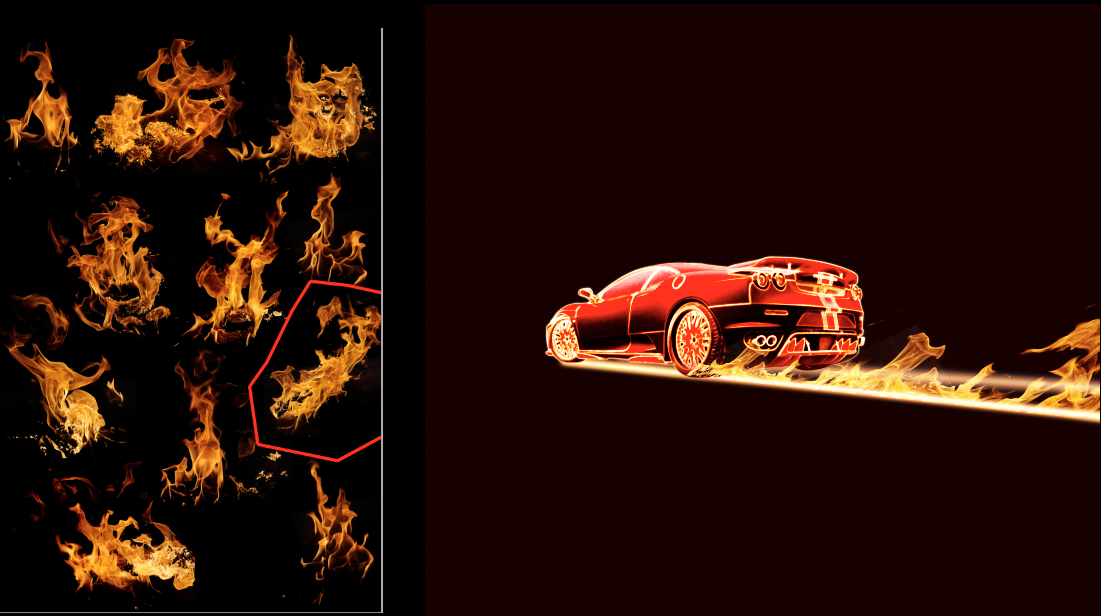
Now let's start mixing some images in our composition. Get some flame images ad start adding them in your image. Notice that the flame images I have they are all in black background, that way you can use Screen for the Blend Mode and the black will be transparent.
Step 7
Keep adding more flames.
Step 8
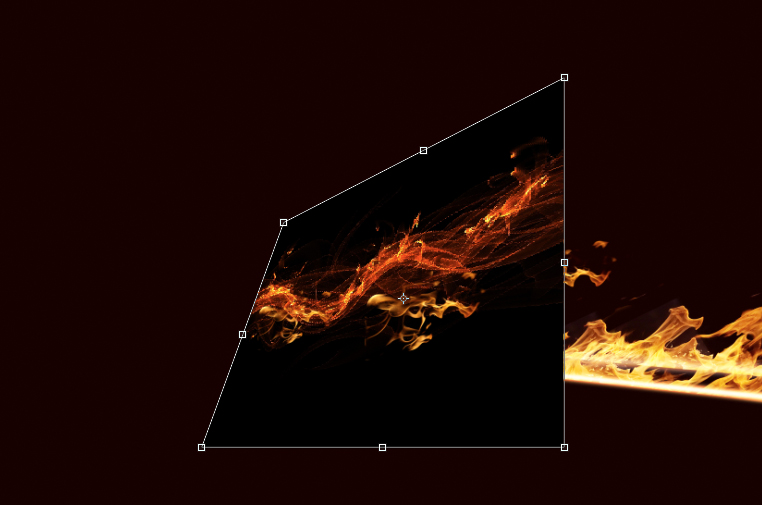
Here I added another flame image. You can change the perspective of the image by going to Edit>Transform>Perspective. Once again use Screen for the Blend Mode, and if you wan the effect to be stronger, just duplicate the layer.
Img8

Step 9
Select one of the flames that you used for the skid mark and move it so it is underneath the car. Do that for the front and rear part of the car.
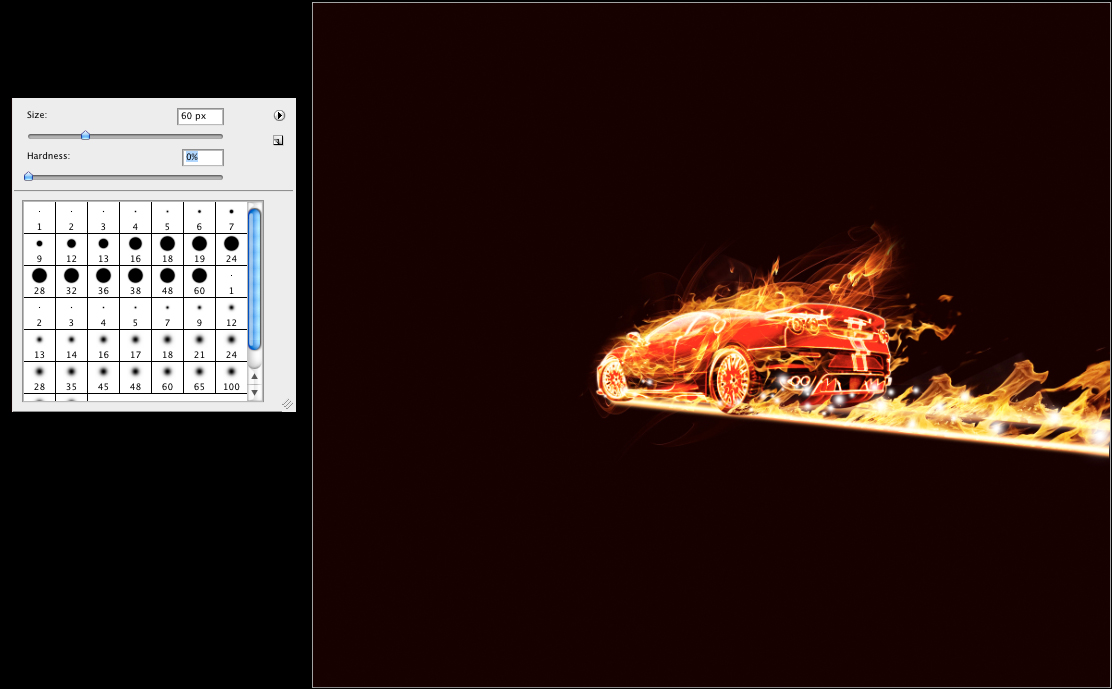
Step 10
Almost done. Let's add a few more details. Add a new layer and then with the Brush Tool (B), use a rounded brush with 0% Hardness to create some little spots of fire following the skid marks. Make sure you use different sizes for the spots like the image below.
Step 11
Duplicate the layer and go to Image>Adjustment>Hue and Saturation. Select Colorize and change the Saturation to 100 and the Lightness to -50. After that change the Blend Mode to Overlay. Duplicate that layer again and go to Image>Adjustments>Hue and Saturation. Change the Hue to 76.
The next thing here is add an image of smoke like the image below.
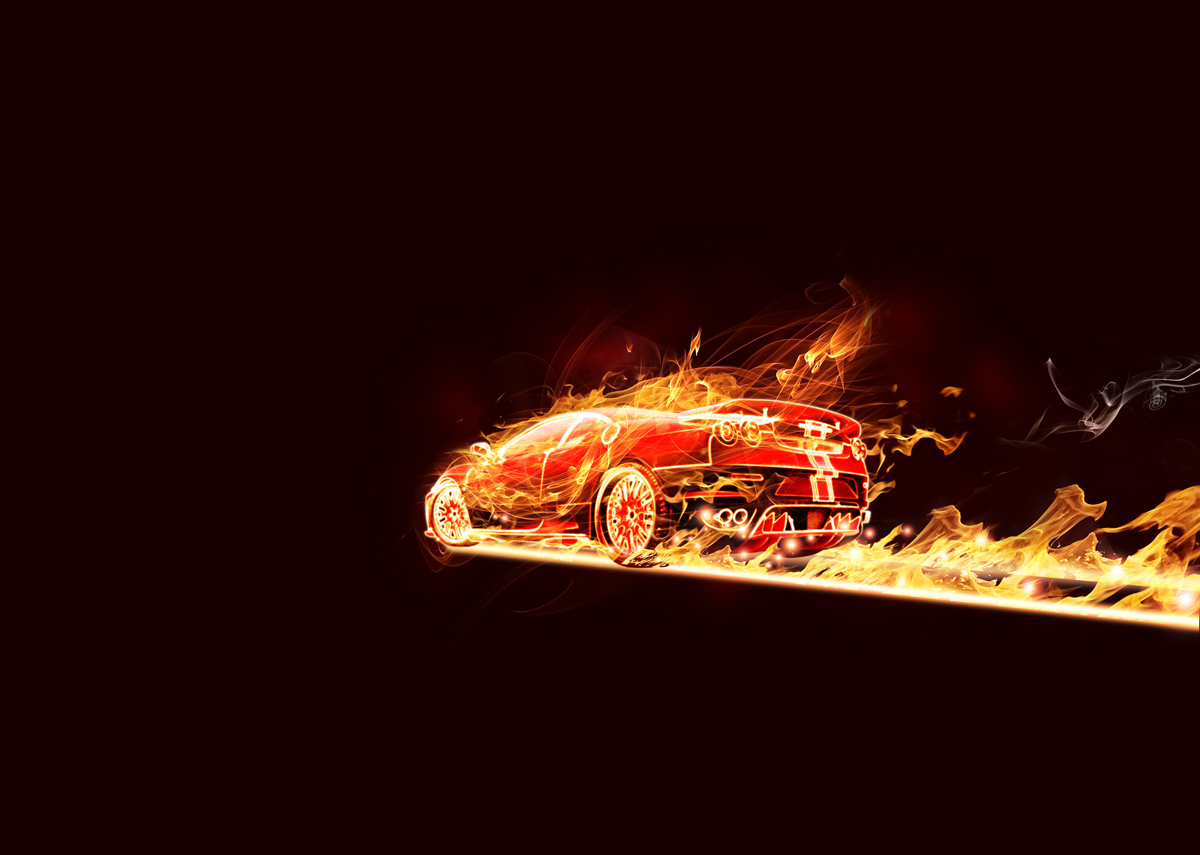
Conclusion
That's it, our image is done. It takes a little time and work but the technique is quite simple. The end result is quite nice as well. I also hope you liked my first tutorial here at Abduzeedo. If you have any questions or want any asset I use here you can reach me at designsoares@hotmail.com
I am very happy to contribute with Abduzeedo, a blog that has helped me quite a lot.
Download Photoshop File
This tutorial was written by Lincoln Soares, an art director from São Paulo, Brazil. Lincoln has been working for over 5 years and you can check out more of his works at http://behance.com/lincolnsoares. You can also follow him on Twitter at http://twitter.com/lincolnsoares.