Last week we posted a tutorial showing how to create simple artwork in Illustrator and then in Photoshop we added a few effects to make it look old and with that vintage/hipster feel. Some people asked about some of the steps in Photoshop so I decided to make a simple walkthrough about how to use Photoshop to create this kind of effect. It's a simple technique but it can be very handy for this kind of artwork.
So in this tutorial, I will show you how to create a simple vintage look stencil in Photoshop. The whole process will take around one hour and you won't need anything special besides time and a few dirty brushes.
Step 1
Create the artwork you want to apply the effect. I used Adobe Illustrator to create this simple stencil.

Step 2
In Photoshop now, place the stencil. Add a new layer and fill it with black, that will be the background. With layer style, apply a white Color Overlay in the stencil.

Step 3
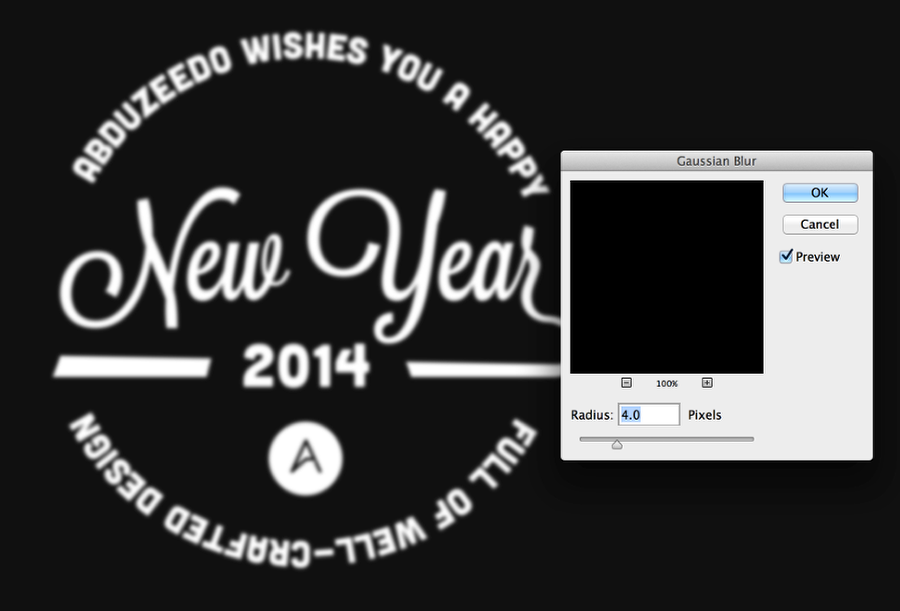
Group the black layer with the white stencil and convert it to a smart object. Filter>Convert to Smart Filters. Apply a Gaussian Blur, go to Filter>Blur>Gaussian Blur. Use 4 pixels for the Radius.
Step 4
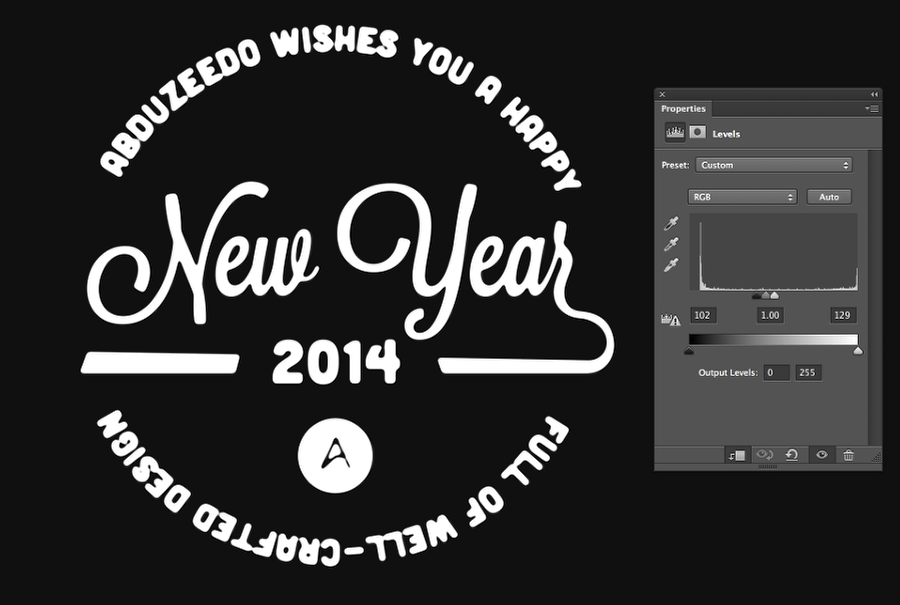
Go to Layer>New Adjustment Layer>Levels. Change the values until you cannot see the blur effect anymore. After that make sure that the Adjustment Layer is clipped to the layer (Layer>Create Clipping Mask).
Step 5
Create a new layer on top of the stencil and then with a regular dirty brush add some of the texture.

Step 6
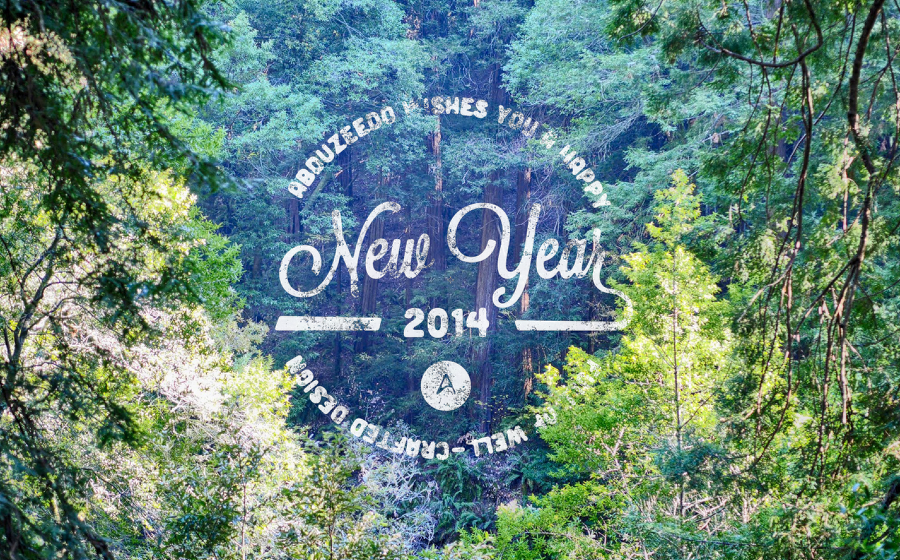
Group the stencil layer with the brush layer and then change the Blend Mode of the folder to Lighter Color. Also, add an image for the background.
Step 7
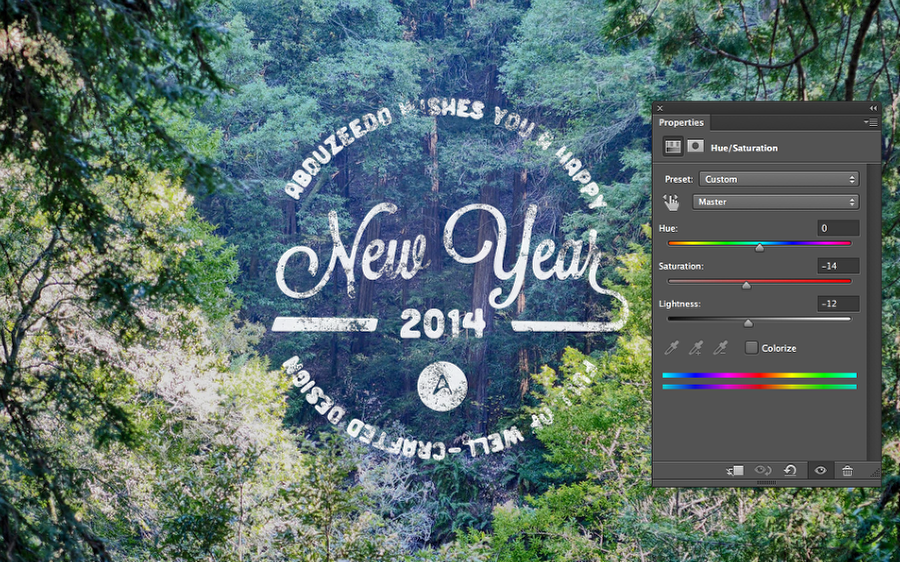
My image looks really bright and doesn't create enough contrast with the logo. So go to Image>Adustments>Hue and Saturation. Reduce the Saturation a little bit and also the Lightness. The values will depend on the image you will be using.
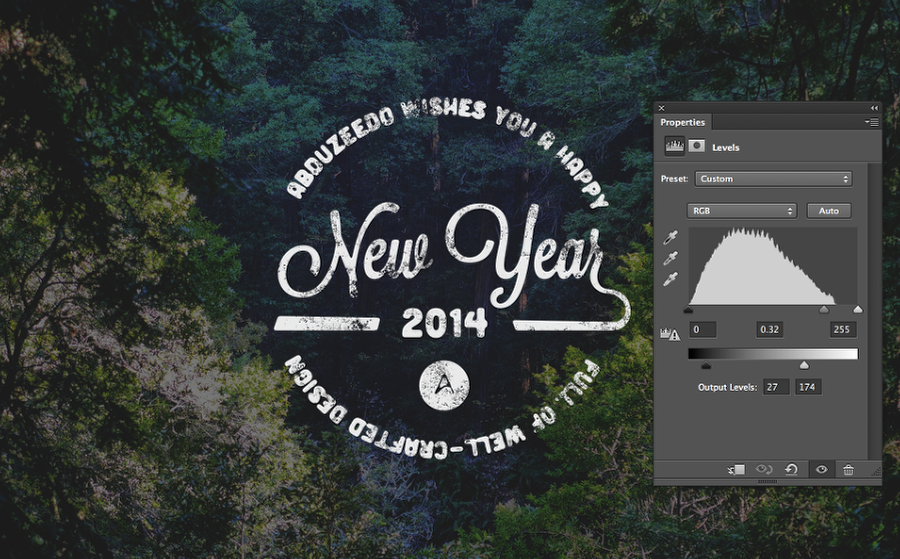
Step 8
Go to Image>Adjustments>Levels. Change the Output Values and also the grey Input value to make the image much darker.
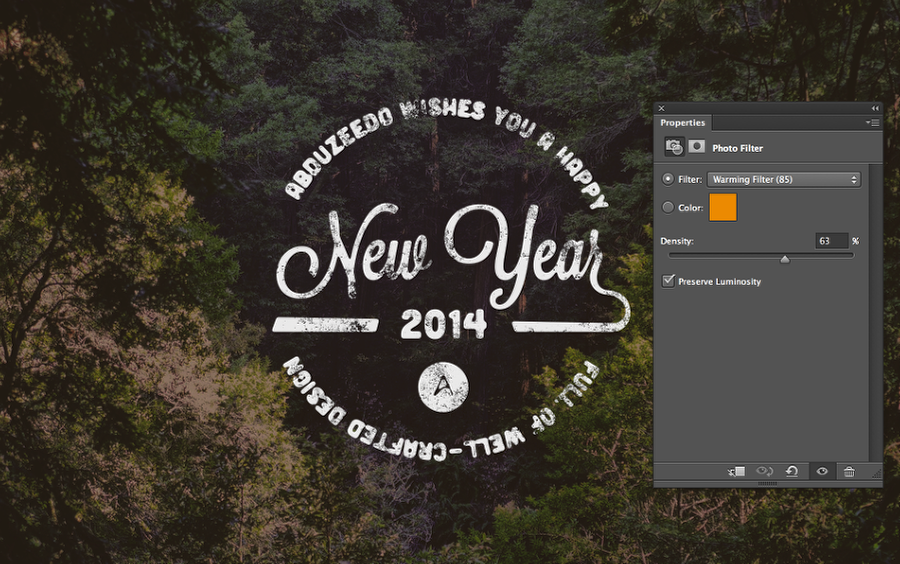
Step 9
Now go to Layer>New Adjustment Layer>Photo Filter. Use the Warming Filter at 65% Density.
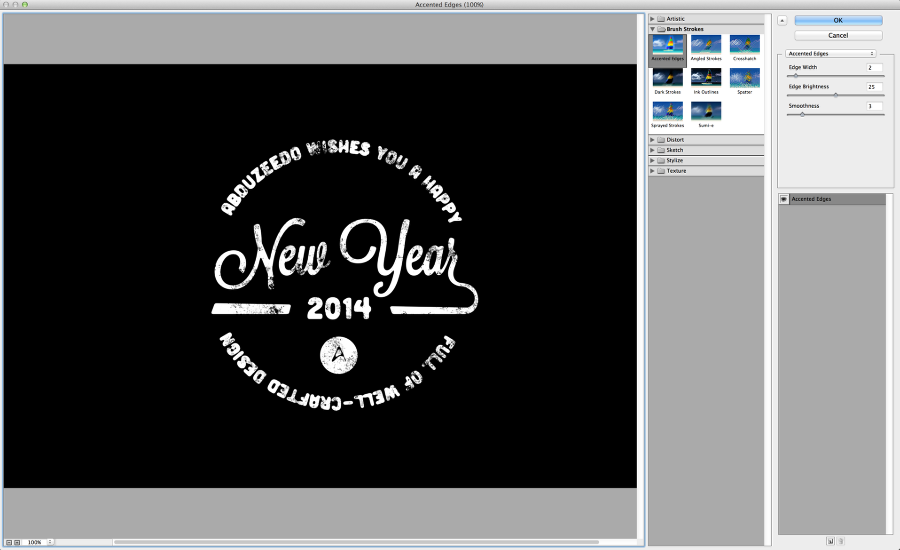
Step 10
Convert the folder with the stencil and the brush effect to a smart filter. Go to Filter>Filter Gallery>Brush Strokes>Accented Edges. Play with the values until you have an effect that looks natural.
Conclusion
Reduce the opacity of the logo to 95% depending on the background. You can also use levels to make it not so bright besides that, the design is pretty much done. I believe this little step by step might help those that were having some difficulties during the last tutorial. Now it's up to you, have fun and a great 2014 to you all.

Download Photoshop file


