Bizarre Photo Treatment in Photoshop
Last week I was playing with Photoshop, experimenting some photo treatment techniques. Cameron, a friend of mine, showed me one in particular and it really got my atention. The technique used the Lab Color Mode and some other very interesting steps.
In this tutorial I will show you this really cool photo treatment using some Image Adjustments and also, we will play with the Liquify Filter to create a crazy effect.
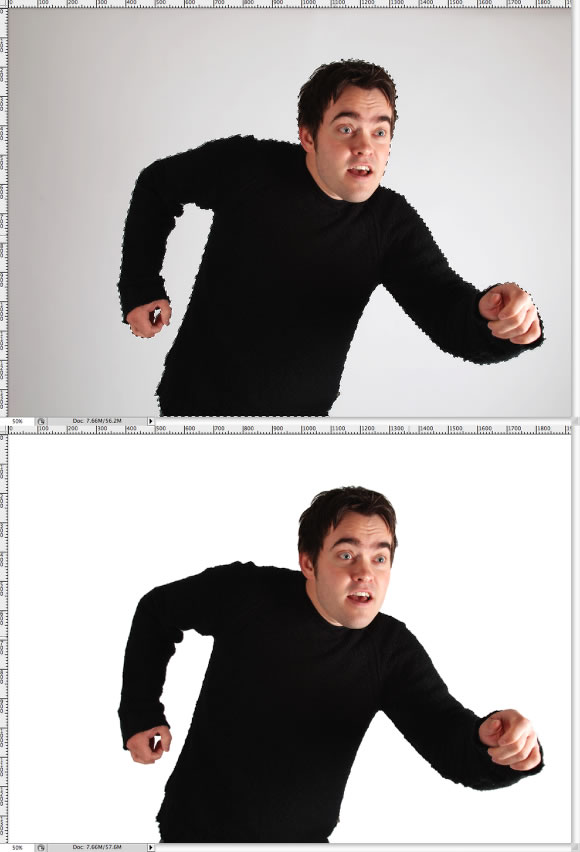
Step 1
Open a photo in Photoshop and extract the person from the background using the Pen Tool (P) or the Lasso Tool (L).
Step 2
Go to Image>Mode>Lab Color, then go to the Channels Palette (Windows>Channels), choose the Lightness layer and go to Filter>Sharpen>Unsharp Mask. Use 50% for the Amount, 30 pixels for the Radius and 0 for the Threshold Levels.
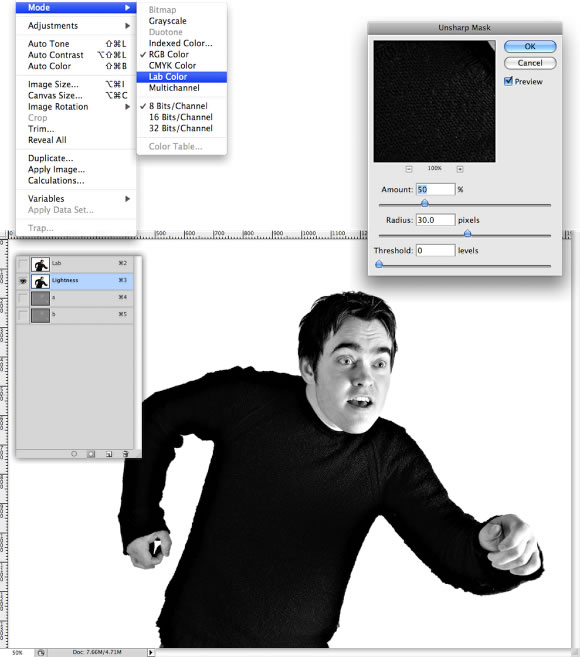
Step 3
Change the image mode back to the original RGB color. Go to Image>Mode>RGB Color.
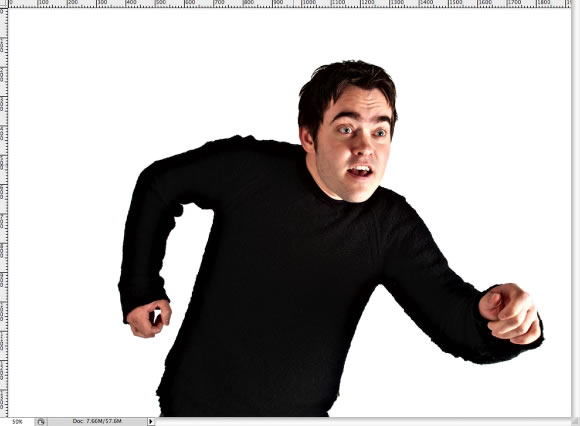
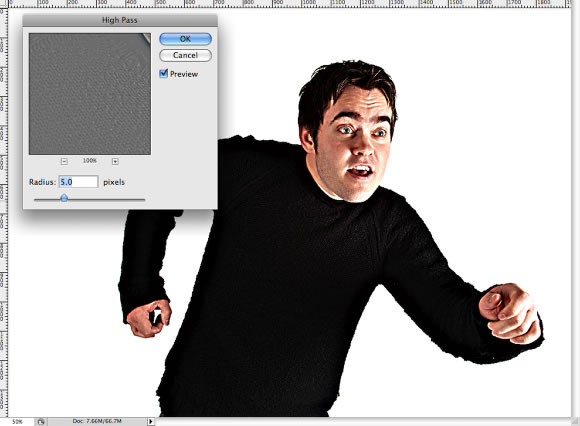
Step 4
Duplicate the guy's layer and go to Filter>Other>High Pass. After that change the Blend Mode to Vivid Light.
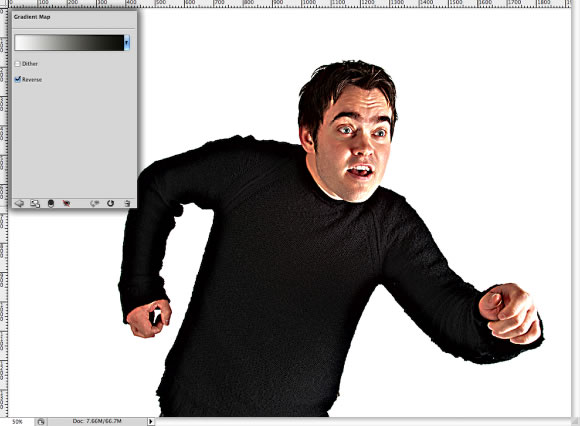
Step 5
Now go to Layer>New Adjustment Layer>Gradient Map. First select the Reverse option then change the Blend Mode to Soft Light and the Opacity to 50%.
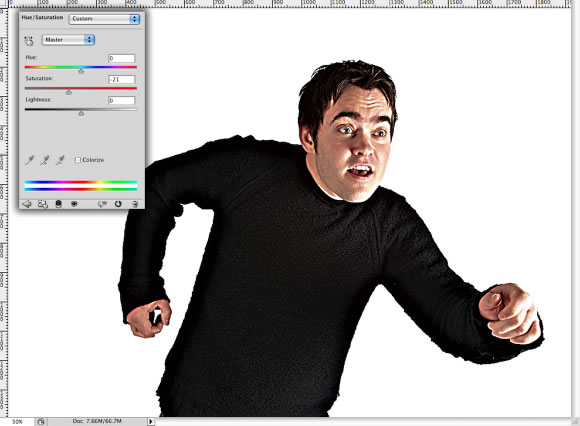
Step 6
Go to Layer>New Adjustment Layer>Hue and Saturation, then lower the Saturation to -20. The image was too colorful, that's why we reduced the saturation.
Step 7
Now, let's play with the liquify filter. The liquify filter allows us to create some very nice effects: I've used it to create smoke, the mental explosion and now we will use it to create a bizarre character :).
Go to Filter>Liquify, then you will have some tools in the left and the settings in the right. Select the Bloat Tool (B) and lower the brush size to 158. Then simply click in the middle of the eye to bloat it. Do that for both eyes (1 and 2).
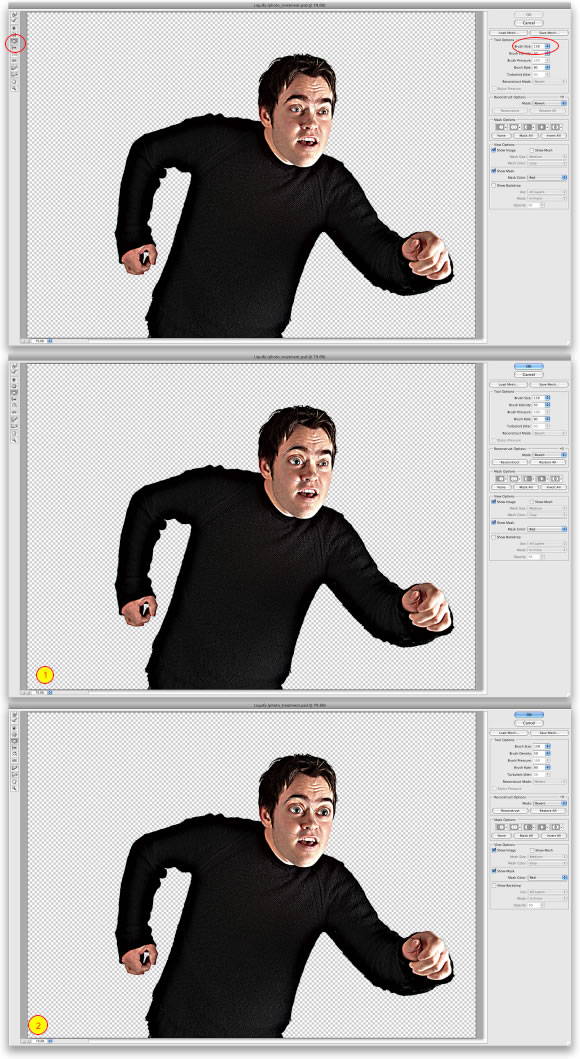
Step 8
Now, select the Forward Warp Tool (W) and make the chin bigger. To do that just click and drag the area you want to move. It's really cool.
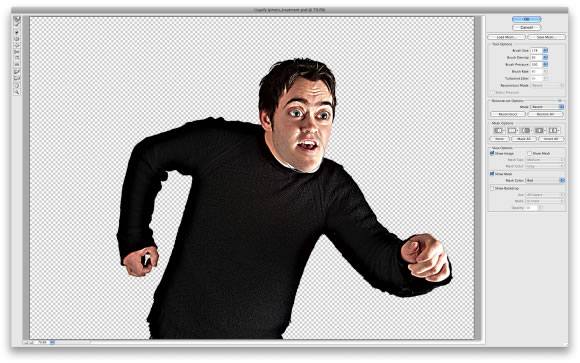
Step 9
With the Bloat Tool (B) again bloat the hands of the guy. You will have to use a bigger brush for his left hand and a much smaller for the right hand.

Step 10
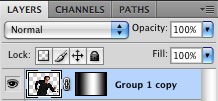
Let's add some blur. Firstly go to Layer>Layer Mask>Reveal All. Then select the Gradient Tool (G) and change the gradient type to Reflected Gradient. Fill the mask with the gradient, just make sure you had for the colors: Black, White and Black. Use the image below for reference. This layer mask will be necessary for the Lens Blur.
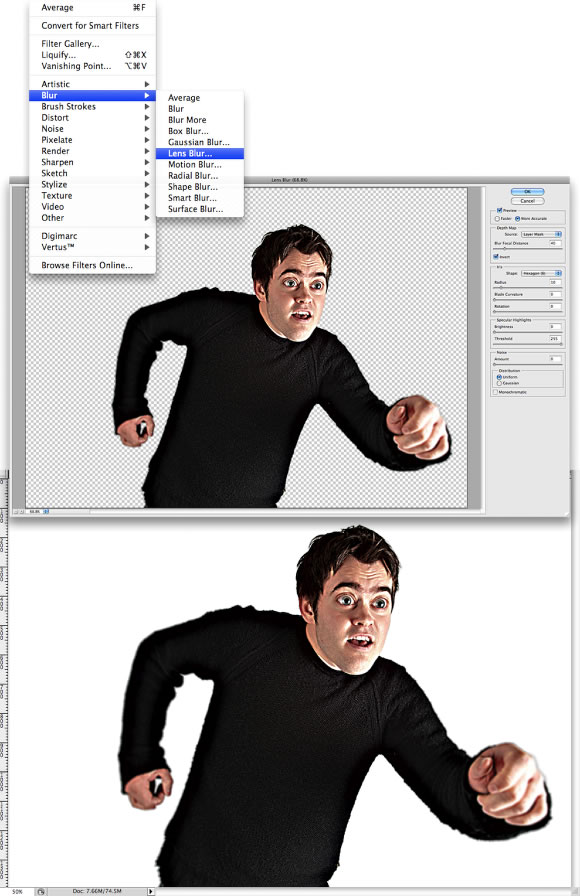
Step 11
With the mask filled with the gradient go to Filter>Blur>Lens Blur. Change the Source in the Design Map to Layer Mask, the Blur Focal Distance to 40 and select Invert. Also select More Acurate and press OK. The Lens Blur will make the black areas of the layer mask blury while the white parts won't be affected.
Conclusion
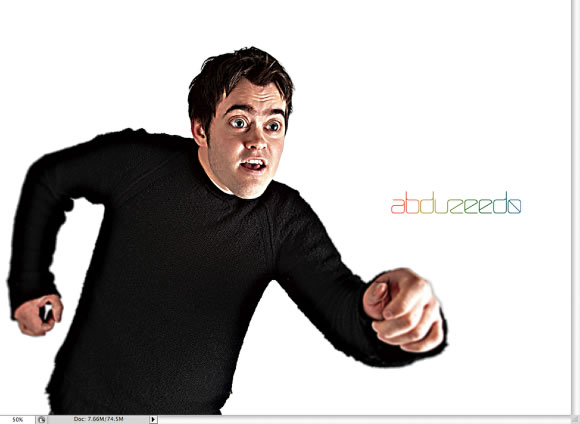
The liquify filter is really cool to create some caricature or super expressive effects, like in this case that we bloated the eyes and hands. Besides that, we used a very cool photo enhancement techinque using the Lab Color mode. This techinque is nice because we can achieve a sort of HDR effect, and playing a little bit I'm sure we can get some results close to what Dave Hill does.
Click on the image for full preview
Download the PSD File
Click here to download the Photoshop file used for this tutorial.
