by abduzeedo
A few weeks ago while walking on the streets of NYC, I saw this big billboard of a movie called Burlesque (http://www.imdb.com/title/tt1126591/). What really caught my attention was the effect applied in the text, sort of those old signage that casinos used to have. I loved that effect and thought it would be a good exercise trying to do that in Photoshop.
So in this tutorial I will show you how to create a very nice light effect using basic filters, layer style, blend modes and some stock photos. The whole process won't take you more than 45 minutes and the level of this tutorial is in my opinion easy, but it require some attention to the details.
Step 1
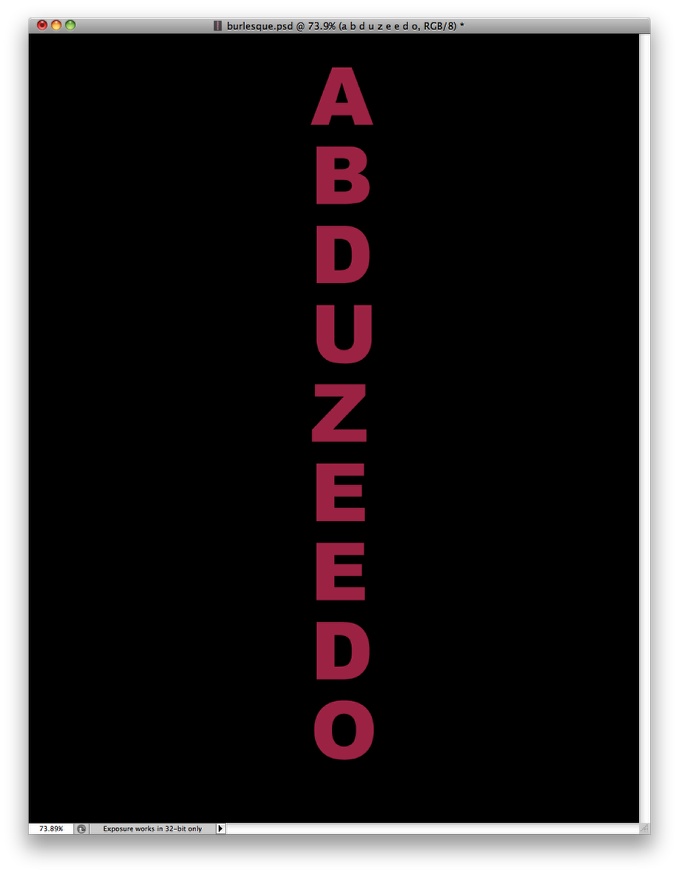
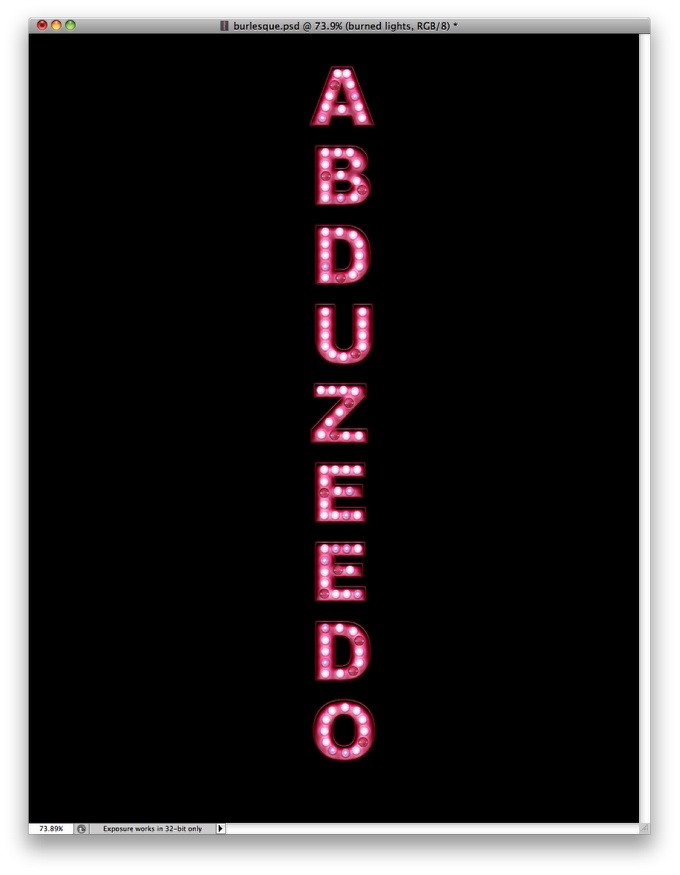
Open Photoshop and create a new document, the size I'm using is 1113x1440 pixels. Make sure that the background is in black. After that add a text in a vertical order. The word I added is Abduzeedo and I used Arial Black for the font.
Step 2
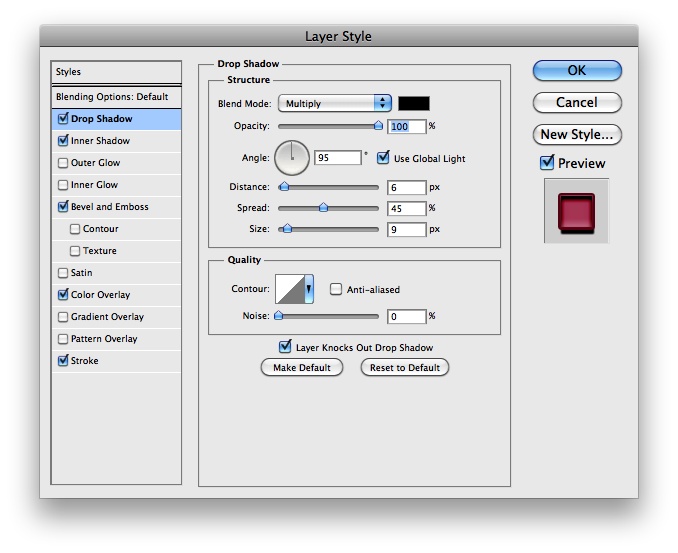
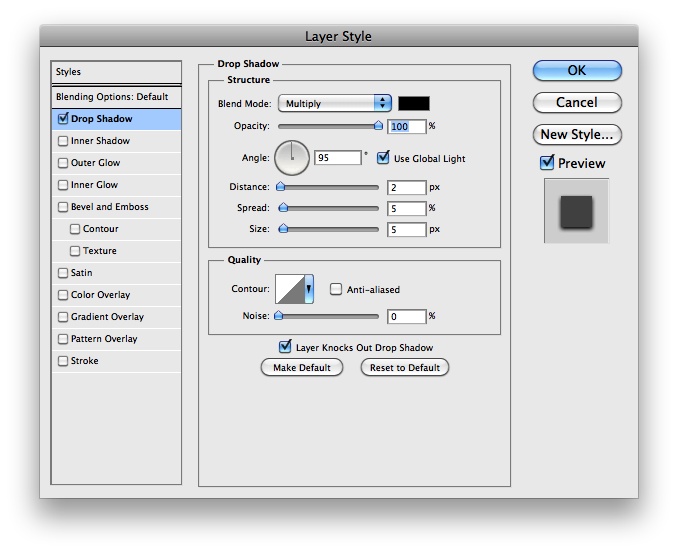
With the text layer selected go to Layer>Layer Style>Drop Shadow. Use the values below for the Drop Shadow.
Step 3
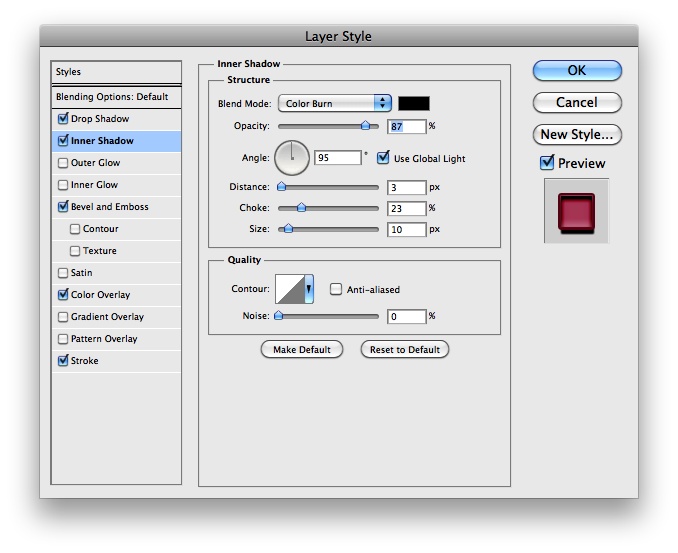
Now to add some depth to the text use Inner Shadow first. Again use the values below to get the effect.
Step 4
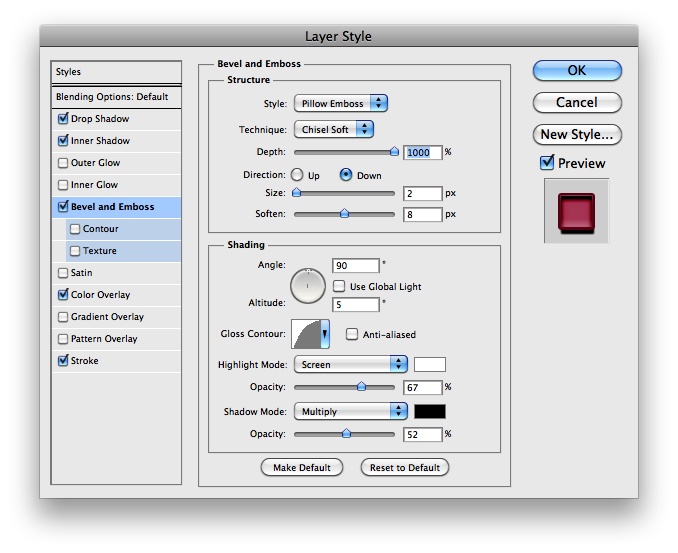
Let's use Bevel and Emboss to add some nice 3D effect to our text. Again follow the values below in order to achieve the same effect, or you can tweak them to see how that it would behave.
Step 5
In case your text is not the sort of dark pink I'm using you can use Color Overlay to change that. The exact color I'm using is #b2355b.

Step 6
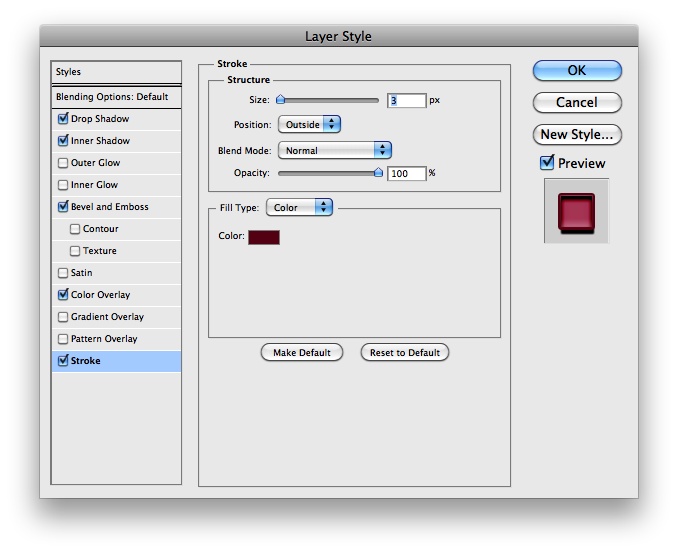
Now let's add a stroke, again follow the values below and for the color, I used #6f0022.
Step 7
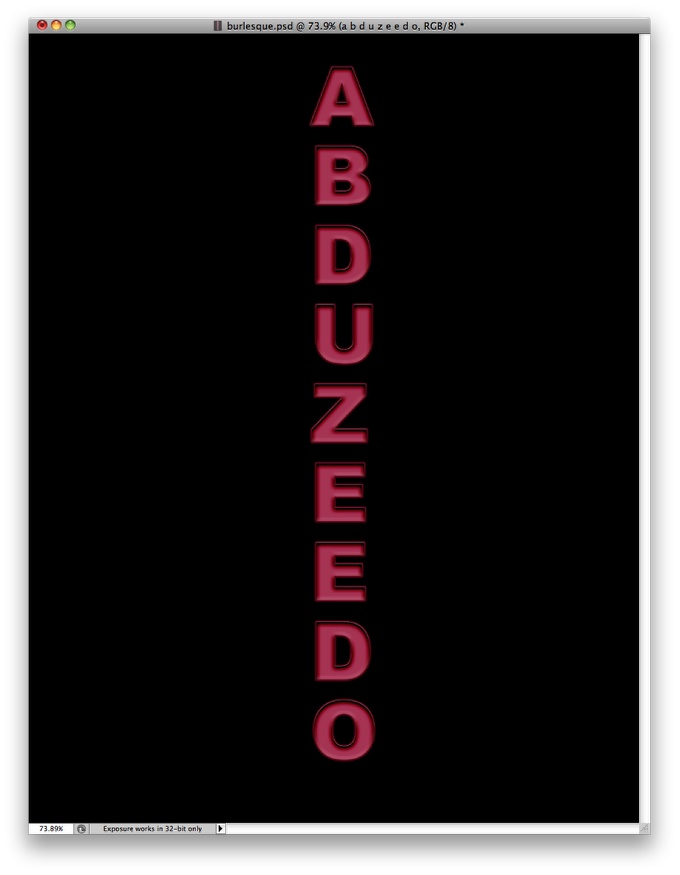
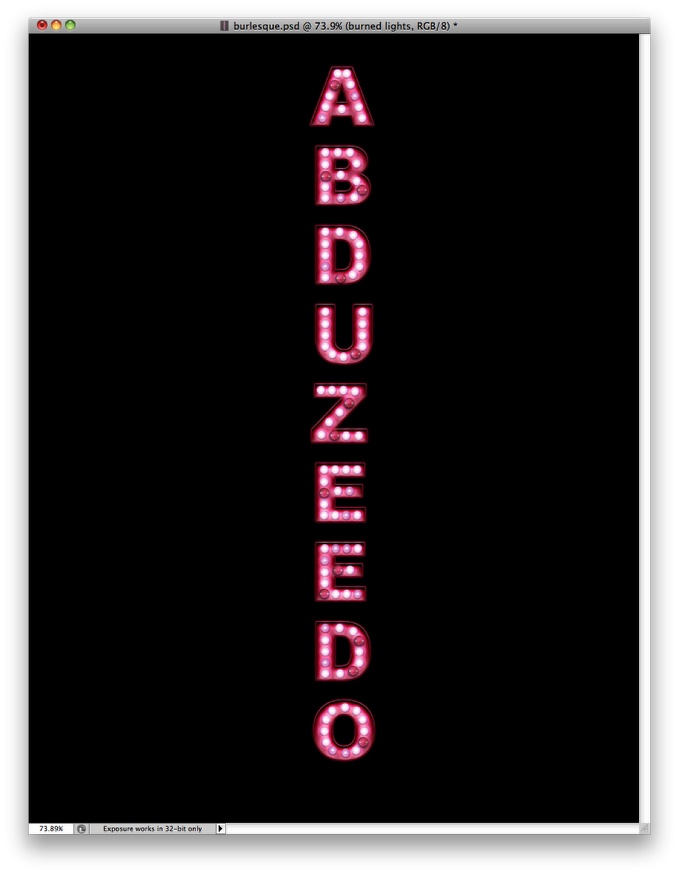
Here is the effect you will get by using the layer style values from the previous steps. You can save that for future projects as well.
Step 8
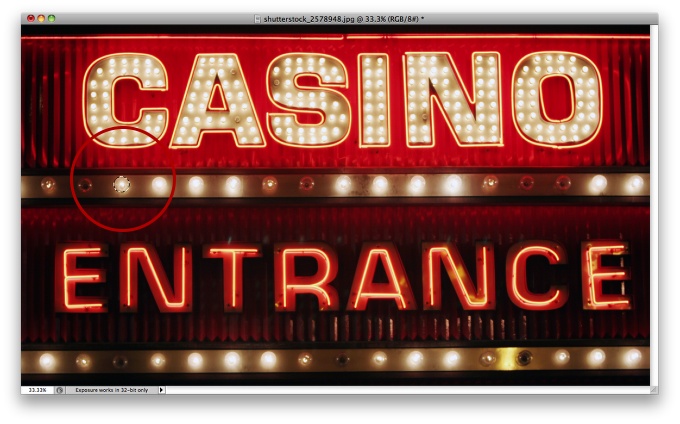
To create the light effects and give a more realistic feel I used a stock photo from where I copy just one light spot. The image I used is courtesy of Shutterstock and you can find it here.
Step 9
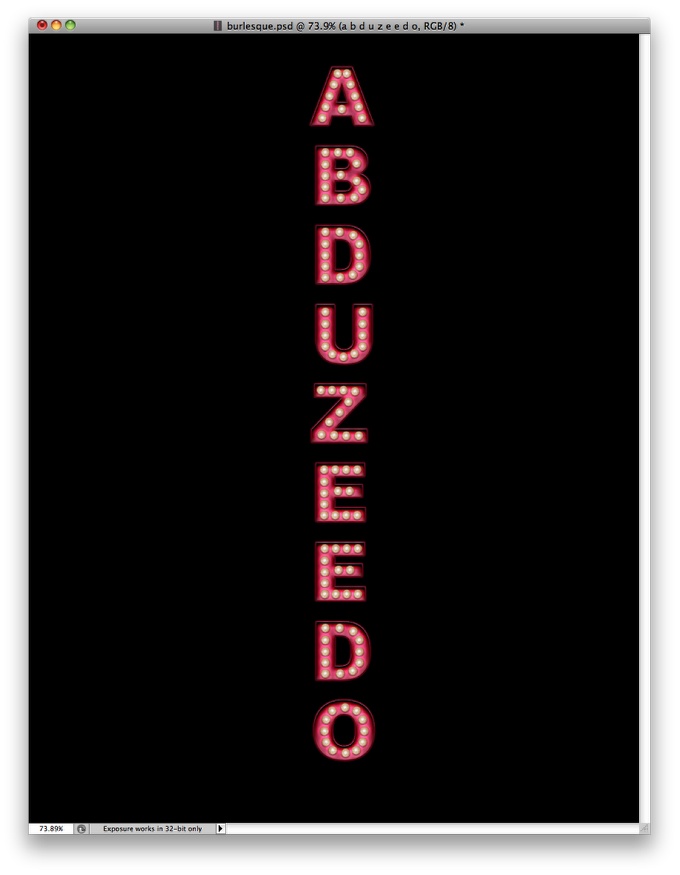
Paste the light spot in your design and then start filling the letters with the lights. You can use smaller lights if you want make them 2 colums instead of one like I did. After that select all lights and merge them into one layer only (Layer>Merge Layers).
Step 10
Select the lights layer and go to Layer>Layer Style>Drop Shadow. Use the values below for reference.
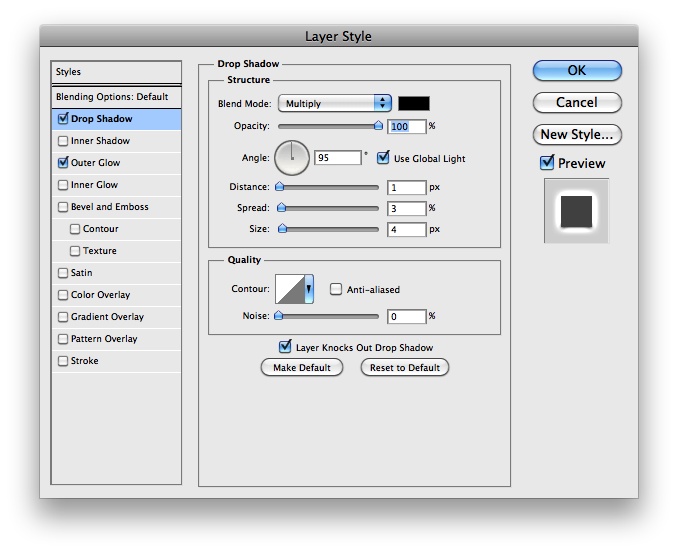
Step 11
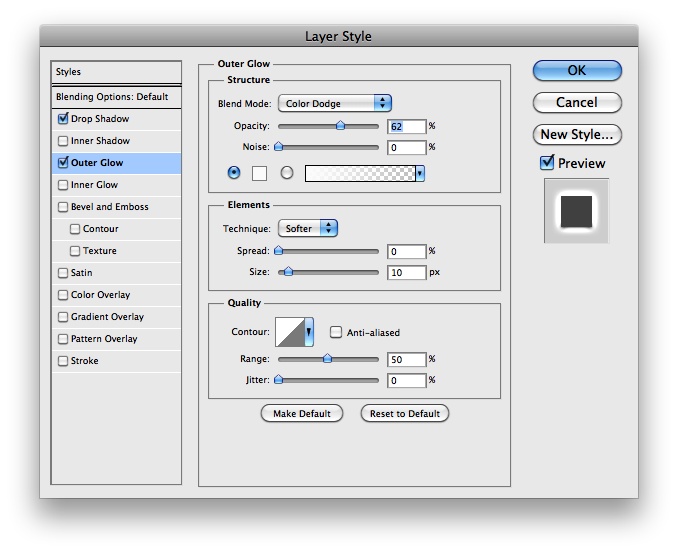
Now select Outer Glow. Again use the image below to get the right values. The whole idea of these two layer styles it to add a shadow so the lights will look more realistic and part of the image, and the same is for the outer glow.
Step 12
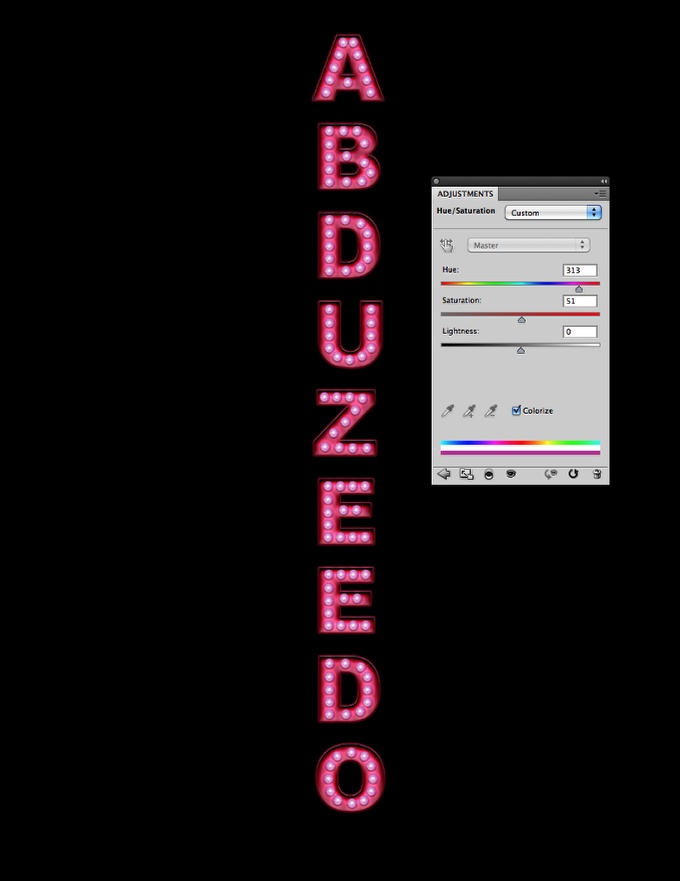
Go to Image>Adjustments>Hue and Saturation. Click on Colorize and them change the Hue to pink.
Step 13
Duplicate this layer and clean the drop shadow and outer glow effect. After that go to Filter>Blur>Gaussian Blur. Use 20 pixels for the Radius. Group this layer into a folder and change the folder's Blend Mode to Color Dodge.
Step 14
With the Eraser Tool (E) and a very soft brush, resize it so it will be the size of the lights bulbs. Then with the blurry layer from the previous step selected start erasing some lights in order to make the signage less uniform, so there will be lights not so bright. That again will give more realism to the composition.

Step 15
Back to our stock photo, courtesy of Shutterstock (http://shutterstock.com), select a burned light and copy it.

Step 16
Paste the burned light bulb and then resize it so it will be the same size as the other ones. Duplicate it several times so in each letter there will be one or two lights not functioning. After you did that select all of them and merge them into a layer.
Step 17
Go to Layer>Layer Style>Drop Shadow. Use the image below for the values of the drop shadow.
Step 18
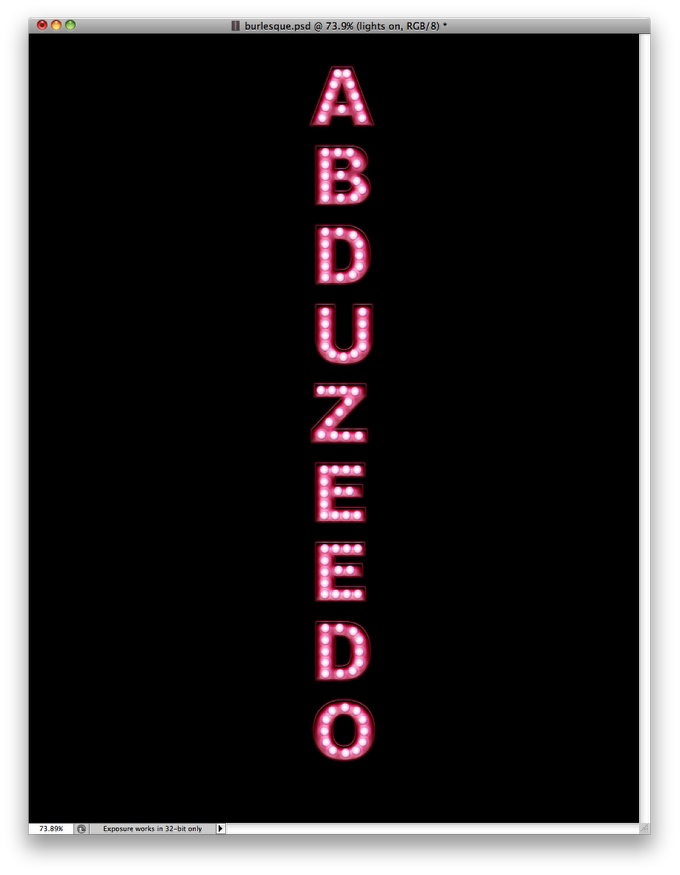
This is the effect we have gotten so far.
Step 19
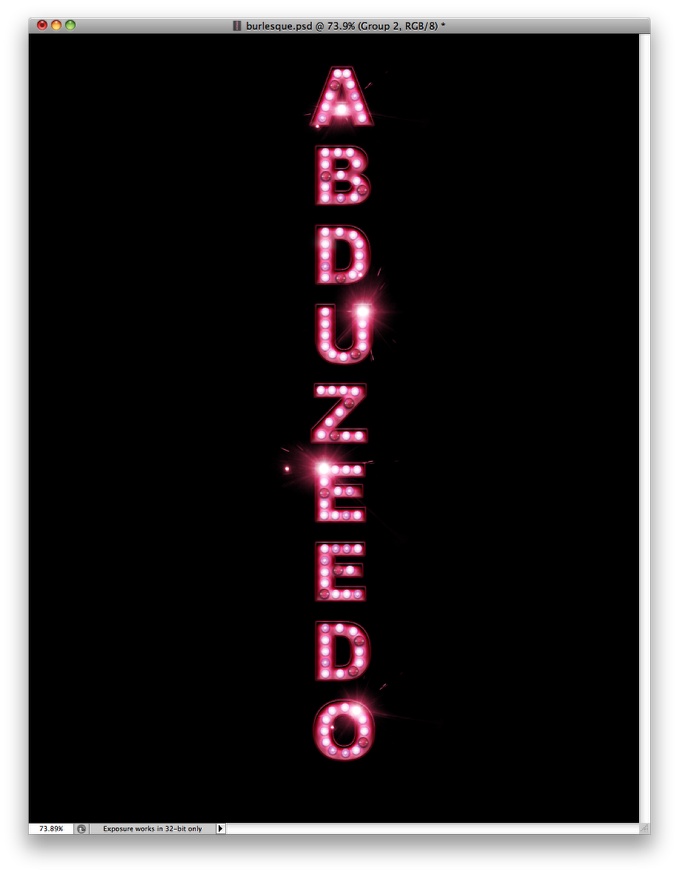
Let's add some flares as there is in the Burlesque poster I used for reference. The flares I'm using is from an image and you can download it here. After that resize the image and delete the other parts of it leaving just the flare itself. To make the colors match, go to Image>Adjustments>Hue and Saturation. Again select the Colorize option and change the hue to pink. This layer will use Screen for its Blend Mode.
Duplicate the flares a few times and put them on top of certain letters. You can also rotate and resize them.
Step 20
Now you can either duplicate the text and turn off all effects leaving it just with the pink color, then applying a Gaussian Blur to create a sort of pink glow behind the word or you can do that using the Bruth Tool (B) with pink. Both ways will work just fine. I did the first one, duplicating the word.

Step 21
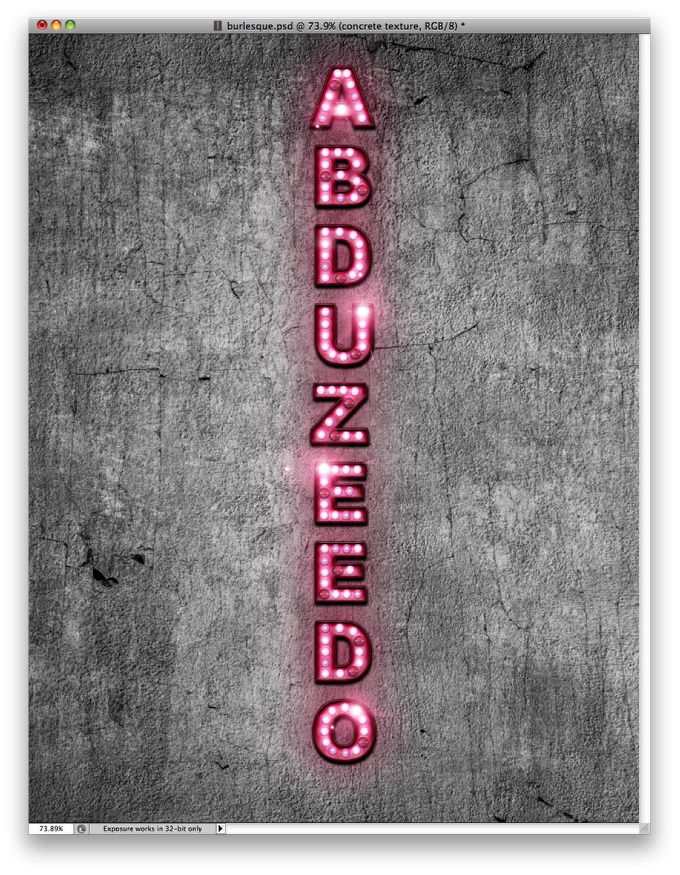
Now let's place a concrete texture as the background of our image. The texture I'm using is courtesy of Shutterstock and you can find it here.
Step 22
Move the texture so it will be behind the black background. Then with the Eraser Tool (E) delete and a very soft brush with 20% opacity, start erasing the area over the text in order to show off the texture a little bit.
Step 23
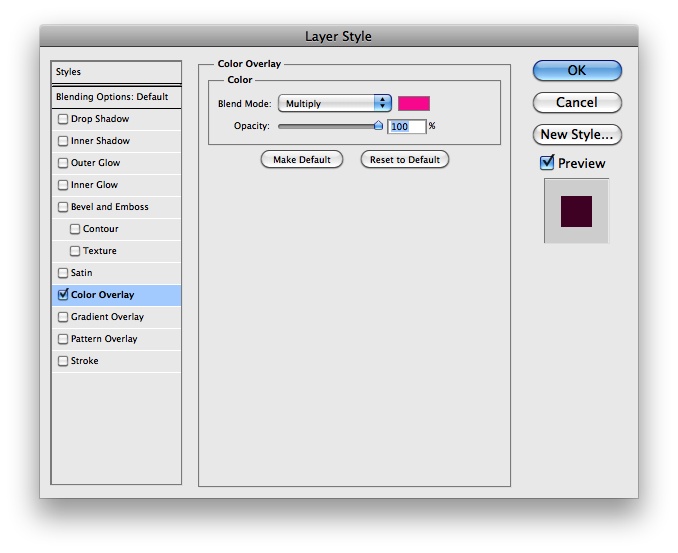
Select the texture layer and go to Layer>Layer Style>Color Overlay. Use pink for the color and Multiply for the Blend Mode. We are doing this in order to make the texture get the pink color, as it was being illumiated by the pink lights of the sign.
Step 24
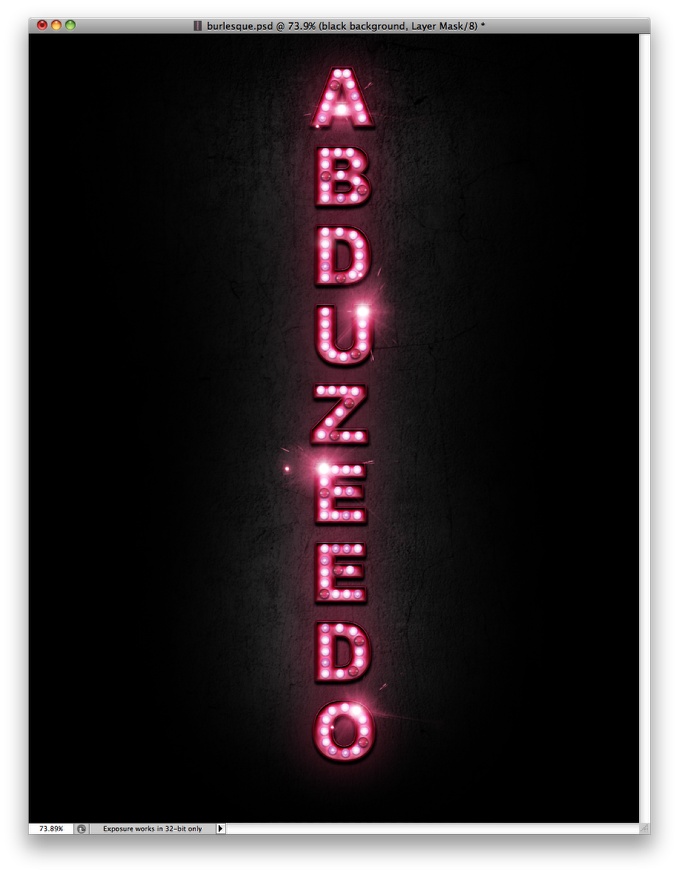
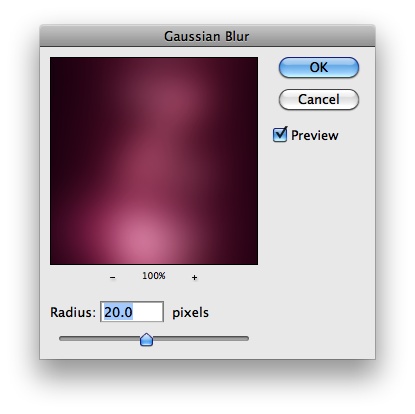
Select all layers and duplicate them, after that merge the copies into a new document, you can also do that using the keyboard shortcuts Command(mac)Control(pc) + Alt + Shift + E. After that go to Filter>Blur>Gaussian Blur. Use 20 pixels for the Radius. You will get a pretty blurry layer, so change the Blend Mode to Screen and the Opacity to 60%, that will create a really cool glowing effect.
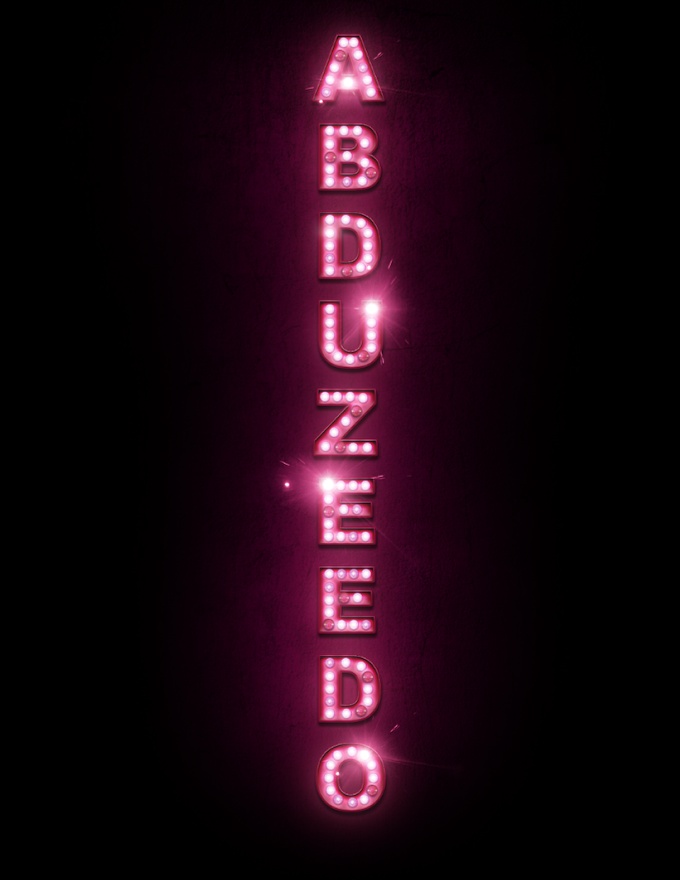
Conclusion
In this tutorial we just played with layer styles and blend modes, mixing with some elements from real images in order to create some realism. The process is pretty straight forward and now you can apply that to your future projects or if you want you can go ahead and finish the Burlesque poster playing around with some photos of girls.
Download the Photoshop file