by abduzeedo
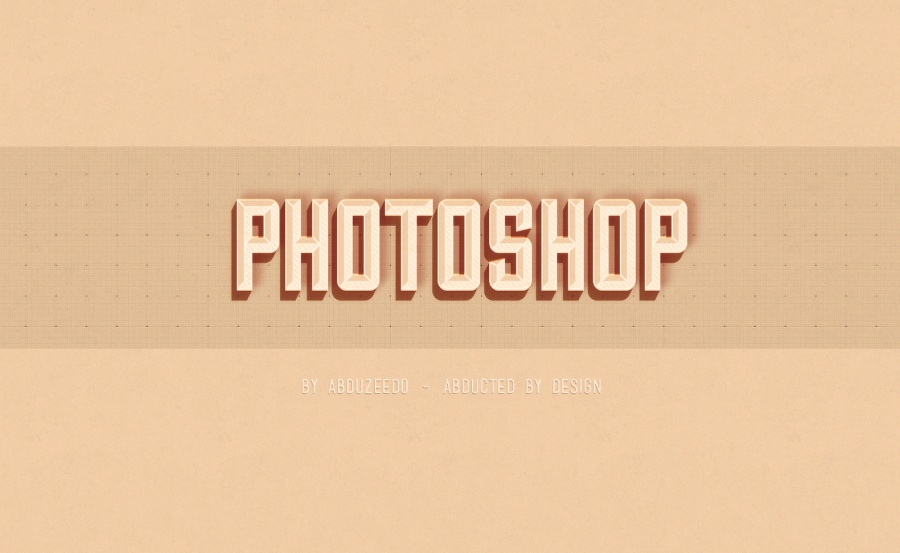
A few weeks ago we posted a tutorial showing how to create a hipster text effect using Pixelmator. Now we decided to show you the same effect using Photoshop CS6. As we had said, we will be doing that in Fireworks and CSS as well. So stay tuned.
So in this tutorial, we will show you how to create a simple text effect with a very trendy hipster look. We will use just basic filters and layer styles to achieve the effect. The whole process won't take you more than 30 minutes.
Photoshop tutorial
Step 1
Open Photoshop CS6 and create a new document. The one I created is 2560x1600 pixels. After that fill the background layer with #e4cba9.
Step 2
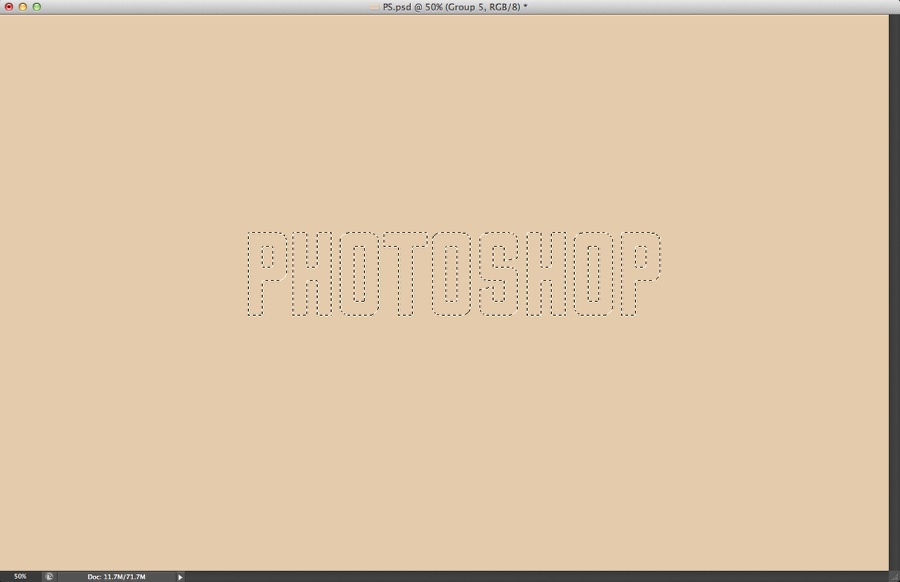
With the Horizontal Type Tool (T) add a text using the font Sulivan. You can download it at http://www.losttype.com/font/?name=sullivan. Use the same font as the background and use the fill type for the font.
Step 3
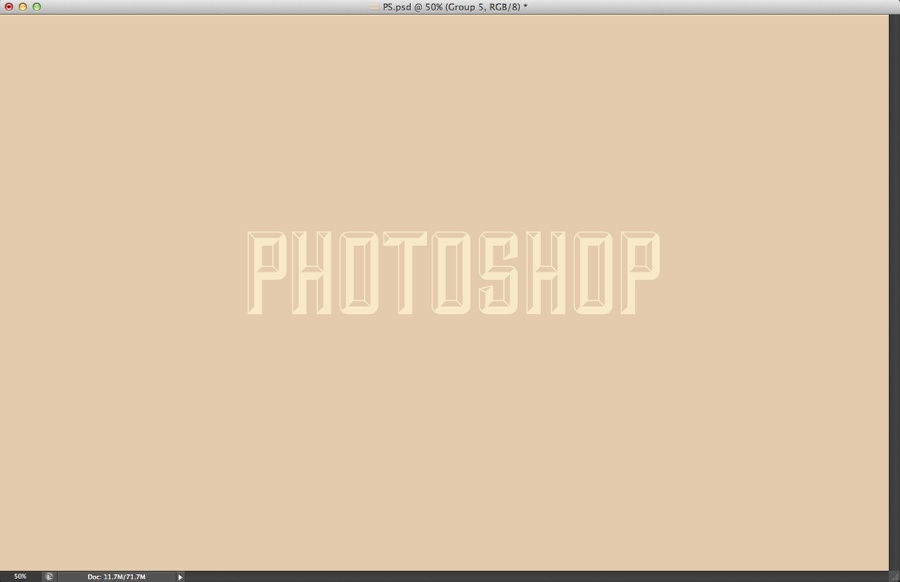
Duplicate the font layer and gange the Blend Mode to Overlay. Change the font type to Sullivan Bevel.
Step 4
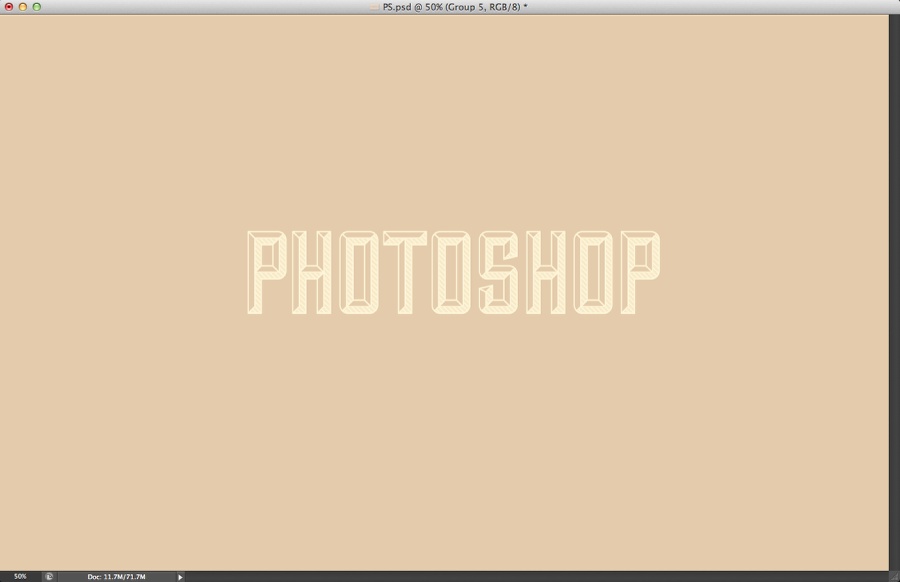
Duplicate the layer again and change the Blend Mode to Overlay and use the Sullivan Regular for the font.
Step 5
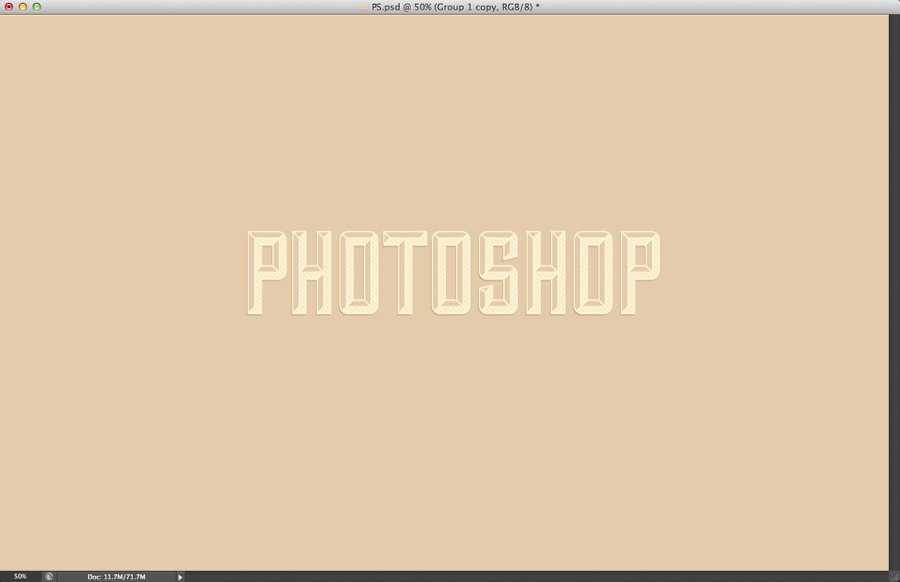
Select the text layer created in step 2. Duplicate the layer and change the Blend Mode to Multiply. Move it 1px down and 1 pixel left.
Step 6
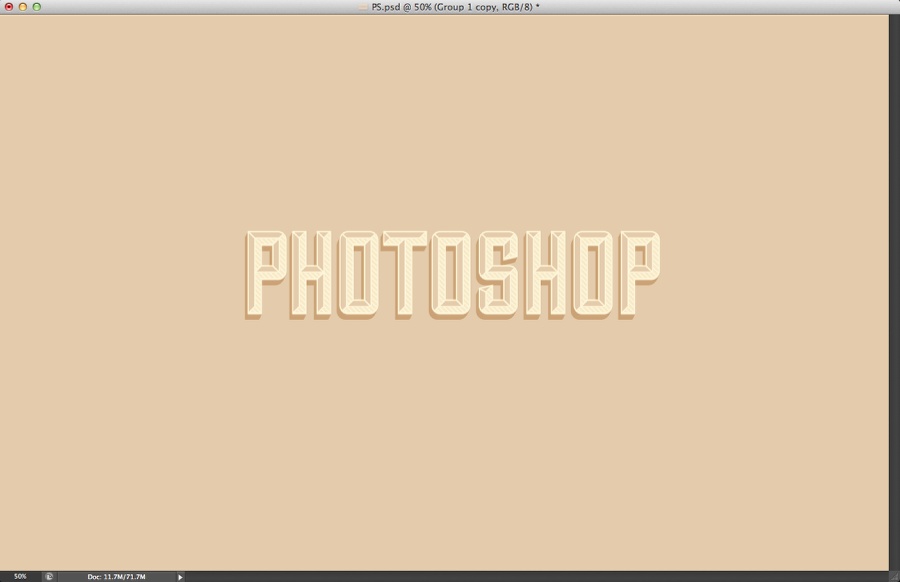
Keep duplicating the layer and moving down and left to create a nice 3D effect.
Step 7
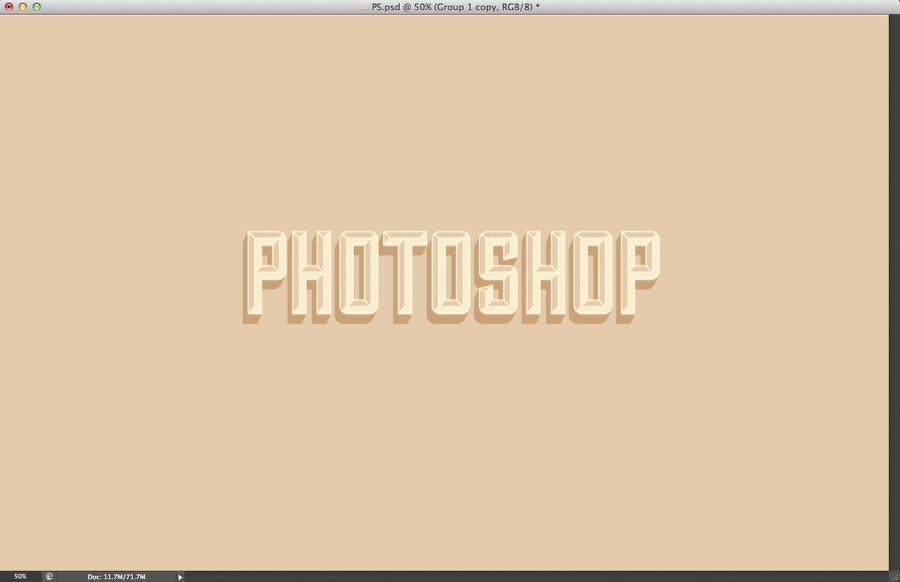
After you duplicate a few times will have an effect like the one in the image below.
Step 8
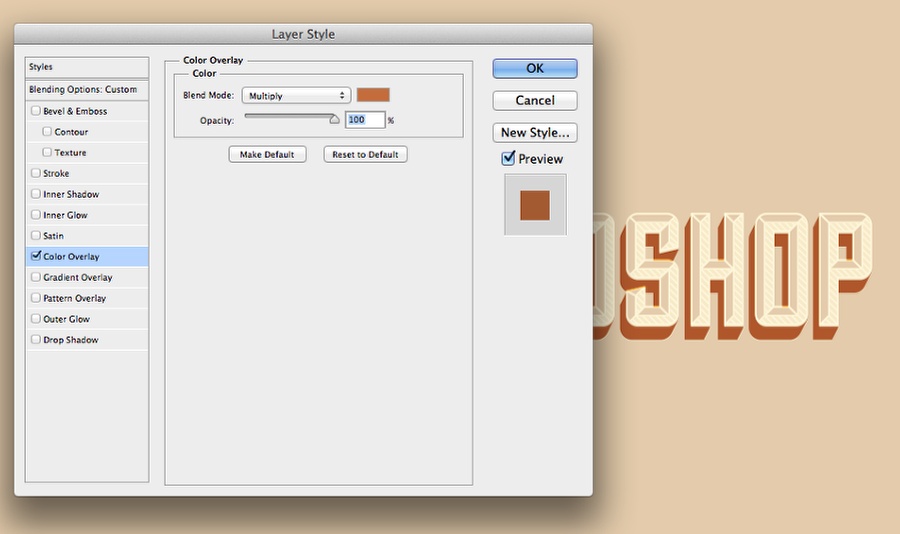
Group all layers used to create the 3D effect and then merge them into one layer only. After that go to Layer>Layer Styles>Color Overlay. Use #c66d33 for the Color with Multiply for the Blend Mode.
Step 9
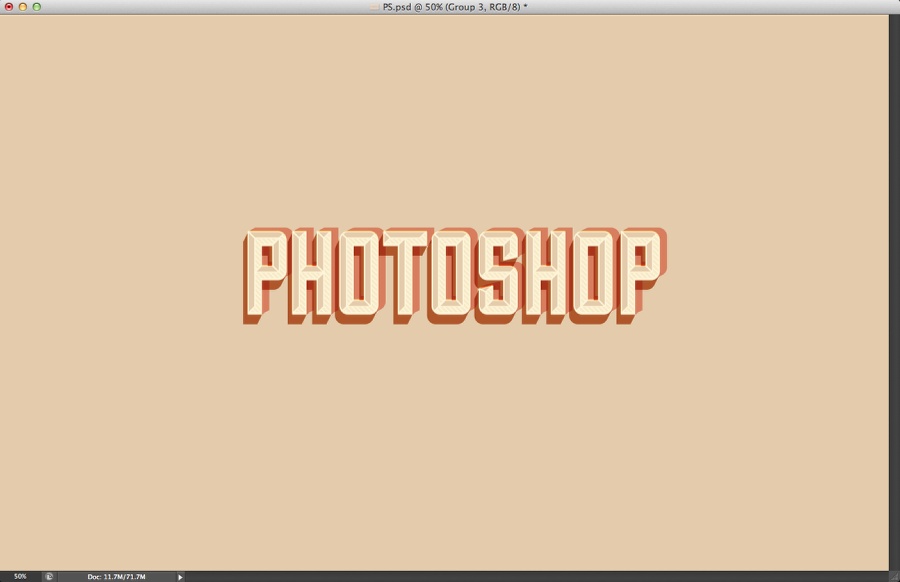
Let's create another 3D effect but now going to the top right.
Step 10
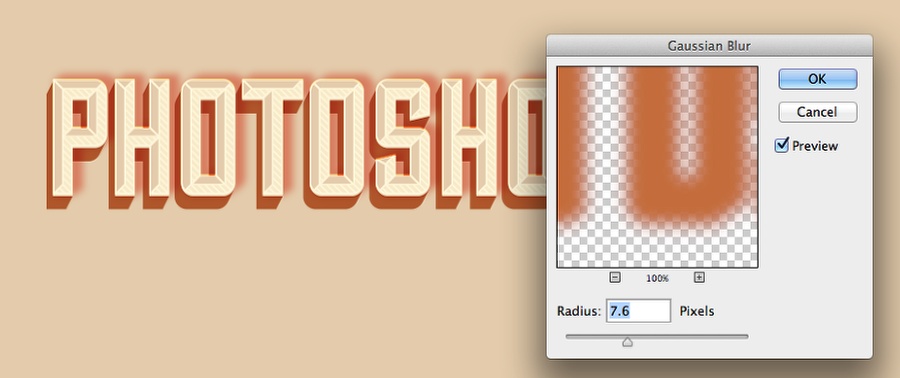
Repeat the same process to merge the layers into one and apply the Color Overlay, then go to Filter>Blur>Gaussian Blur. Use 7.5 pixels for the Radius.
Step 11
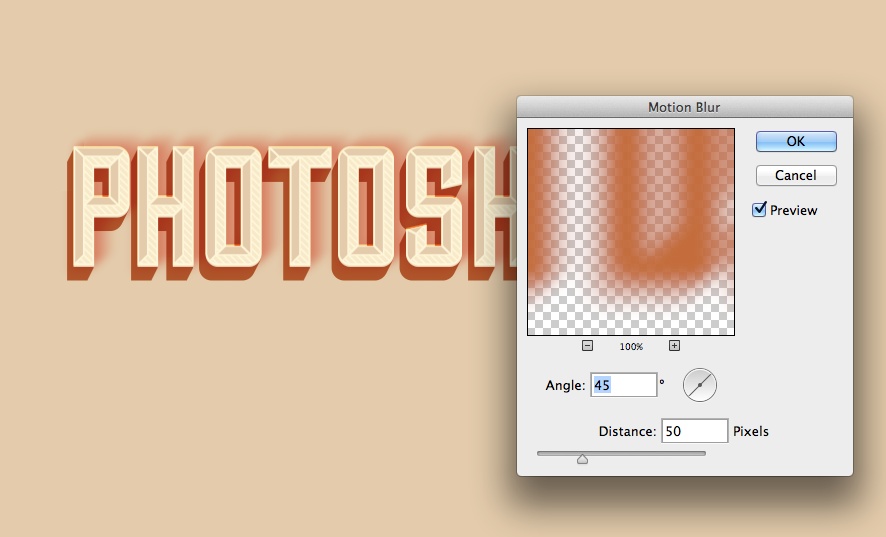
Go to Filter>Blur>Motion Blur. Use 45º for the Angle and 50 pixels for the Distance.
Step 12
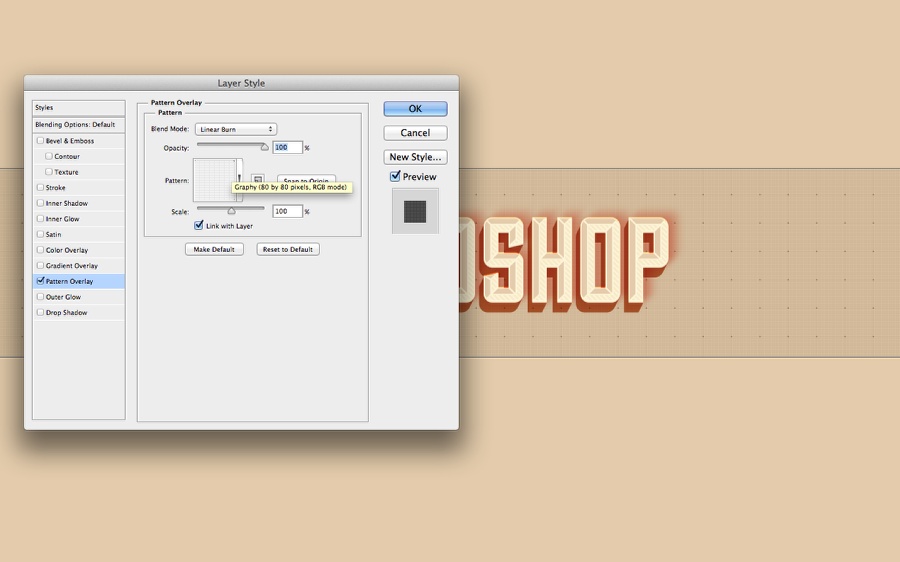
With the Rectangle Tool (U), create a rectangle in the center of the document, below the texts and just above the background. Go to Layer>Layer Style>Pattern Overlay. Use Graphy 80 by 80 pixels patter from Subtlepatterns.com. Change the Blend Mode to Linear Burn.
Step 13
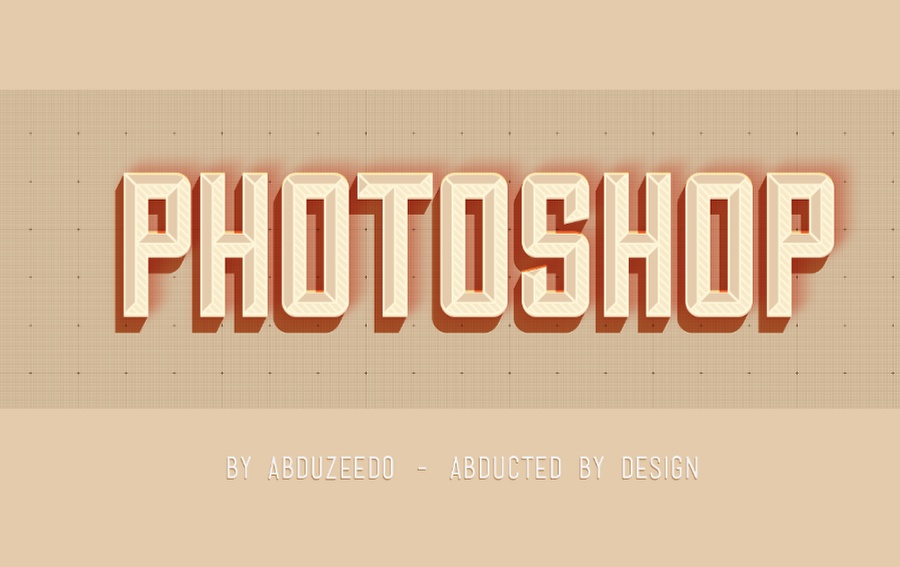
Add a complement text using the font Mensch. You can download it at http://www.losttype.com/font/?name=mensch. Repeat the same process to create the little 3D effect.
Step 14
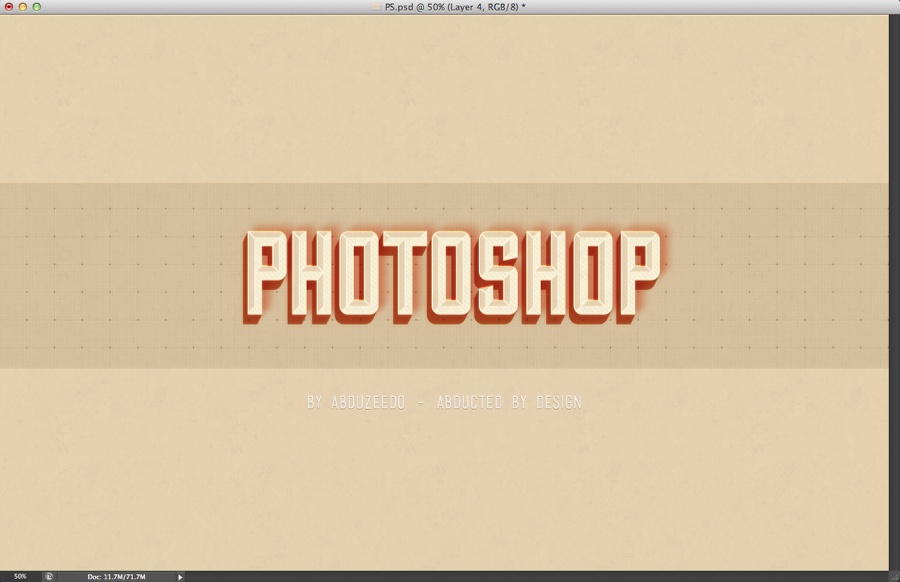
Add a new layer on top of the others and then fill it with another pattern from subtlepatterns.com. I am using Rocky Wall. For the Blend Mode use Multiply at 50%.
Step 15
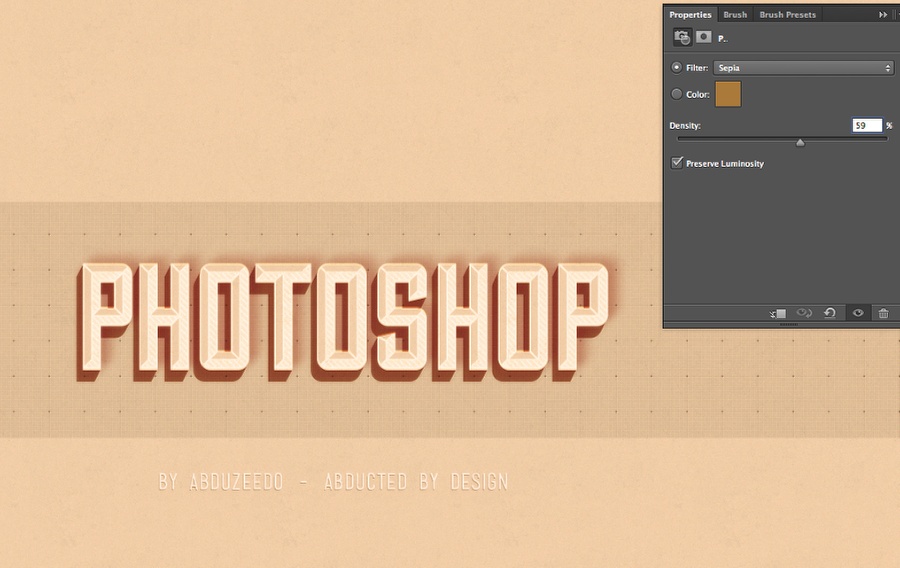
Go to Layer>New Adjustment Layer>Photo Filter. Use Sepia at 60%
Conclusion
You can duplicate all layers and merge them into one, then apply the Noise filter to add a nice texture on top of the design. The idea of this tutorial was just to show you how to create a simple vintage look typography effect using photoshop. We did that in Pixelmator before and now in Photoshop. The next one will be in CSS :) I hope you enjoy it and have fun trying to create your own.
