by abduzeedo
A few weeks ago I wrote a tutorial showing how to create a stylish metallic button effect using Photoshop. In that tutorial I posted to conclusions and one of them had a light effect in the text. The tutorial was well received and a lot of people wanted to know how to create that effect.
So in this tutorial or quick tip because it's more about layer styles and we will use the base of a previous tutorial, I will show you how to create a super simple light effect using only layer styles, blend modes and the blur filter.
Step 1
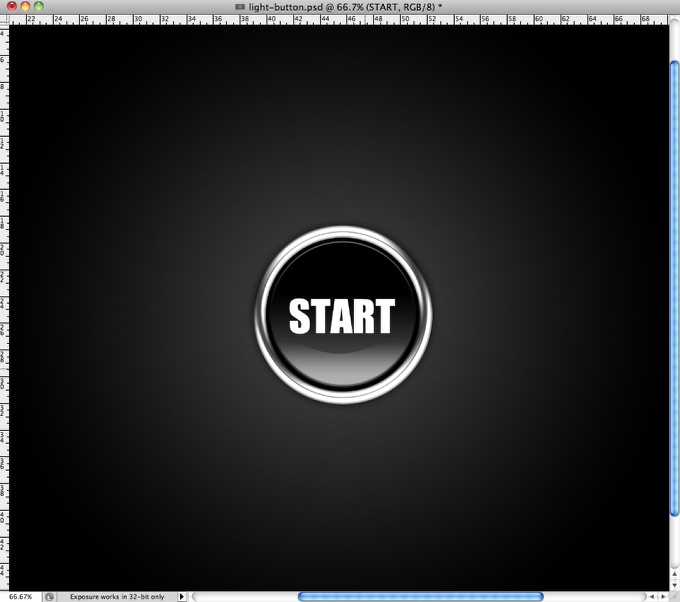
Download the PSD from the Stylish Metallic Button in Photoshop tutorial and open it. Hide the symbol in the center of the button so we can create the light effect.

Step 2
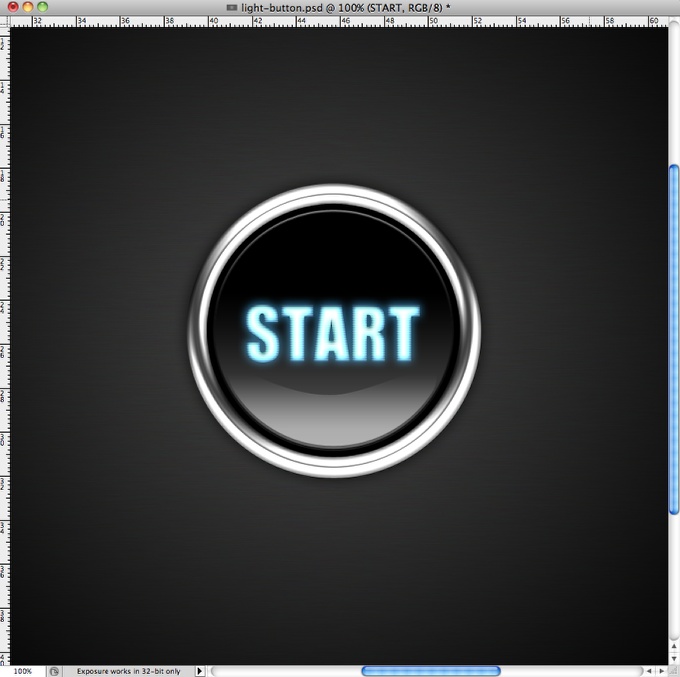
With the Horizontal Type Tool (T) add the text you want, I typed START using Impact for the typeface. The color is not really important because we will apply some layer styles to create the effect.
Step 3
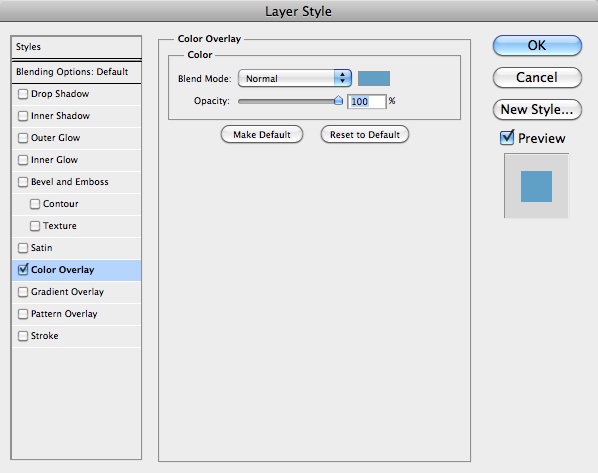
Go to Layer>Layer Styles>Color Overlay. Use Blue #5ba0c8 for the color.
Step 4
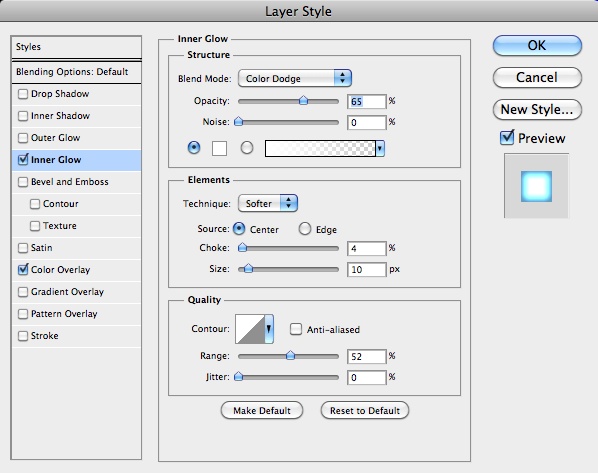
Select Inner Glow, for the Blend Mode use Color Dodge with 65% Opacity, white for the color, Center for the Source, 4% for the Choke and 10 pixels for the Size. Also change the Range to 52%.
Step 5
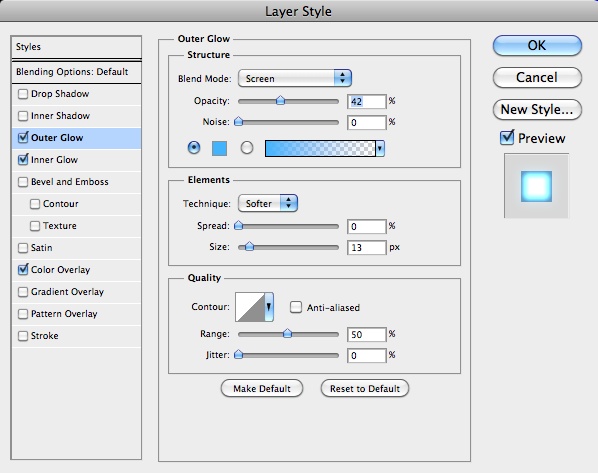
Select Outer Glow. Use Screen for the Blend Mode, 42% for the Opacity, blue (#33b5ff) for the Color, 0% for the Spread, 13 pixels for the Size.
Step 6
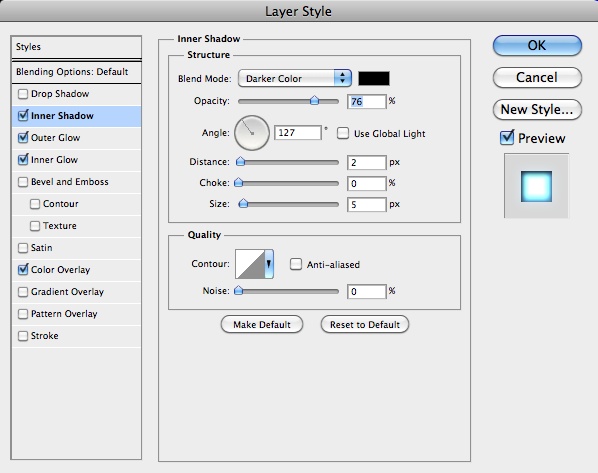
Select Inner Shadow, then for the Blend Mode use Darker Color with black for the color. For the Opacity use 76% with 127º for the Angle. For the Distance use 2 pixels, 0% for the Choke and 5 pixels for the Size.
Step 7
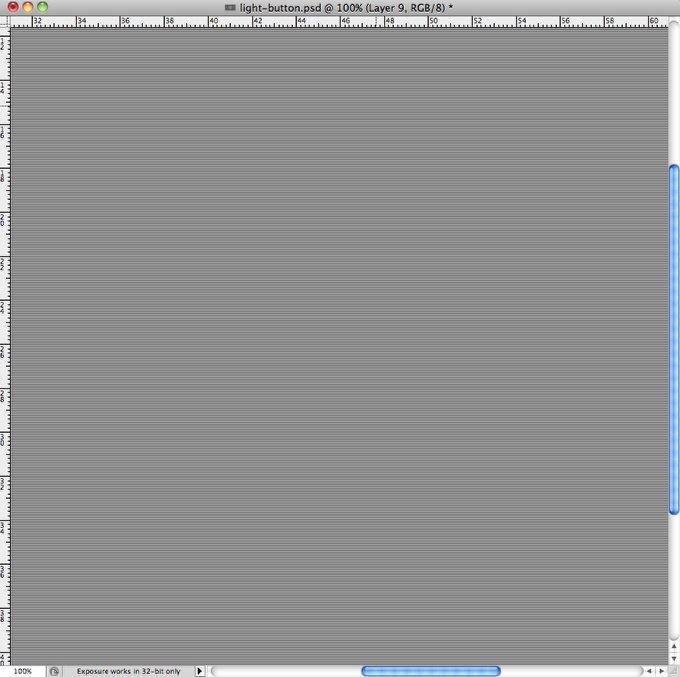
Now a very important part of the effect, create the scanlines effect. To do that is pretty simple, just create a new document with 10 pixels of width and 2 pixels height. Then create a black rectangle of 10x1 pixels so you will have one line black and another in white. After that go to Edit>Define Pattern. Name your pattern and your are good to go.
Step 8
Create a new layer and fill it with the pattern background, then create a marquee selection of the text by clicking on the thumbnail of the icon holding Command (MAC)/Control (PC)

Step 9
Go to Layer>Layer Mask>Reveal Selection, so the pattern will be visible only within the marquee selection area. After that change the Blend Mode to Overlay.
Step 10
Duplicate the text layer and go to Filter>Blur>Gaussian Blur. Use 10 pixels for the Radius. Then group the layer into a folder and change its blend mode to Soft Light.
Conclusion
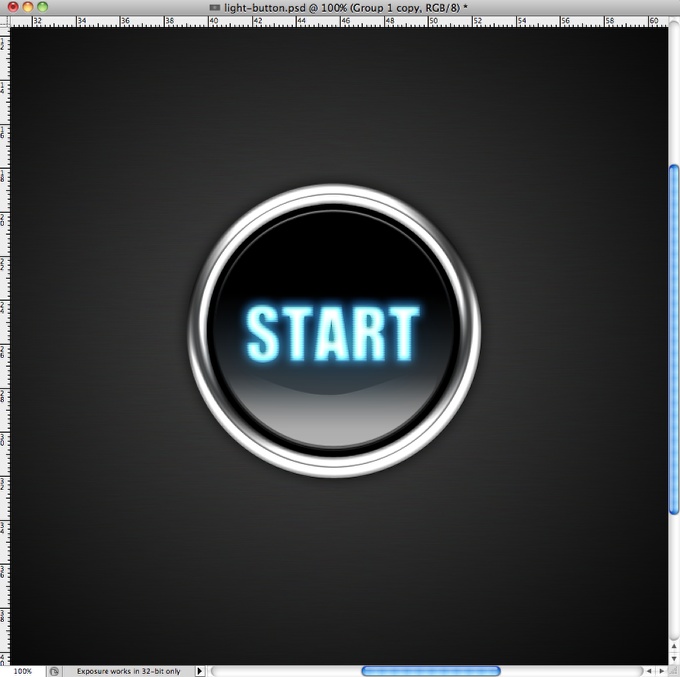
You can merge all the layers used to create the button and duplicate them twice, then apply a gaussian blur to both. For the one beneath change the blend mode to Overlay and for one at the top use screen, both at 40% Opacity. After that the light effect is pretty much done.
The cool thing about this effect is that it works amazingly well for texts, but when you have symbols with larger areas you will have to make a few tweeks in the Layer Styles, nothing that will be completely different though.