by abduzeedo
Week five and another image is done. This time I went back in time and attempted a recreation of those crazy light effects I used to do in Photoshop back in 2006-2009. The main reason I wanted to do this was that I found out that with the new version of Photoshop we can now apply multiple layer styles, like multiple gradients, shadows, and inner shadows. That is something I always wanted to have and it's finally here. It saves so much time and also adds so much more power to one of my favorite features in Photoshop.
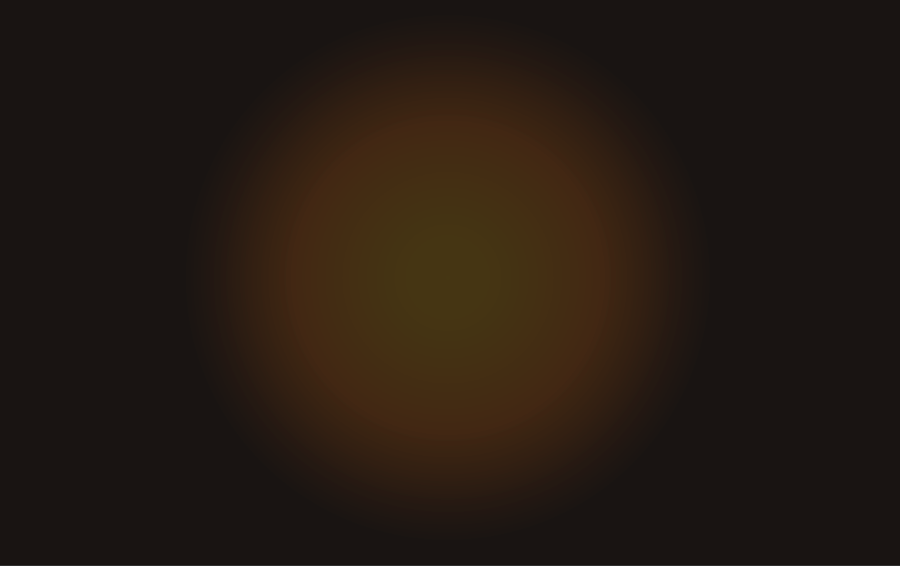
Step 1
I started in Photoshop with a simple gradient from a super dark grey almost black to #453513
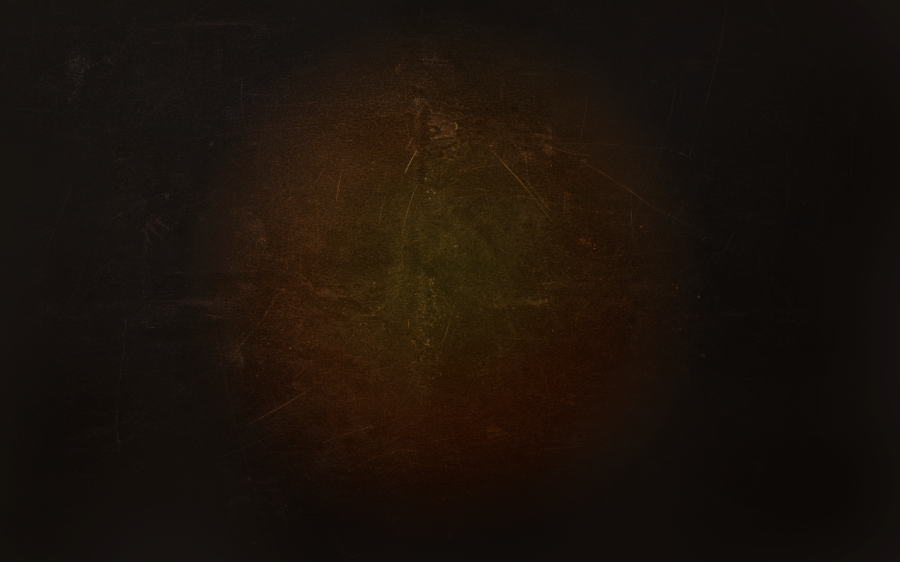
Step 2
Here I added an image to set the stage and make sure that the symbol looks great over a realistic metal background. The image I am using is courtesy of Shutterstock, it's titled Metal surface by Manczurov After importing the image make sure you change the blend mode to Soft Light and play with some masking.
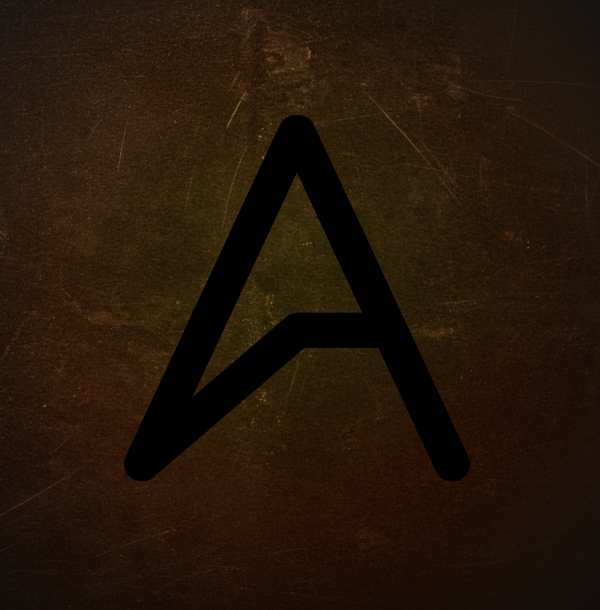
Step 3
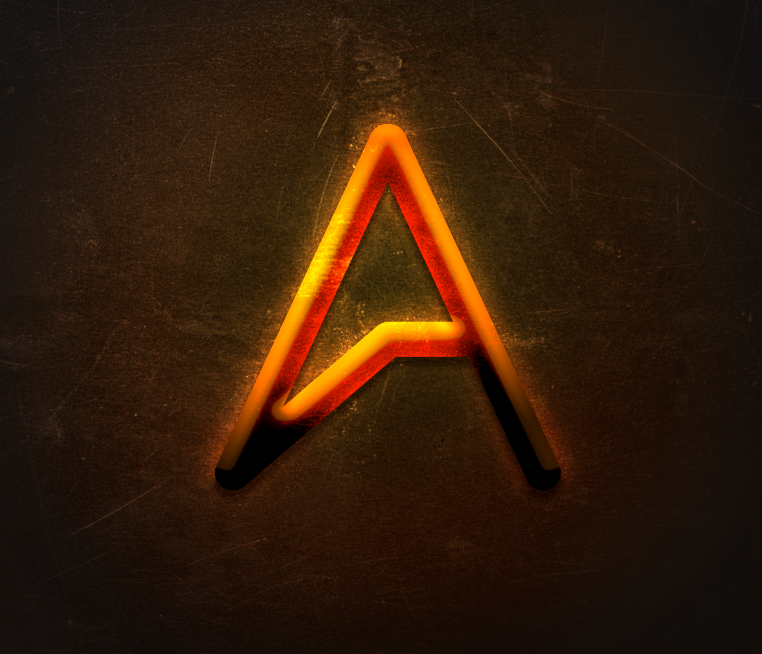
Here I just added the Abduzeedo logo and went straight to Layer Styles.
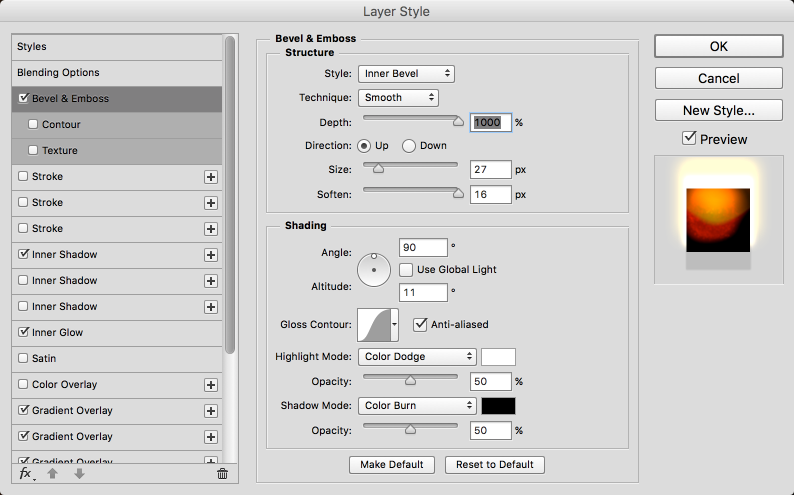
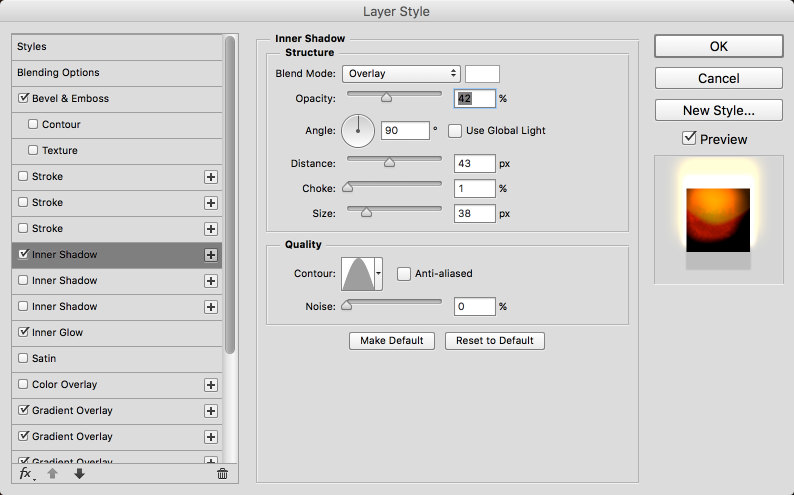
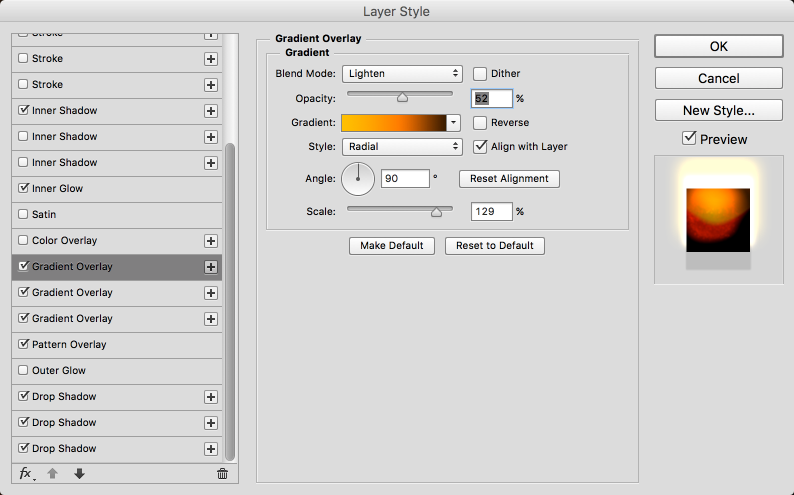
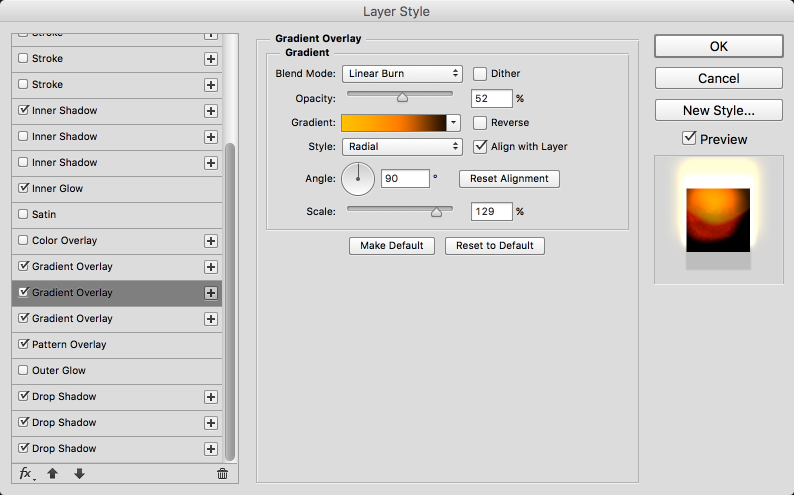
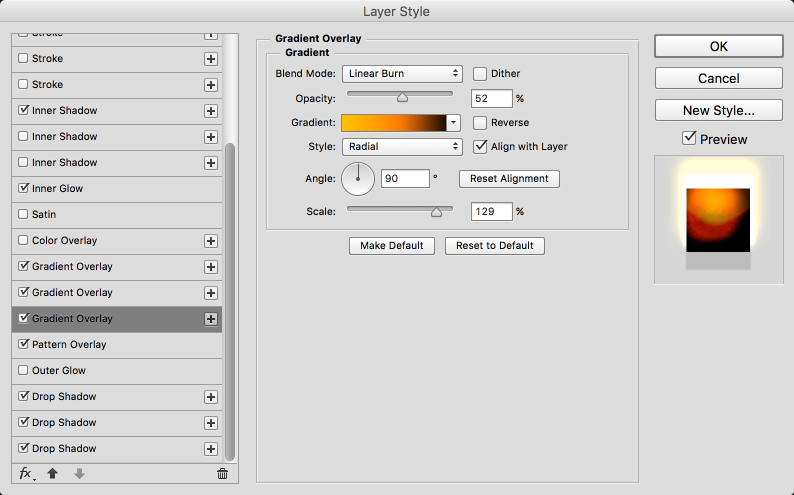
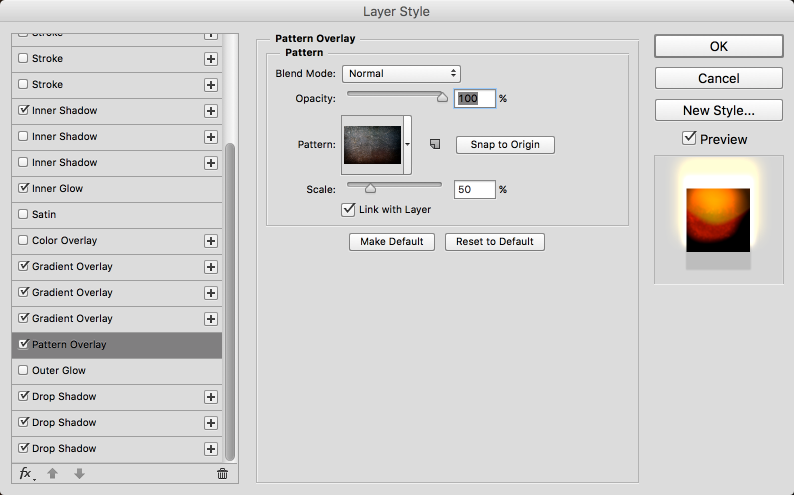
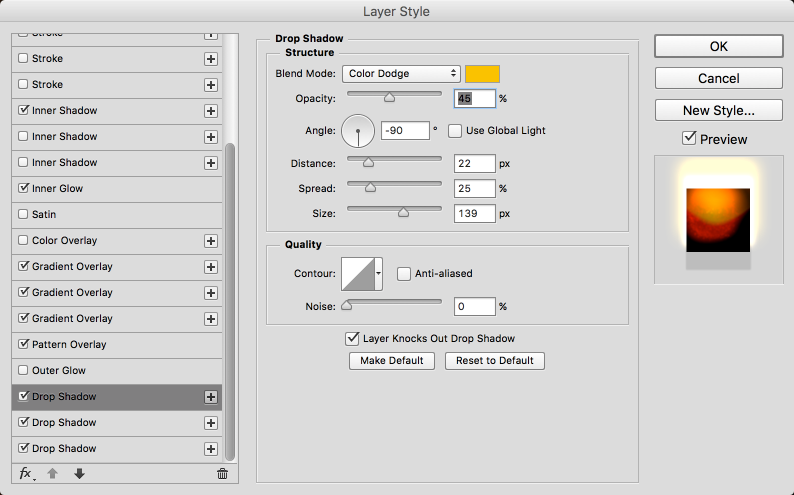
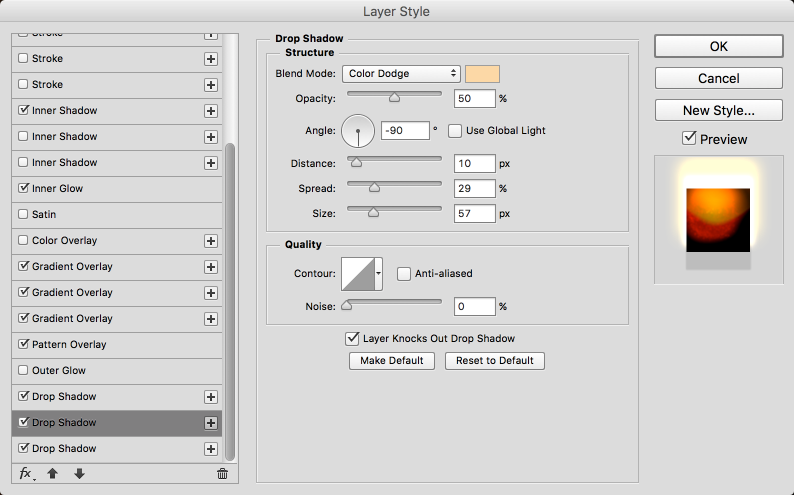
Step 4
Below you can see the layer styles I used for this image, the best thing about the new Photoshop is that finally, you can have multiple styles, like more than one Gradient Overlay, or Shadows. For this image, I took a lot of advantage of these features.


Step 5
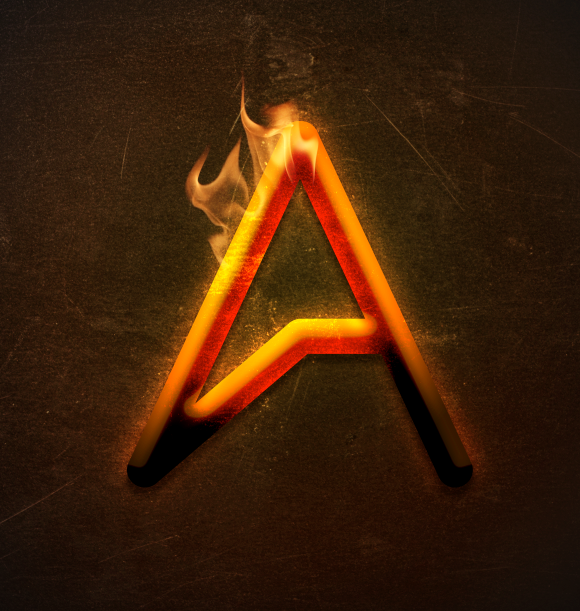
To add a little bit more realism I just added a flame, the image is from Shuttestock titled Fire flames collection by Lukas Gojda. I just imported to my image and with the Edit>Transform>Warp I made it match the design.
Step 6
Here I created a new layer from a merged copy of all other layers. The shortcut is Command+Option+Shift+E. After that, I applied a gaussian blur of 10 pixels for the radius and changed the Blend Mode to Soft Light at 60% Opacity.
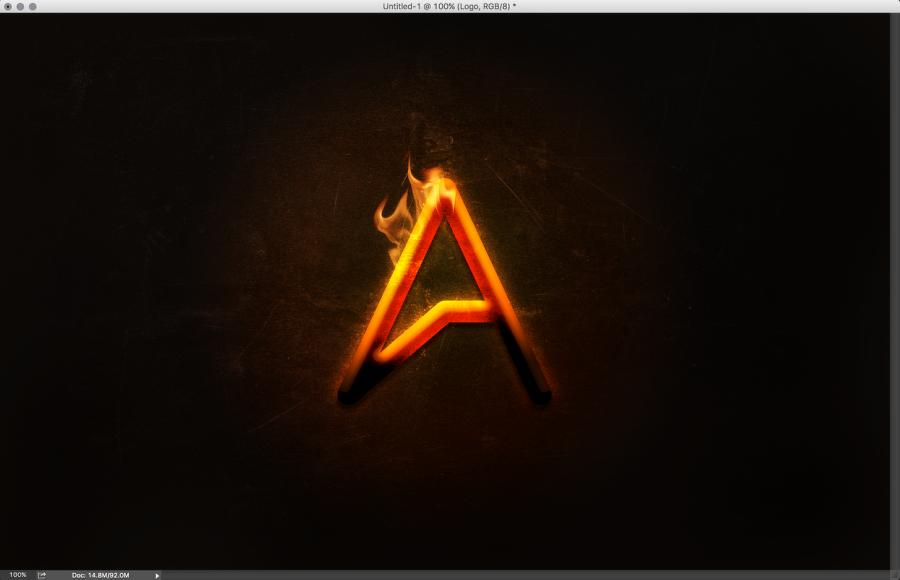
Step 7
Just duplicate the same layer and apply more blur. Change the Blend mode to Screen at 80%. Also, use a mask to make just the center visible. The sides should be super dark.
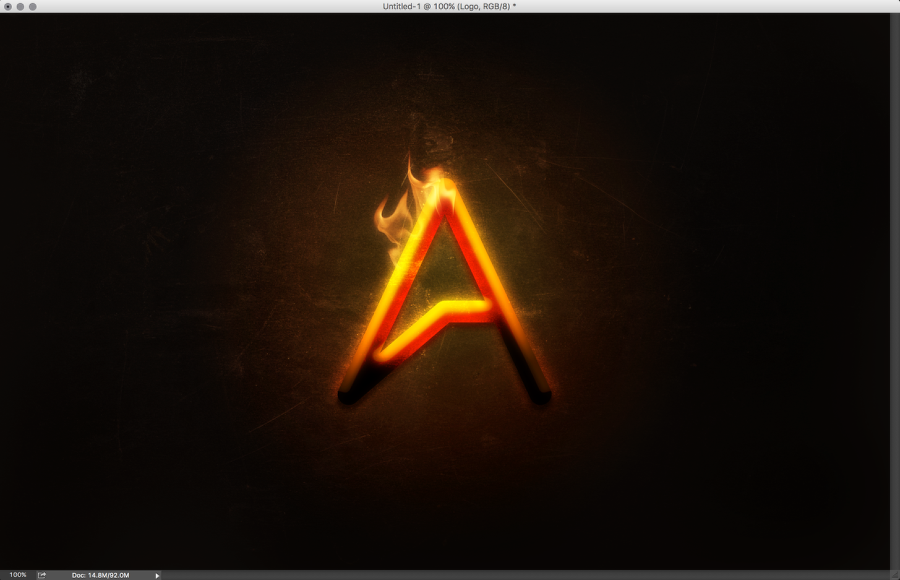
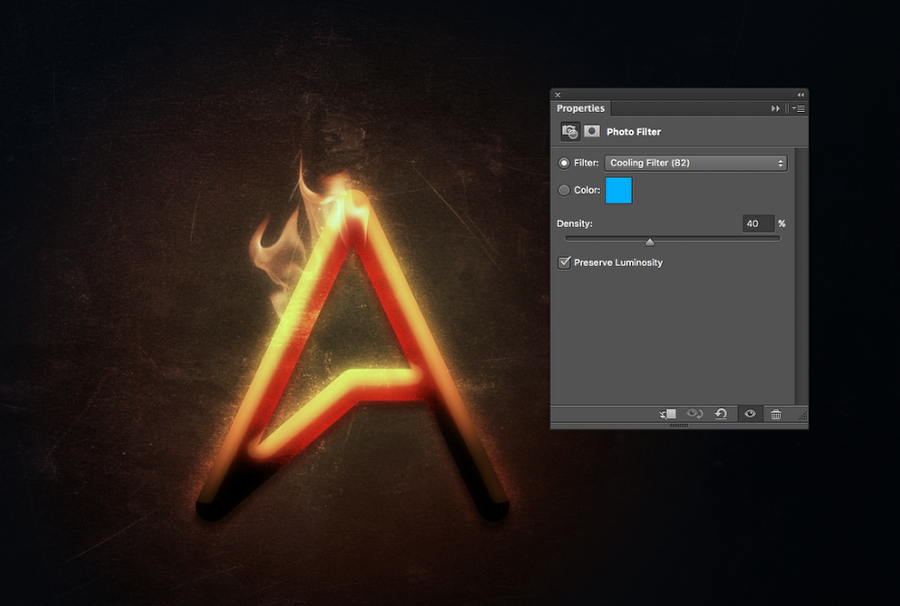
Step 8
Here I just added a Photo Filter. Layer>New Adjustment Layer>Photo Filter. I used Colling Filter (82) to add a bit of blue to the image.
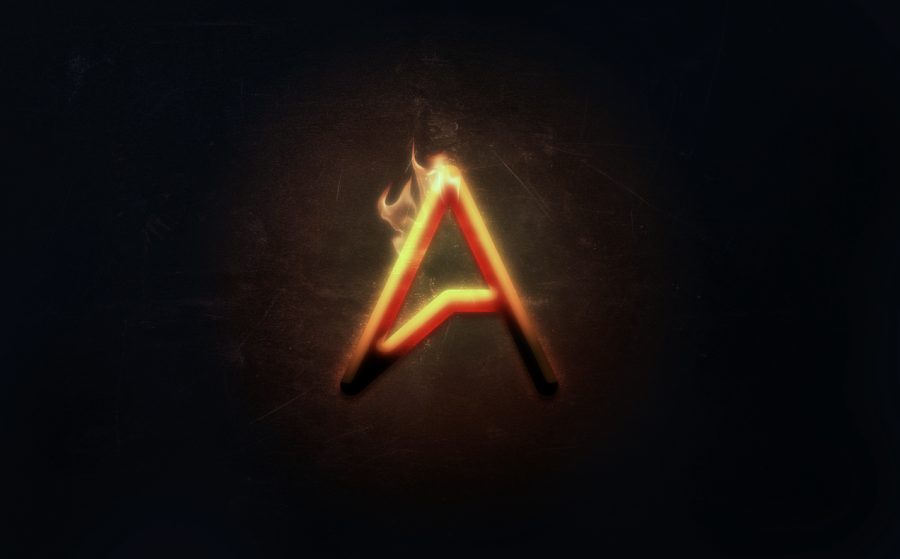
Conclusion
Here's the final result. It's a simple process but it's really cool that we have much more power now with Layer Styles in Photoshop. I always wanted that to happen and finally, it's here. Now let's go to week 6.