by abduzeedo
I have already created some tutorials about watercolor effects; however, I also want to create a workflow that is extremely simple but that produces a beautiful result. Therefore, I invented this tutorial, which uses only basic watercolor brushes, a photo, and a layer mask.
This tutorial is part of a series of tutorials I have been writing for Pixelmator and posting over at http://www.pixelmator.com/learn/
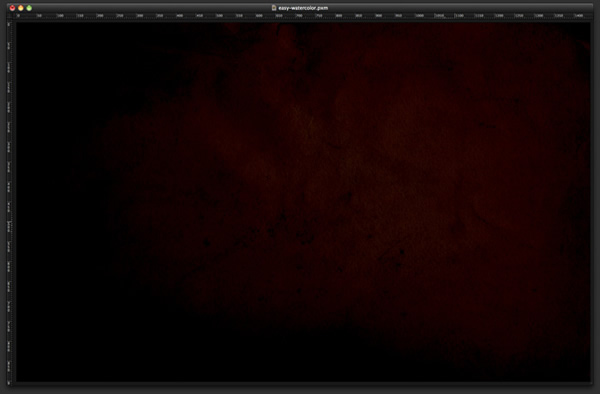
Step 1
Open Pixelmator and create a new document. As usual, I’m using 1440×900 pixels. Next, fill the background with #363636 for the color.
Step 2
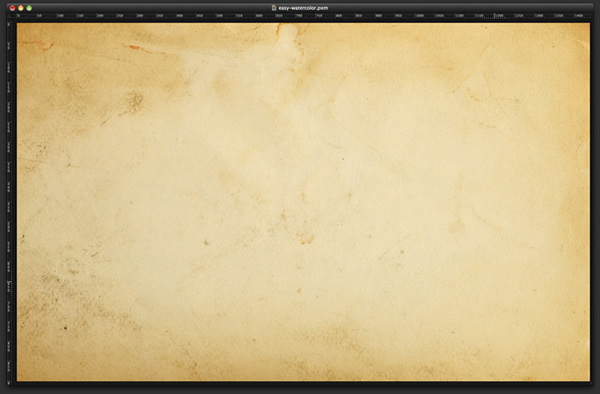
Import a paper texture to your design. The texture I used was courtesy of Shutterstock, and you can get it here: http://www.shutterstock.com/pic-20845342/stock-photo-old-yellow-paper-background-with-scratches.html
Step 3
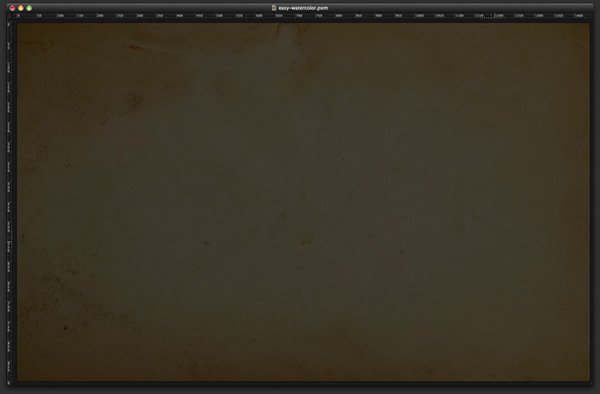
Change the Blending to Multiply.
Step 4
Duplicate the texture layer (so that there are 2 texture layers). The other layers will be placed between these 2 original layers. For the top layer, use Linear Burn for the Blending.
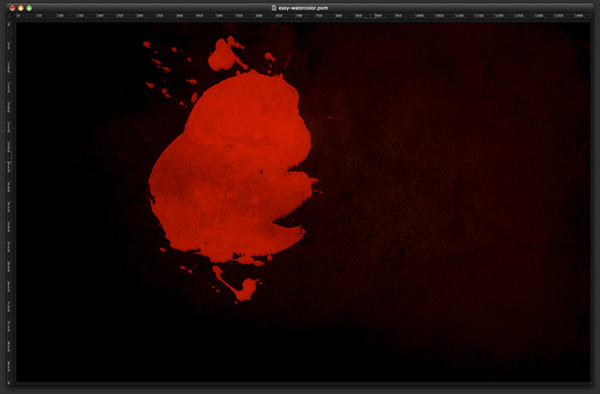
Step 5
With the Brush Tool (B), select a watercolor brush. You can download the ones I used here. Next, add a new layer; then, with red for the color, paint a splatter.
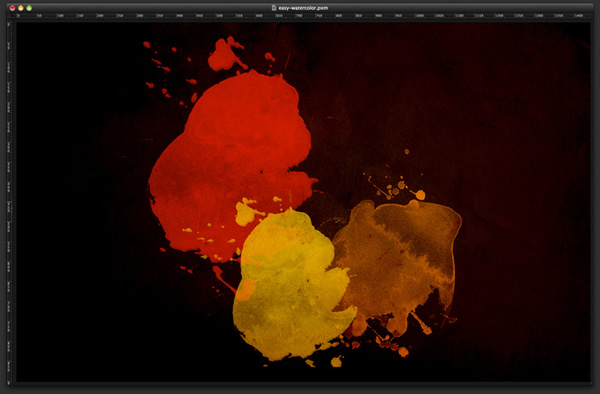
Step 6
Now, use other types of watercolor brushes; paint with two hues of yellow, a dark one and a light one.
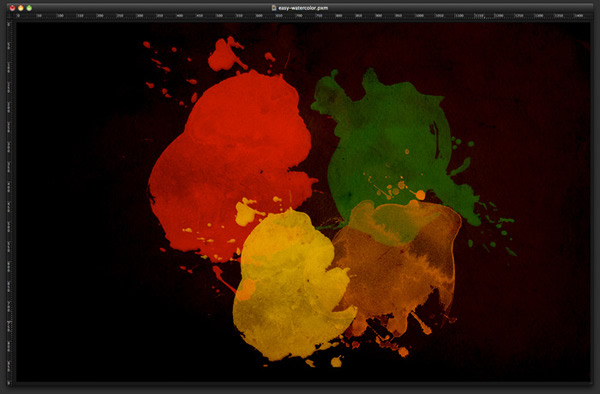
Step 7
Add some more splatters, now with green.
Step 8
The last spatter should be blue. Try to overlay the splatters, and change their Blending to Lighten.

Step 9
Place a photo of a girl in your document. The one I used is from Shutterstock, and you can download it here: http://www.shutterstock.com/pic-46637950/stock-photo-beautiful-fashiona…
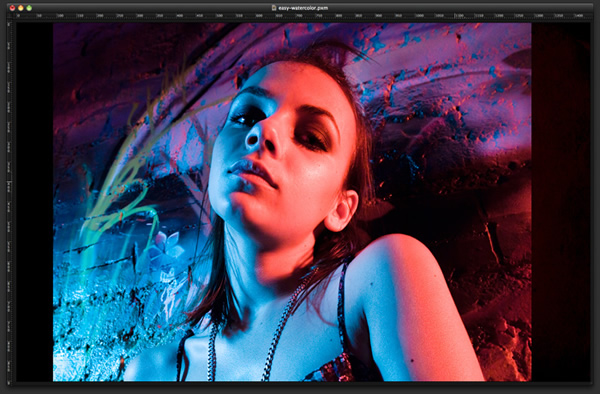
Step 10
Select the image layer and go to Layer > Add Layer Mask. Paint the layer mask with black so that the photo will be hidden. Then, with the Brush Tool (B) and using white for the color, start painting the mask with the watercolor brushes. This layer belongs on top of the paper texture and the other layers.
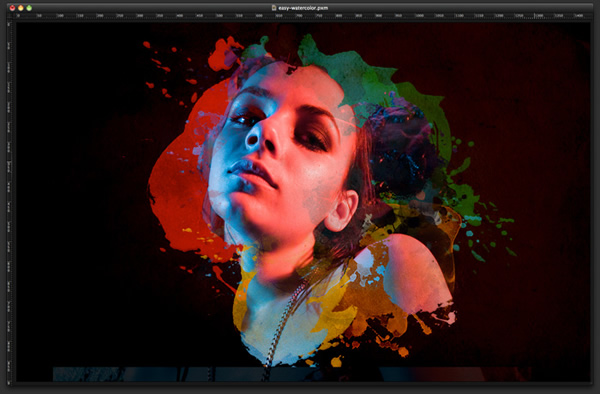
Step 11
Change the Blending to Multiply.
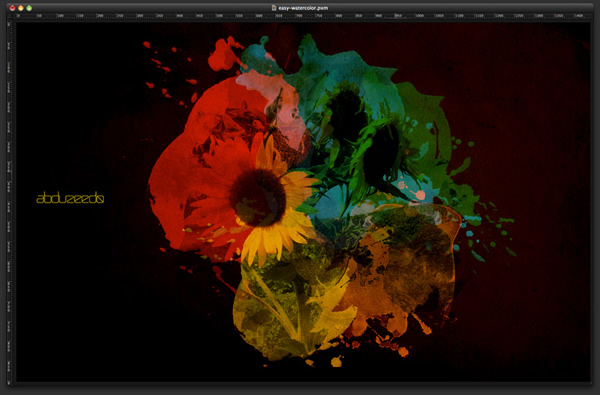
Conclusion
This is a very easy effect that creates a beautiful outcome. Once again, we used only brushes, masks, and blendings—nothing else. You can try adding this effect to different images as well.

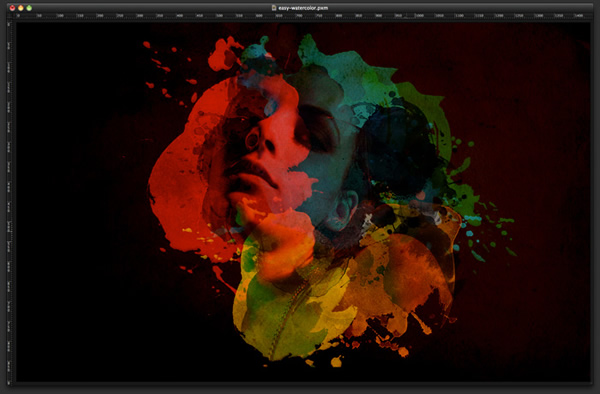
Another Example