by abduzeedo
Since we released Abduzeedo's new design, we've received quite a few emails asking for a tutorial showing how to reproduce the our logo effect. Actually since the first time we used that effect, on the Sparkling Hot Girl in Photoshop tutorial, a lot of people have asked us how to do that effect. So in this very short tutorial we will show you how to do that in Photoshop.
Step 1
Create a new document, use the size you want, it doesn't matter. Then fill the background with a very dark gray, #111111.
Step 2
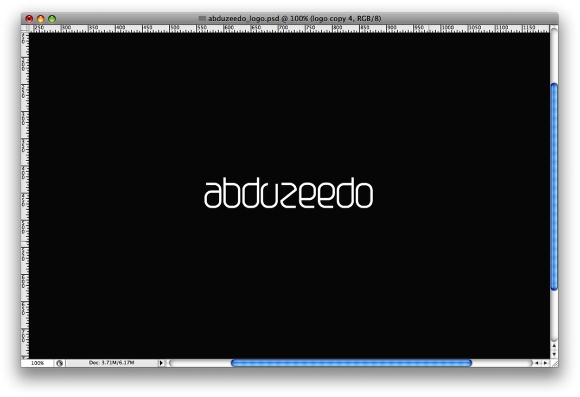
Now place your logo in the document. Duplicate the layer and hide it, we will need it later on.
Step 3
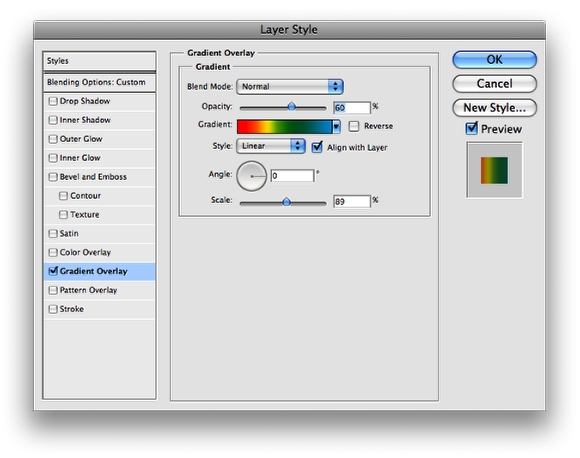
Now with the visible layer, lets apply a Layer Style. Go to Layer>Layer Style>Gradient Overlay. Then use Normal for the Blend Mode, and 60% Opacity. For the color use a gradient with red, yellow, green, and blue.
Step 4
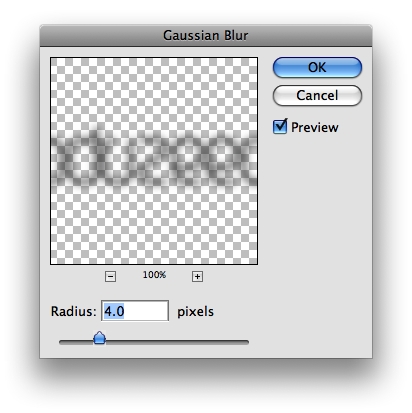
Now let's add some blur, go to Filter>Blur>Gaussiam Blur. Use 4.0 pixels for the Radius.
Step 5
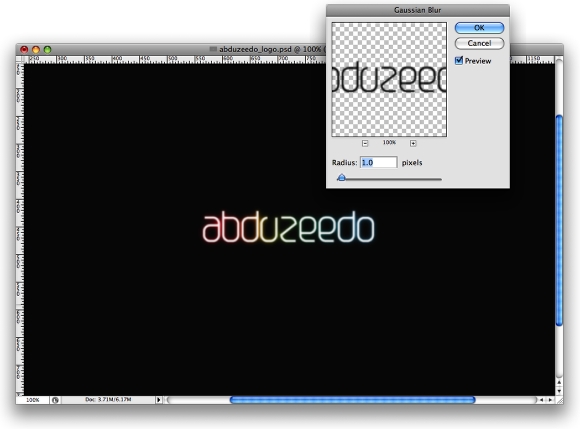
Make the duplicated layer visible and go to Filter>Blur>Gaussian Blur. Use this time 1 pixel for the Radius.
Step 6
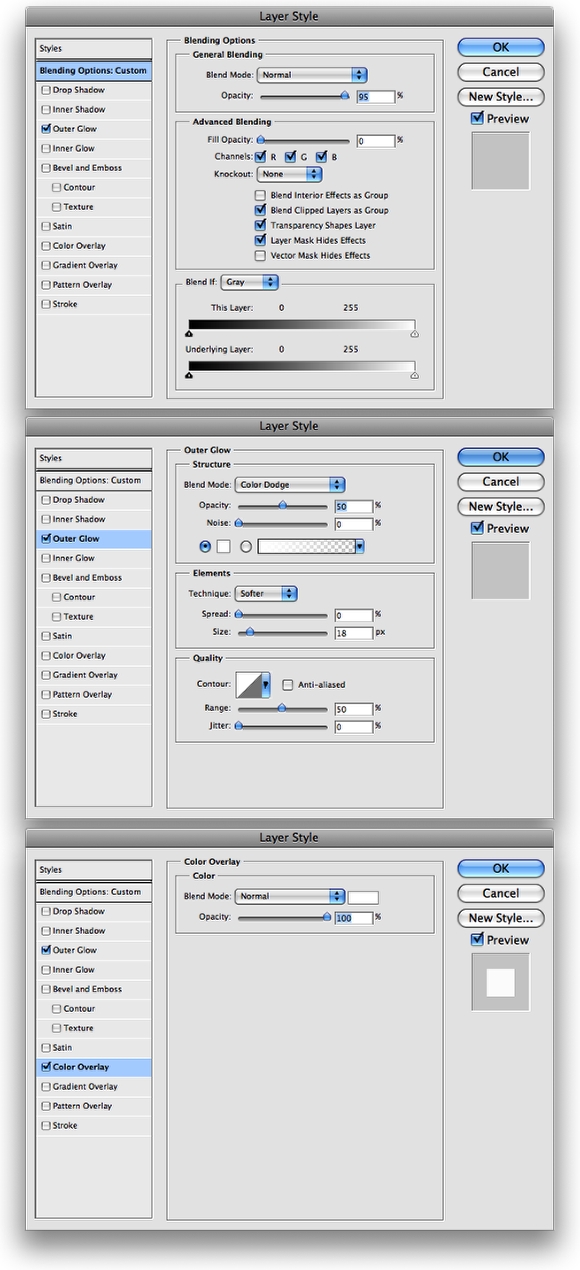
Go to Layer>Layer Style>Blending Options. Change the Fill Opacity to 0% on the Advanced Blending. Then go to Outer Glow. Use Color Dodge for the Blend Mode, 50% Opacity, White for the Color, and 18 pixels for the Size. After that, if your logo is not white, you can go to Color Overlay and use white for the color.
Step 7
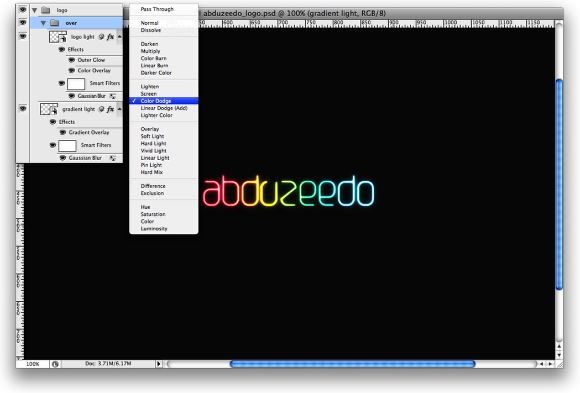
Now group this single layer and rename the group to "Over" then change the blend mode to Color Dodge. After that you can group everything again and rename it to "Logo".
Conclusion
With this technique you will be able to create a nice neo effect to pretty much all kinds of backgrounds. The only thing you will have to do is change some opacities depending on the color of the background.


