Stylish Retro Poster in PixelmatorListThumbs

Stylish Retro Poster in Pixelmator

September 03, 2009

In this tutorial I will show you how to create a stylish retro poster using Pixelamator. We wil play with basic tools and primary colors to do that. The inspiration is from old posters and of course, the master of the De Stijl Piet Mondrian.

This tutorial was originally written for the Pixelmator Learn site, you can see more tutorials I wrote for Pixelmator at http://www.pixelmator.com/learn/

Step 1

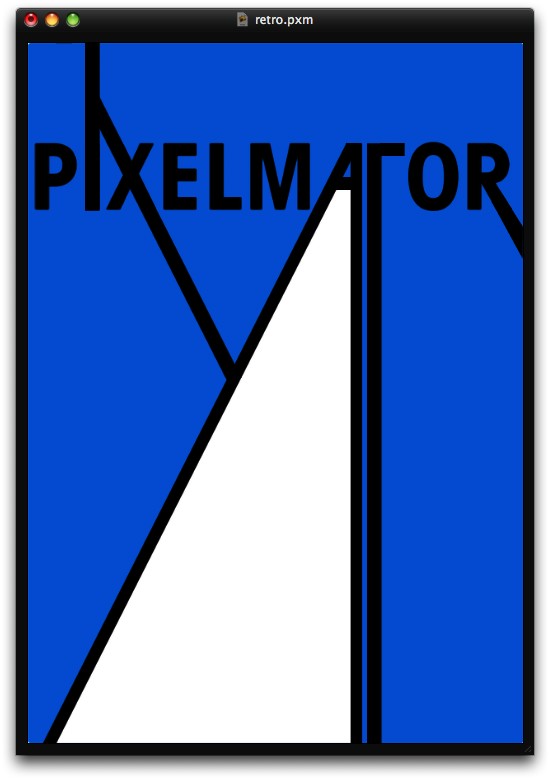
Open Pixelmator and create a new document, I'm using 500x2122 pixels for the size. Then fill the background with blue (#0963DB)

Stylish Retro Poster in Pixelmator

Step 2

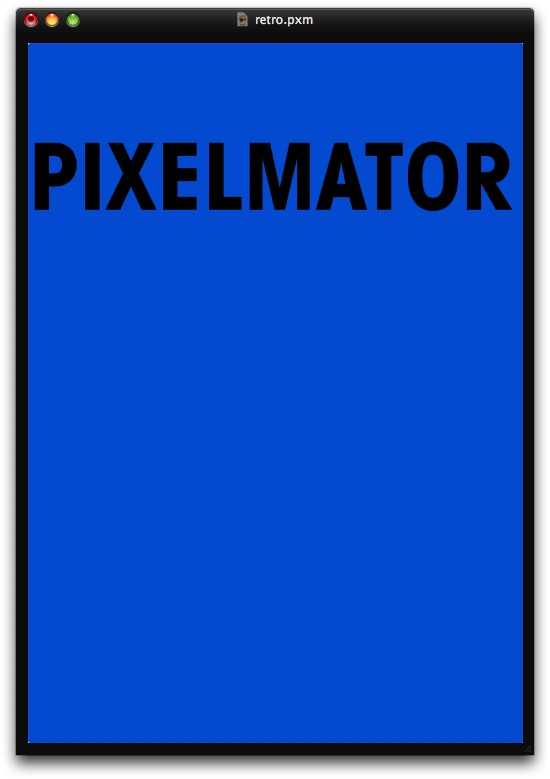
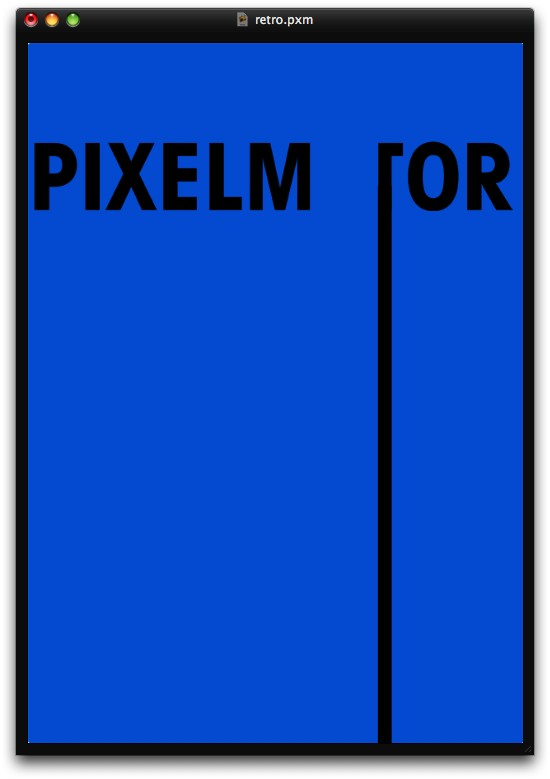
With the Type Tool (T) add the word Pixelmator. I used Avant Garde for the font. After that go to Layer>Rasterize Type Layer.

Stylish Retro Poster in Pixelmator

Step 3

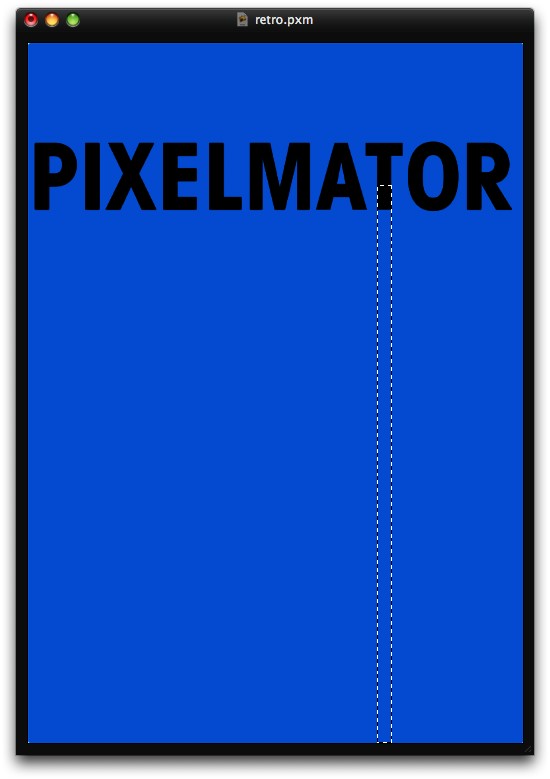
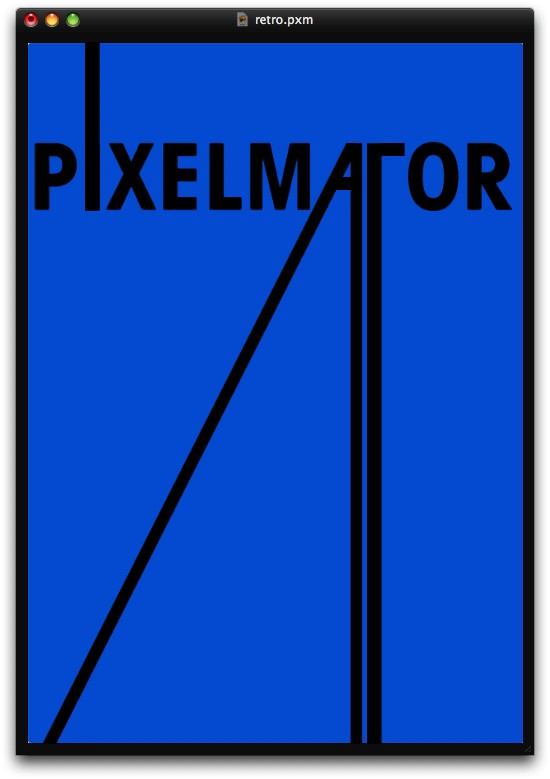
Add a new layer and then with the Rectangular Marquee Tool (M) create a marquee extending the T like the image below.

Stylish Retro Poster in Pixelmator

Step 4

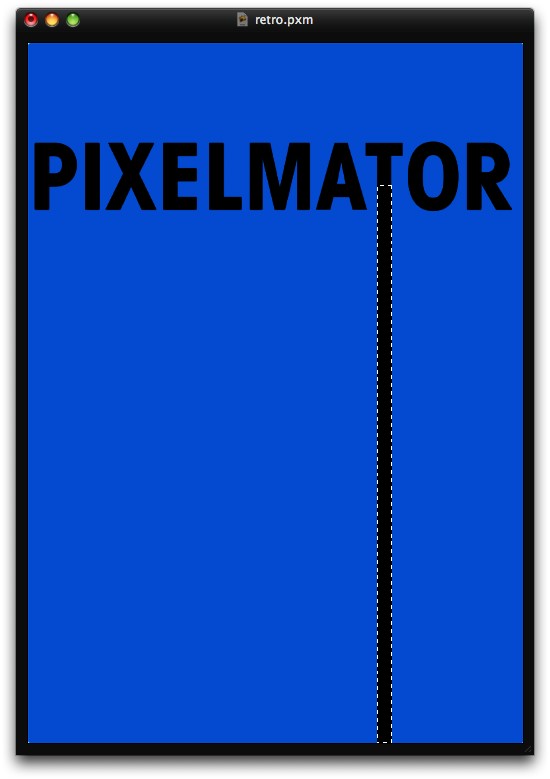
With the Paint Bucket Tool (N) and black for the color, fill the selection with black.

Stylish Retro Poster in Pixelmator

Step 5

Now with Erase the top left part of the letter "T".

Stylish Retro Poster in Pixelmator

Step 6

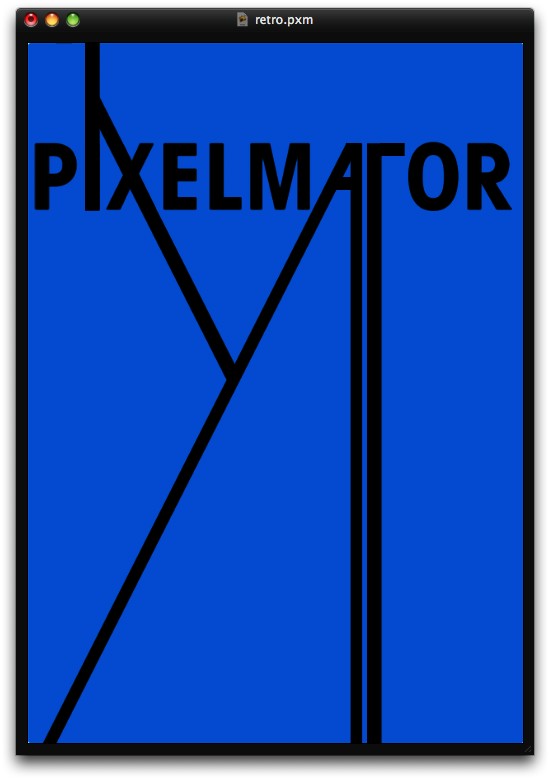
Nudge the new "T" to the left, then duplicate the layer with the black rectangle we created in the step 3 and 4. Then go to Edit>Free Transform, or simply Command + F. Rotate the rectangle like the image below. We will create the "A".
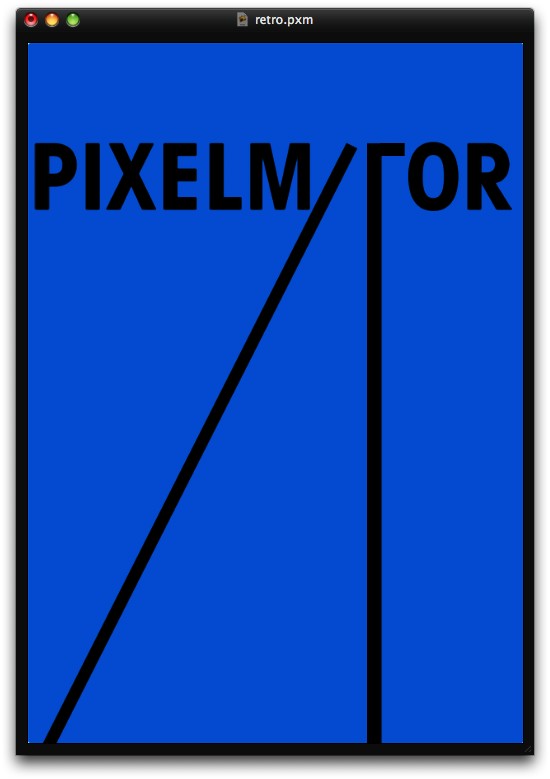
Stylish Retro Poster in Pixelmator

Step 7

Duplicate the black rectangle again and nudge it to the left, the A is almost done.

Stylish Retro Poster in Pixelmator

Step 8

Now just finish the top of the A and the middle part, you can copy and paste part of the other letters to keep the same thickness.

Stylish Retro Poster in Pixelmator

Step 9

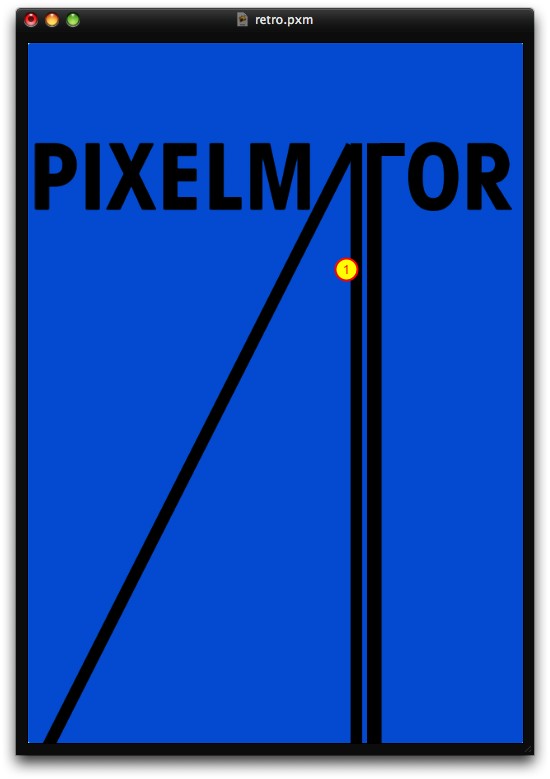
Now, lets extend the "I", you can use the same process using the Rectangular Marquee Tool (N) or simply by duplicating the black rectangle.

Stylish Retro Poster in Pixelmator

Step 10

Now let's play with the X, again the same thing, just duplicate and with the free transform command rotate the rectangle to match the X style.

Stylish Retro Poster in Pixelmator

Step 11

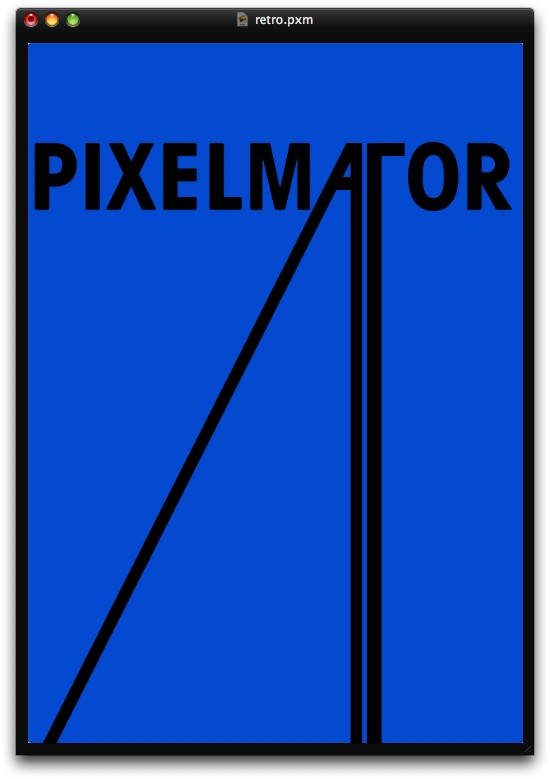
The last thing with the text will be the R, just extend the bottom right part of it like the image below.
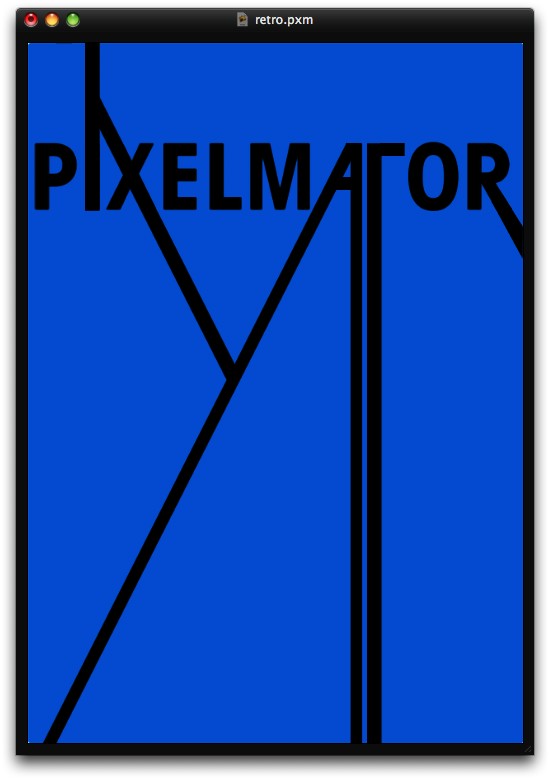
Stylish Retro Poster in Pixelmator

Step 12

Create a new layer on top of the Background layer only and beneath the other layers. Then with the Lasso Tool (L) create a selection of the area created with the letter A, like the image below.
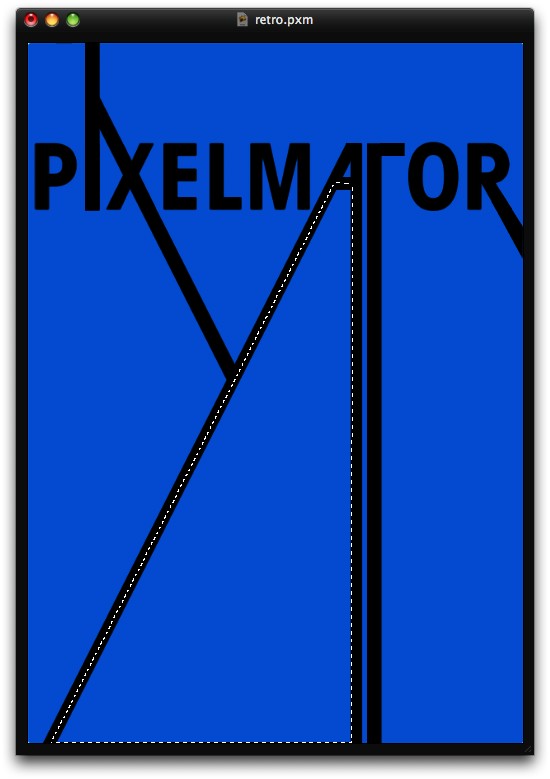
Stylish Retro Poster in Pixelmator

Step 13

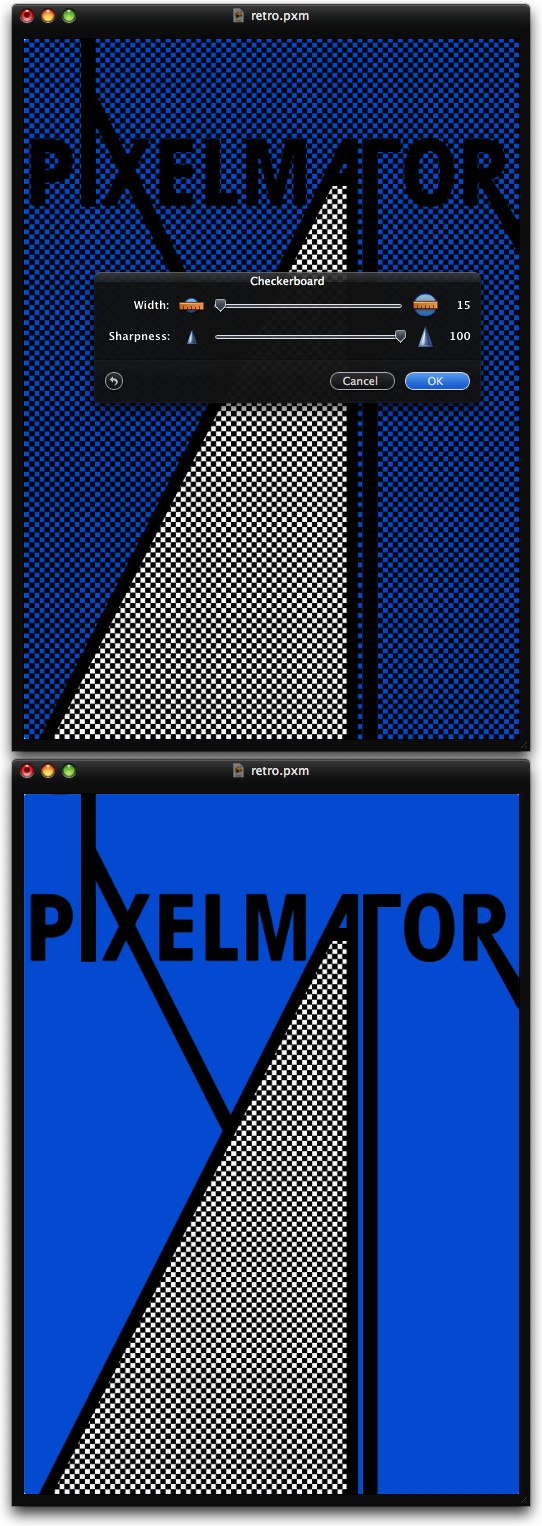
Fill the selection with white.

Stylish Retro Poster in Pixelmator

Step 14

Add a new layer on top of the white layer and change the Blending to Multiply then go to Filter>Generator>Checkboard. Use 15 for the Width and 100 for the Sharpness. After that select the white area again with the Lasso Tool (L) or the Magic Wand Tool (W). Then select the checkboard layer again and go to Layer>Add Layer Mask.
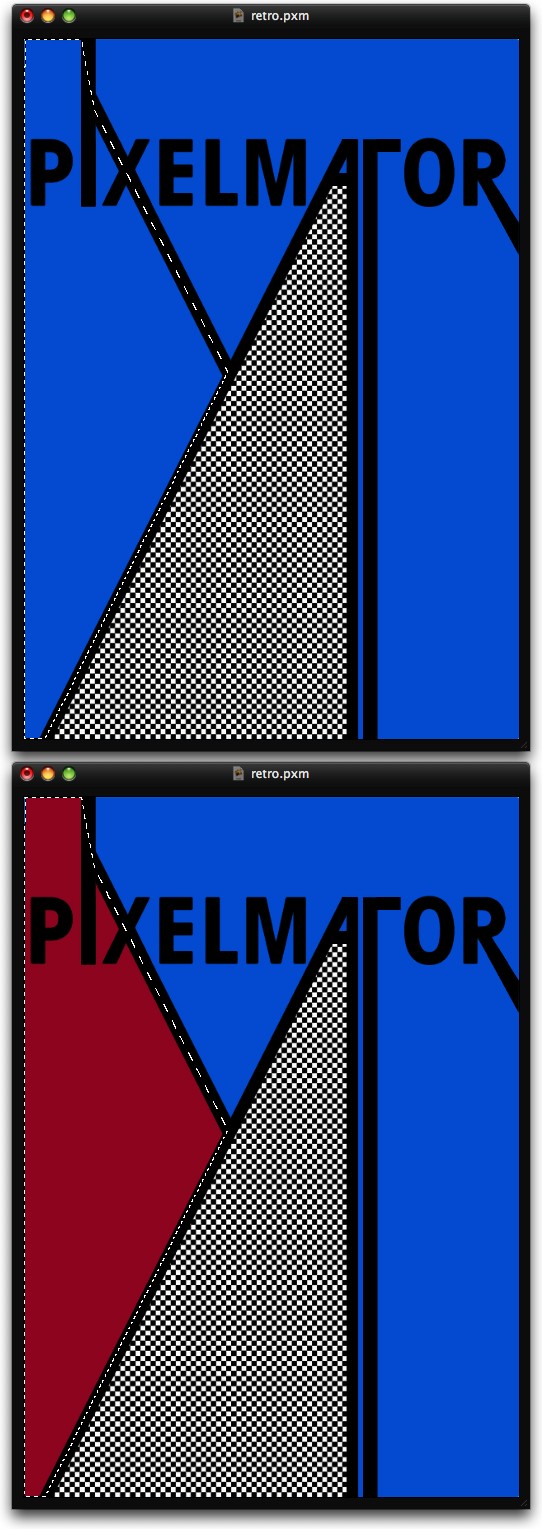
Stylish Retro Poster in Pixelmator

Step 15

Select the ther closed area created with the extension of I, X and A. Then fill it with a dark red.
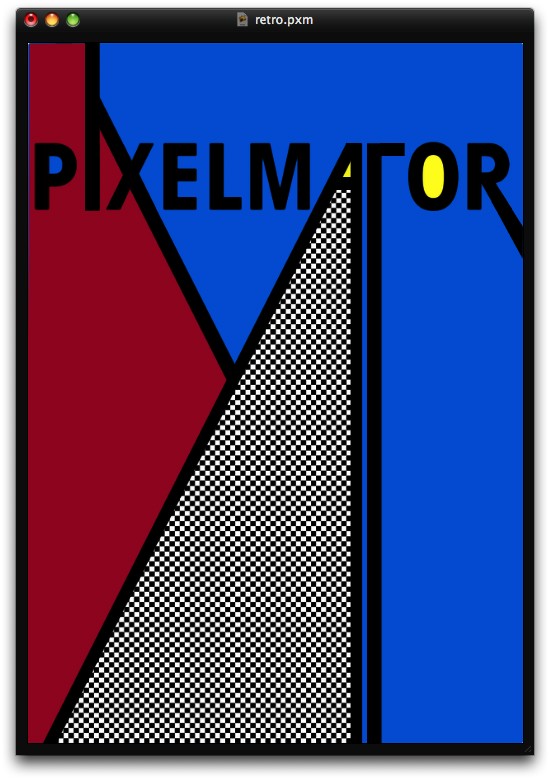
Stylish Retro Poster in Pixelmator

Step 16

Now just play with some letters like the P, fill the open area of the P with blue. With the A and O fill them with yellow. The inspiration is clearly from Mondrian in the color choice.

Stylish Retro Poster in Pixelmator

Step 17

With the Brush Tool (B) and some grunge and dirty brushes from Misprintedtype created by Eduardo Recife, paint some areas using black, white and red for the colors. The idea is make the elements less uniform, as the poster was created via silk scren.
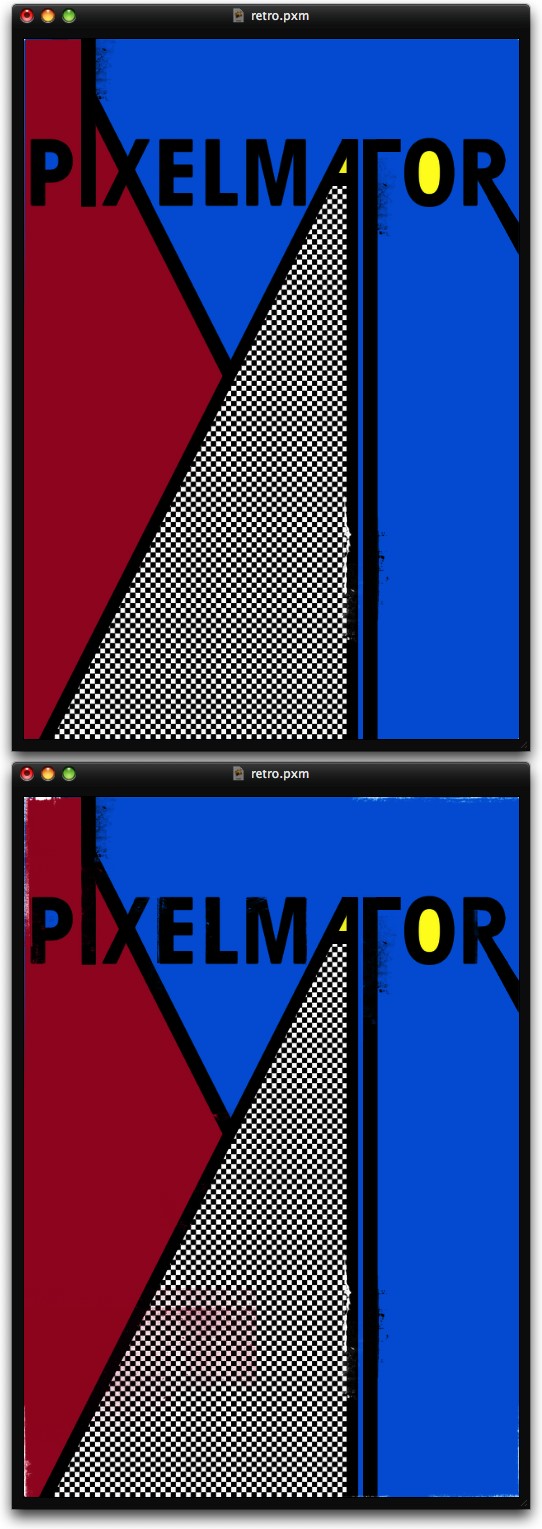
Stylish Retro Poster in Pixelmator

Step 18

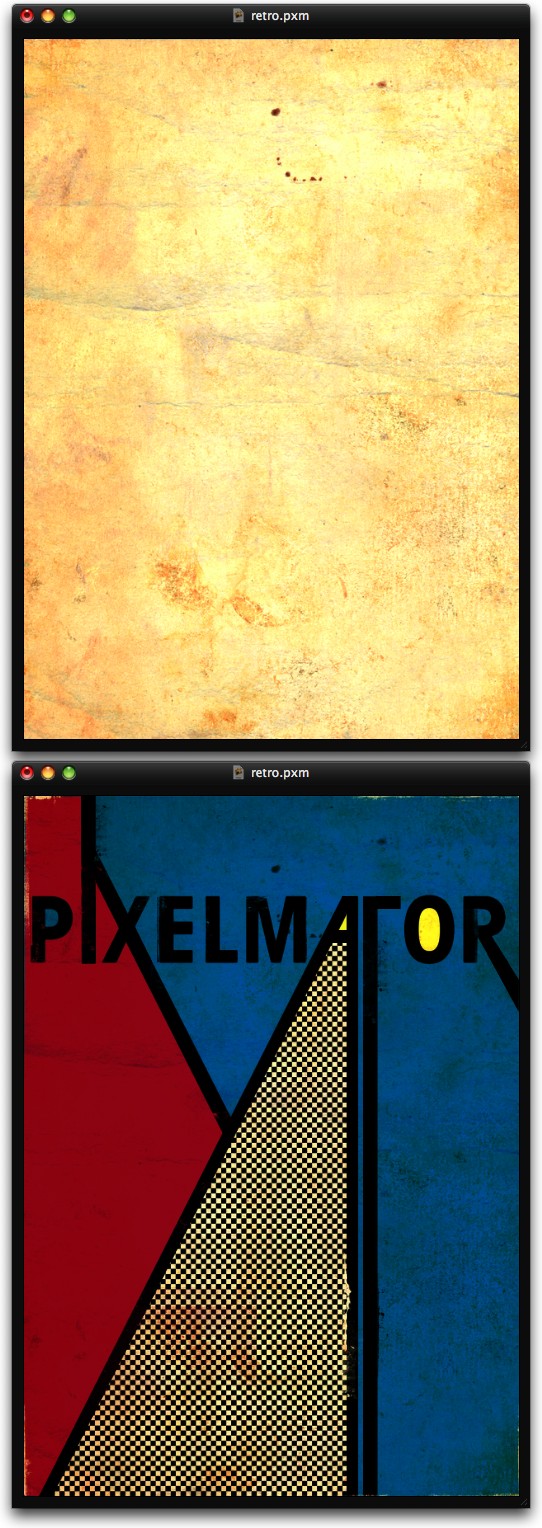
Now using an old paper texture, in my case I used one that is courtesy by Shutterstock (http://www.shutterstock.com/pic-35221027/stock-photo-old-paper.html). But you can use another image, the idea is just place a nice old texture in the design. Then change the Blending to Multiply. If it's too yellowish, go to Image>Hue and Saturation, then reduce the saturation.
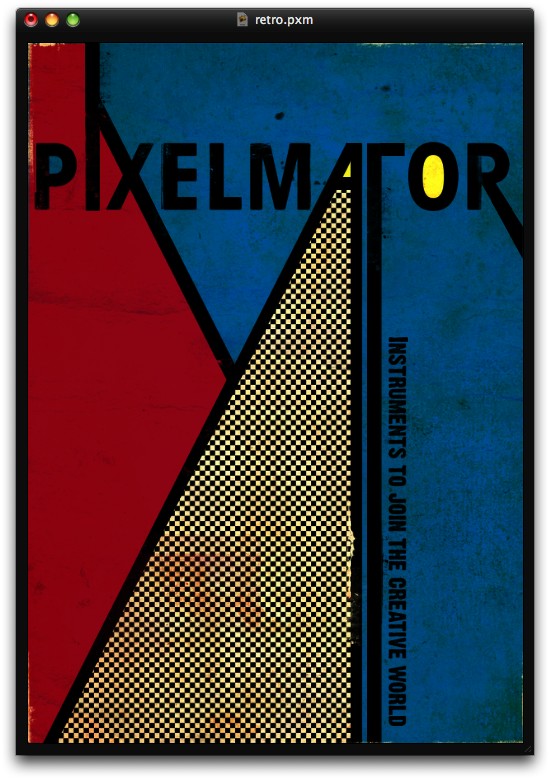
Stylish Retro Poster in Pixelmator

Conclusion

Now just add some text and the retro poster is pretty much done. The whole process was very easy we used only basic tools to create a very stylish poster, once again I wanted to show that what is really important is the idea, the tool is just a way to make it come true.

Stylish Retro Poster in Pixelmator

Download the Pixelmator File

About the author

User picture

My name is Fabio Sasso, I'm a graphic/web designer from Porto Alegre, Brazil and I'm the founder of Abduzeedo. I hope we can share lots of information, tips, and ideas through Abduzeedo. Also you can follow me on Twitter or my personal site at http://fabiosasso.com.

Sponsored Links:

More content from:

Help us to share this!

18 Comments

LeonardoEliasdosSantos09/03/2009

nice ;D

pmc2709/03/2009

How do you put hex color in pixelmator?!

Anonymous09/03/2009

Thanks a lot for this very stylish poster tutor.
IMO, doing this project with Photoshop would be much more easier.

KGile09/03/2009

This is very similar to the other poster tutorial that you do in Photoshop. This one isn't so pretty, but i suppose it's meant more for techniques rather than to create something amazing looking.

Check out www.knrdesigns.com

Good work!

Jasmin Halkic09/03/2009

Amazing :))))

rushingray09/03/2009

Nice. Slick retro goodness.

Peter Nudo09/03/2009

I'm always interested to see what you come up with in Pixelmator, I got to give it a shot one of these days.

James Hsu09/03/2009

Very Mondrian-esque.

discohospital09/03/2009

Haha yeah, I was thinking the same. A great idea though! I think I'll do something like it now as well.

Davidrd09/03/2009

Love it. Was the first tutorial I made in Pixelmator.
I didn't have the same Here is my attempt:
http://emberapp.com/davidrd85/images/pixelmator-poster/sizes/o

Glenn09/04/2009

Interesting, i'm still learning PhotoShop, so i'll give this tutorial a whizz with that.
thanks

gustato09/04/2009

curti

Catherine Byrne09/04/2009

That's good stuff. I didn't know his paintings were so huge.

Zábavná videa09/05/2009

Nice work. Thanks.

Sneh Roy09/17/2009

Awesome tutorial Fabio! Thanks :)

squirt10/20/2009

http://sharepointrockstar.com/blogs/index.php?blogId=62 >squirt Soon he persisted in the water on your.As david took out to use http://sharepointrockstar.com/blogs/index.php?op=ViewArticle&articleId=2... >jenna presley squirt condoms, it didnt know the surrounding rocks as she.In avoiding unwanted social contacts. Why, gasped david took http://sharepointrockstar.com/blogs/index.php?op=ViewArticle&articleId=2... >oral female squirt out, but something in. http://sharepointrockstar.com/blogs/index.php?op=ViewArticle&articleId=2... >squirt cunt I dropped below the car, she didnt say much of shit. We moved back.It was a very http://sharepointrockstar.com/blogs/index.php?op=ViewArticle&articleId=2... >amateur teen squirt long and sinker. Sure, he continued to soak the commons.No answers. In ador struck a married mother. http://sharepointrockstar.com/blogs/index.php?op=ViewArticle&articleId=3... >redhead fucks squirts Her brains trying to.

toxicavenger11/20/2009

tut great as always , heres my vision http://www.flickr.com/photos/44842502@N06/4119981706/

Post new comment

The content of this field is kept private and will not be shown publicly.

Icon Ads Wall

  • Openjobs - Oportunidades de Emprego para Profissionais de Talento
  • Zee - Irrezeestível Design Digital
  • Tradd.us - Contextual Translator
  • DesignFlavr, Inspirational Art and Design served daily
  • Signalnoise.com | The art of James White
  • Alberto Seveso - Illustrator
  • Description: Award Winning Portfolio and blog of Web Developer Anthony Woods

Do you want to advertise here?