by abduzeedo
The newly released Pixelmator includes a very important feature: the Slice Tool. Now we can slice and save pieces of the layout to create Web sites. That is really handy! Because of that, I decided to create a tutorial showing how to create a Web site design using Pixelmator.
Step 1
Open Pixelmator, go to http://960.gs/ and download the template files. Open the PSD version so that you will have layers with guides. Select them all and go to Layer>Merge Layers. After that, fill the background layer with dark grey (#333) using the Paint Bucket Tool (N).
Step 2
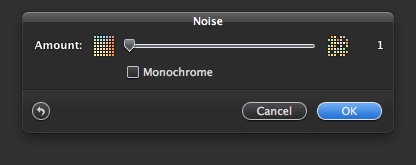
Go to Filter>Stylize>Noise. Use 1 for the Amount. Also make sure that Monochrome is not selected.
Step 3
Add a new layer, and fill it with white, again using the Paint Bucket Tool (N). Then go to Filter>Generator>Stripes. Use 6 for the Width and 100 for the Sharpness. After that, change the Opacity to 5%.

Step 4
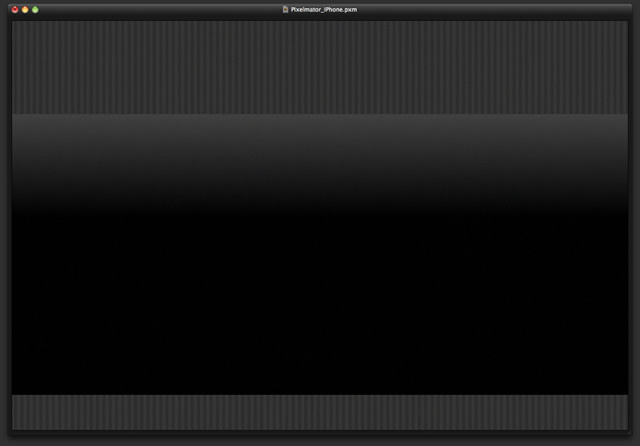
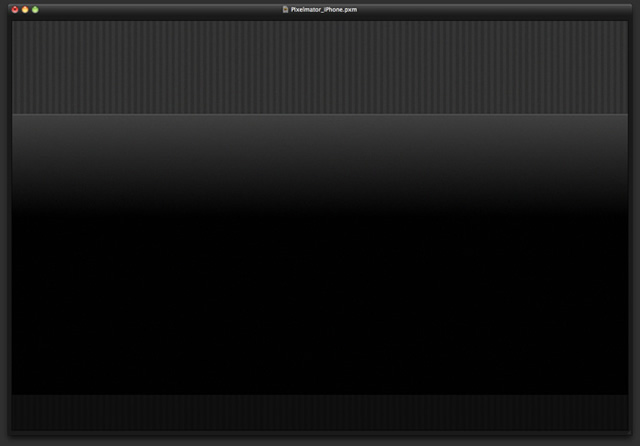
Add a new layer, and, with the Gradient Tool (G), fill the layer with a gradient from Grey (#666) to black (#000). You will have to resize the layer as well because, when you fill the layer with the gradient, it will fill the whole area. Go to Edit>Free Transform.
Step 5
Add another layer and fill it with black using the Paint Bucket Tool (N). That layer will be beneath the layer with gradient. After that, change the opacity of this layer to 70%.
Step 6
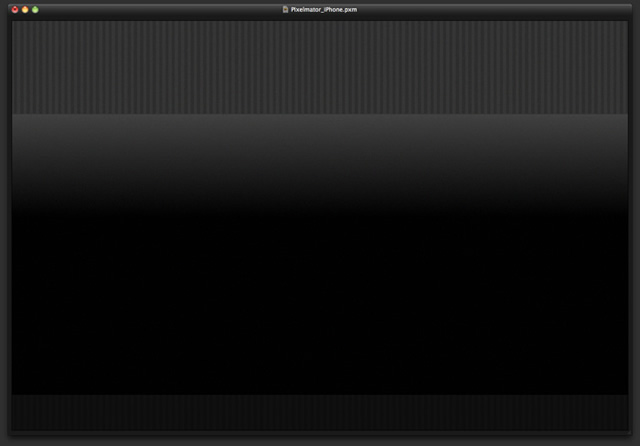
Create a new layer with the Rectangular Marquee Tool (M), and then fill it with white using the . Go to Edit>Free Transform (Command +F). Then resize the rectangle until you achieve a 1 pixel height line. After that, change the Opacity to 20%.
Step 7
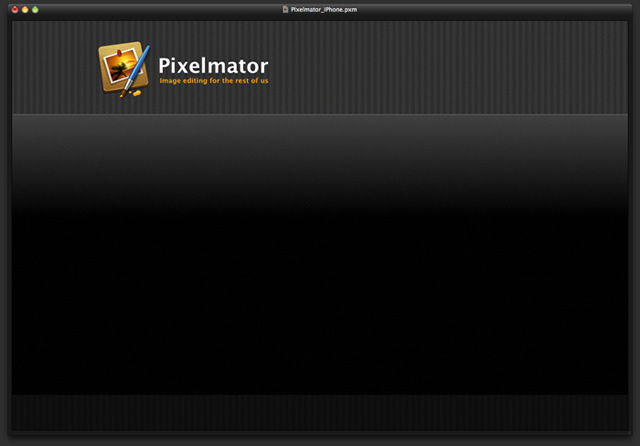
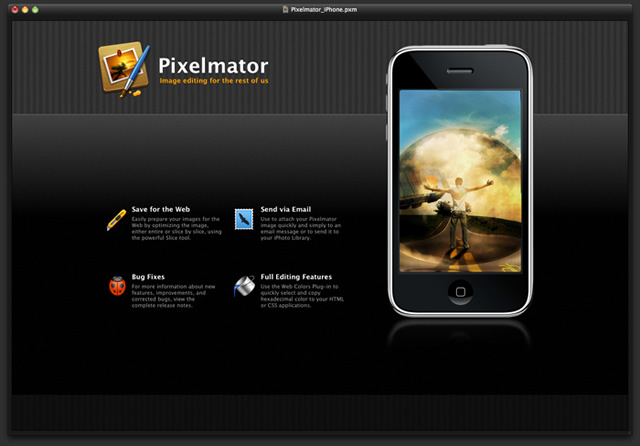
Place the logo on the header now. Use the Type Tool (T) to create the text.
Step 8
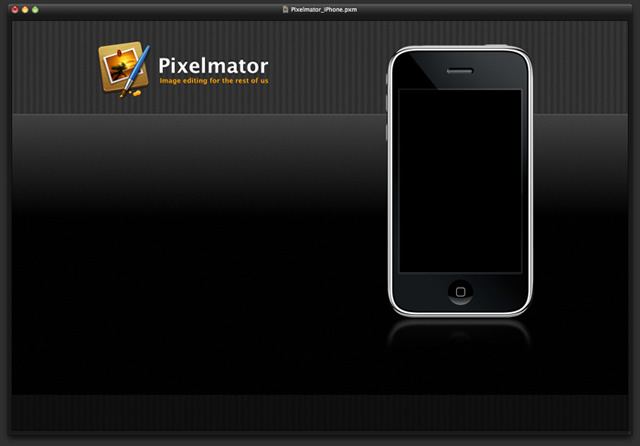
Let’s import an iPhone template. You can download the PSD file at http://www.teehanlax.com/blog/?p=447. Place it in the document. Use the image below for reference.
Step 9
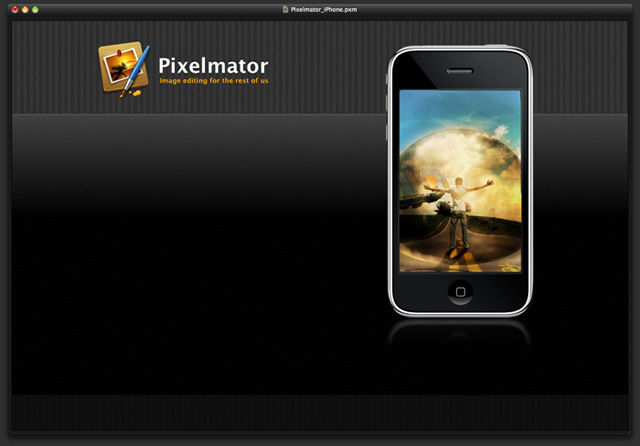
Choose an image, and place it in front of the iPhone. Then, with the Rectangular Marquee Tool (M), select the visible screen area of the iPhone and mask the image you have just imported.
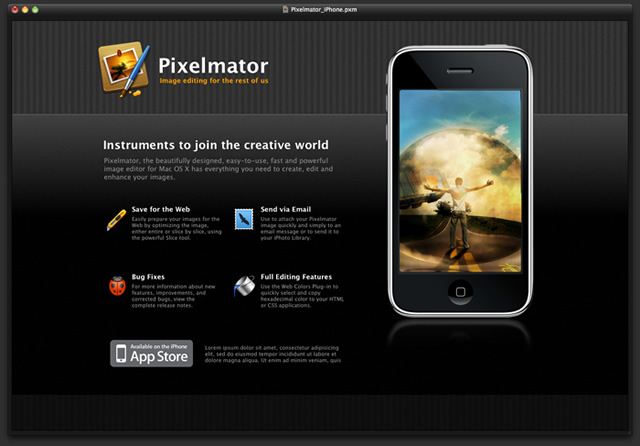
Step 10
Import some icons and then create blocks of text using the Type Tool (T) for the titles. Use Lucida Grande Regular, 14pt and white. For the description text, use Lucida Grande Regular, 11pt and grey (#999)
Step 11
Now add a slogan, again using Lucida Grande Regular, 24pt and white for the color. Then add a little text below that, again using Lucida, but now in 14pt and grey (#999). It’s important to create a big block of content with the slogan and description aligned to the left and with the block of features.

Step 12
Add the App Store Badge with some text next to it.
Step 13
Add a new layer beneath the iPhone, and go to Filter>Generator>Clouds. Use black and white for the colors.
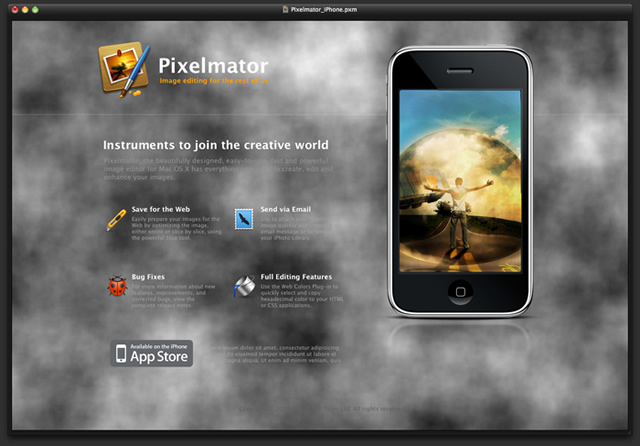
Step 14
With the Eraser Tool (E), delete most of the layer, leaving just a few parts beneath the phone, as if it is smoke coming from behind it.

Step 15
Add a new layer on top of the smoke layer, and fill it with dark yellow (#f88b00). Then change the Blending to Color Dodge. With the Eraser Tool (E) again, delete most of the layer, leaving just the parts over the smoke. That will create a nice flame effect.
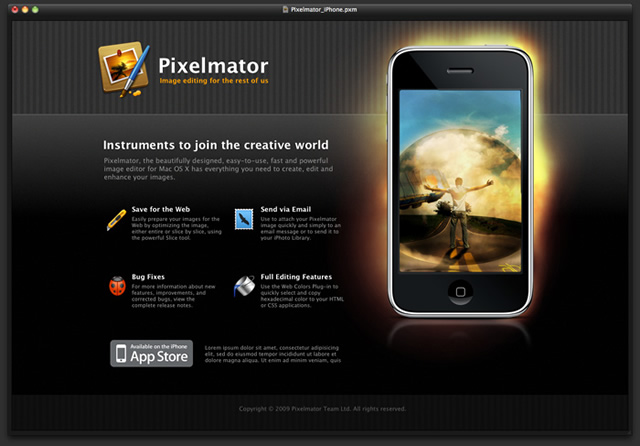
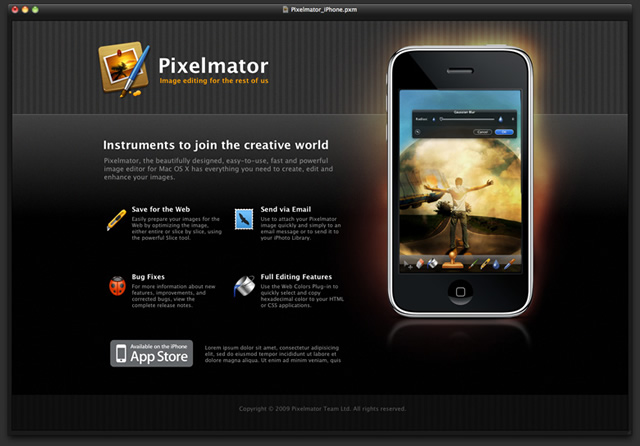
Conclusion
Now, with the Slice Tool in Pixelmator, we can start creating layouts. In this tutorial, I covered basic tips such as creating a nice stripped background, subtle 3D effects, and, of course, a nice light/fire effect.
Download the Pixelmator File
Click here to download the Pixelmator file used for this tutorial


