by abduzeedo
It's beginning to look a lot like Christmas and it's time for our holiday tutorial. For this year we will have a very 80s image inspired by the work of Arkuma using Photoshop CS6.
So for this tutorial we will create a image using basic filters and effects to create a nice vinage effect. The fonts used are Avant Garde and FreestyleScrD.
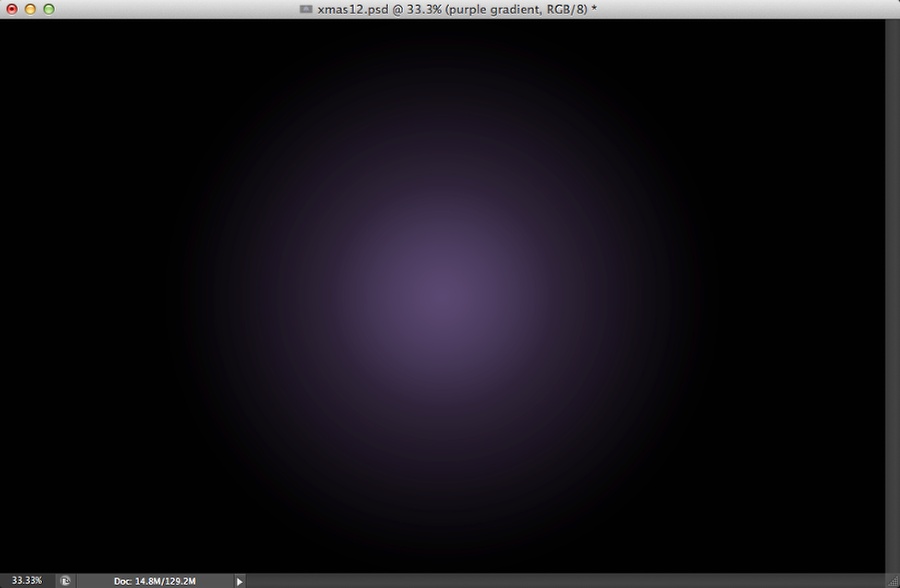
Step 1
Open Photoshop and create a new document. I am using 2880x1800 for the size so I can use it as a nice wallpaper for the MacBook Pro Retina. Then for the background layer use a radial gradient from #a4a4a4 to black. Then add another layer on top using purple (#8e70b2) for the color with Multiply for the Blend Mode.
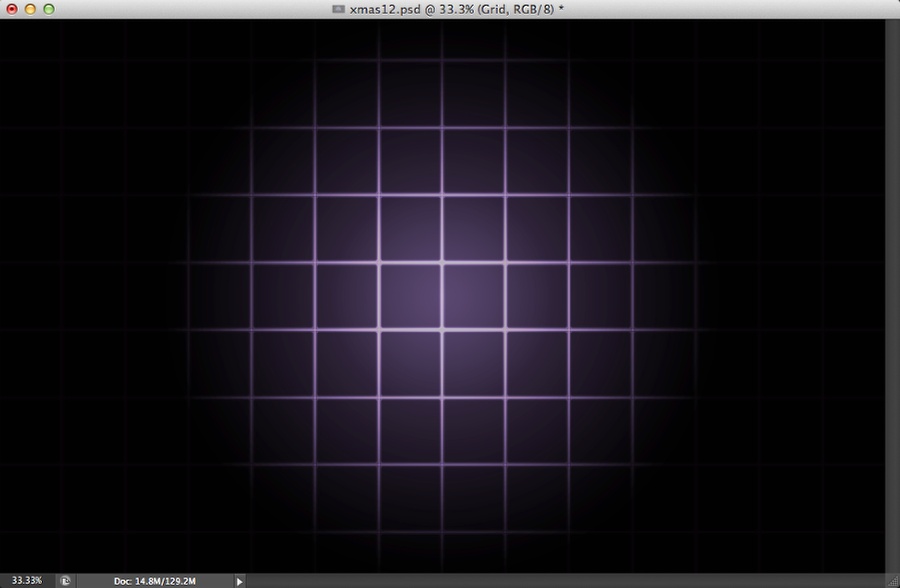
Step 2
Create a grid in Illustrator with the Rectangular Grid Tool. Copy it and then paste it in Photoshop. Make sure that your grid lines are white, then with Layer Styles use Outer Glow with Color Dodge for the Blend Mode, 75% for the Opacity, white for the color, 5% Spread and 10 pixels size.

Step 3
Groupt the layer into a folder and change the folder's Blend Mode to Color Dodge at 60%. After that apply a Gaussian Blur to the grid layer.
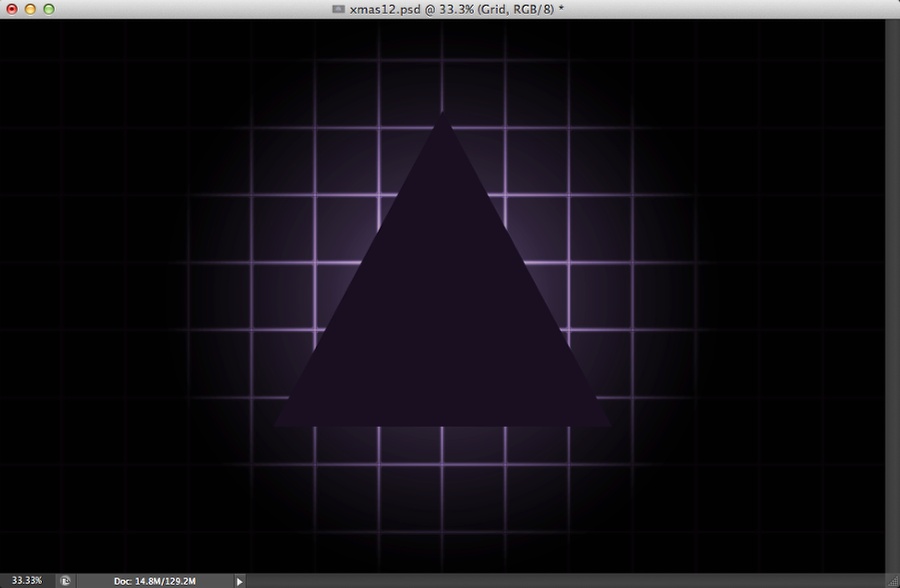
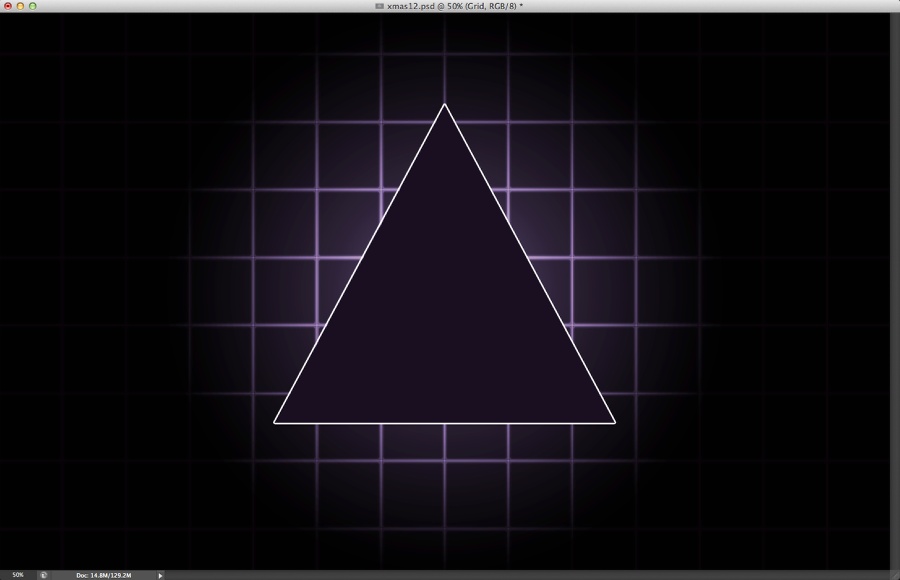
Step 4
Create a triangle and fill it with a dark purple (#191123).
Step 5
Duplicate the triangle and then go to Layer>Layer Styles>Stroke. Use 5 pixels for the Size, Outside for the Position and white for the color.
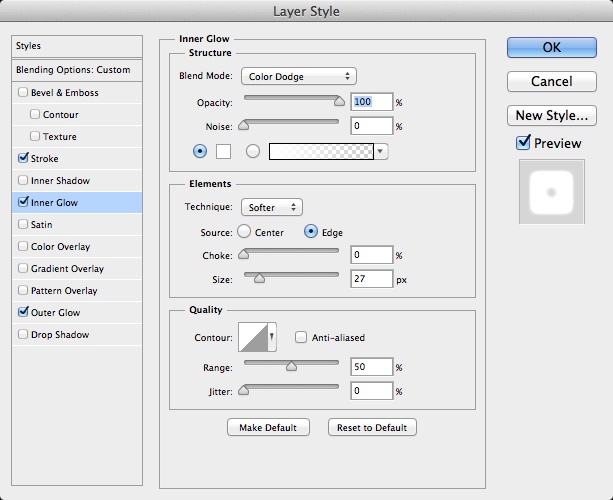
Step 6
Select Inner Glow and use the values below.
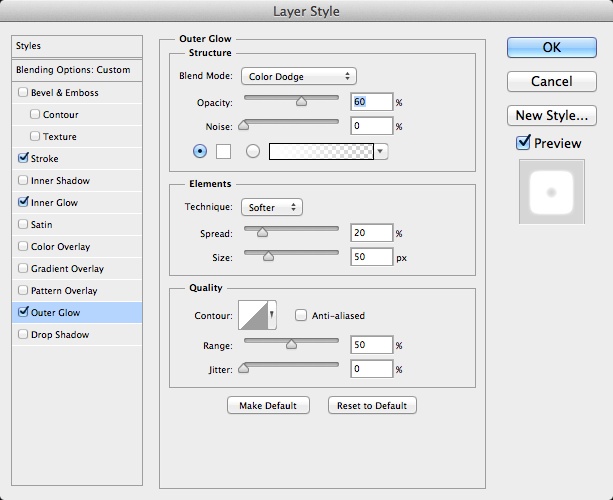
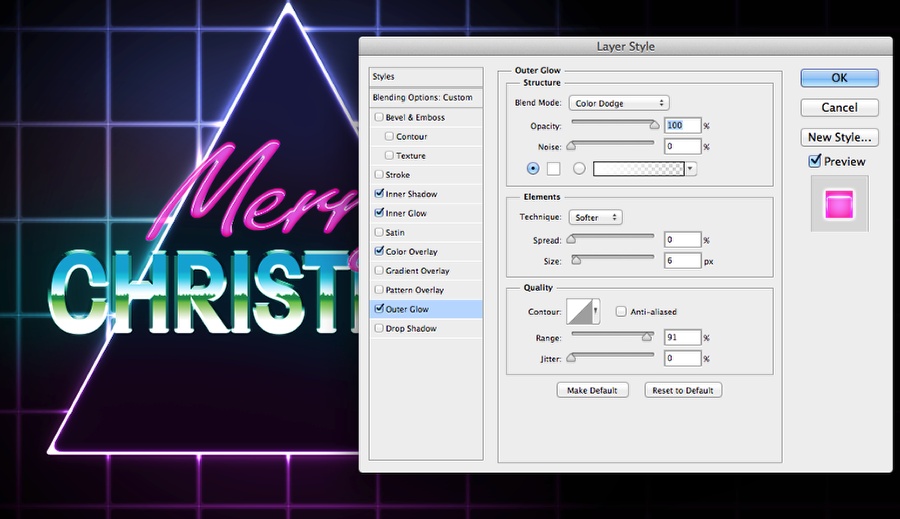
Step 7
Select Outer Glow and use the values below.
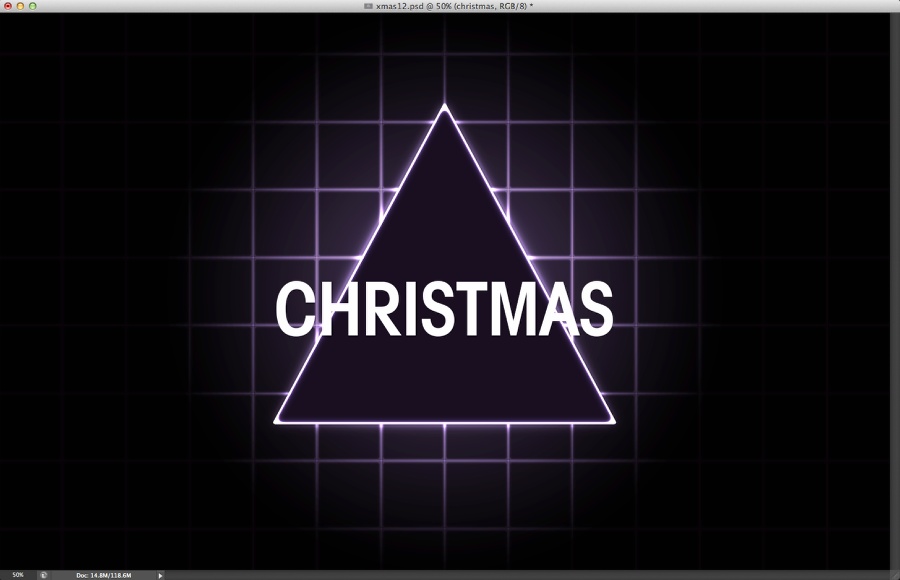
Step 8
You will have a triangle with some lights below it blending with the grid. Now let's add some text. With the Horizontal Type Tool (T) insert the work Christmas.
Step 9
Let's apply some layer styles to this text. Go to Layer>Layer Styles>Bevel & Emboss. Use the image below for the values

Step 10
Now let's add a chrome gradient. You can come up with your own but let's use the one available on Photoshop's presets.
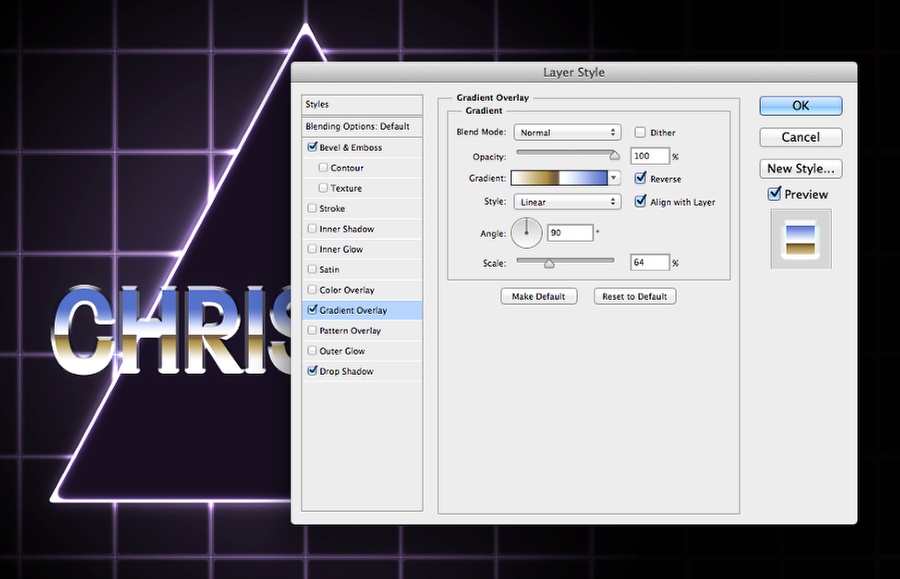
Step 11
After applying the layer styles duplicate that layer and then right click on the FX little icon in the layer in the layer panel. Select Create Layers. What that will do is that will create layers for each of the layer styles. The only one we will use is the gradient one. With the Stamp Tool (S) create some little peaks in the center of the gradient.

Step 12
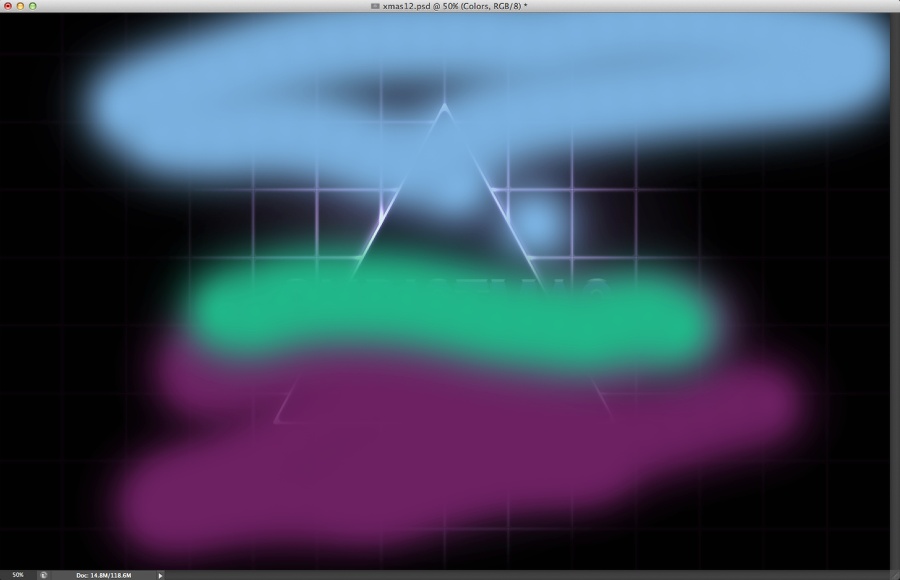
Add a layer on top of the others, the with the Brush Tool (B) and a very soft brush, start painting with cyan at the top, green in the center, and purple at that bottom.
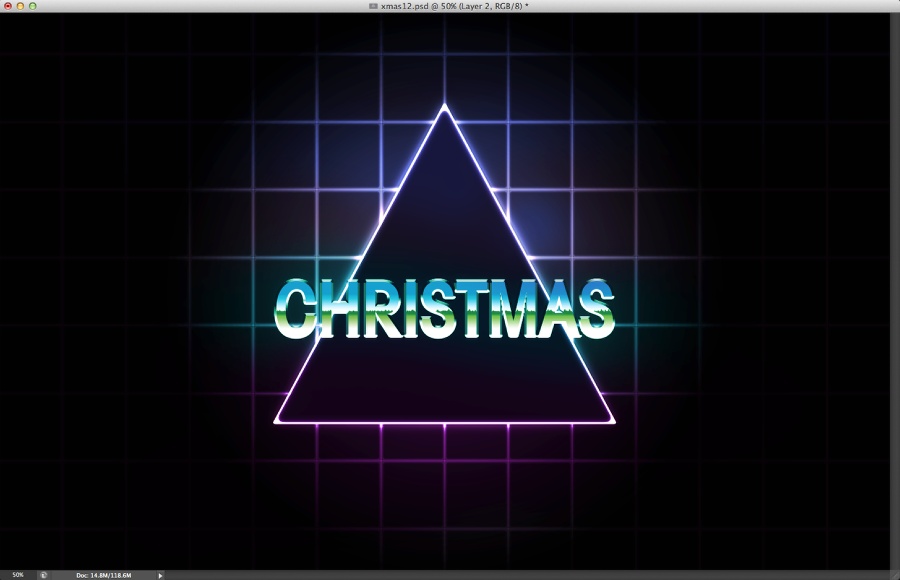
Step 13
Group the layer with the brush paints and then change the Blend Mode of the folder to Overlay.
Step 14
Add the word Merry using #ff009c for the color.

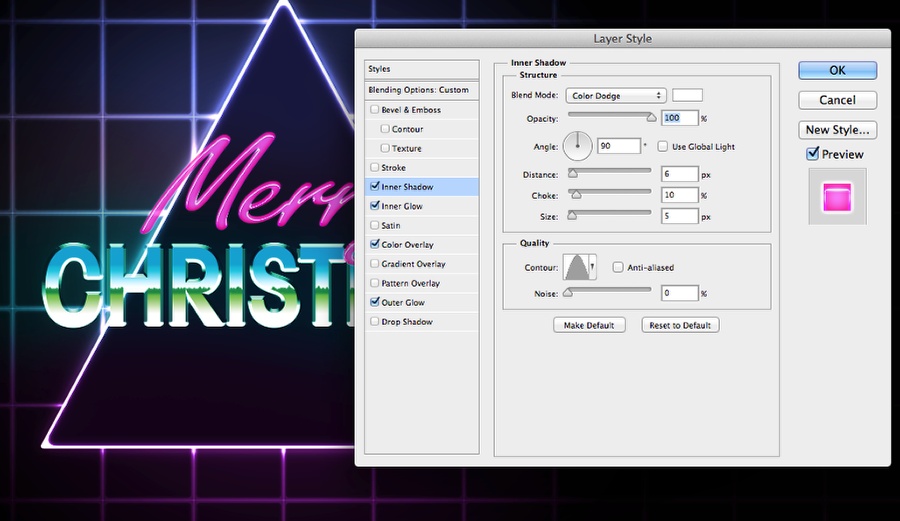
Step 15
Now let's add some more layer styles. First Inner Shadow. Use the image below for the values.
Step 16
Select Inner Glow and use the values below.

Step 17
Select Outer Glow and use the values below.
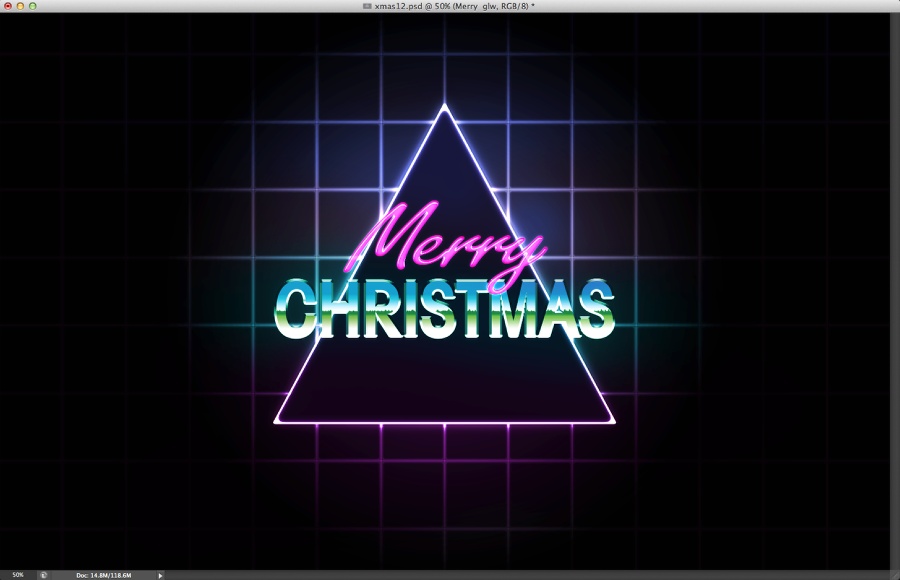
Step 18
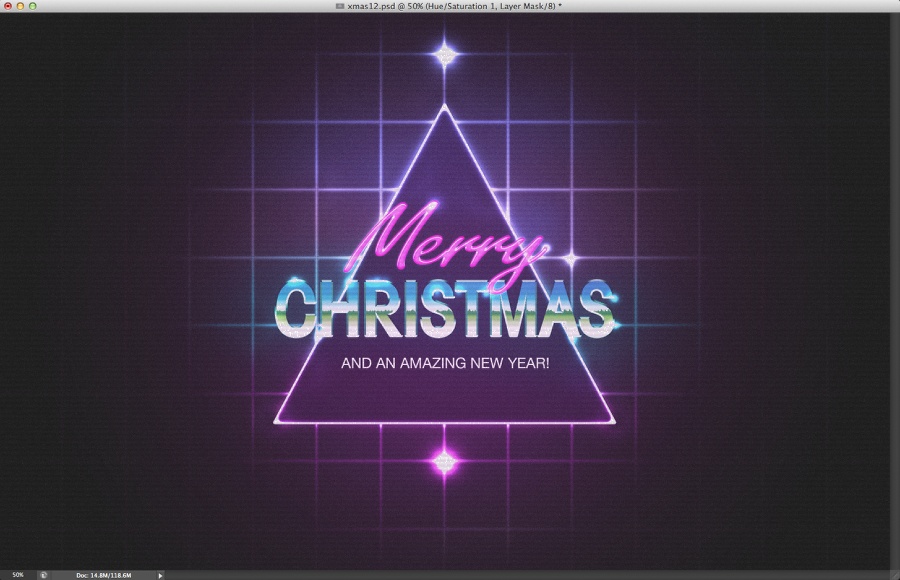
If you got all the way to this step, you will probably have something like the image below
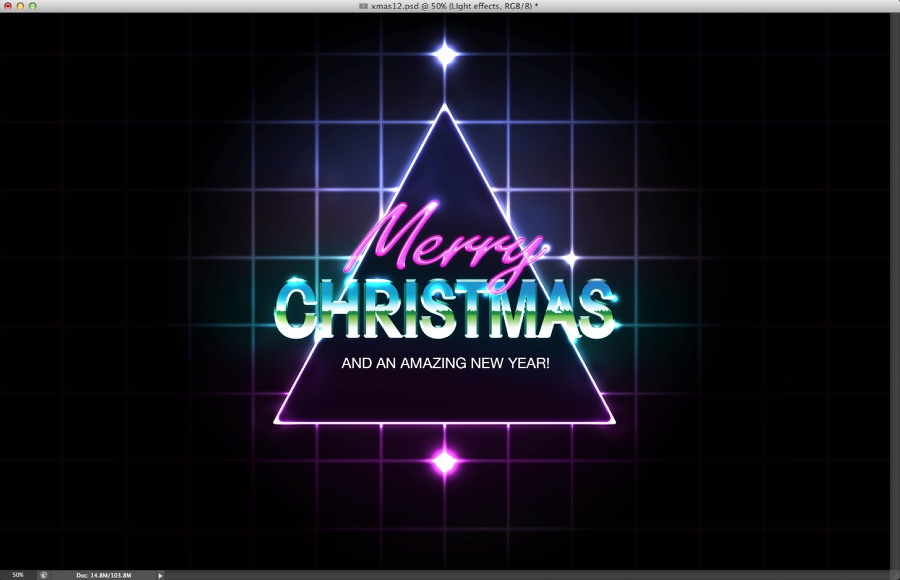
Step 19
Add a layer on top of the others and group this layer into a folder. With the Brush Tool (B) start painting some white spots with a very soft brush. That will create some nice light effects.
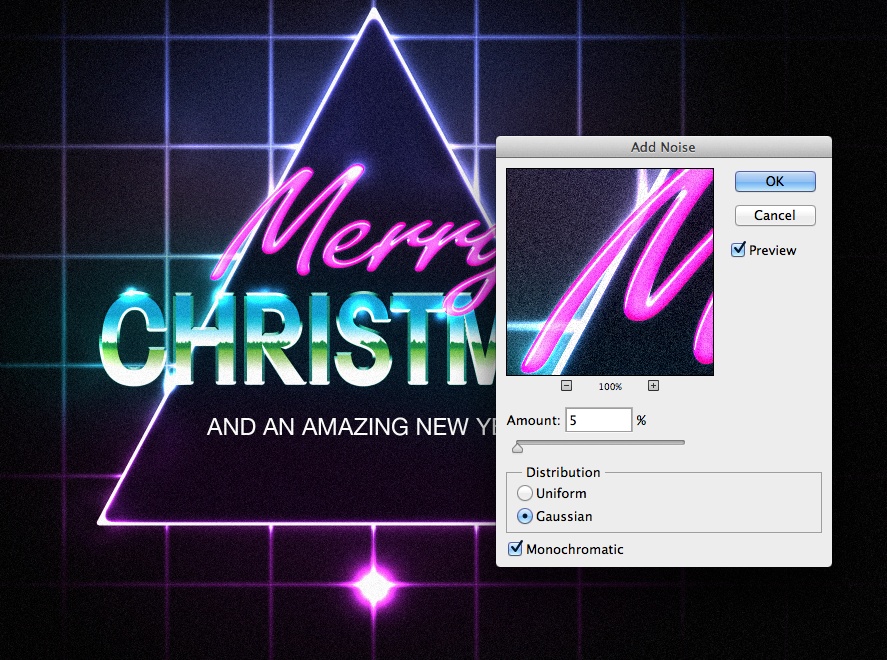
Step 20
Select all layers and duplicate them. Merge the new layers into one and then go to Filter>Noise>Add Noise. Use 5% for the Amount, Gaussian for the DIstribution and select Monochromatic.
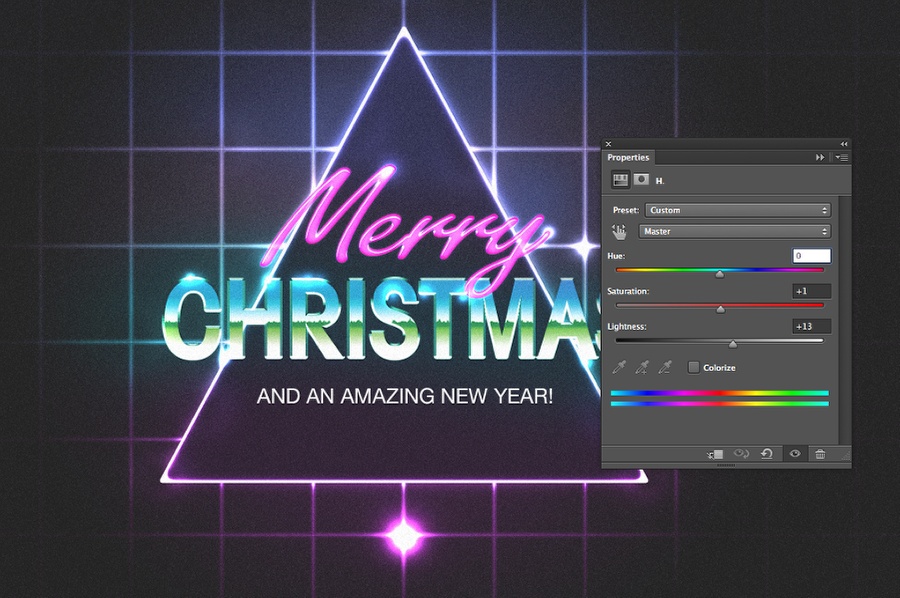
Step 21
Go to Layer>New Adjustment Layer>Hue/Saturation. Use 0 for Hue, 1 for Saturation and 13 for Lightness.
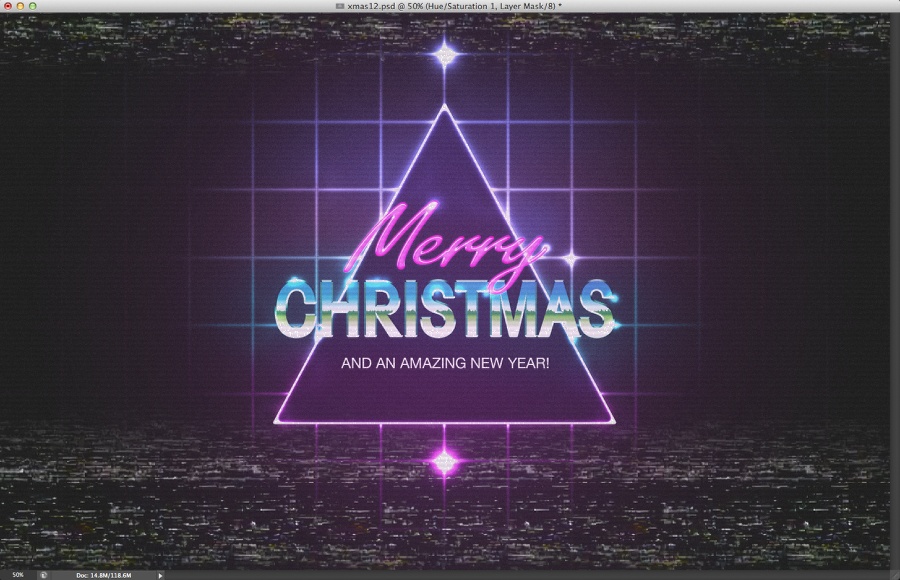
Conclusion
You can add another layer with a purple to black radial graident on top with Linear Dodge for the Blend Mode. You can also add a layer on top with a scanline effect. To do that you just need to create a new document, like 4x4 pixels. Fill the half of the image with black and the other with white, so you have 2 lines. Go to Edit>Define Pattern. Go back to your design and add a new layer filling with the pattern you just created using Color Burn at 30% Opacity.
That's the design is done, now it's up to you to add your own little touch.
Other options