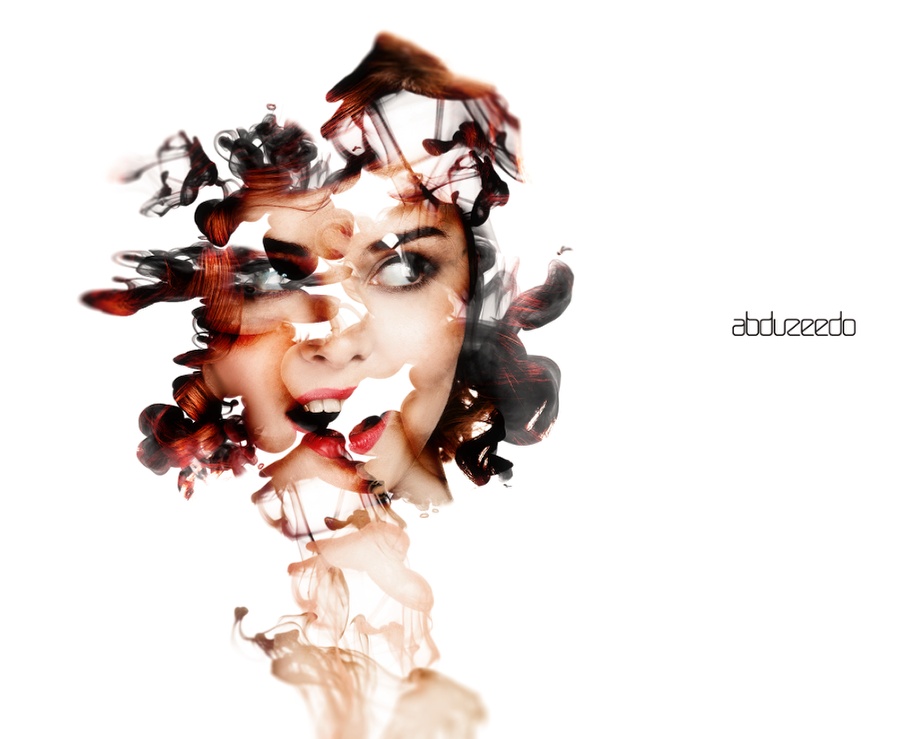
Abstract Photo Manipulation in Photoshop CS 6
The new promotional images for Photoshop CS6 are really amazing, they were created by Alberto Seveso, an incredible digital artist from Italy. Seveso has been pushing the limits of creativity and the use of Photoshop for a long time and we are great admirer of his work. Intrigued with artworks we decided to create something inspired by his work.
It's amazing to see that such amazing images are most of the times done by simple techniques. This tutorial will show you how to achieve similar effect using Photoshop with Masks and Layer Effects. It's an intermediate tutorial but I am sure you will have so much fun doing as we did.
Step 1
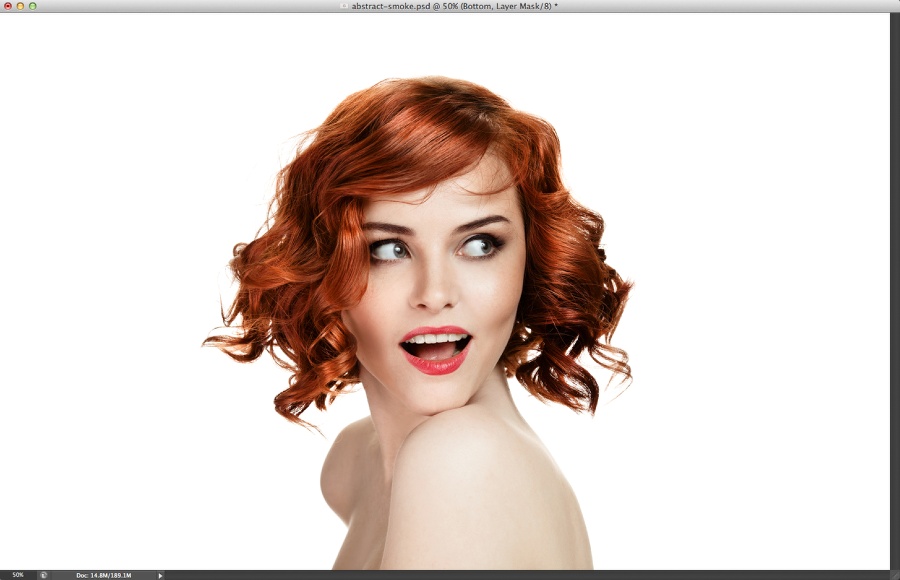
Open Photoshop and create a new document. I am using 2880x1800 pixels for mine After that let's use a photo of a beautiful girl. The one I am using is from YuriyZhuravov and it's title Beautiful smiling woman portrait on white background. Courtesy of Shutterstock.
Step 2
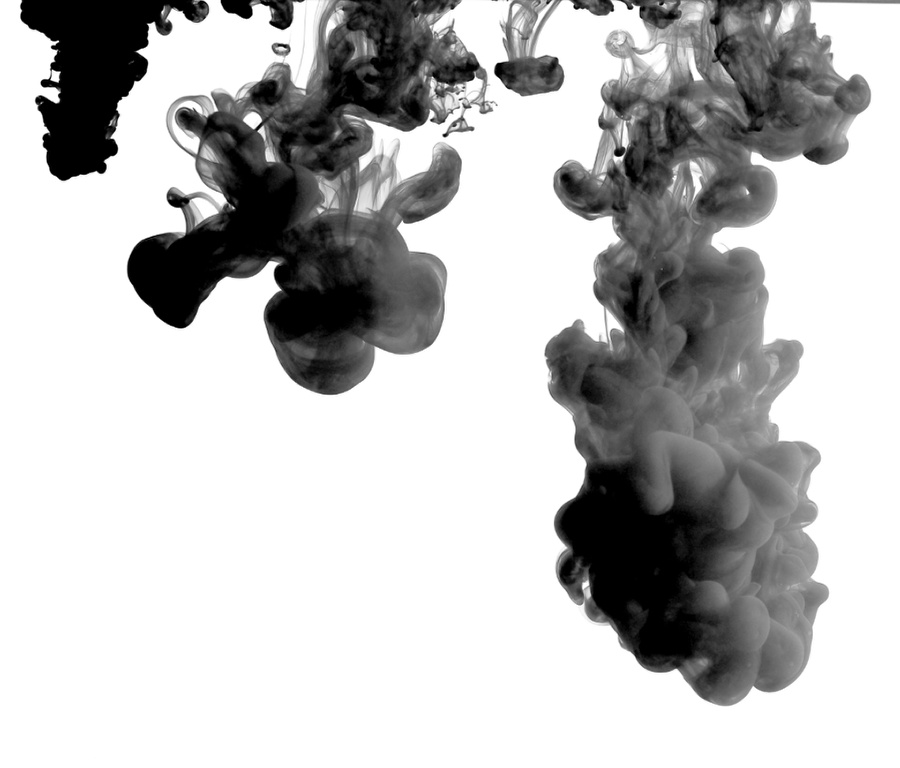
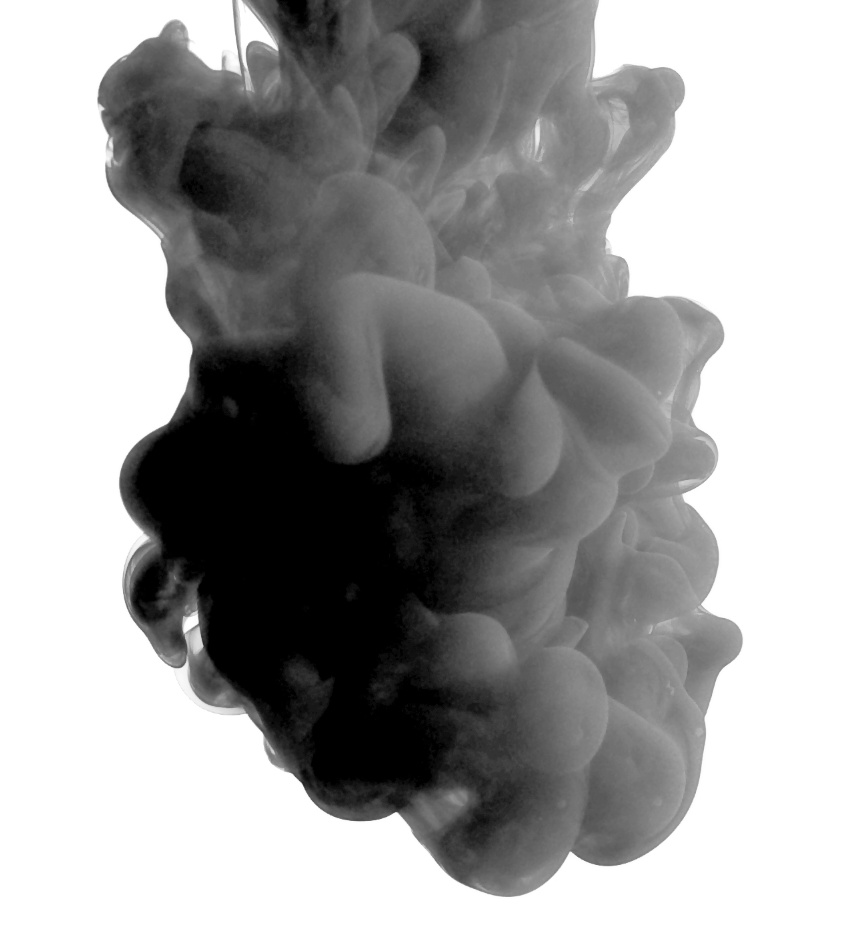
Now let's create some brushes to use for our masking exercise. The images I am using to create the brushes are also courtesy of Shutterstock and this first one is called "inks in water, colorful abstraction" by ADA_photo.
Step 3
Copy some parts of the previous image and paste in a new document. After that go to Edit>Define Brush. Add a name to your new brush and create a few more.
Step 4
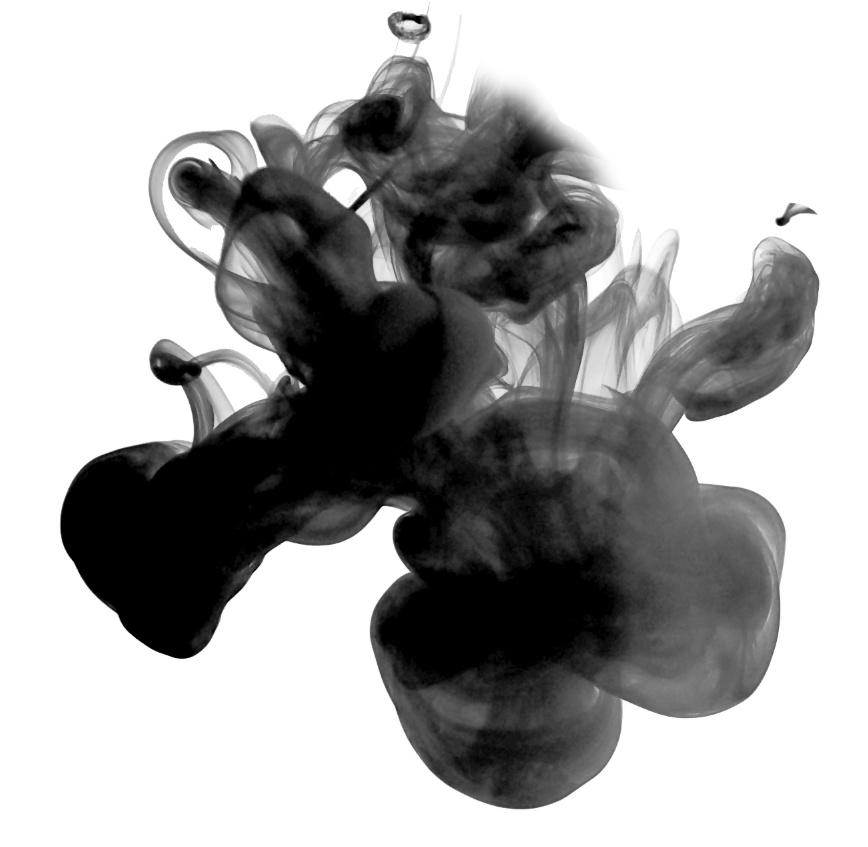
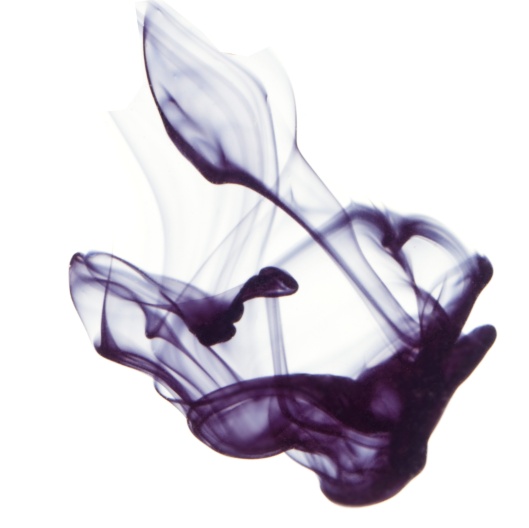
Here's the second one, simply do the same thing as the previous step.
Step 5
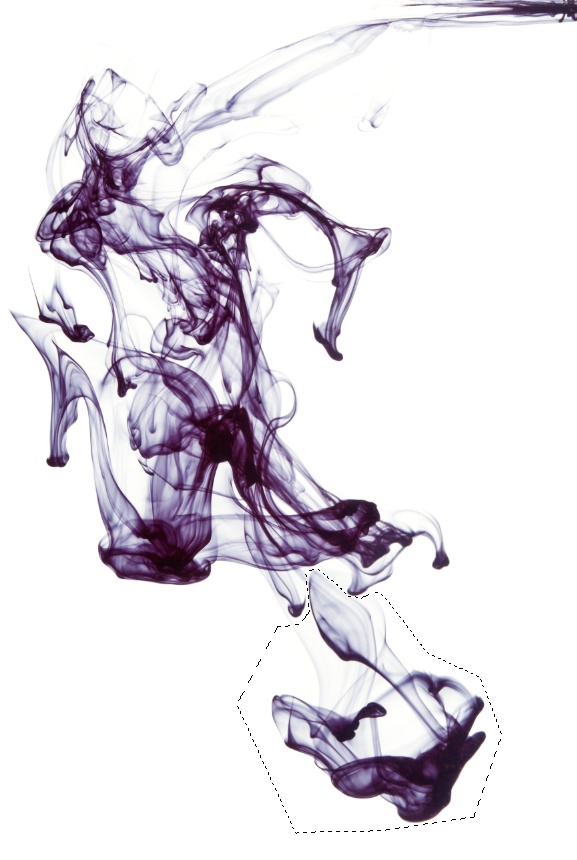
Now using a different image, this one from NatUlrich called Ink in water. Isolated on white background. Again copy a few parts to create different brushes. I created 4 brushes for my image.
Step 6
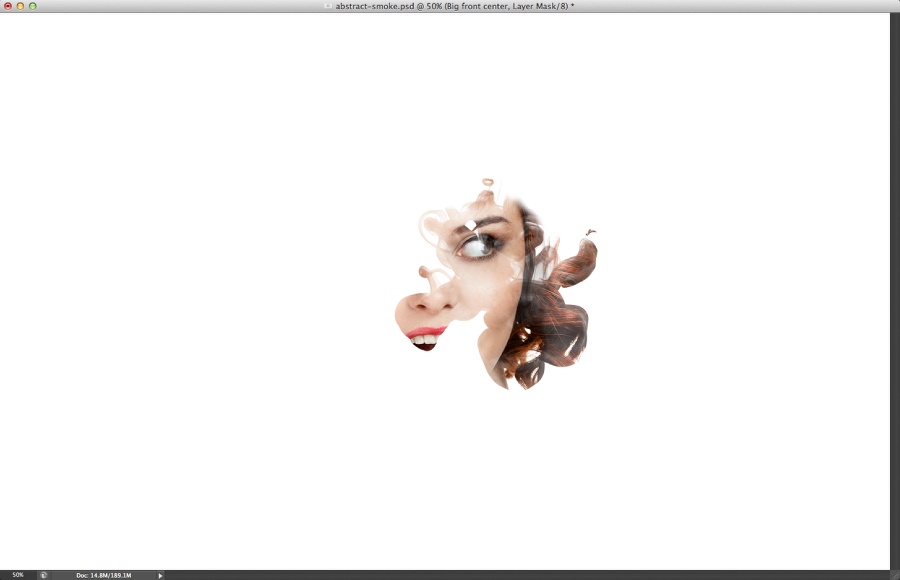
Select the image layer and group it so the image will be in a folder. Duplicate this folder a few times because we will need it as we move forward. Hide all new folders and keep only one visible. Select the visible folder and go to Layer>Layer Mask>Hide All. The image will be completely hidden. After that select the Brush Tool (B) and one of the brushes you created from the stock photos. Using white for the color, paint on top of the layer mask to make part of the girl visible.
Step 7
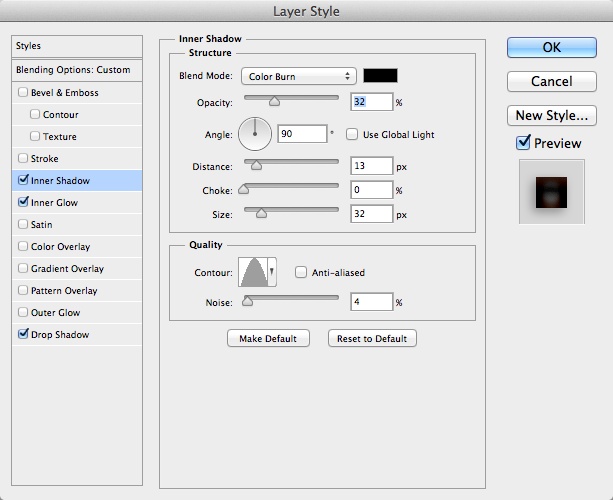
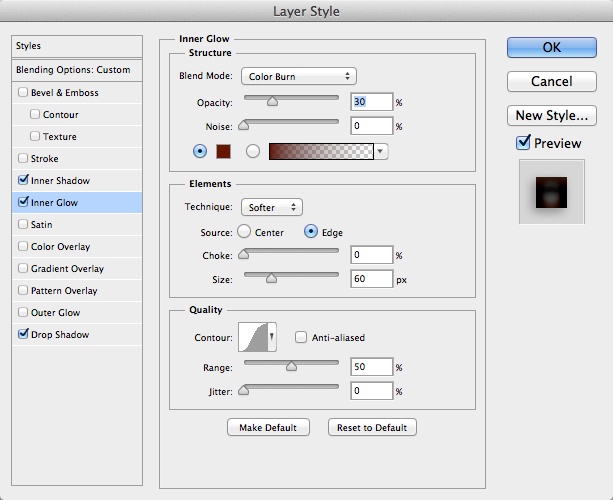
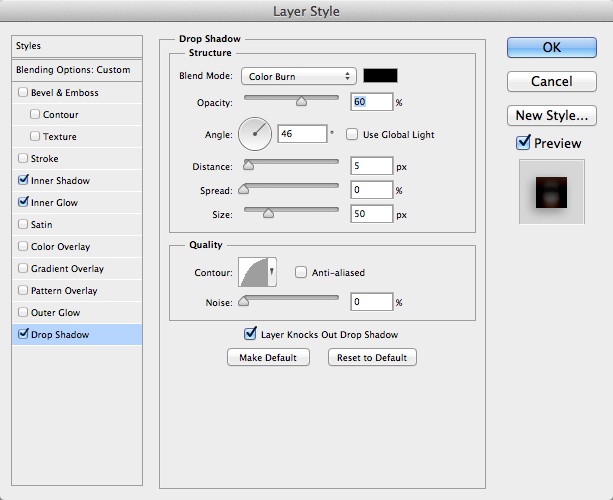
Let's add some layer styles. I am using Inner Shadow, Inner Glow and Drop Shadow to create some depth for the different layers. You can see the values below.
Step 8
Select one of the hidden folders and make it visible. Apply the same process as we did in the previous steps to add another layer of our abstract collage.

Step 9
Add a new layer inside the folder and group this new layer as well. Change the Blend Mode to Color Burn. Select the layer again and change the opacity to 30%. Using the Brush Tool (B) with black for the color and a very soft brush, start painting a sort of shadow on the overlaping areas. The idea here is to add more depth and separate the parts a little bit more.
Step 10
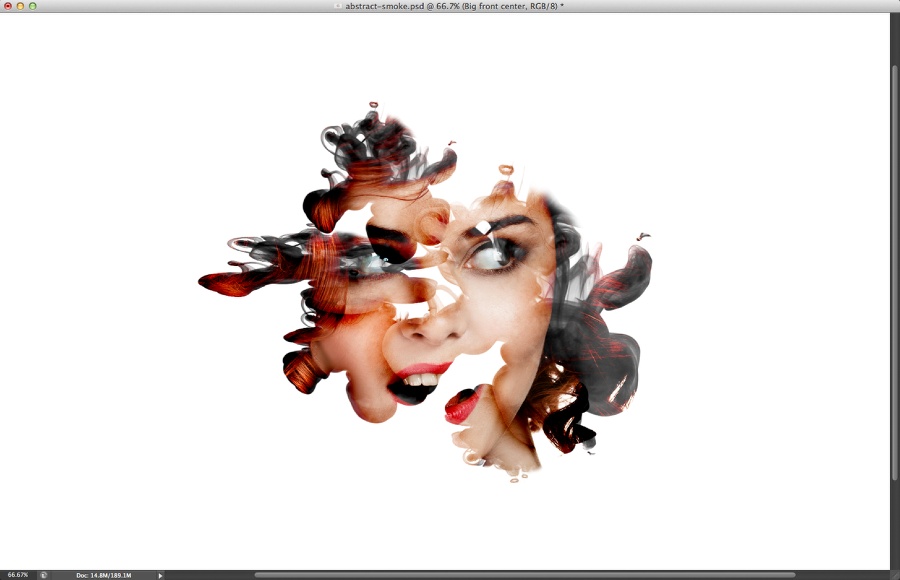
Add more parts by repeating the same process. Every new part you should use a new folder with the image and the color burn folder.
Step 11
Use different brushes and different sizes to make the image more dynamic.
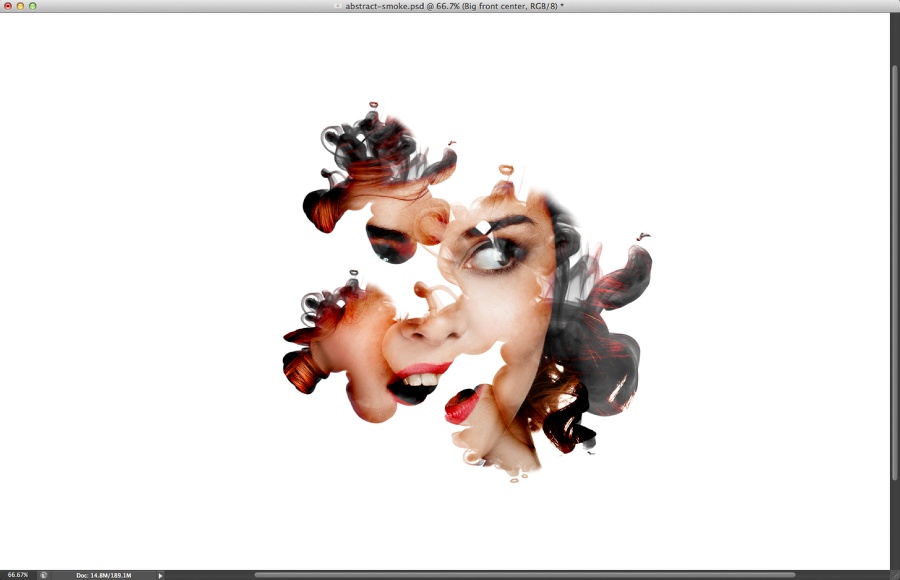
Step 12
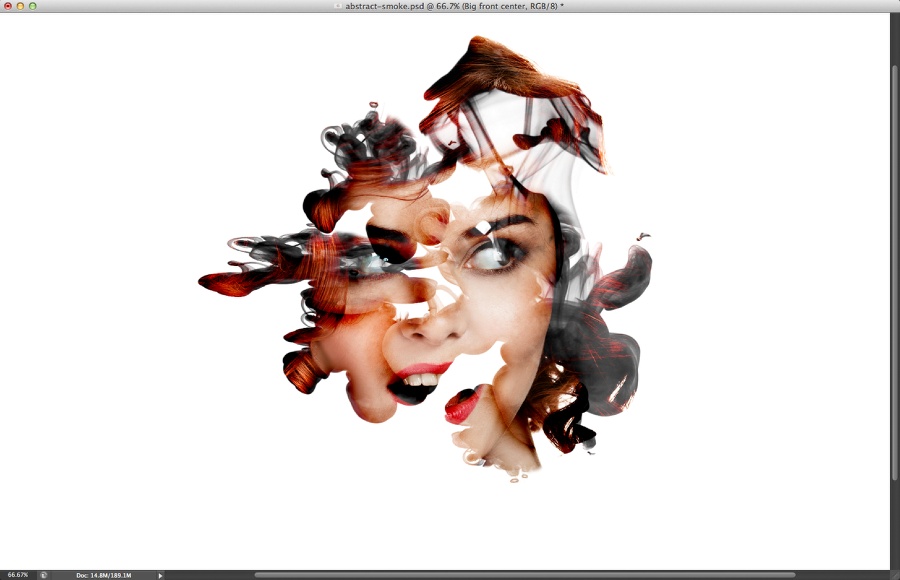
Here is the final version of my layers. Notice that there's always a shadow between layers and the bottom one is different than the others. Try to vary as much as you can to make the effect more real.
Step 13
Select all layers and duplicate them. After that merge all new layers into one. Go to Filter>Blur>Iris Blur. The Iris Blur is pretty cool because we have a real time preview. So move the blur around until you get something like the image below. The goal is to blur the edges a little bit.

Conclusion
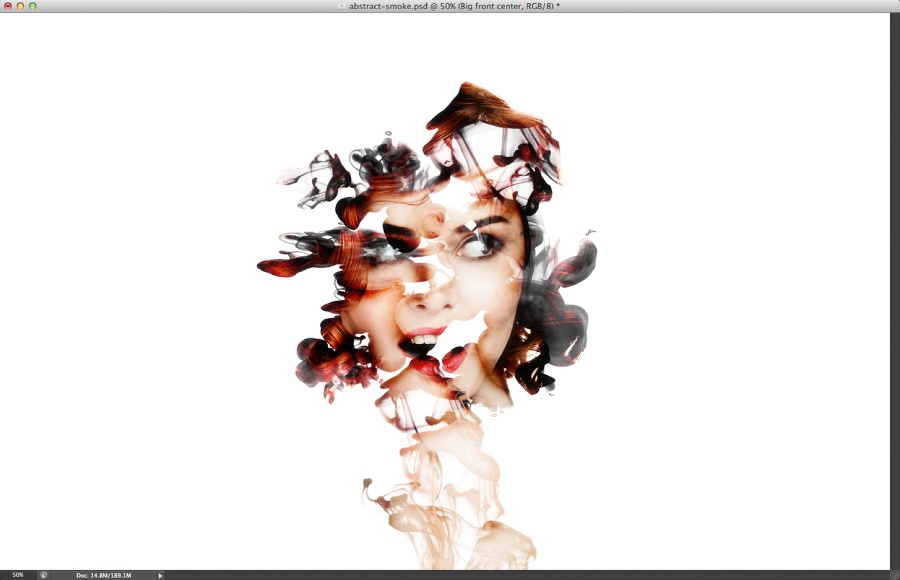
Duplicate the layer and apply change the Blend Mode to Soft Light at 70% Opacity. Also duplicate it again and apply a Gaussian Blur with 10 pixels Radius. Change the Blend Mode to Screen at 40% Opacity. In the end you can apply a Photo Filter as well to make the colors match a little bit more.
Now you can try with different images, brushes and colors. Remember, the tutorials are more to illustrate the process, try to come up with your own images.