by abduzeedo
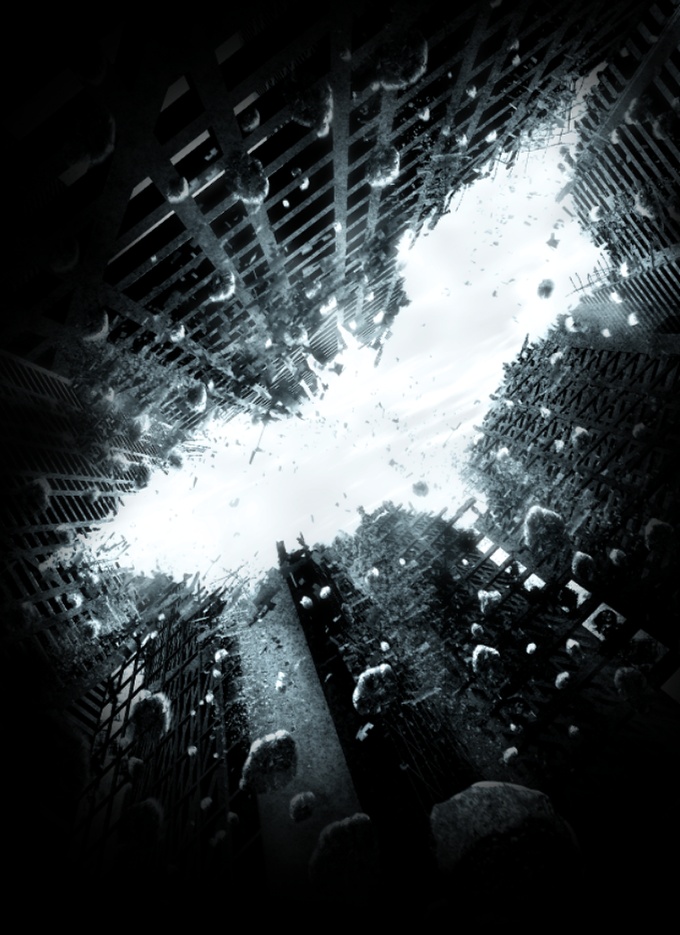
A couple of weeks ago I saw the new Dark Knight Rises poster and I love it. The concept was beautiful, using negative spaces to show the Batman symbol. As usual I started to think about ways to do that in Photoshop, then last Saturday I started looking for assets and trying to put together the first concept. After a couple of hours searching for images I found good ones and had a nice start.
Today, Sunday, I woke up 6:30 in order to finish this piece and of course share with you my process. As you will see in this tutorial, the technique behind is pretty simple and straightforward. I didn't want to create exactly the same because I know it's impossible due the assets and I believe the original one was done using 3D.
So in this tutorial I will show you how to create the Dark Knight Rises poster in Photoshop. Be ready, it might take you a few hours, but the result is really nice and you will be able to apply this technique in other future projects, I am really sure of that.
Step 1
Open Photoshop and create a new document. I am using a portrait mode for the poster, the size is 2550x3500 pixels. After that fill the background layer with grey (#b0adad).
Step 2
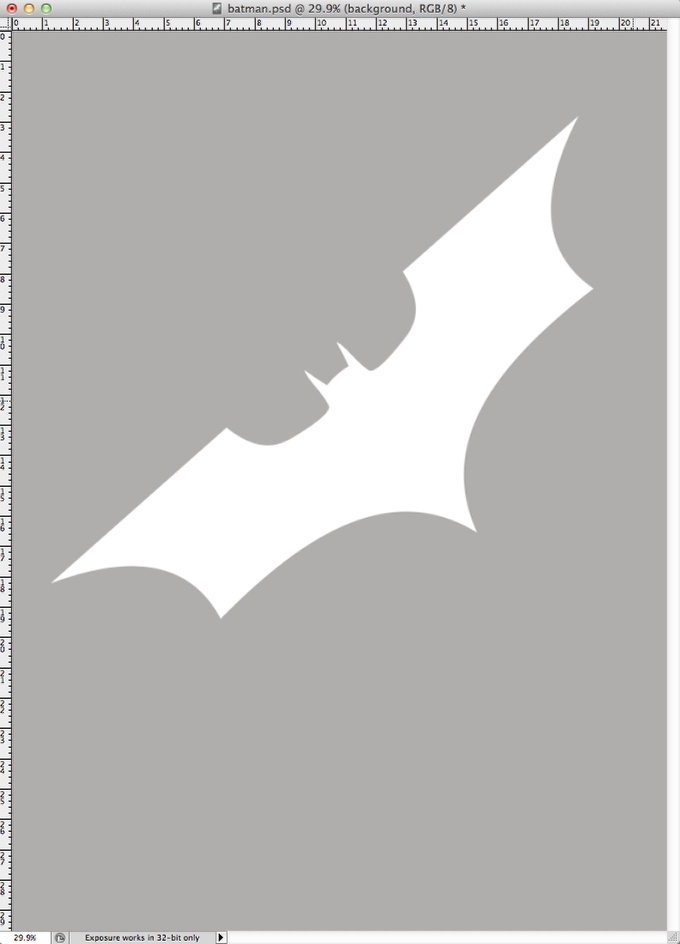
The next step is find the Batman logo. Search it on Google, it's pretty easy to find. Once you have the logo, place it in your canvas like the image below. The color doesn't really matter, we will use for masking reference.
Step 3
As I said in the beginning this tutorial is a big photo collage, in which the most important thing is finding the right assets. In this part we have to place some buildings. I found quite useful images on Shutterstock and you can check them out here:
http://www.shutterstock.com/pic-20863036/stock-photo-modern-buildings-i…
http://www.shutterstock.com/pic-346534/stock-photo-three-corporate-buil…
http://www.shutterstock.com/pic-2286315/stock-photo-corporate-buildings…
http://www.shutterstock.com/pic-80798674/stock-photo-corporate-building…
Step 4
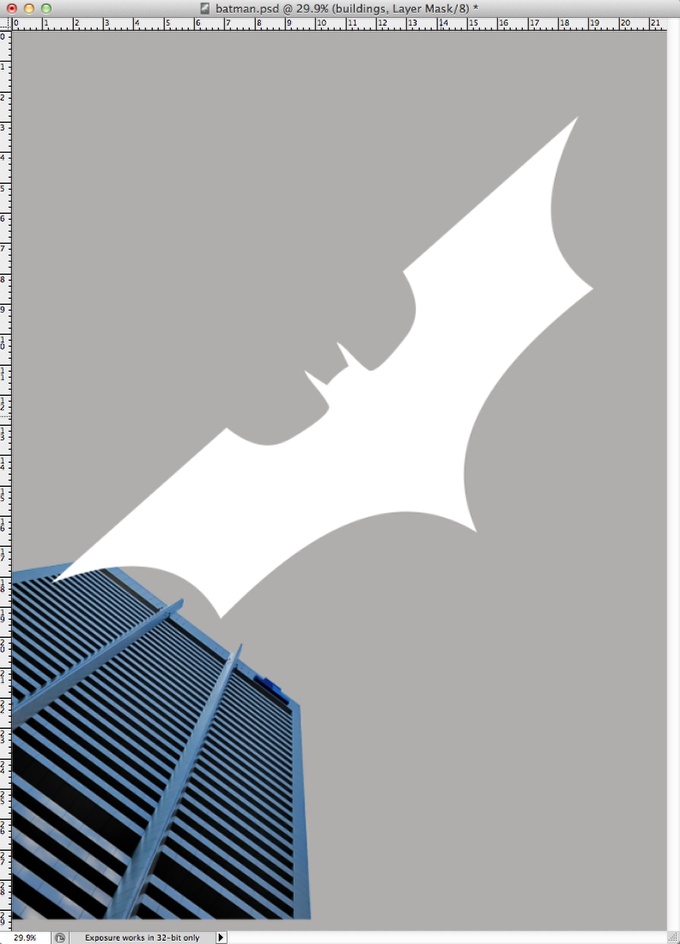
Start placing the buildings using the batman logo for reference of position and size.
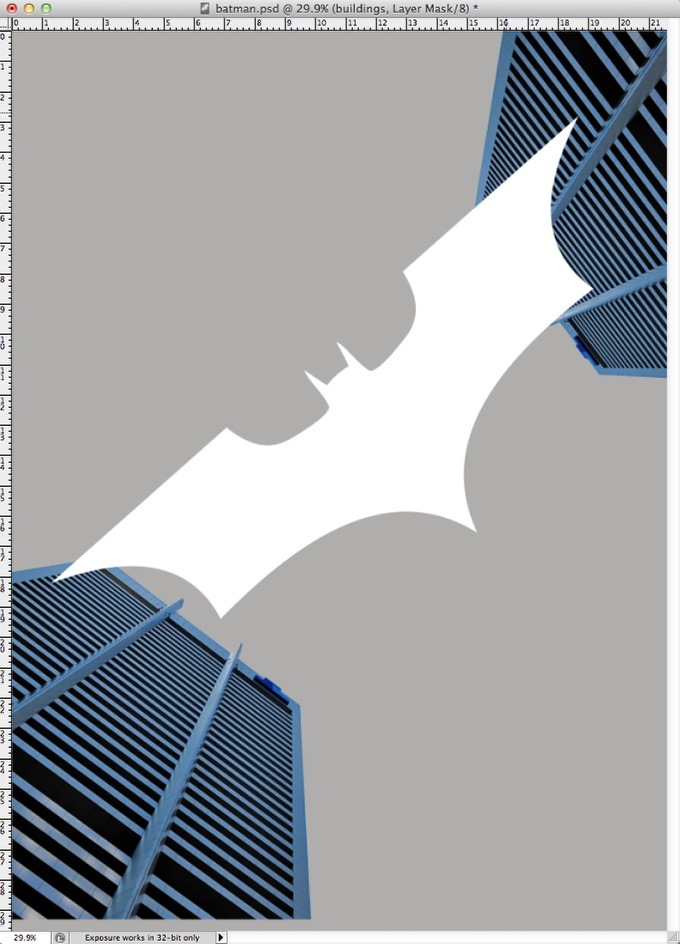
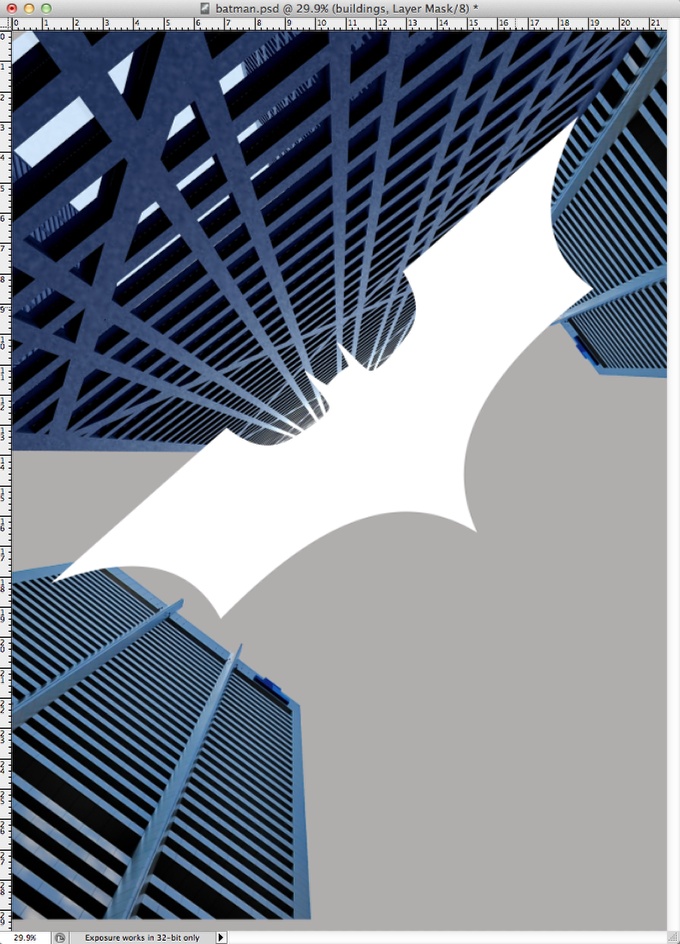
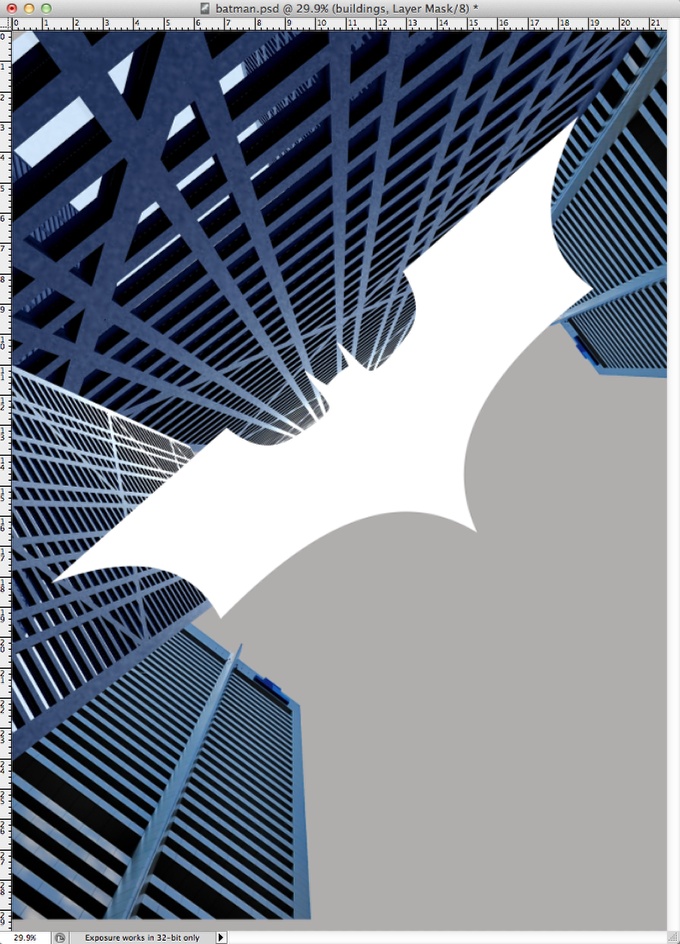
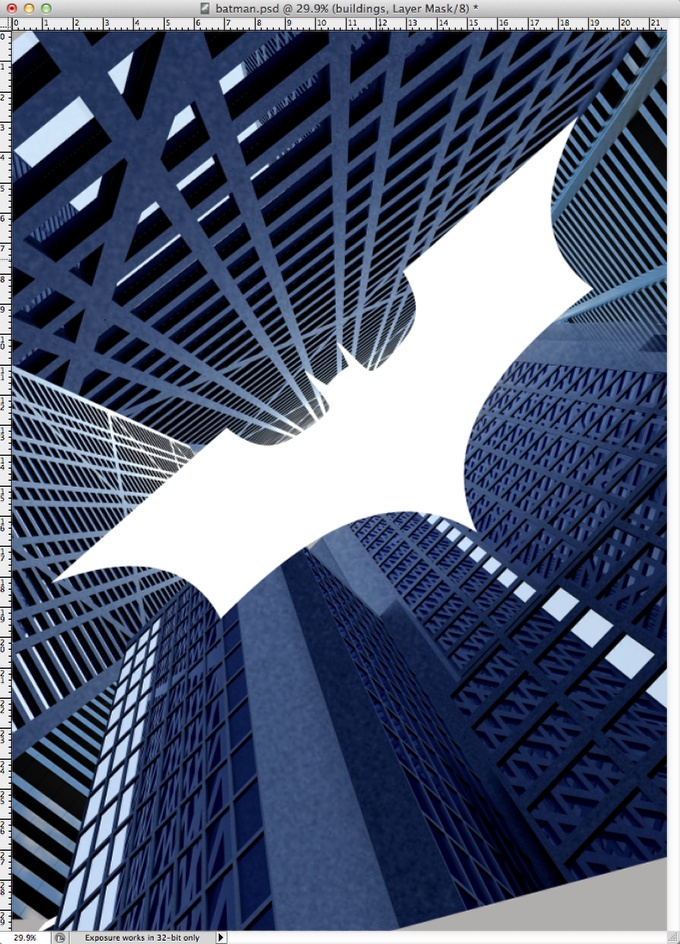
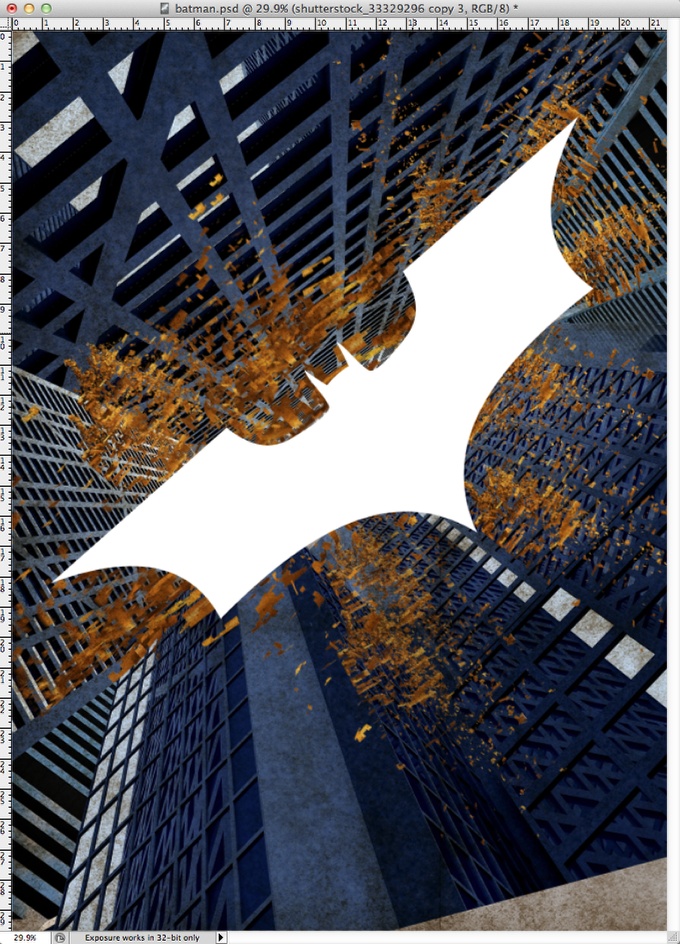
Step 5
Here we have covered all canvas and the logo is our negative space.
Step 6
In order to create all the shatters and destruction in the original poster I used some other images from Shutterstock that I had downloaded while back. It's good to have these assets because you can always reuse them later. This one can be found at http://www.shutterstock.com/pic-73243228/stock-photo-abstract-character…
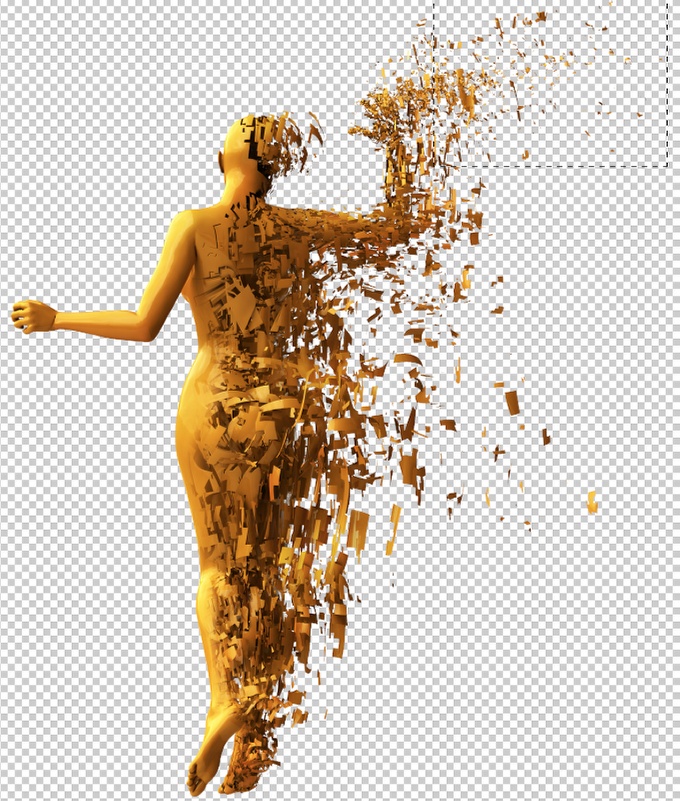
Step 7
Just copy some shatters from the image and start placing in your scene. You can resize and rotate them, or even create a brush. I was lazy so I was copying and pasting them.
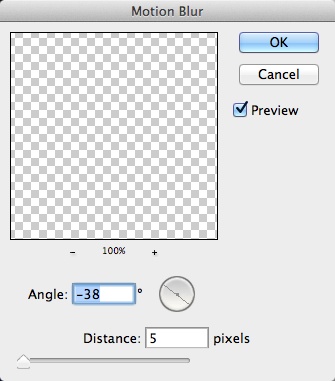
Step 8
In order to make the effect more realistic it's necessary to add some motion blur to these shatters. So for every block go to Filter>Blur>Motion Blur. Use the building perspective for Angle reference.
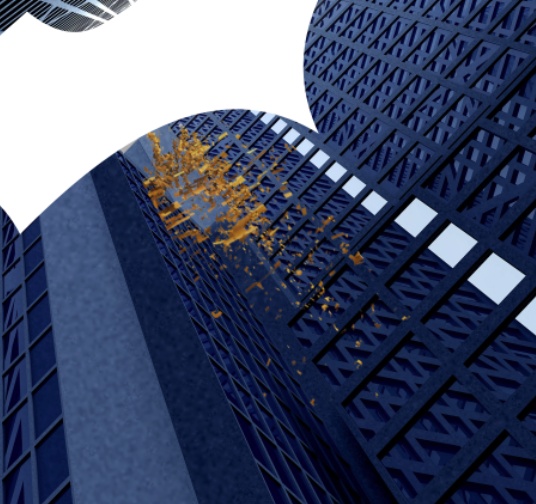
Step 9
Here you have the scene with the shatters.
Step 10
Everything was too clean an perfect in terms of textures and colors. So in order to solve that I placed a big concrete texture on top of the other layers with Multiply for th Blend Mode. Don't worry about colors yet, we will get there in a few.
Step 11
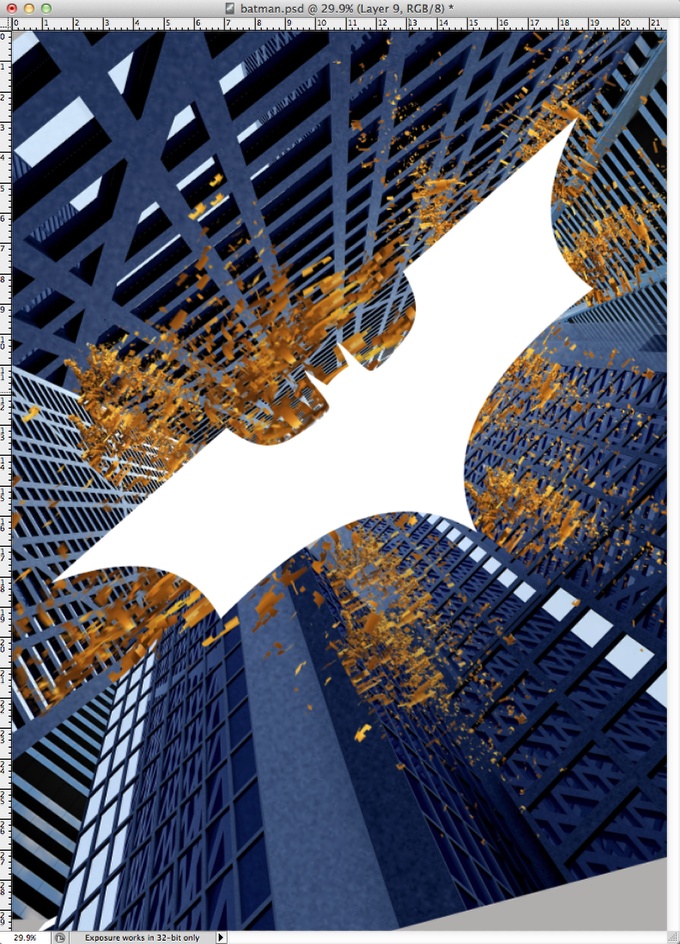
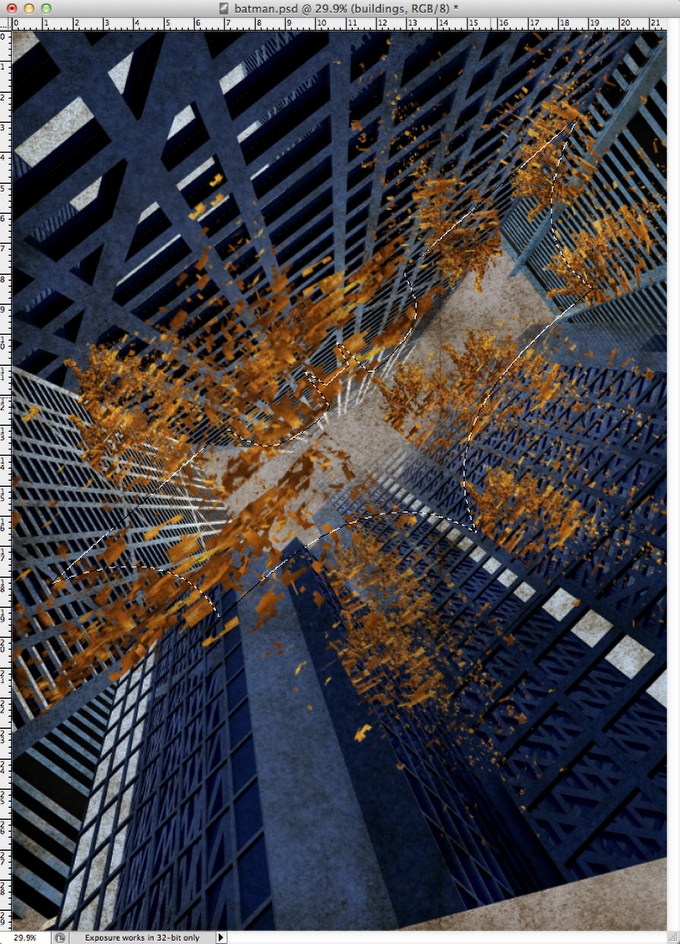
Select all layers but the background and go to Layer>Group Layers. After that with the Magic Wand Tool (W) select the batman symbol. You can hide the batman symbol layer right after that.
Step 12
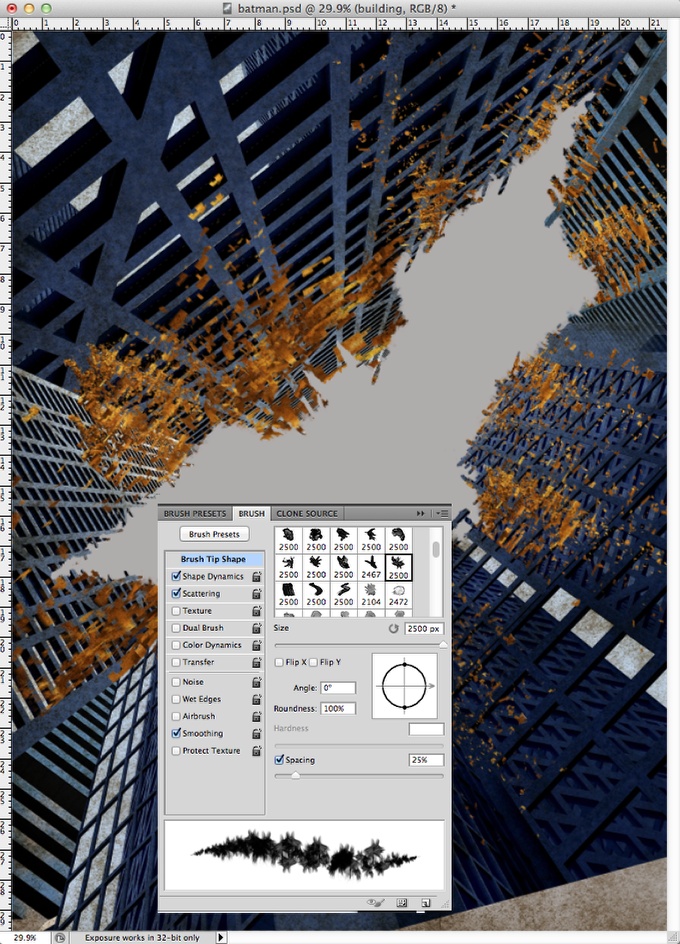
With the group selected go to Layer>Layer Mask>Hide Selection Now the buildiing and the shatters will be hidden on the area that th batman symbol was. It looks good but it's too perfect. So in order to solve that let's use the Brush Tool (B) and create a brush using a grunge brush. Just Google for grunge brushes in Photoshop. Tip: Reduce the spacing, use Shape Dynamics and Scattering in order to make a brush that is perfect for destruction effects.
After that start painting in the mask with black and the new brush. The idea here is destroy the edges of the batman symbol to make it very subtle.
Step 13
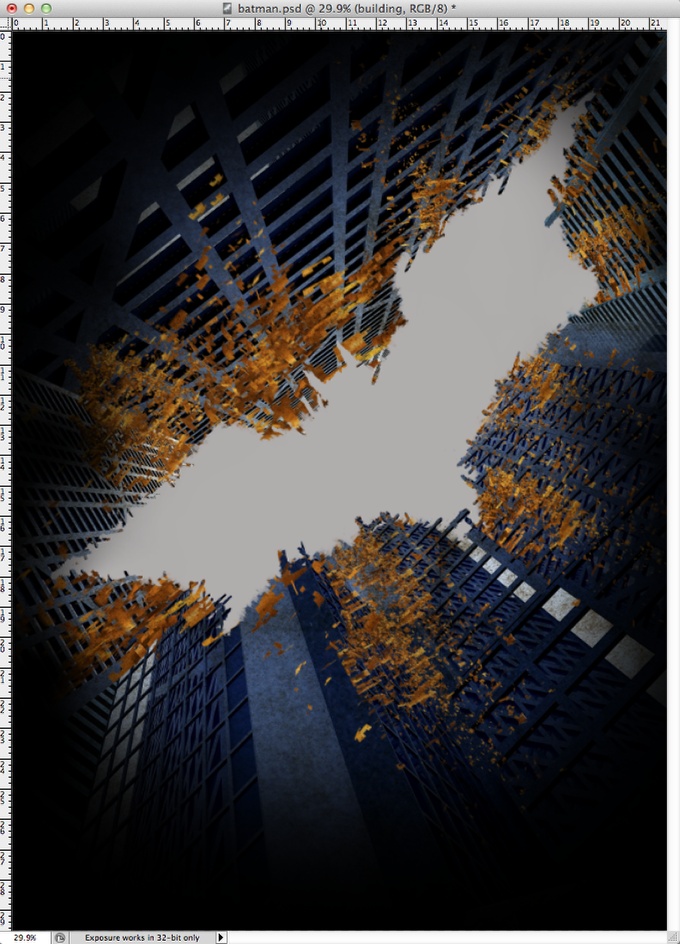
Add a layer on top of the others and then with the Brush Tool (B) and a very soft brush, start painting the edges of the canvas with black to create a vignette effect.
Step 14
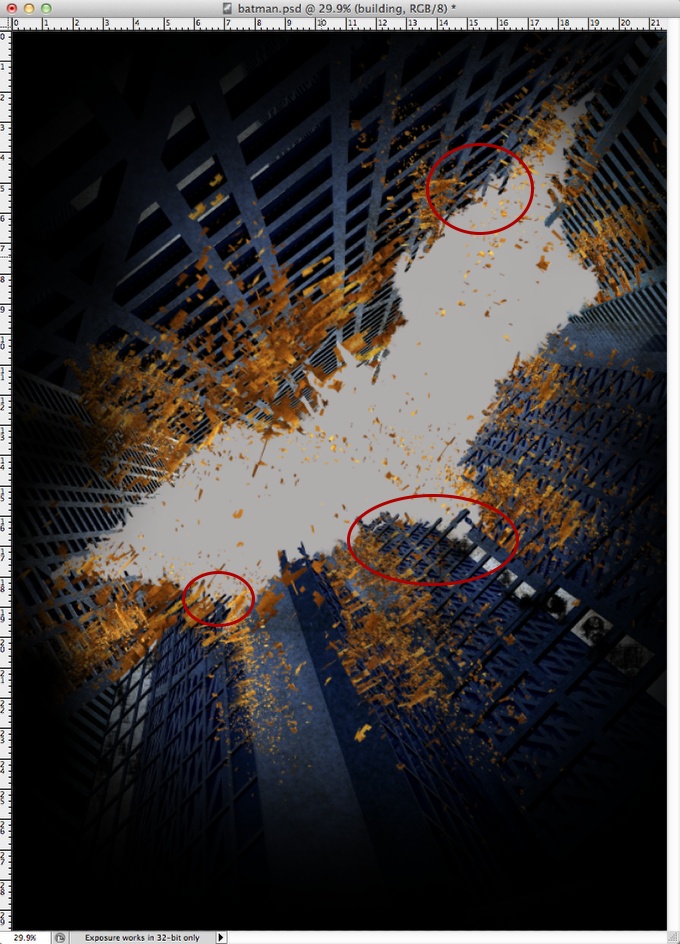
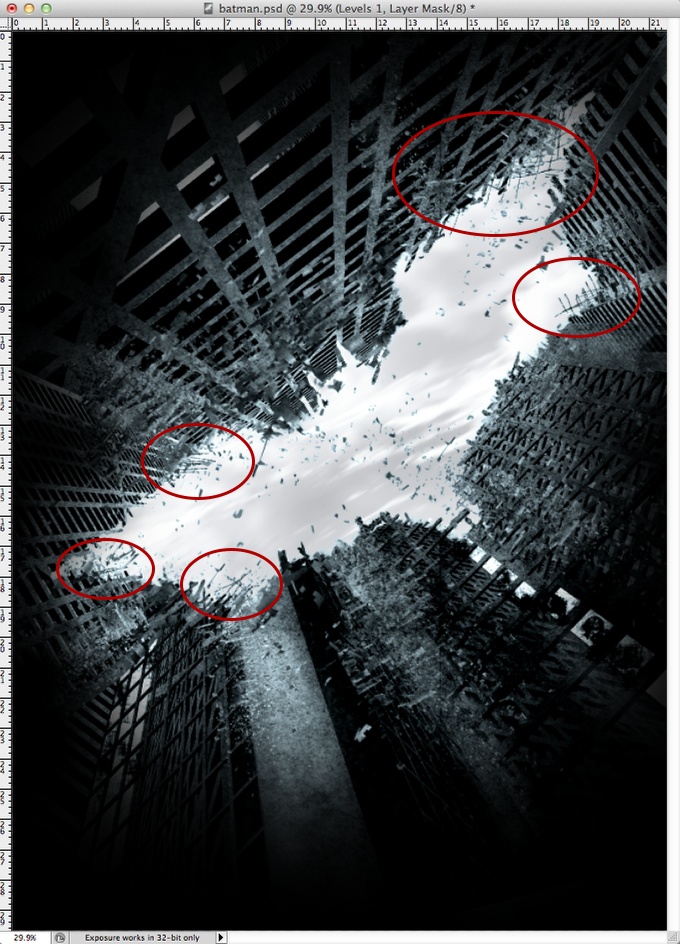
The image still was too clean in my opinion, so I added a few more shatters and also paint some of the white windows with black using a grunge brush. The idea is make the image really destroyed. Another detail is when you are make the edges of the batman symbol less uniform, try to make it was the buildings were really falling a part. So keep some windows and structure of the building visible. Use the image below for reference.
Step 15
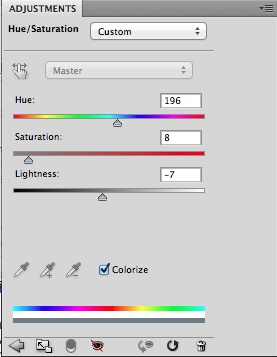
Time to fix the color problem. There are many ways to do that, but my idea is find a quick fix. So go to Layer>New Adjustment Layer>Hue and Saturation. Change the Hue to 195, the Saturation to 8 and the Lightness to -7.
Step 16
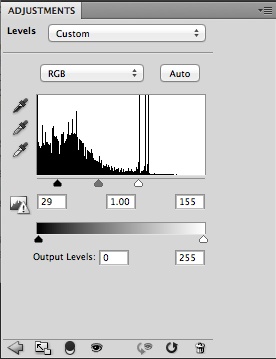
Now go to Layer>New Adjustment Layer>Levels. Use 29 for the black input, 1.00 for the grey and 155 for the white input. Tip: both adjustment layers have to be on top of the other layers.
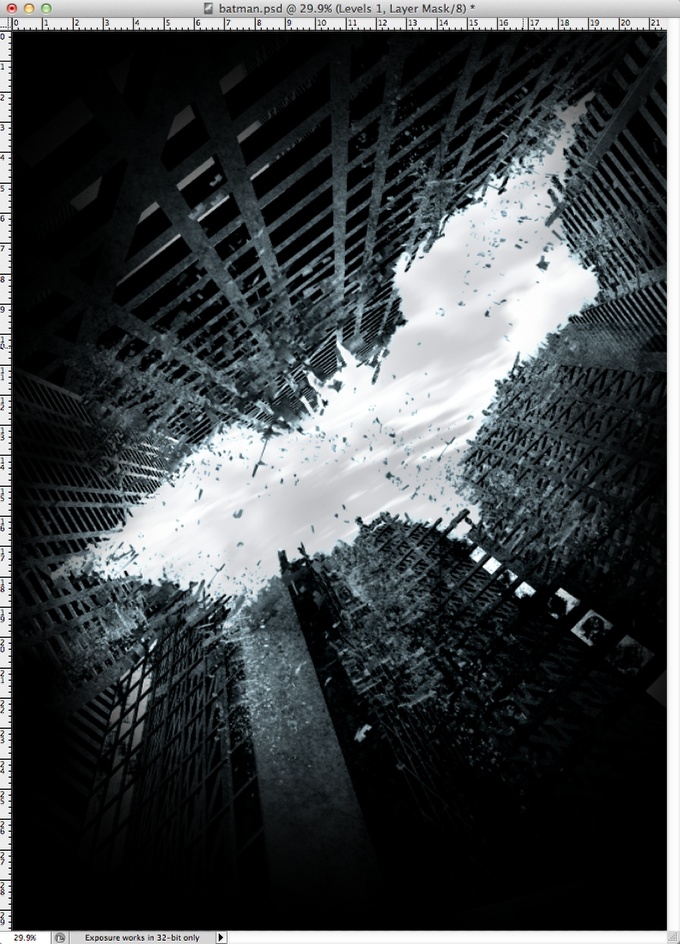
Step 17
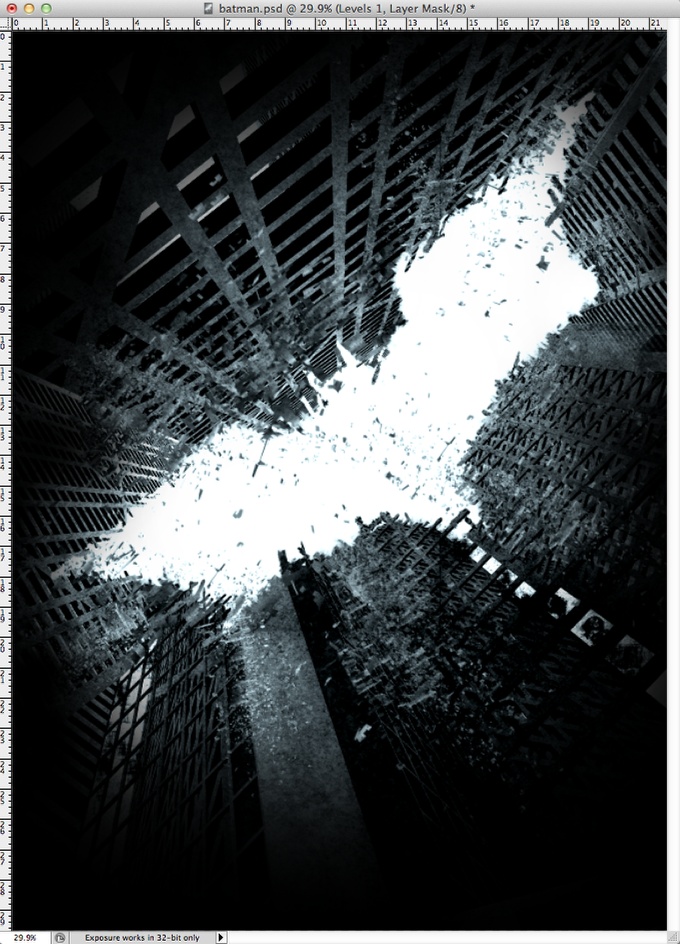
Here is the image after the adjustment layers. It looks really nice aready.
Step 18
Here lets add some clouds in the sky. Just use any clouds image you find, desaturate it and place it using multiply for the Blend Mode. If you place it on top of the other layers, use the same mask you are using for the buildings to show only the batman symbol area.
Step 19
Add a new layer behind the buildings layer and the with the Brush Tool (B) and a very small brush with black, start painting some sort of lines on top of the building like in the destructed areas.
Step 20
The original poster had some rocks falling from the sky. So let's add some rocks too. I used another image from Shutterstock for reference, you can find it here http://www.shutterstock.com/pic-24964786/stock-photo-zoom-of-gravel-gra…. I just selected one rock copied and pasted it in my design.

Step 21
Paste the rock in your design and select it. After that go to Edit>Define Brush. You will create a brush with the shape of the rock. Edit the brush and for the Shape Dynamics make sure you have Flip X and Y selected, also Size Jitter. Select Scatter too in order to make the brush very random.
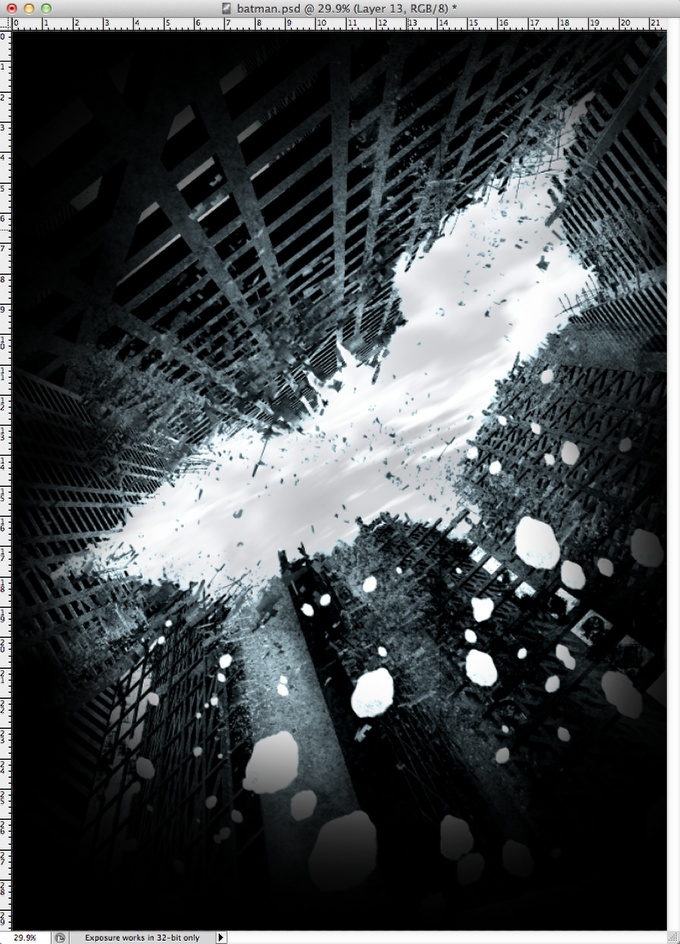
Once you have the brush done, start painting some rocks falling from the sky. Follow the perspective and make the ones on top smaller than the ones close to the bottom of the page. You can see I used white for the color, don't worry about that, we will fix this issue with Layer Styles.
Step 22
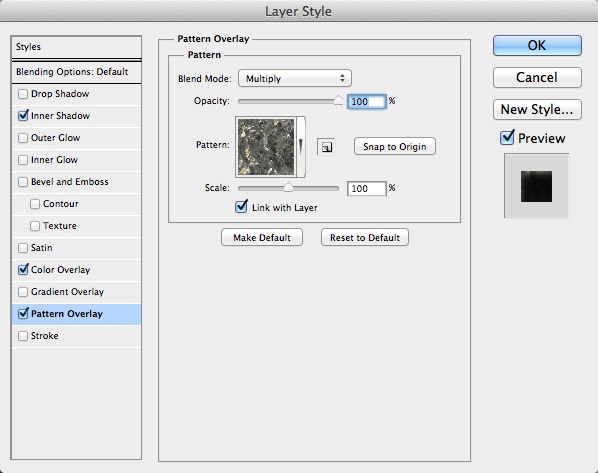
Go to Layer>Layer Style>Pattern Overlay. Select Multiply for the Blend Mode and for the Pattern select Black Marble (it's a default one).
Step 23
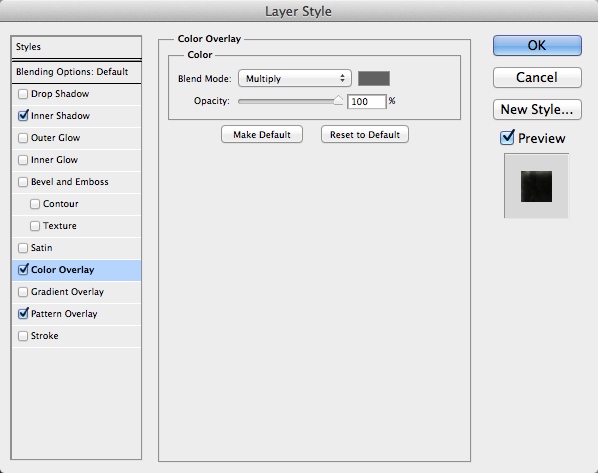
Select Color Overlay. For the Blend Mode use Multiply and for the color use a dark grey.
Step 24
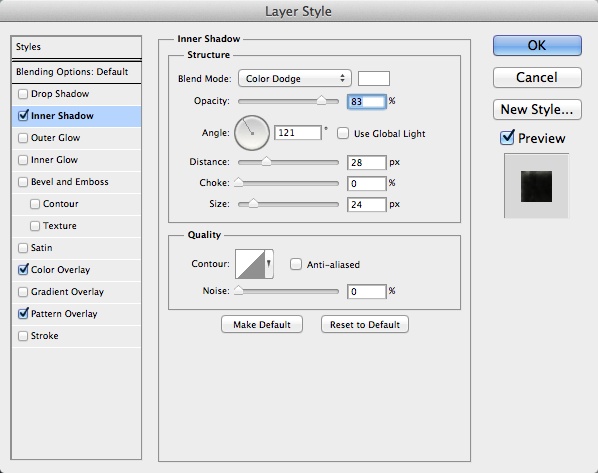
Now select Inner Shadow. For the color use White; for the Blend Mode use Color Dodge; for the Angle, this is really important, depending where the rocks are, use an angle that follows the perspective of the building they are in front of. In this case 121º. For the Distance use 28 pixels, for the Choke 0 and for the Size 25 pixels.
Step 25
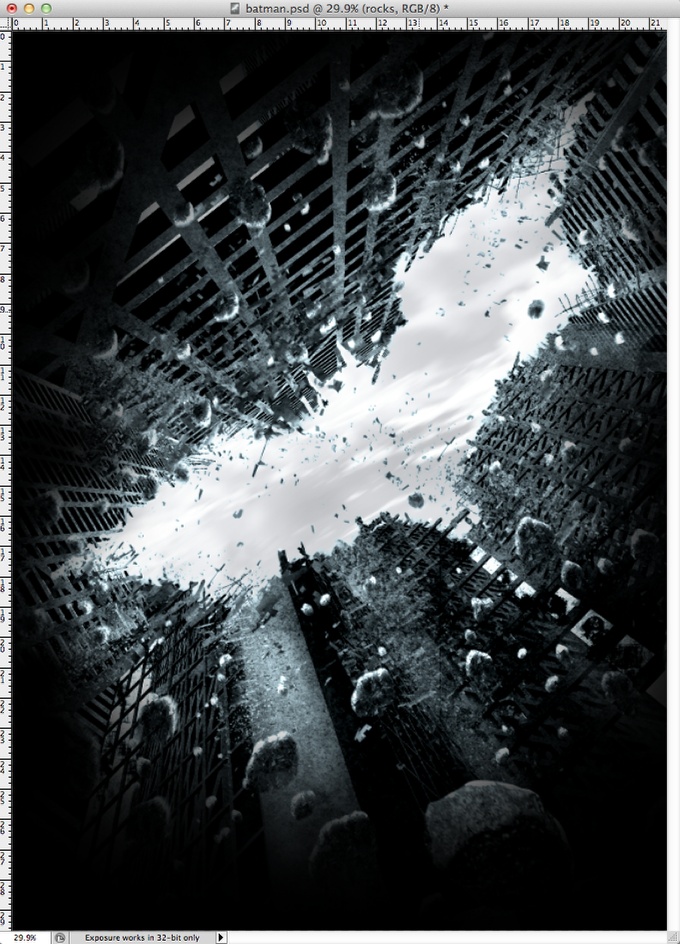
Here are the rocks with the layer styles. Notice that the adjustment layers are on top of the rocks layer as well. Another important thing here is to apply motion blur (Filter>Blur>Motion Blur) to the rocks as we did for the other layers in the steps 7-9.

Step 26
Add more rocks in your design. Remember the inner shadow angle will vary according to the location of the rocks.
Step 27
Select all layers and duplicate them, after that merge all the duplicated layers into one. The shortcut for that is Command(mac)/Control(pc) + Alt + Shift + E. Change the Blend Mode to Soft Light at 50% Opacity. Duplicate this new layer and change the Blend Mode to Screen at 100% Opacity. Go to Filter>Blur>Gaussian Blur. Use 20 pixels for the Radius.
Conclusion
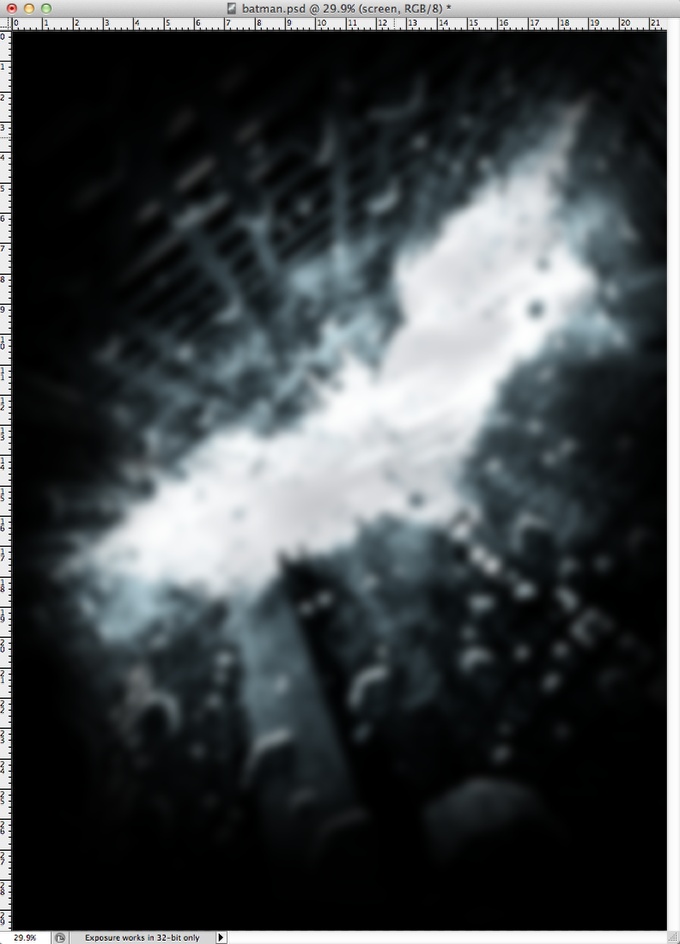
Delete pretty much the whole layer with the screen mode, leave just a few areas around the batman symbol to create a sort of glowing effect. The design is practically done.
As you could see, most of the process was messing with layers and adding some blurs. The most difficult part is finding the right assets, once you find them it's putting everything together and adjust them to make the image look real. It's a really nice technique and I love this posters and recreate them to learn new things and practice Photoshop more. Now it's up to you. Have fun.