by abduzeedo
A few years ago I saw an image of Homer Simpson's head in x-ray. I really like that effect and always wanted to try something like that in Photoshop. I didn't know exactly what to do but then I checked online and saw that some people did text effects with the x-ray type of image. That was indeed a nice idea to try.
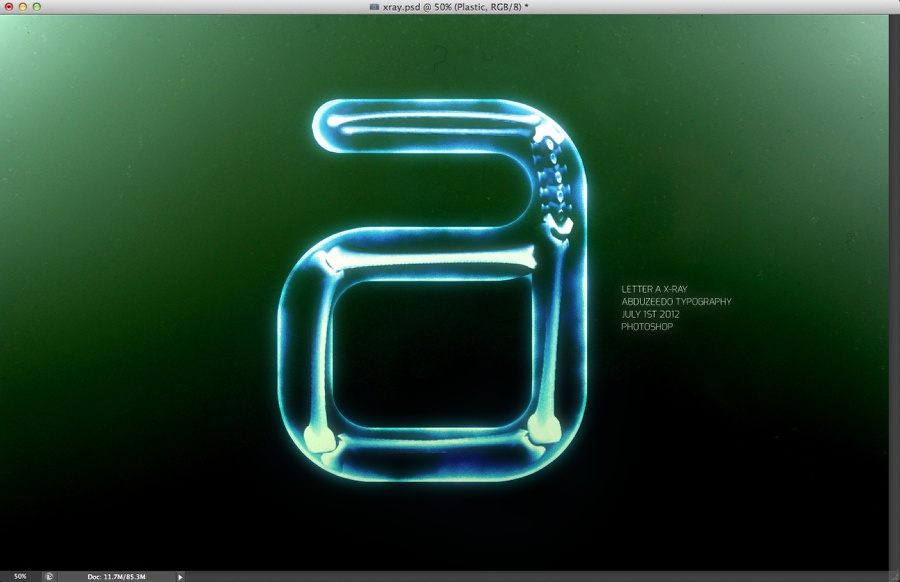
So in this tutorial, I will show you how to create a simple x-ray effect of a letter, in this case, the Abduzeedo logo A. The whole process is quite simple but it will require a couple of hours to pull it off.
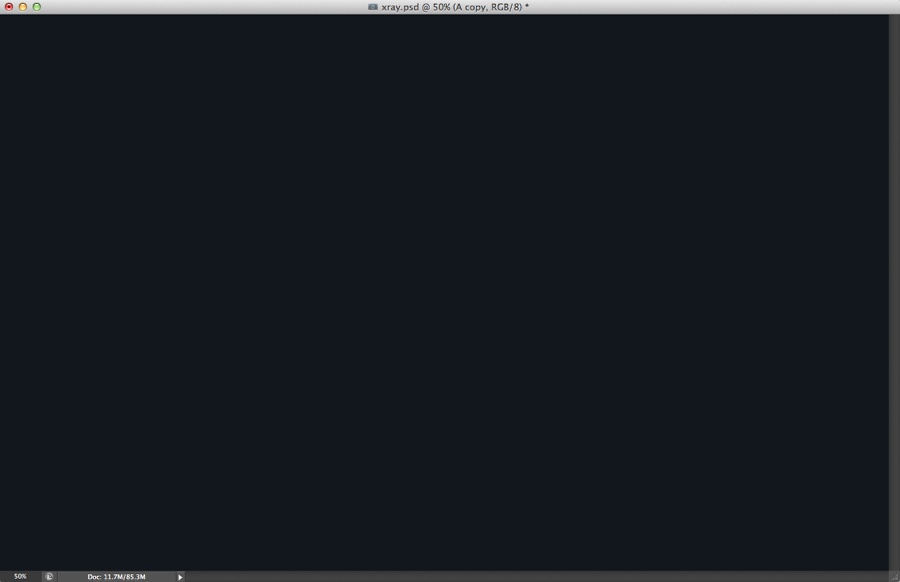
Step 1
Open Photoshop and create a new document. I am using 2560x1600. Also, fill the background layer with #11171c for the color.
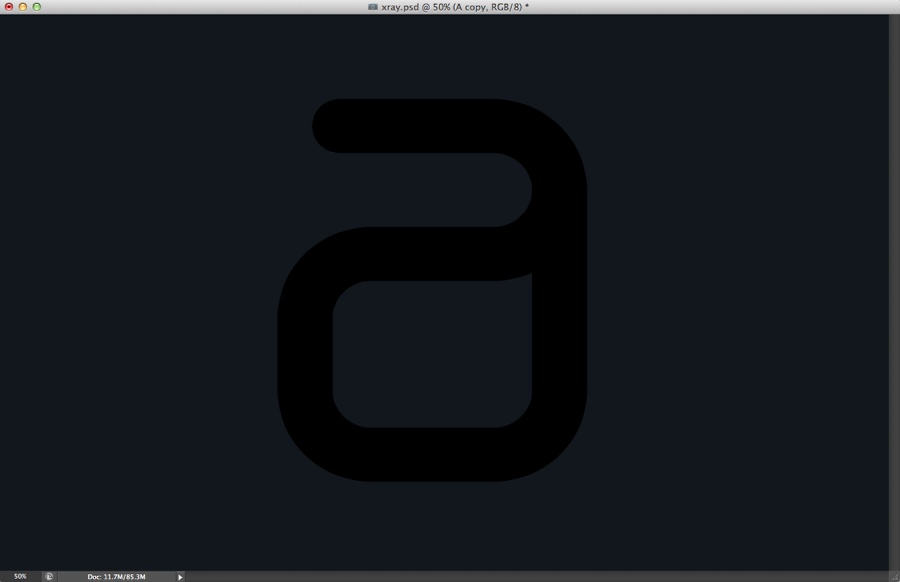
Step 2
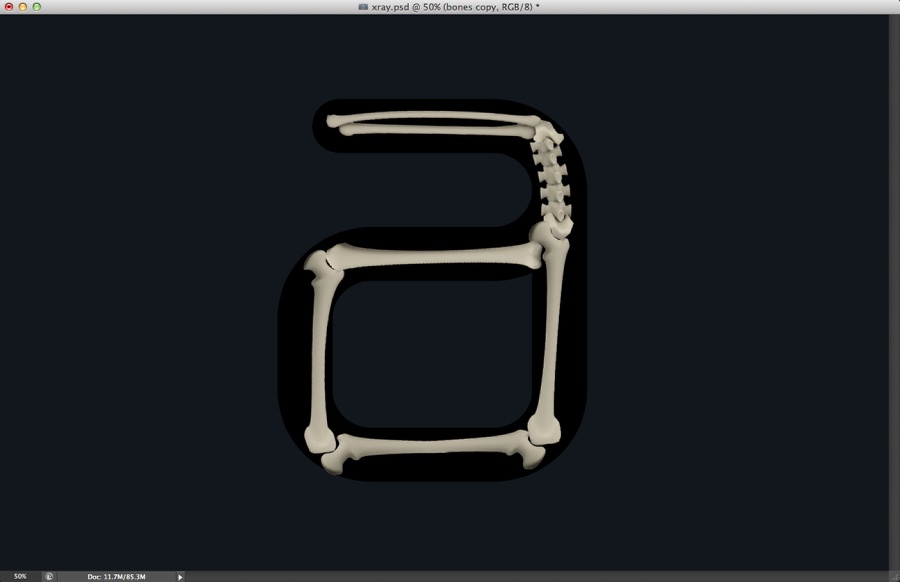
Add the object you want to use for the X-Ray effect. I am using the letter A of the Abduzeedo logo.
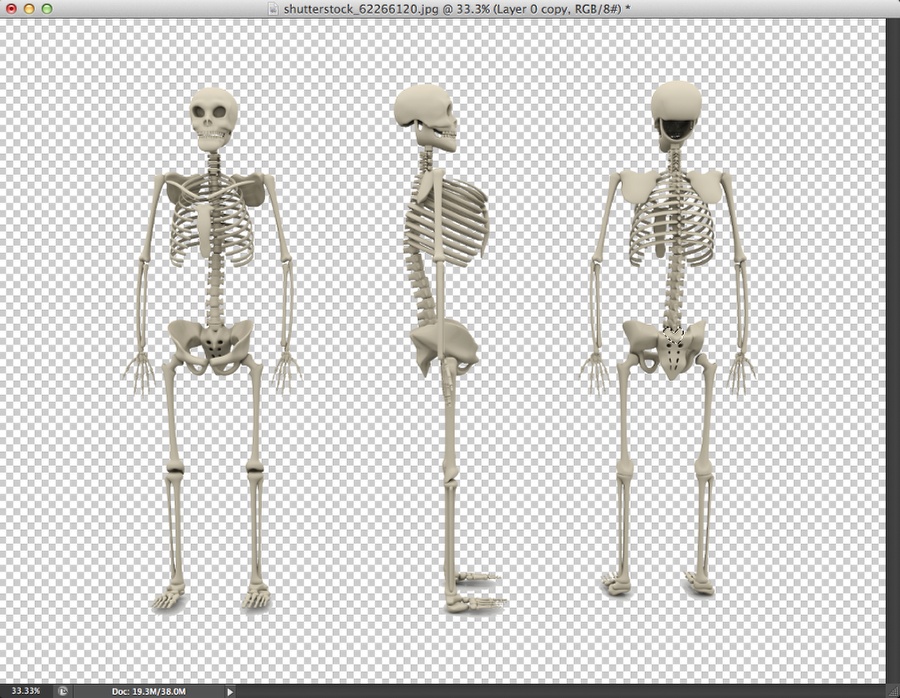
Step 3
Time to find some images of bones. I found one at Shutterstock and you can find it at by using the reference number 62266120.
Step 4
Copy bones from the image and paste in the x-ray document. To make the bones connect you can go to Edit>Transform>Warp and Edit>Puppet Warp.
Step 5
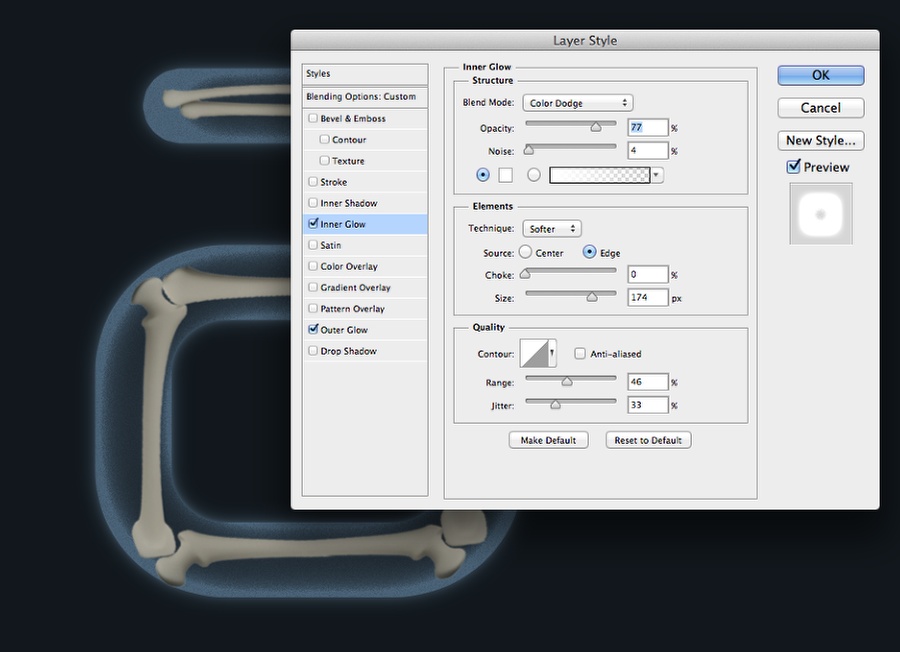
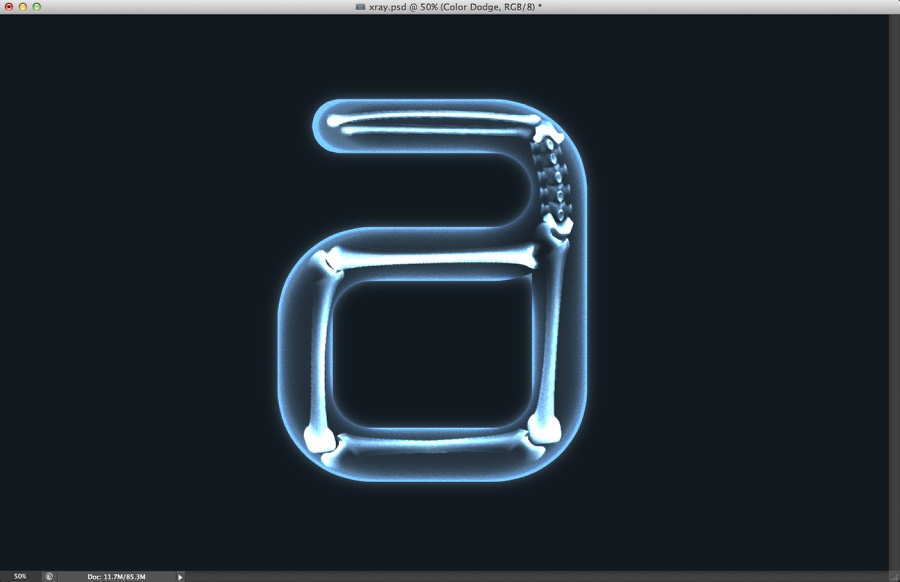
Select the letter layer and then go to Layer>Layer Style>Inner Glow. Use Color Dodge for the Blend Mode, 80% Opacity, 5% Noise, Edge for the Source, 175 for the Size, 45% for the Range, 35% Jitter.
Step 6
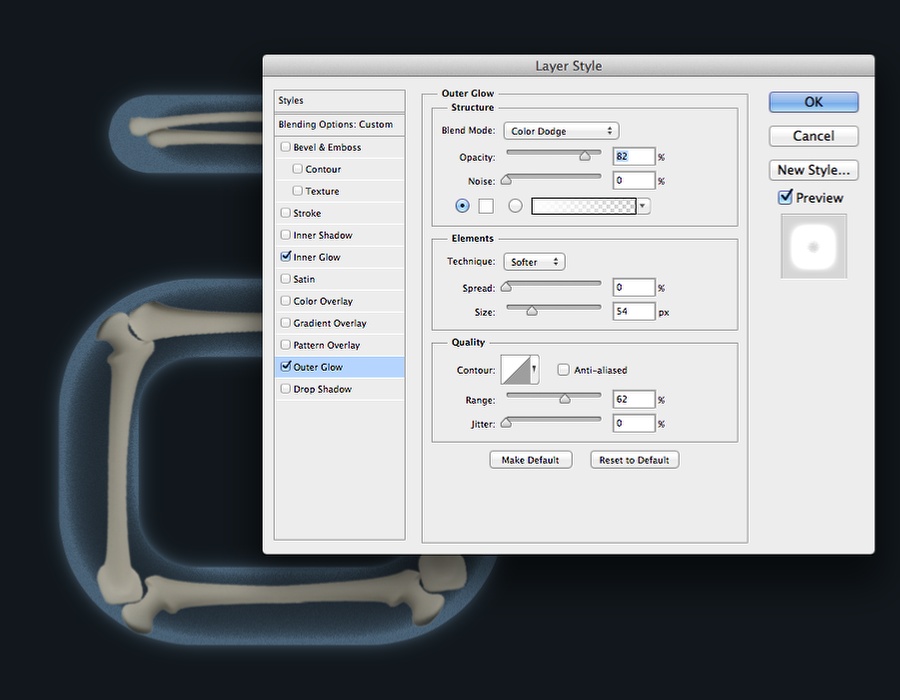
Select Outer Glow. Use Color Dodge at 80% with white for the color. Also, change the Size to 55% and the Range to 60%.
Step 7
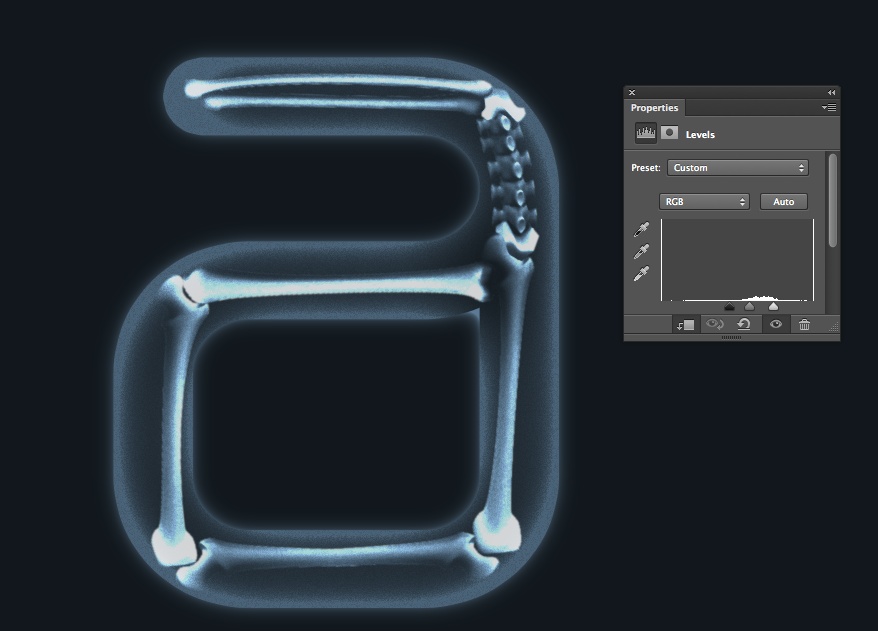
Select all layers used to create the skeleton and merge them into one. Change the Blend Mode of the Color Dodge, then go to Image>Adjustment>Levels. Use the image below for reference of Inputs.
Step 8
Go to Image>Adjustment>Hue and Saturation. Change the Hue to 0, Saturation to -100 and Lightness to 0.

Step 9
Select all layers and duplicate them. Merge the new duplicated layers into one and change this new layer's Blend Mode to Color Dodge.
Step 10
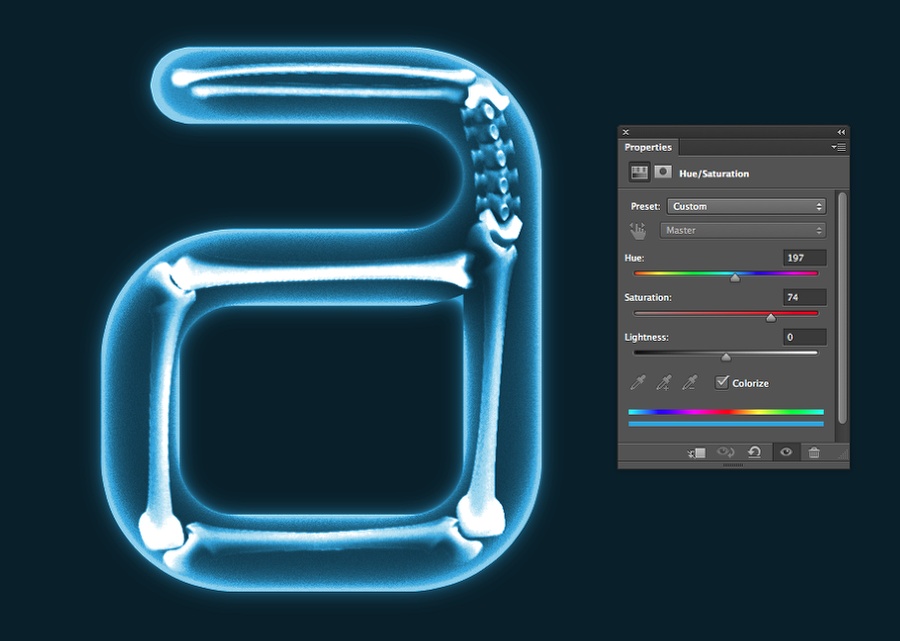
Go to Layer>New Adjustment Layer>Hue and Saturation. Use 197 for the Hue, 74 for the Saturation and 0 for the Lightness. Mark Colorize as well.
Step 11
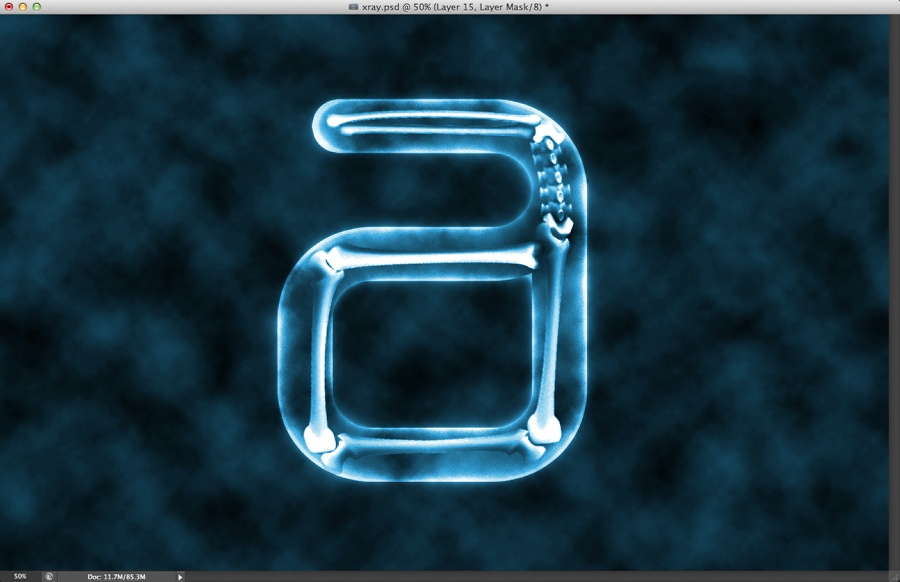
Add a layer on top of the background layer and underneath the others. After that go to Filter>Render>Clouds.
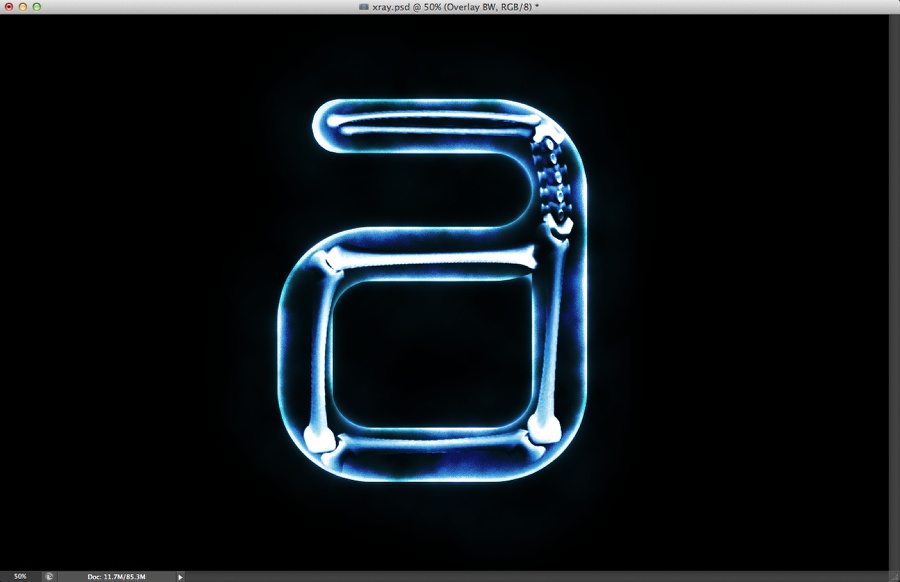
Step 12
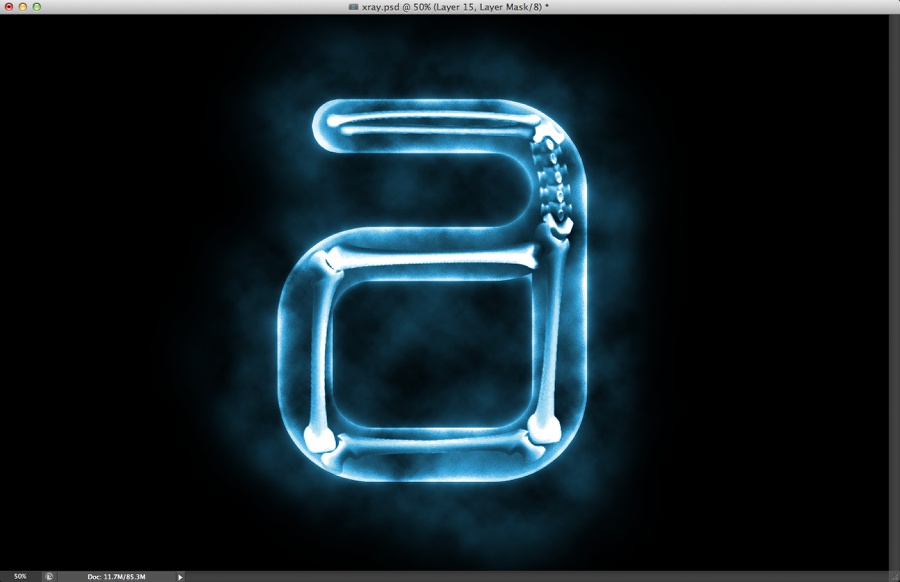
Add a new layer on top of the others and fill it with black, then with the Eraser Tool (E) and a very soft brush, start erasing some areas over the letter A. Use the image below for reference.
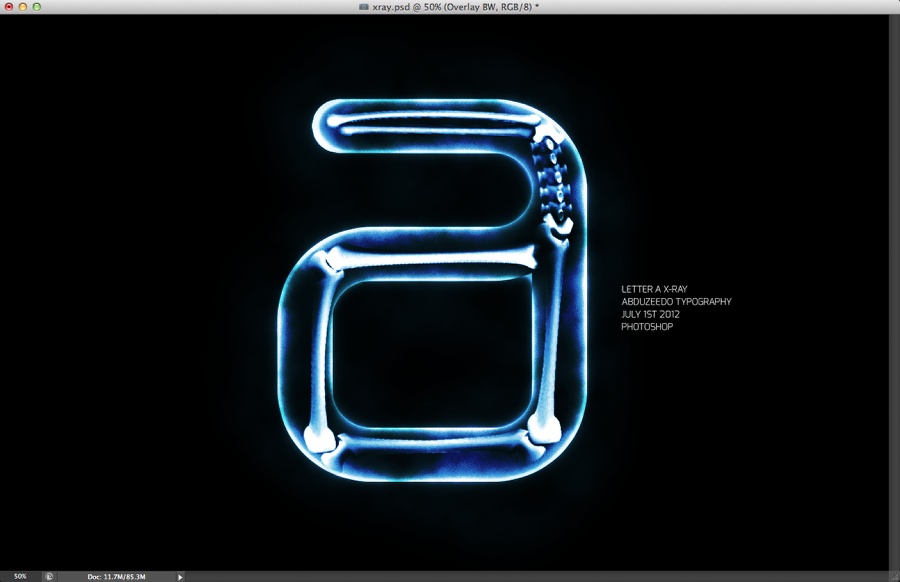
Step 13
Select all layers and duplicate them. Once again merge the new layers into one and then change the Blend Mode to Overlay. Also, go to Image>Adjustment>Desaturate.
Step 14
Add some text using the Horizontal Type Tool (T).
Step 15
Select all layers and duplicate them. Once again merge the new layers into one and then change the Blend Mode to Soft Light at 50% Opacity. Then go to Filter>Blur>Gaussian Blur. Use 20px for the Radius.
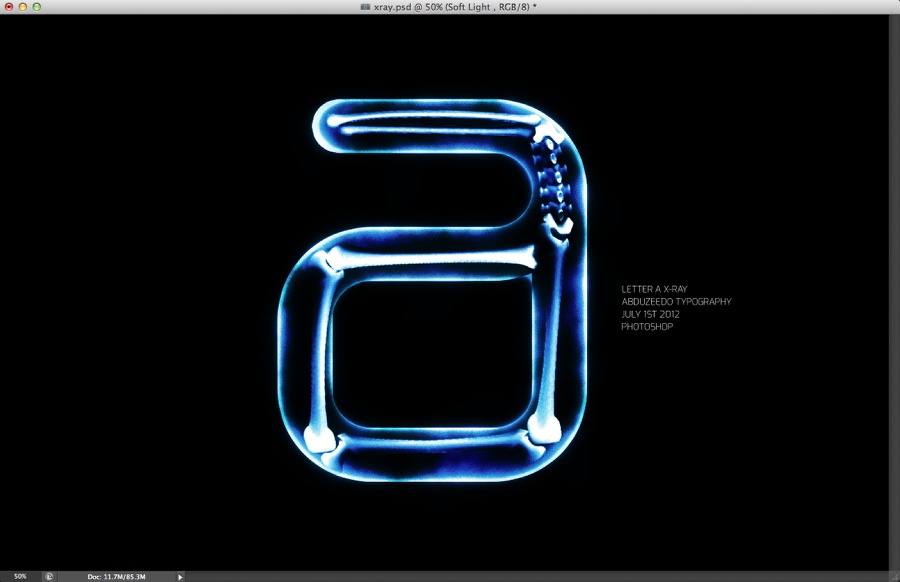
Step 16
Duplicate the layer and change the Blend Mode to Screen at 50% Opacity.

Step 17
Let's add a nice plastic texture to create a more realistic effect. The one I am using can be found at http://www.selected-webdesign.com/textures-for-free-download.
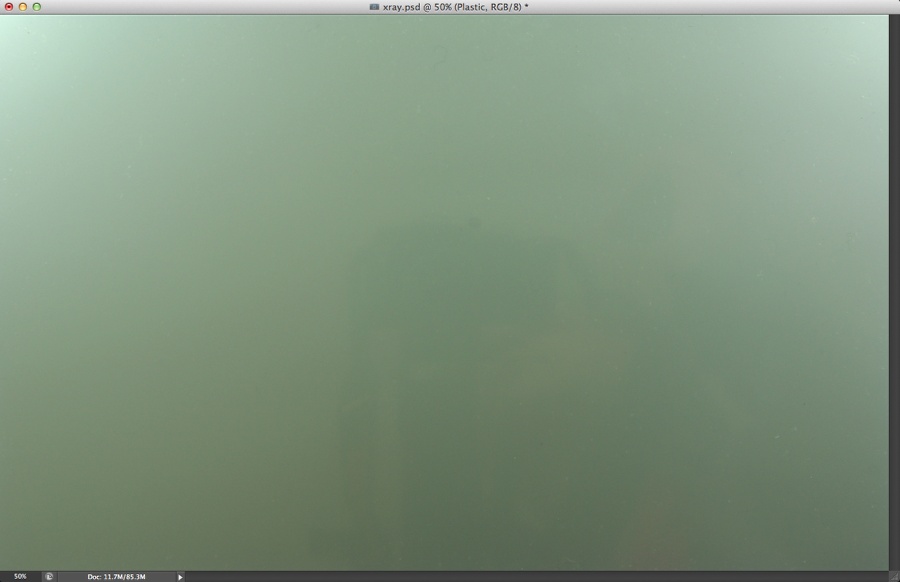
Step 18
Change the Blend Mode to Hard Light.
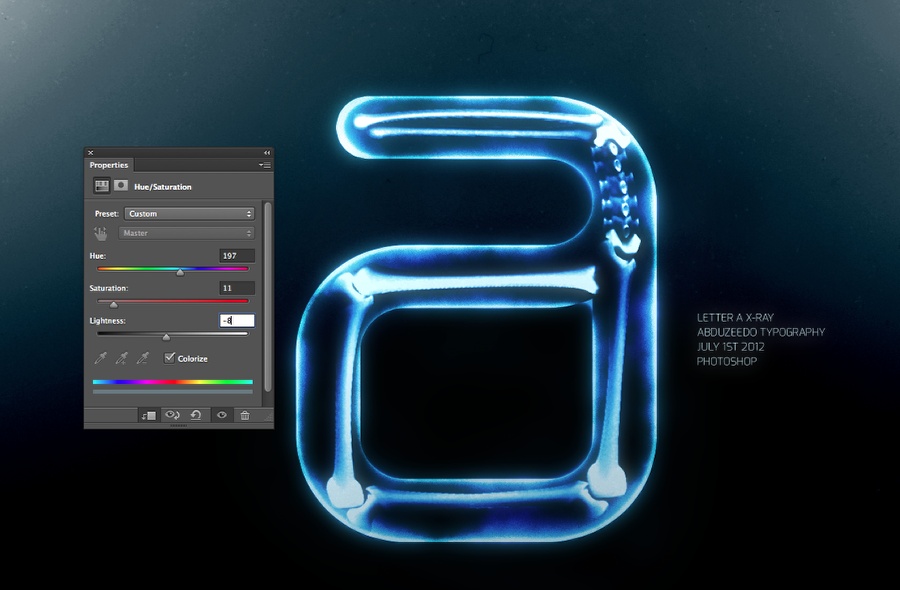
Step 19
Go to Images>Adjustments>Hue and Saturation. Use 197 for the Hue, 11 for the Saturation and -8 for the Lightness.
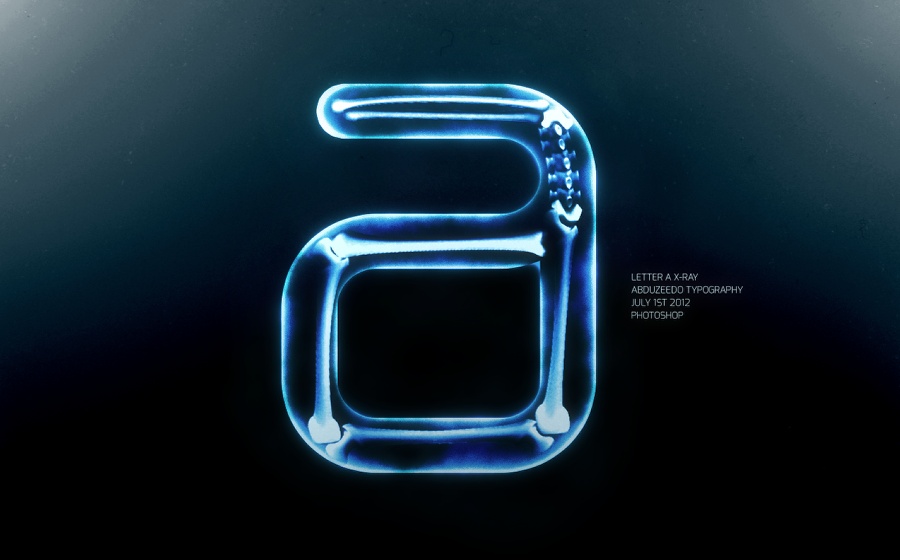
Conclusion
This tutorial was just a quick tip on how to create a nice x-ray effect. You can add a little bit more effects and adjustments like noise or different light effects. But that is up to you :) Have fun.