by abduzeedo
Pixelmator is a very powerful image editor; you can create all sorts of effects using it. Because of that I decided to recreate some images and tutorials that I previously did using Photoshop in Pixelmator. You will see that you can do pretty much everything with Pixelmator, and usually faster.
This tutorial is very useful for beginners or those users willing to learn how to use Pixelmator. You will learn how to create light effects, text effects and other nice tricks.
Step 1
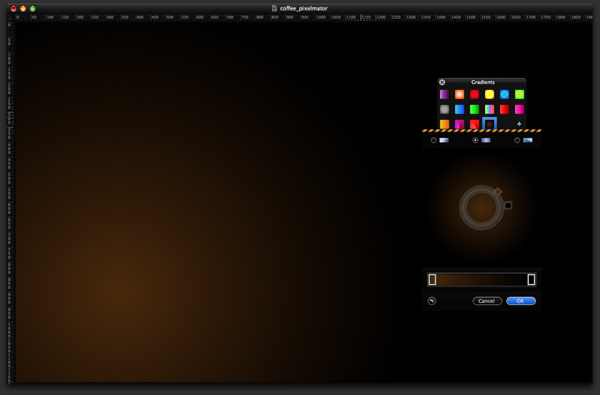
Open Pixelmator and create a new document. I used 1920×1200 pixels. Then go to View>Show Gradient. Create a new gradient using Brown and Black for the colors. Also select the Radial type, then fill the background with the gradient, like the image below.
Step 2
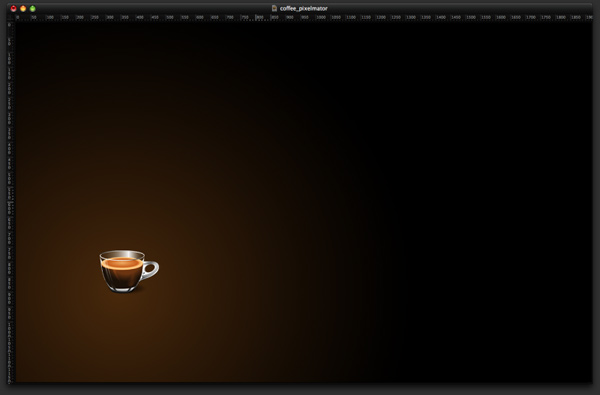
Download the Office Space icon set at www.vistaicons.com and import the coffee cup icon.
Step 3
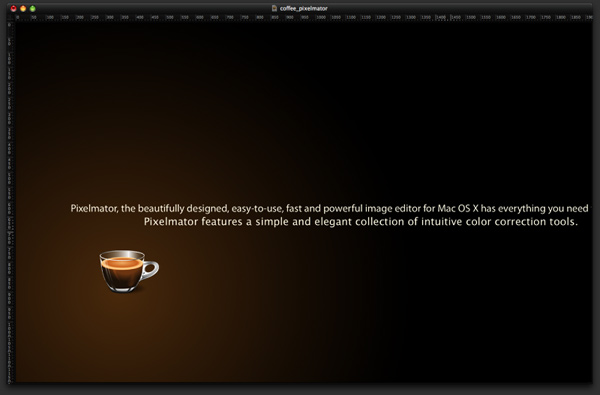
Using the Type Tool (T), type some texts, using white for the color. I created two layers of text.
Step 4
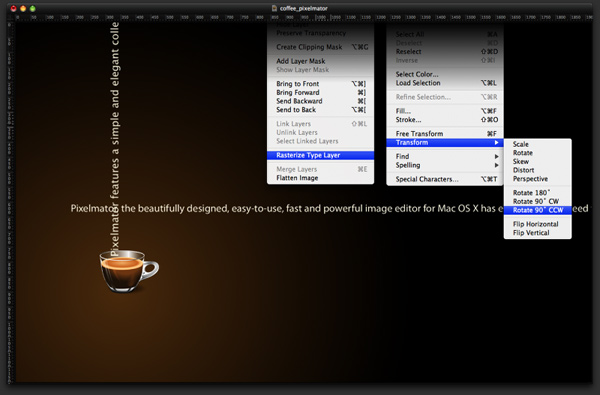
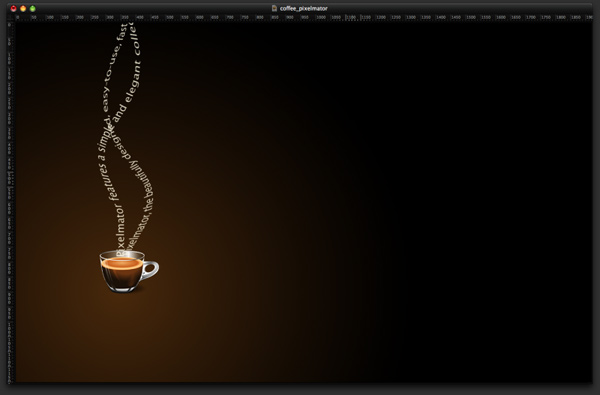
Select one text layer and go to Layer>Rasterize Type Layer, then go to Edit>Transform>Rotate 90º CCW. Move the text layer so it will be coming out of the cup. Use the image below for reference.
Step 5
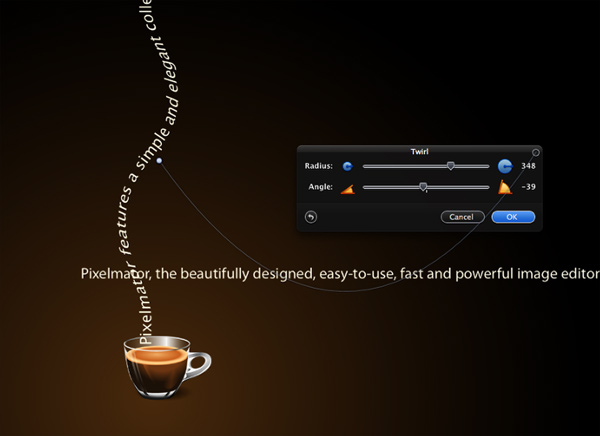
Go to Filter>Distortion>Twirl. Use 350 for the Radius and -40 for the Angle. Use the image below to understand how to use the controllers of the filters in Pixelmator.
Step 6
Repeat the same technique to apply the twirl effect to the other line of the text.
Step 7
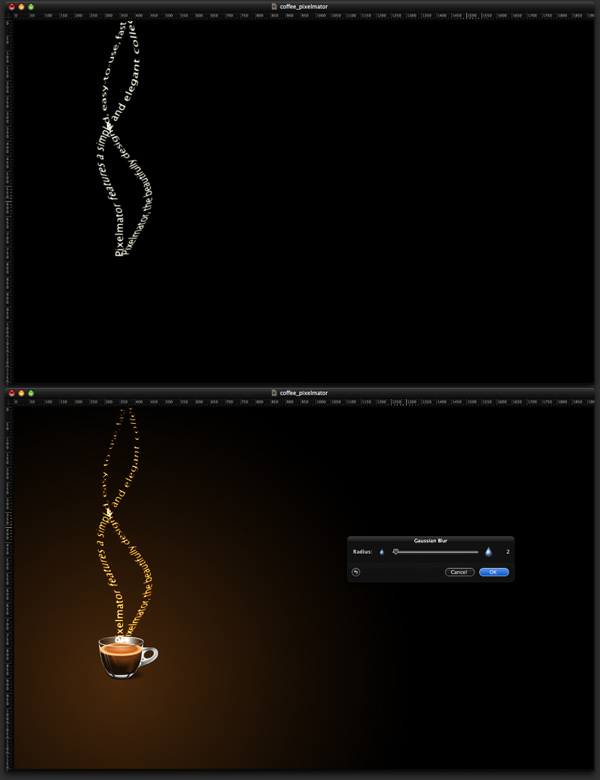
Add a new layer, and, using the Paint Bucket Tool (N), fill the layer with black. Select the 2 text layers and the black layer and go to Layer>Merge Layers. After that, change the Blending to Color Dodge.
One more thing that is necessary in this step is adding some blur to the text. Go to Filter>Blur>Gaussian Blur. Use 2 for the Radius. If you want, you can add more blur.
Step 8
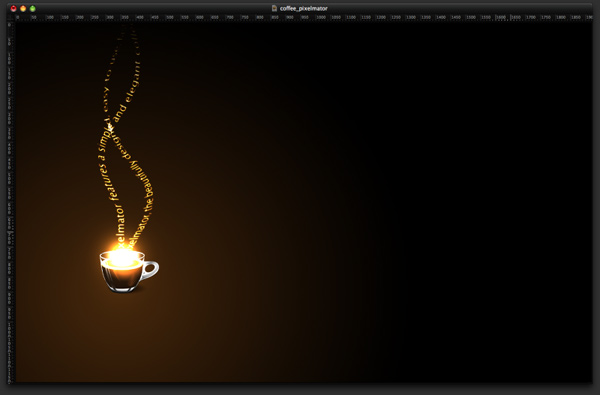
Add another layer and fill it with black. Then change the Blending to Color Dodge. Select the Brush Tool(B) and, using a regular soft brush, paint some light with white. Use the image below for reference.
Step 9
Create another layer and fill it with black again. Change the Blending to Color Dodge and, using the Brush Tool (B), paint a sort of splash coming out from the cup. After that go to Filter>Blur>Zoom Blur. Use 65 for the Amount; that will create a nice burst effect coming from the cup.

Step 10
Let’s add some sparks. Pixelmator comes with a very nice set of brushes; one of them is Stars. So first add another layer and fill it with black, and change the Blending to Color Dodge. After that, using the Brush Tool (B), select the star brush and paint some sparks, using white for the color. You can add a bit of Gaussian blur to the stars as well.
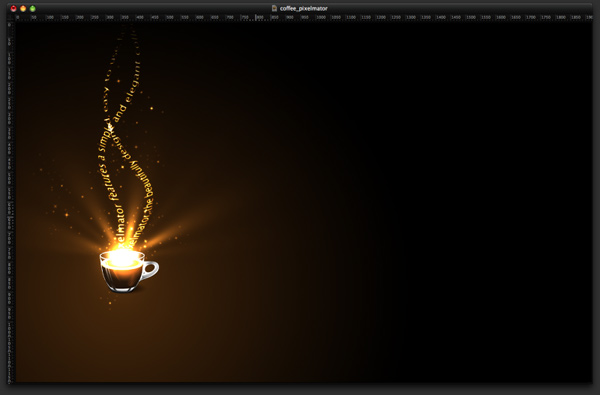
Step 11
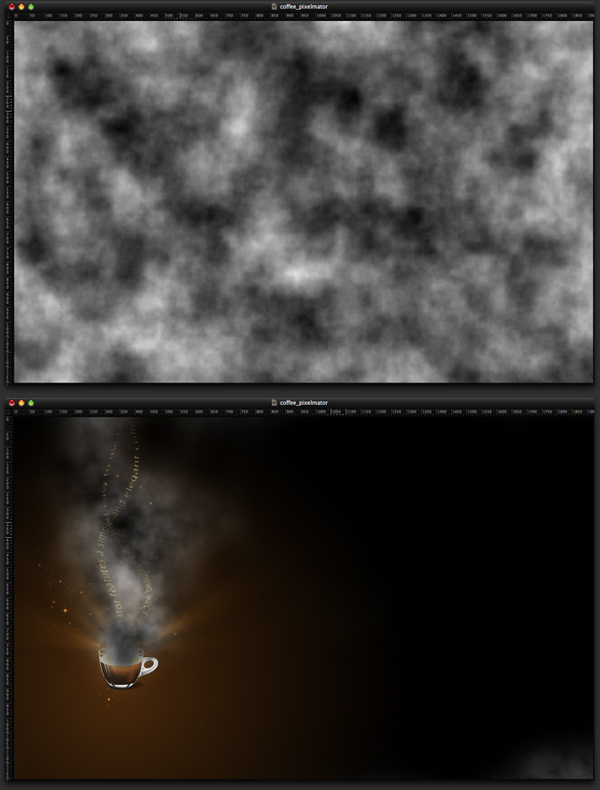
Create a new layer on top of the others and go to Filter>Generator>Clouds. Make sure you are using black and white for the colors and generate the clouds.
Select the clouds layer and go to Layer>Add Layer Mask. Then, using the Brush Tool (B) and black for the color, paint over the mask layer to hide some areas of the cloud. Use the image below for reference, and make sure you have smoke only over the cup.
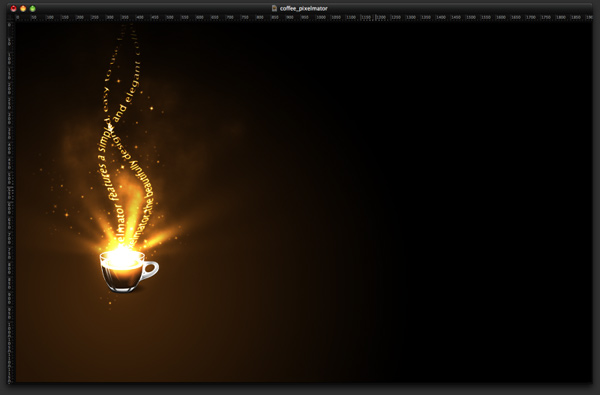
Step 12
Once you have the clouds properly created and masked, change the Blending to Color Dodge. You will have a very nice light effect.
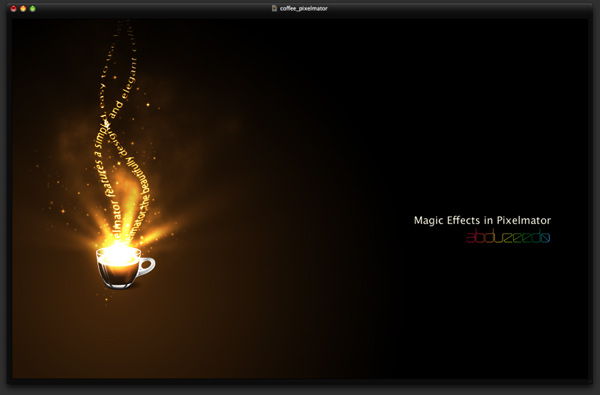
Conclusion
In this tutorial we covered some variations of blur filters, the twirl filter, also how to use the gradient tool, the brush tool and, of course, the Color Dodge blending mode for creating light effects. Pixelmator has really improved, and with the addition of the Brush Engine, the Clouds Filter and the Noise Filter, Pixelmator is a very complete tool for graphic designers, digital artists and enthusiasts like me :)


")
