by abduzeedo
Last week I saw the movie Immortals and before the movie, I was walking around at the movie theater checking some poster. I saw the Immortals poster, as well as some old Harry Potter and all, have the same kind of metal text effect. With that in mind, I decided to come up with a Medieval Metal Text Effect using Photoshop.
So in this tutorial, I will show you how to create a nice metal text effect using just layer styles. It's a simple tutorial and won't take you more than 30 minutes to go through the step by step.
Photoshop tutorial
Step 1
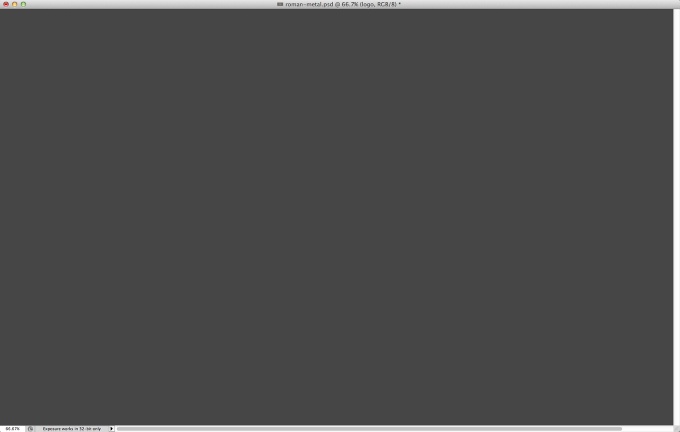
Open Photoshop and start a new document. I am using 2560x1440 pixels for the size. Fill the background layer with grey #464646.
Step 2
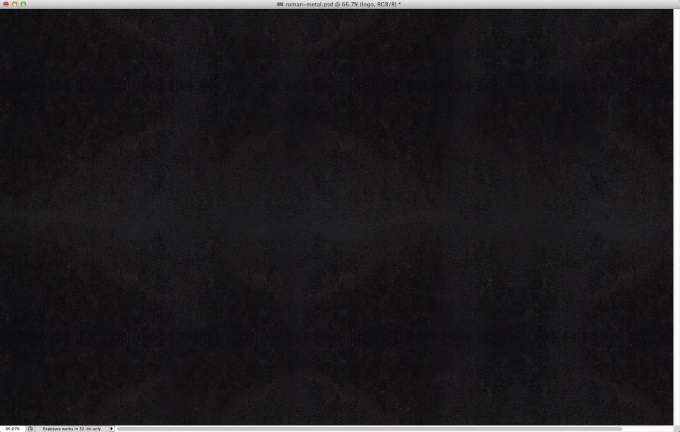
Search for some metal textures. I used some for Shutterstock. The one I used is from Kompaniets Taras called seamless silver metal texture with empty place for your text or image. Use Multiply for the Blend Mode
Step 3
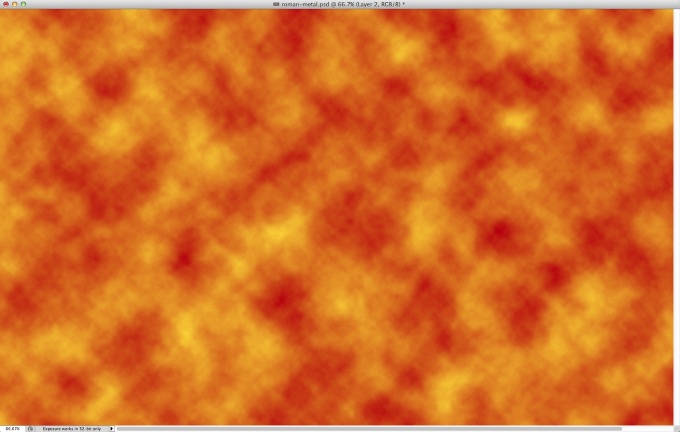
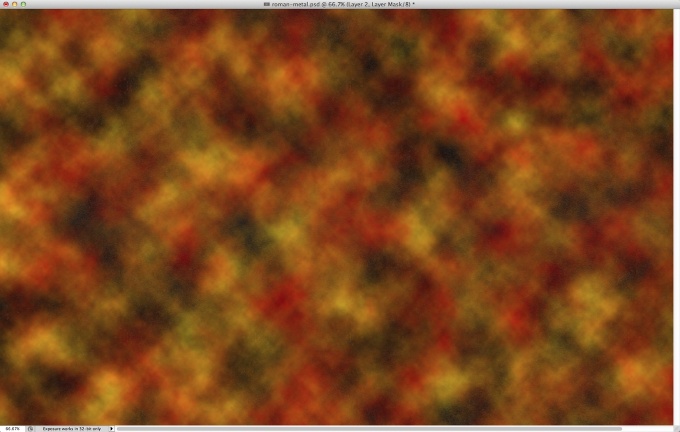
Add a new layer and then select red and yellow for the background and foreground colors. After that go to Filter>Render>Clouds.
Step 4
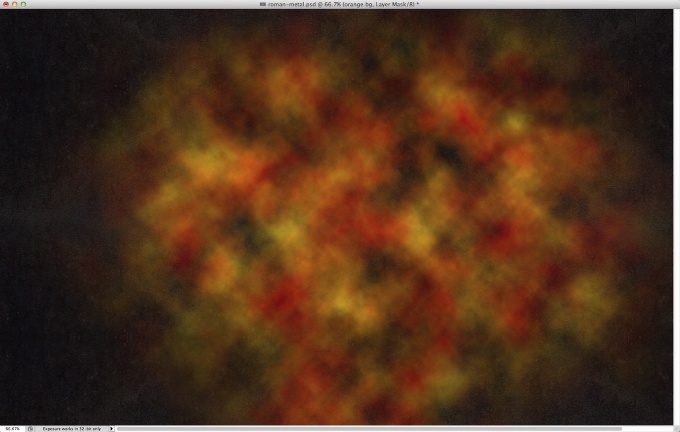
With the layer selected go to Layer>Layer Mask>Reveal All. Select the layer mask thumb and then change the background and foreground colors to black and white. With the layer mask thumb selected go to Filter>Render>Clouds. You will apply render clouds filter to the mask.
Step 5
Group the layer into a folder and then add a mask to the folder and apply the same render cloud filter to this new mask.
Step 6
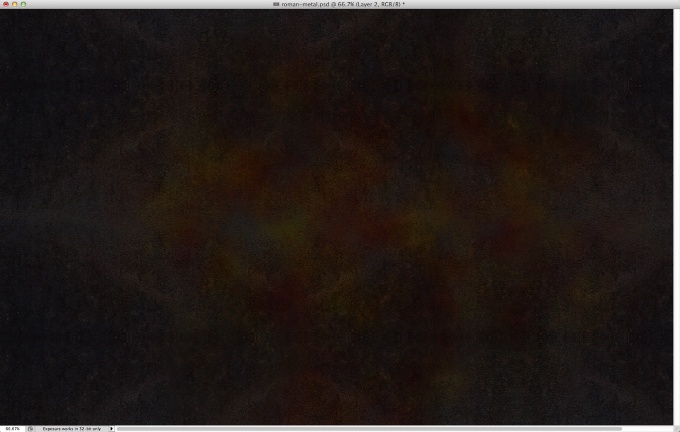
Change the Blend Mode to Overlay.
Step 7
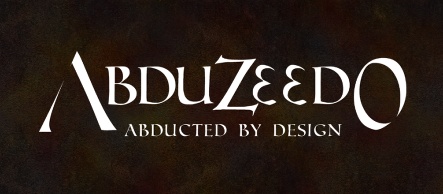
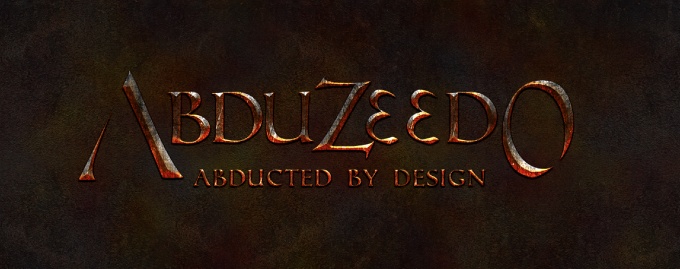
Add the text you want to use for this design, the one I am using was created in Illustrator and I used the font called Roman SD.
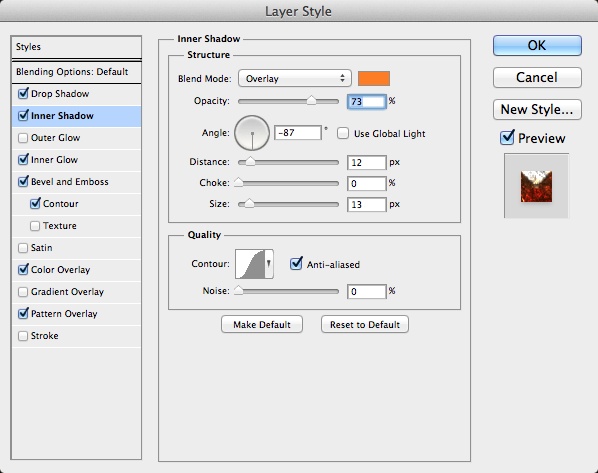
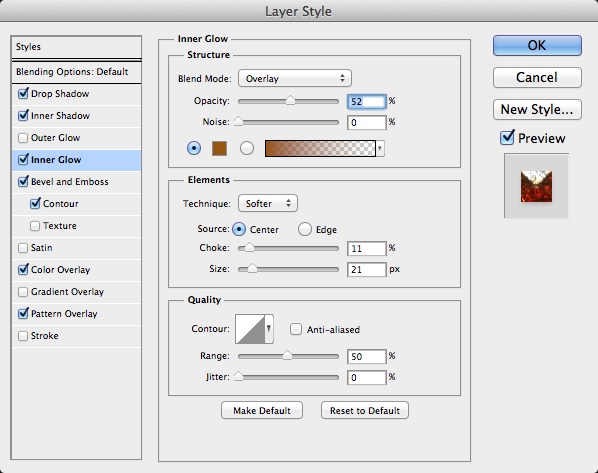
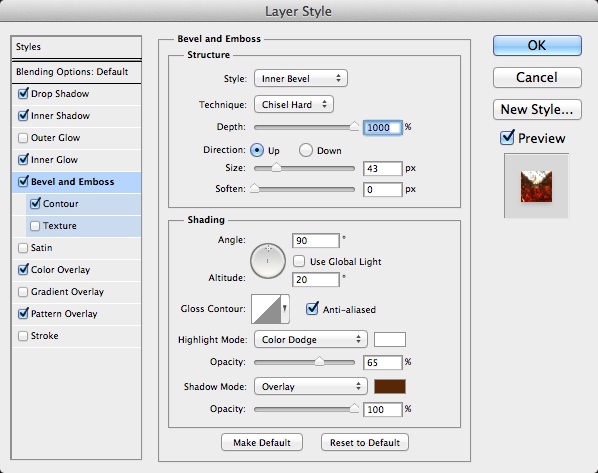
Step 8
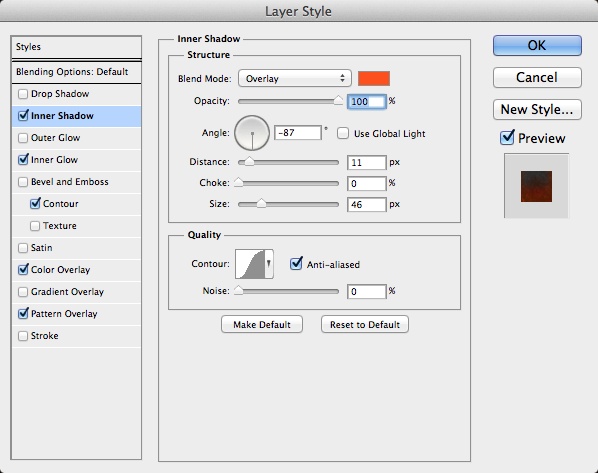
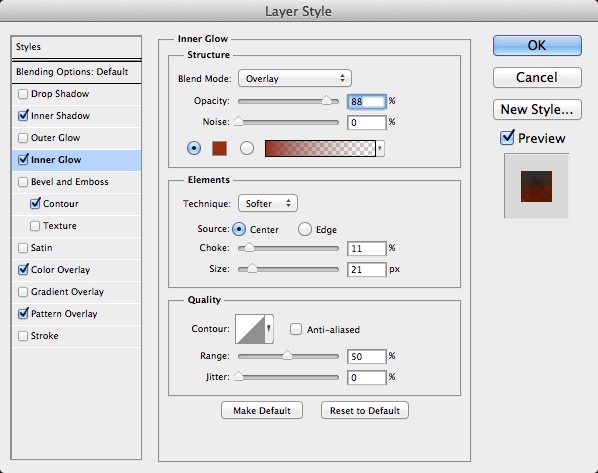
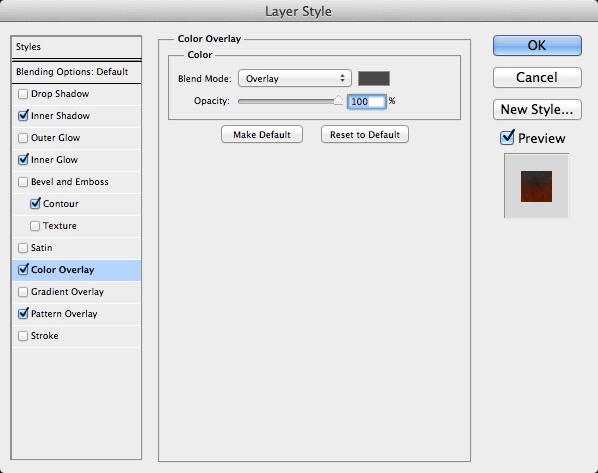
Now it's time to create the bronze effect. To do that we will use Layer Styles. Basically we will use Drop Shadow, Inner Shadow, Inner Glow, Bevel and Emboss, Color Overlay and Pattern Overlay.


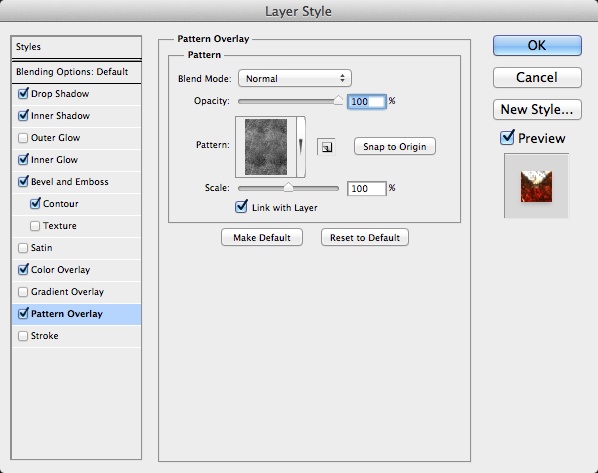
Step 9
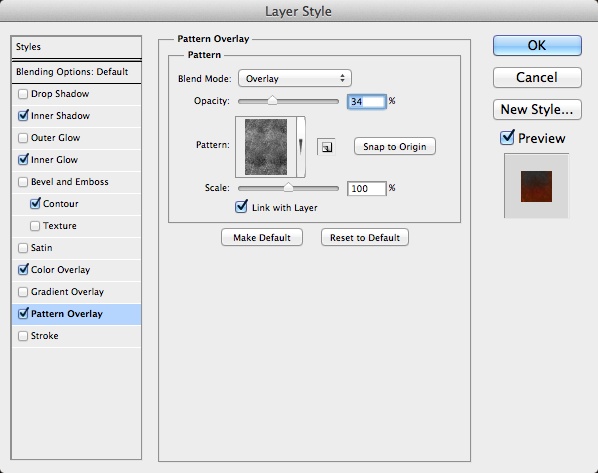
For the Pattern Overlay create a metal pattern before using the same metal pattern used in the step 2.
Step 10
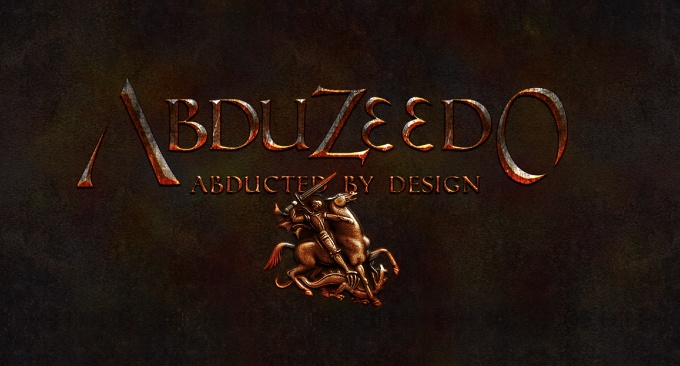
This is the result after the layer styles. It's pretty much done now and you can apply that to all sorts of symbols.
Step 11
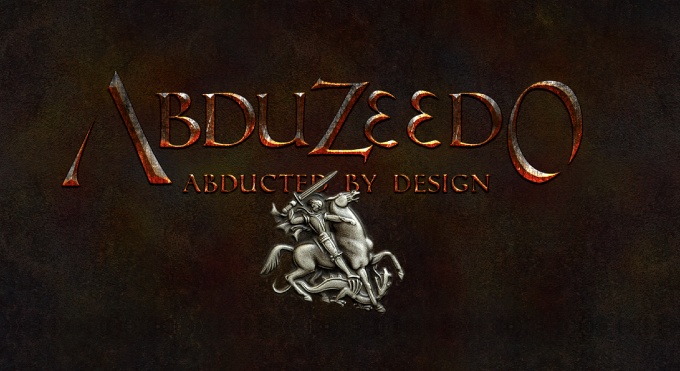
Let's add some more details, this time I used a knight from a Shutterstock image called 4 Metal medals background by granata1111.
Step 12
Apply the same layer styles, the only difference is in the Pattern Overlay that this time we will apply Overlay for the Blend Mode.
Step 13
This is the effect after the layer styles. It looks god but still need some little refinements.
Step 14
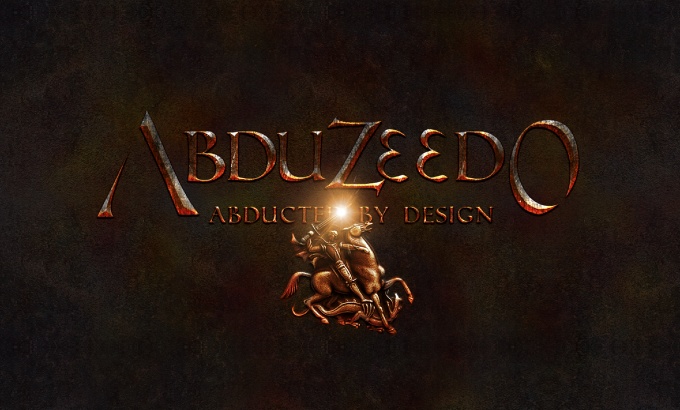
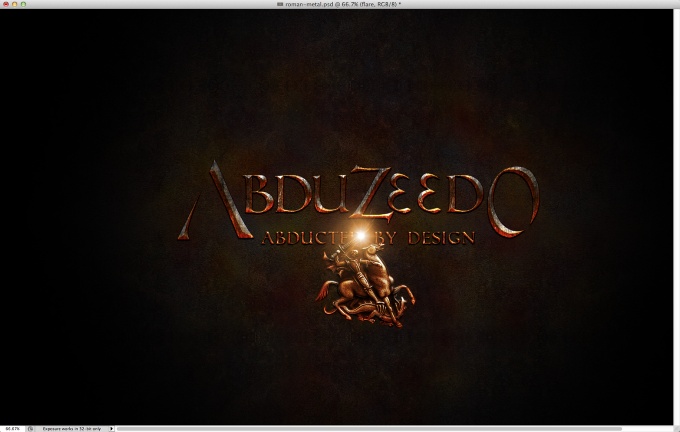
This is an optional step but it always add some little magic to this kind of artwork, I am talking about Lens Flare. You can search on Google Images or Shutterstock to find one you like, I am using an image that I found on Google Images, you can download it here.
Step 15
Let's add a vignette effect, to do that is very easy. Add a new layer and fill it with black using the Paint Bucket Tool (G). After that with the Eraser Tool (E) and a very soft and rounded brush, erase the center of the image.
Step 16
Select all layers and duplicate them, after that group all the new layers into a new one. The keyboard shortcut for that is Command(mac)/Control(PC) + Alt + Shift + E. With the new layer selected go to Filter>Blur>Gaussian Blur. Use 10 for the radius. After that duplicate the blurry layer. Use Overlay Blend Mode for the one that is underneath and Screen Blend Mode for the one that is on top. Also change the opacity of both layers to 50%.
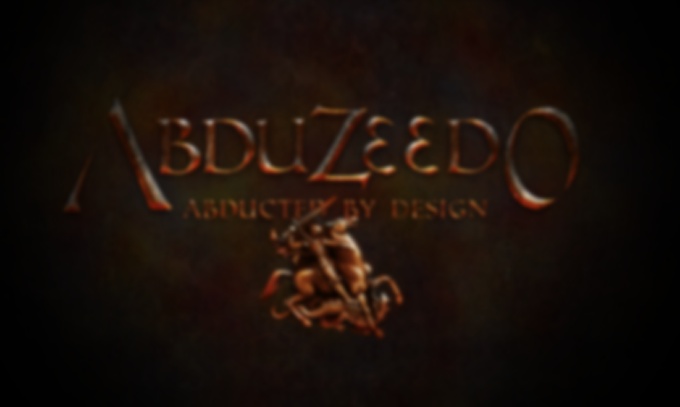
Conclusion
Here is the final result. As you could see the effect was created with basically layer styles. It's an impressive how powerful layer styles are and the different kind of effects you can create. So now it's up to you to try and play around with them to come up with your own effects.