by abduzeedo
This week we have the honor to publish a tutorial from Guilherme Marconi, one of our favorite digital artists out there, and we can say owner of a very unique style. In this tutorial he will show us a bit of his working process. From how he comes up with the ideas and what he does to make them become reality. It's not aimed to any specific software, even though he uses Photoshop in the end to put the images together.
I had the idea for this image in a rainy Monday morning. I’d had a dream quite psychedelic with purples and yellows, where some children were running from side to side while some were crying. Besides all of that, it was raining, a shine and I could say, bizarre rain.
Right after that I woke up and decided that I would have to create something with babies, without worrying too much, just for fun.
Also as I’ve always been a big fan of Joshua Davis, he’s one of greatest influences in my work, with that chaos and colors. I used that for inspiaration too, this image is, once again, highly inspired by Joshua's work.
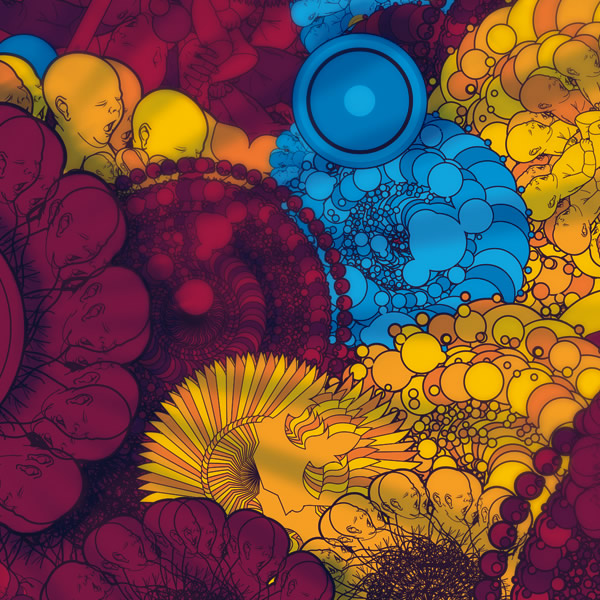
Step 1
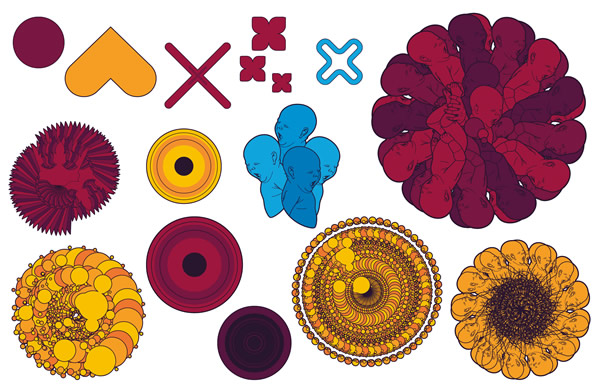
Firstly I started with the color palette. I wanted to make sure that the colors I had dreamed about would work well in the real world. I did a series of tests until I came up with the palette I used for this whole image.
Step 2
The second step was the creation of the objects used for the composition. I wanted symbols that would be repeated forming circles, like flowers of babies for example. Each one of these objects would have 3 variations of colors: purple/pink, yellow, and blue. That way I would be compounding them and organizing the colors by areas.
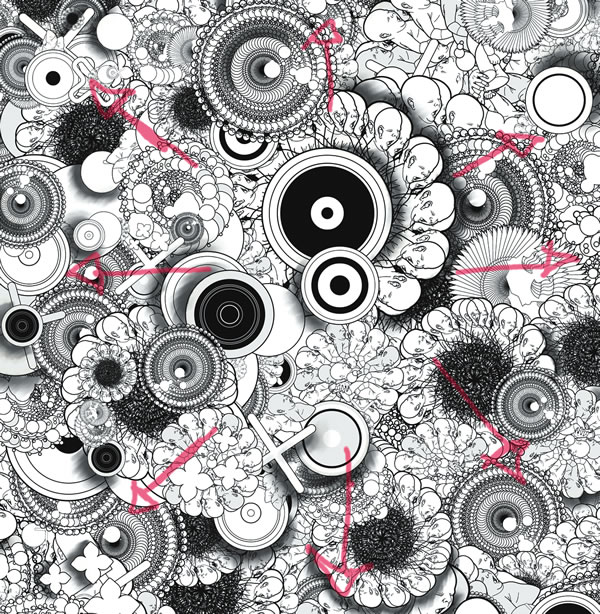
Step 3
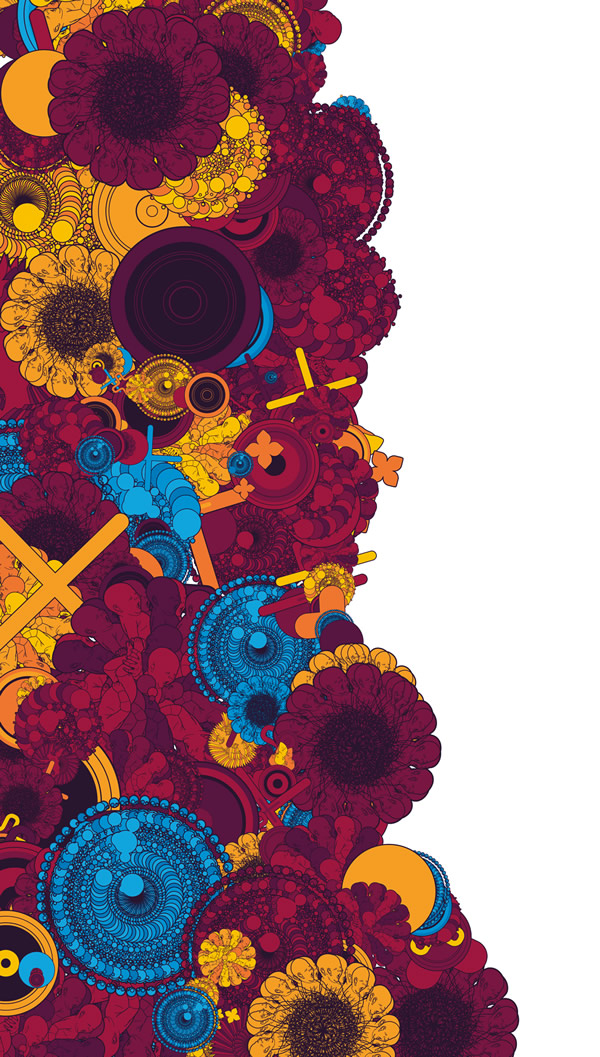
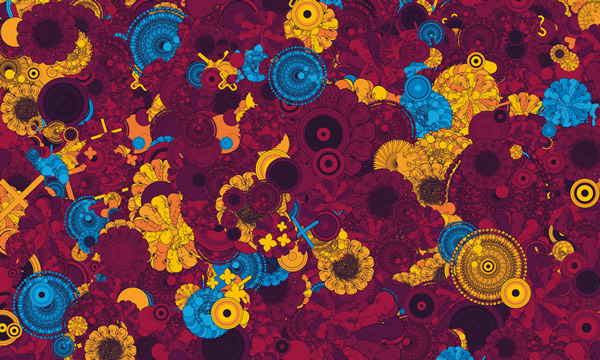
Now it’s time to make the compositions that will be the base for the other copies and they will fill the whole image, like a pattern. It’s a very crazy process, rotating, scaling, moving, and that makes the process quite fun.
Step 4
Keep repeating the elements, as I said it's a fun process but it requires a bit of time and attention.

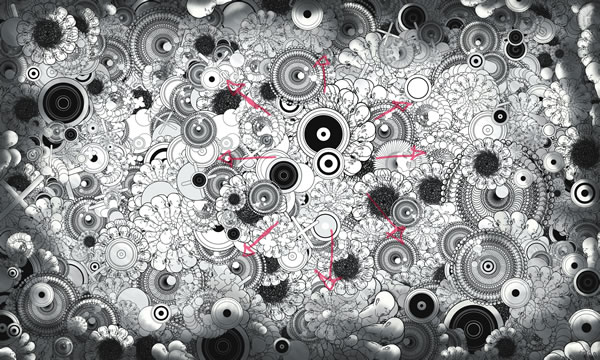
Step 5
With the pattern done, I start making the selection of the strokes to create the shadows. I created a new image, this time in black and white, where I painted the shadows. Firstly I defined a point where the lights would come from and to know how the shadows would be projected. With that information I just created regular shadow use the image below for reference.
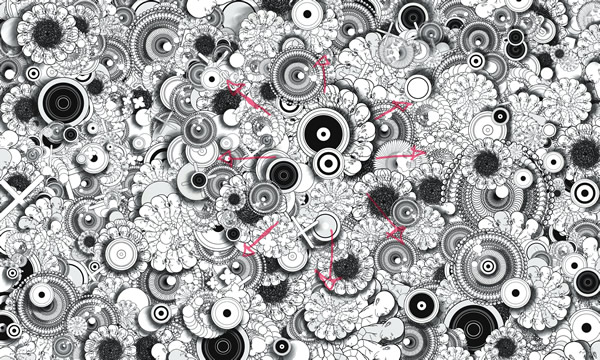
Step 6
With the 6 step done, I started painting the other shadows. After that I painted the shadows of the obejcts that I want to focus the user's attention. I painted in greyscale because later on in Photoshop I would be able play with the Blend Modes to get the final touch to the shadows.
Step 7
Now that we have the shadows done, it’s time to work on the highlight areas. I usually use yellow tones in a layer with Color Dodge for the Blend Mode. That really helps to add some depth to the image. Also I use some lens effects and some small circles to give the feeling I want.

Conclusion
Now it's put everything together and do the final touches, like some light effects for example. The process is quite simple, it's all about repetition and color adjustments. However the idea is the most important thing, and in this case it came from a dream, a psychedelic dream to be even better.


