by abduzeedo
Yesterday I was checking a book I have about skateboard decks design called New Skateboard Graphics. It's a super cool book and we have even given a copy away here on Abduzeedo. So while I was flipping through the pages I found this beautiful design that was a crazy pattern. It was a deck from Element, and I decided to try to do that in Illustrator.
So in this tutorial I will show you how to create a rad pattern in Illustrator that will definitely make you dizzy. We will use basic tools such as Rectangle Tool, Ellipse Tool and the Blend Tool.
Step 1
Open Illustrator and with the Ellipse Tool (L) create a circle. Use black for the Stroke.

Step 2
With the Direct Selection Tool (A) select and delete 3 segments of the circle, leave just the bottom right one.

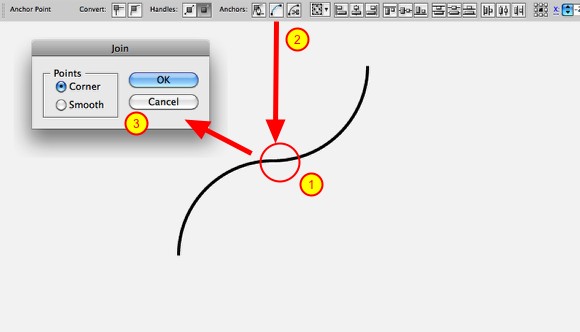
Step 3
Duplicate the segment and the rotate it. Use the image below for reference. With the Direct Selection Tool (A) select the 2 vertices and then click on Connect Selected End Points. Choose Corner for the the Join Points option.
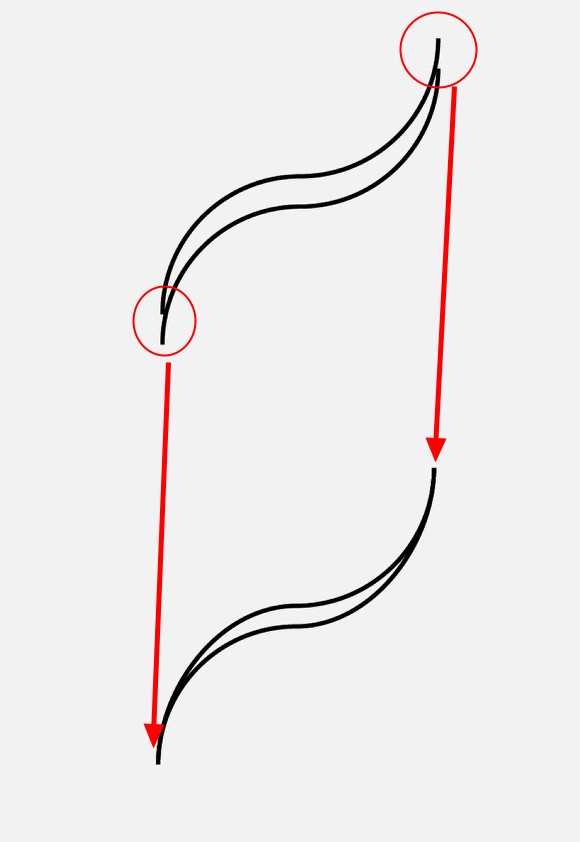
Step 4
Duplicate the object and bring it down a little bit. With the Direct Selection Tool (A) connect the points to create an object. Use the image below for reference.
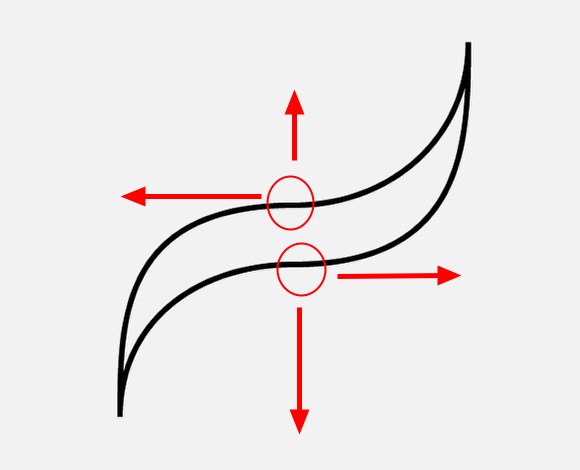
Step 5
Again with the Direct Selection Tool (A) move the points in the middle of the object. The idea is to make the area of the object a bit thicker.
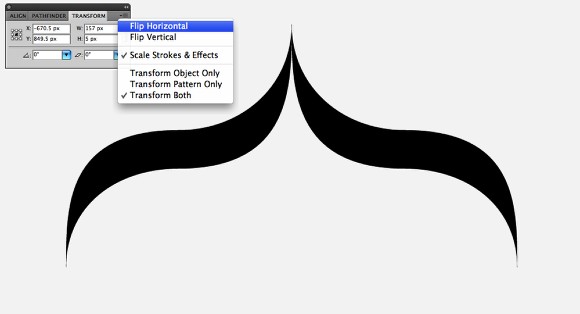
Step 6
Fill the object with black and remove the stroke. After that duplicate and flip the object horizontally. Position them like in the image below.
Step 7
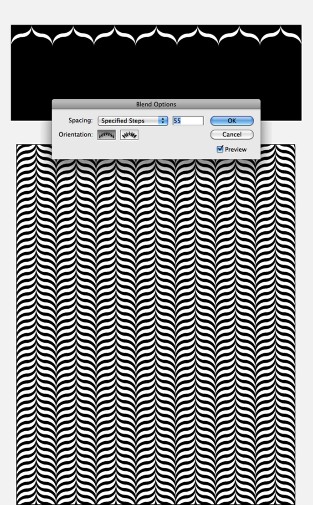
Duplicate a few times and group them. Then duplicate the group and move it down at the bottom of the page. With the Blend Tool (B) select the first group and then click on the group at the bottom. Double click on the Blend Tool (B) icon to open the Blend Options. Change the Spacing to Specified Steps to 55. You will have the texture done.
Step 8
Create a new document, use 1920x1200 pixels. With the Rectangle Tool (M) create a rectangle and fill it with #394A5F.

Step 9
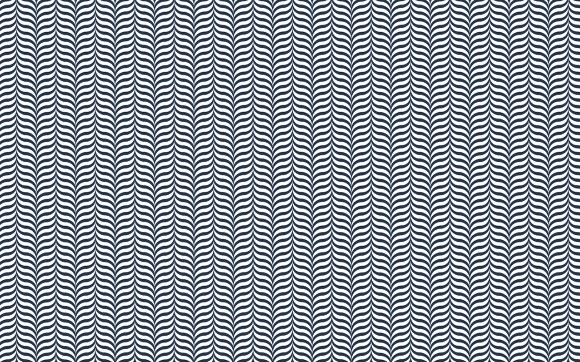
Copy the Blend objects from the other document and paste in this one. Duplicate it untill you feel the whole screen with the texture. Also fill them with white.
Step 10
Select the Blend objects and go to Objects>Expand. Then with the Direct Selection Tool (A) select some elements and delete them. Use the image below for reference

Step 11
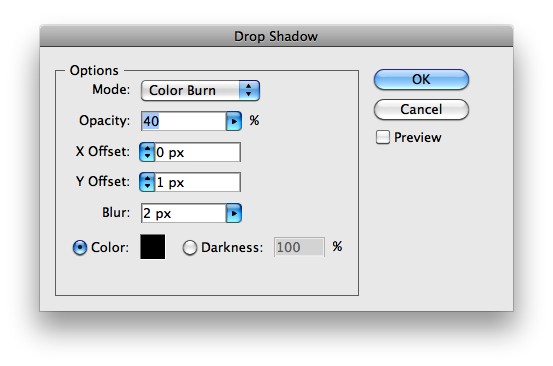
Select all objects except the blue background and to to Effect>Stylize>Drop Shadow... Use Color Burn for the Mode, 40% Opacity, 0 for X Offset, 1px for the Y Offset, 2px for the Blur and Black for the Color.
Step 12
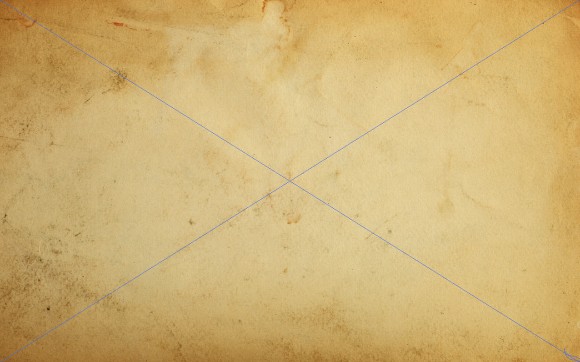
Place an old paper texture in your document. The one used is courtesy of Shutterstock and you can download it here. After that change the Transparency to Multiply.
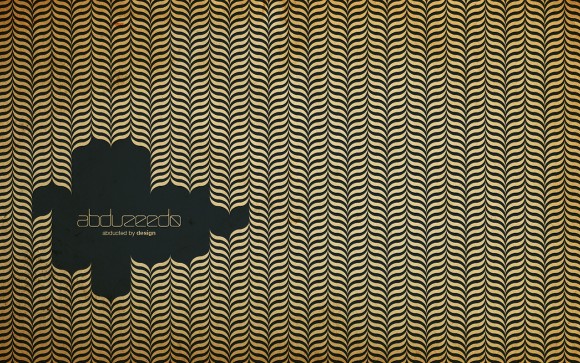
Conclusion
Using basic tools in Illustrator and an old paper texture we can create very nice patterns with that vintage feel, in this case we have even created a crazy optical illusion. This tutorial as I said was inspired by skateboard deck design from the Element team and It's great to practice with Illustrator.
Click on the image for Full Preview
Download the AI file
Click here to download the Illustrator file used for this tutorial


