by abduzeedo
In this tutorial I will show you how to create a very simple but at the same time really cool effect in Photoshop. We will use some stock photos and just play around with them, also we will pay with some Layer Styles and brushes.
Step 1
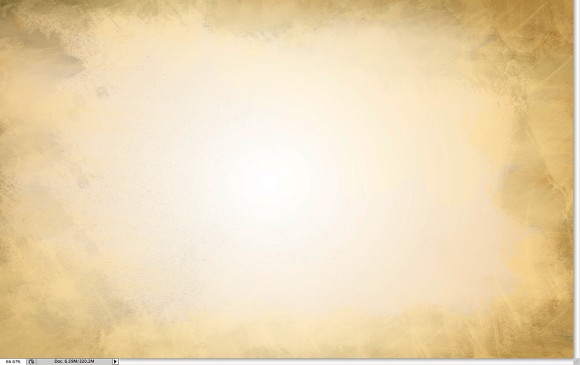
Open Photoshop and create a new document. I used 1920x1200 pixels for the size. Then import a texture, the one I used is for Shuttestock and you can download it over here.
Step 2
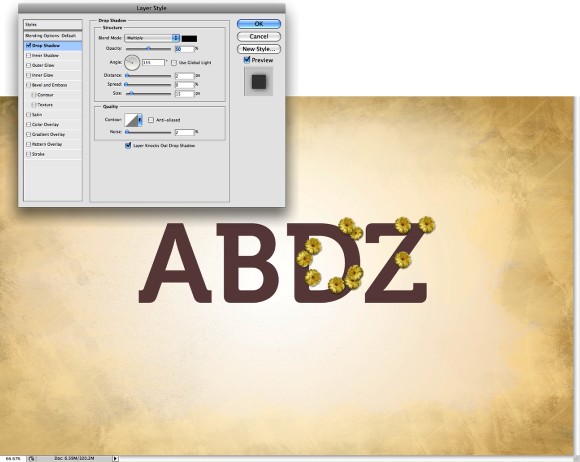
Now it's time to add the text. With the Horizontal Type Tool (T) type a text. I typed ABDZ using the Museo for the font.

Step 3
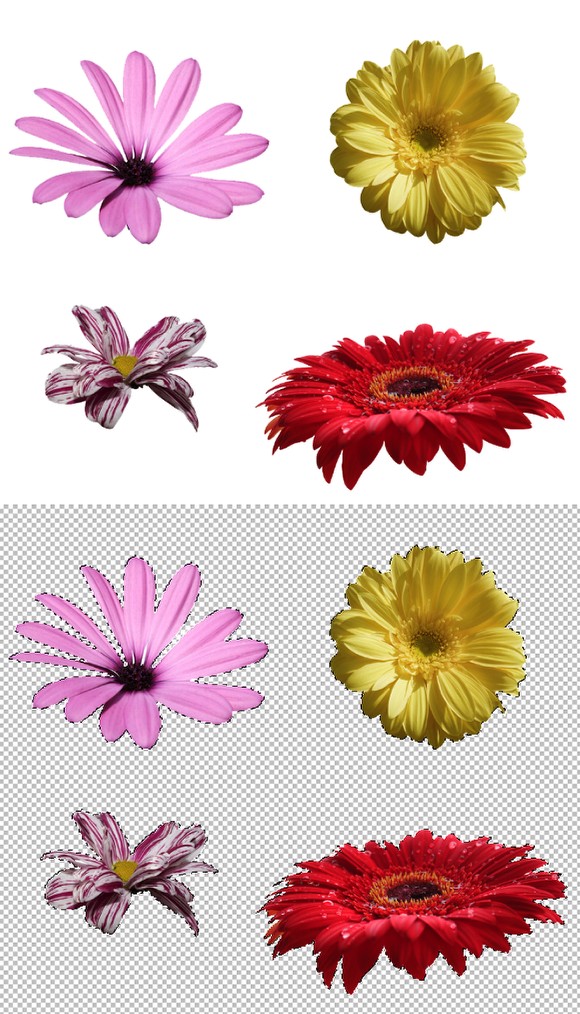
Now we need to some flowers to create the effect. I'm using an image for Shutterstock but you can use any image and just follow the steps. But you can get the one I used at (http://www.shutterstock.com/pic-33151636-stock-photo-design-elements-six-of-calendula-flowers.html and http://www.shutterstock.com/pic-33152032-stock-photo-beautiful-isolated-red-pink-yellow-and-violet-gerbera-flowers-set-or-collection-isolated-on-white.html)
After that just extract the flowers from the background and copy them to the document you are creating.
Step 4
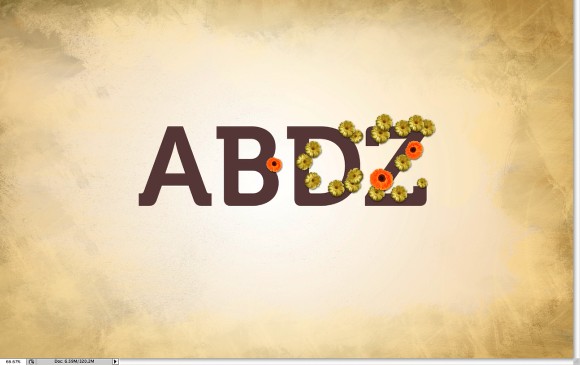
Now start adding duplicating the flowers and positioning over the text. But first make sure to add a Drop Shadow using Layer Styles. Use Multiply for the Blend Mode, 50% for the opacity, 2 pixels for the Distance and 15 pixels for the Size.
Step 5
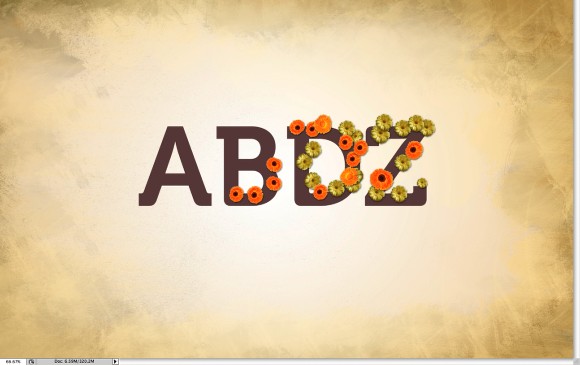
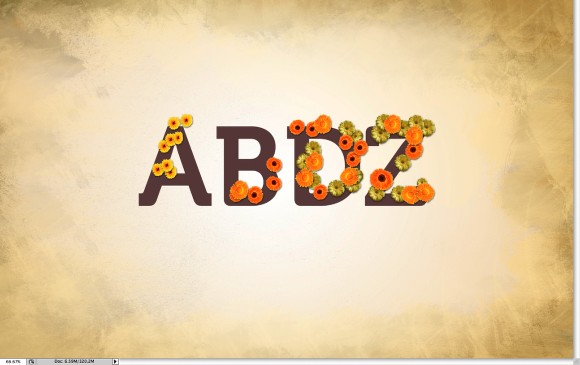
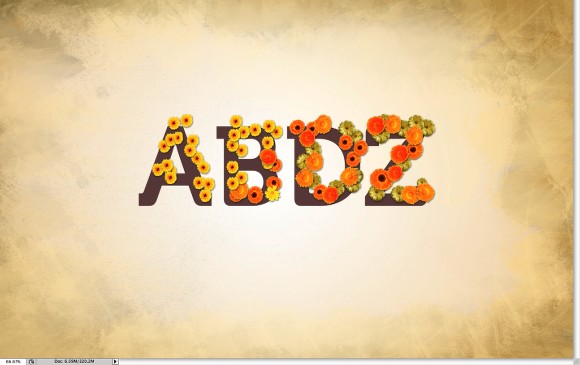
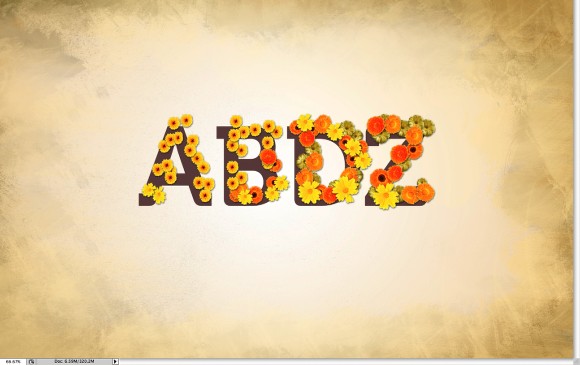
Keep adding flowers, however go to Edit>Free Transform. Then rotate and scale each one of the flowers so they wont look the same.
Step 6
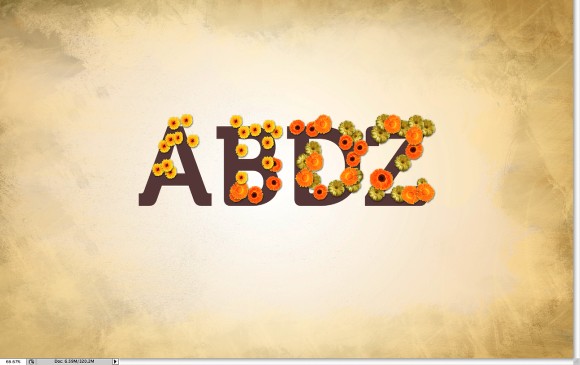
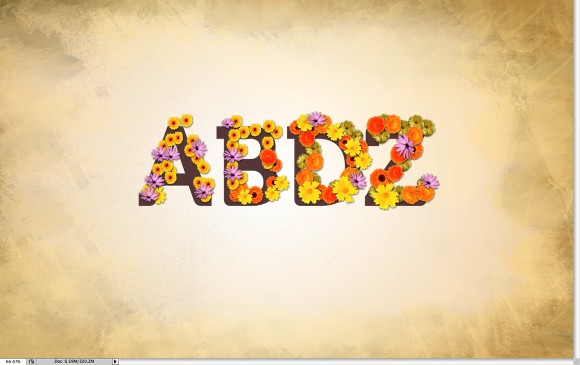
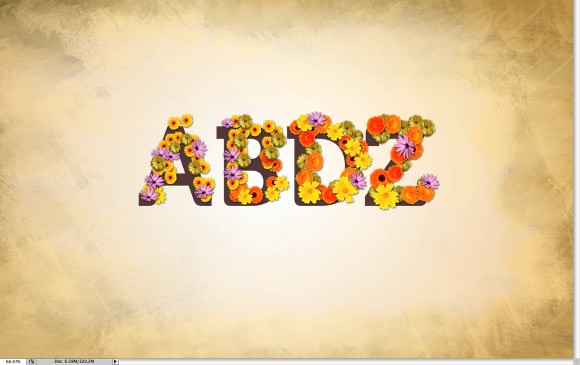
Mix flowers with different colors to create a more convincing effect.
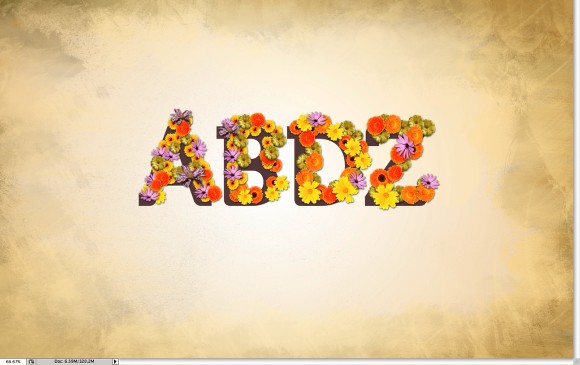
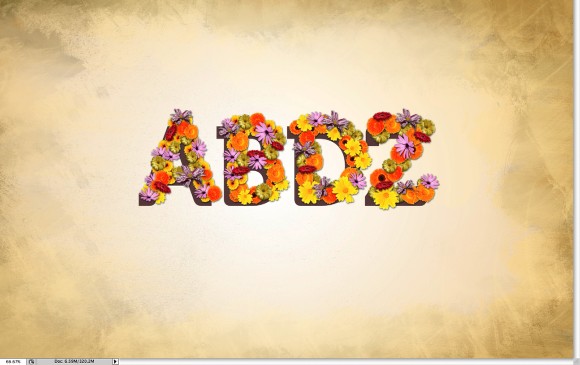
Step 7
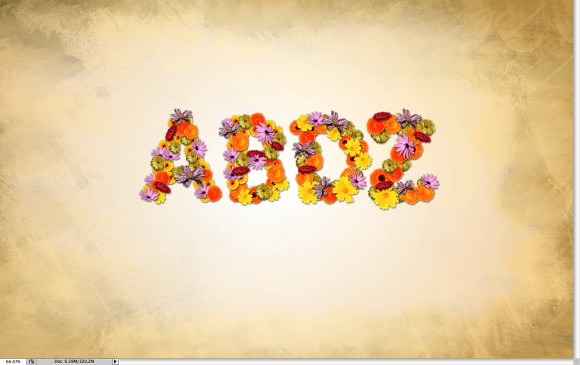
Step 7
Hide the text layer and duplicate the texture layer. After that move it to the front of the other layers and change the Blend Mode to Multiply. The effect is already cool, if you want you can stop and you will have a really nice design.
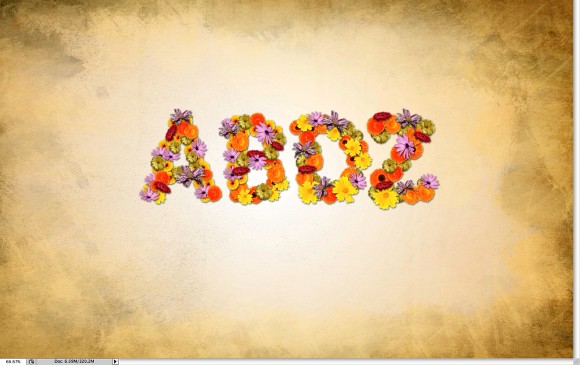
Step 8
Add a grass texture, the one I used you can download it at http://www.shutterstock.com/pic-29630809-stock-photo-green-grass.html. Open it in Photoshop and go to Edit>Define Pattern. Then back to the ABDZ document create a new layer and fill it with the grass pattern you have just created.
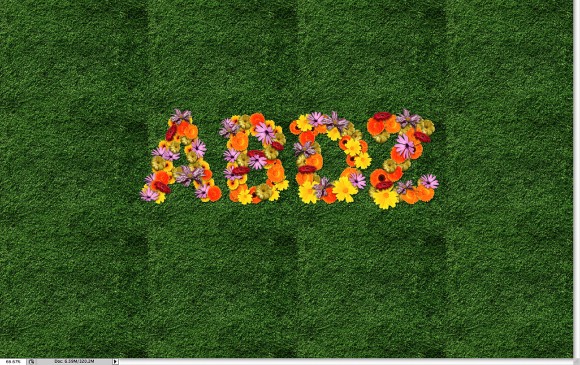
Step 9
Now using a grunge brush let's mask part of the layer. Select the grass layer and go to Layer>Layer Mask>Reveal All. Then using the grunge brushes with white start masking the layer. In order to make it look more realistic, go to Layer>Layer Style>Drop Shadow. Use Multiply for the Blend Mode, 100% for the Opacity and 90º for the angle.
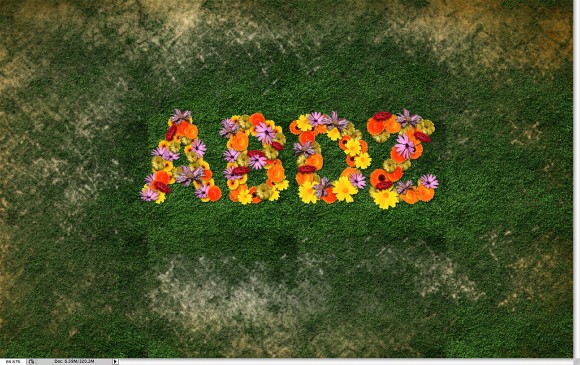
Step 10
Now just add a gradient layer on top of the others using black and white for the colors. Then change the Blend Mode to Multiply so the white will become transparent. That will create a very nice vignette effect.
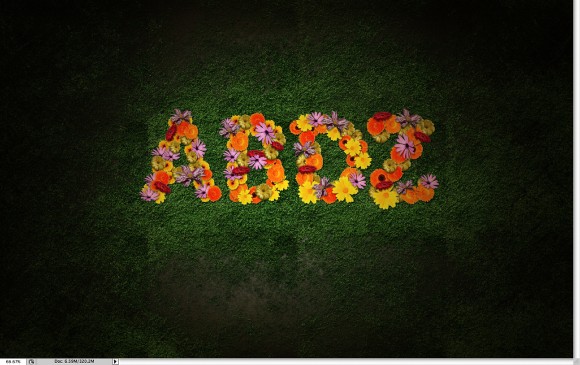
Step 11
Use 4 different flowers and make each one bigger than the other, as they were falling from the sky. Use the image below for reference. The for each flower go to Filter>Blur>Radial Blur. Use 10 for the Amount, Zoom for the Blur Method and Best for the Quality. That will create a very nice depth of field effect.
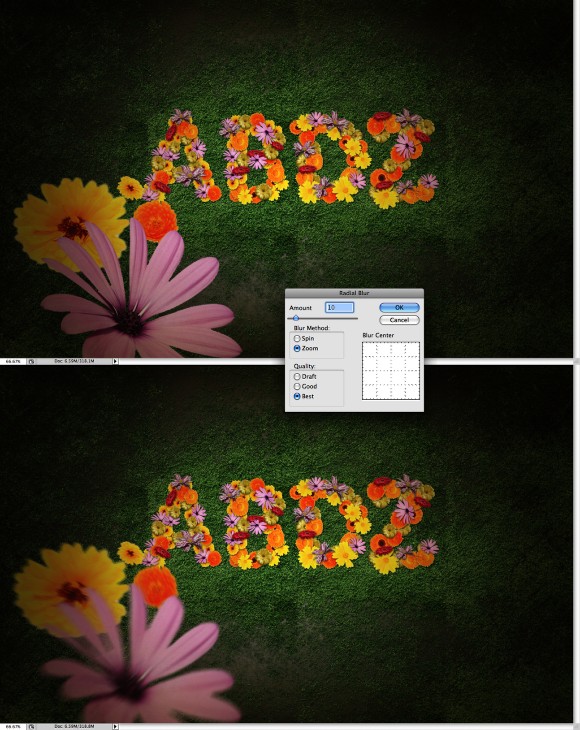
Conclusion
This is a very simple effect, there are different ways to do it and also you can use actions or even a script or plug-in to create the effect rendering the random flowers. However I if you want to show a concept and don't want to wast too much time looking for the solution this is a good alternative. Also you can add more textures and effects like a concrete texture or a bevel and emboss. Now it's up to you.
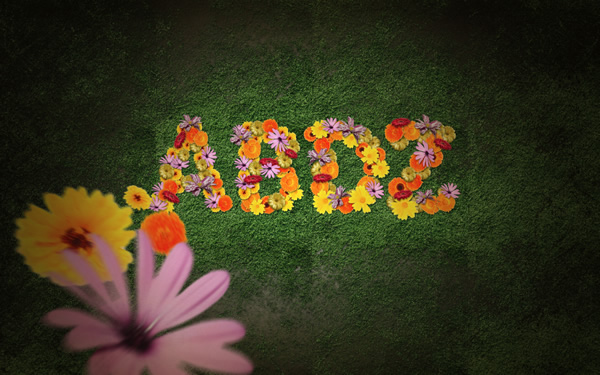
Click on the image for full preview
Download the Photoshop File
Click here to download the Photoshop file used for this tutorial



![Neon light effect in Photoshop [revisited] Neon light effect in Photoshop [revisited]](/sites/default/files/styles/square_1x1/public/originals/hero_neon.png?itok=lP4mbIak)
