by abduzeedo
Last week I had posted an article about Photoshop Masters, it was really good to see their works and how they used the tool to achieve those amazing effects. I really like the style of some guys there, particularly Adhemas Baptista, Eduardo Recife and Nik Ainley.
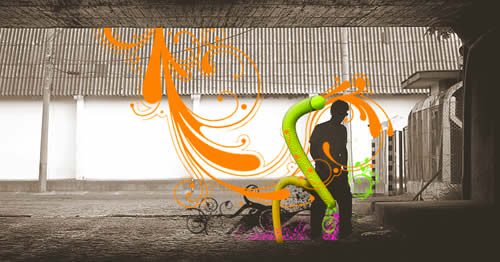
Now in this post, I created a really cool design mixing a photo with vector elements using Photoshop (lots of brushes) and Illustrator. Pretty much everything needed was downloaded for free on the internet in sites like magurno and brusheezy.com.
This tutorial may look complicated and long, but in reality it is really easy to do and follow, you'll only use brushes and masks.?
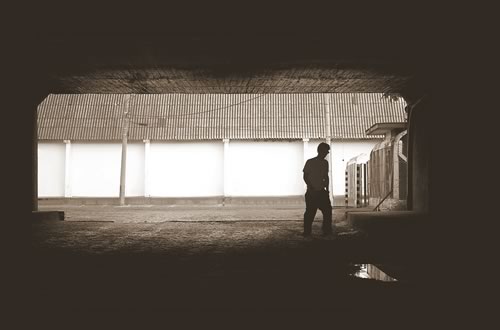
1- Choose a cool photo: This can be the most complicated part, in this case I was lucky, a photographer friend of mine had taken some pictures for a website really cool called UDOX and he allowed me to use one of those photos.
2 - Adding some vector elements: The first symbol I got from a cd that came with the computer arts magazine.

3 - Mixing
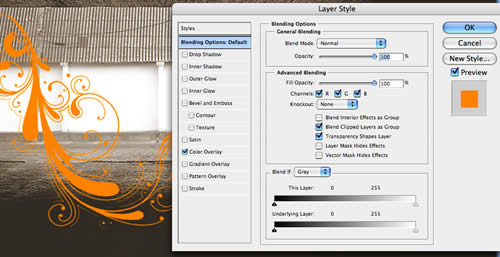
Apply a color Overlay on the Layer Style preferences
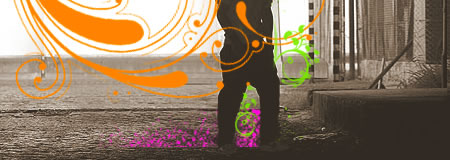
4 - Using the first Brush: First you paint over the photo, and after that you start deleting some parts. It'll give the imprresion that the elements are sometimes in front and other times behind of the guy
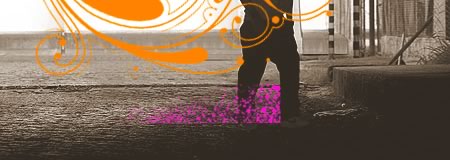
Apply a layer mask and delete through the mask

Here I wanted to put the pink element behind the legs.
5 - Adding more colors and elements: As with the previous element, we used another brush and deleted some parts to put it behind the guy.
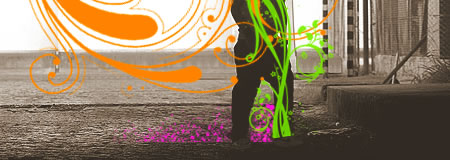
6 - One more: All of these elements are from the Vintage by in Vogue brushes, you can download them here.
7 - Some Illustrator: Adhemas uses this effect a lot, basically it is a Blend between two elements, and it can be done pretty easily in Illustrator.
Just create two elements and blend them together
You see that it creates a path
Edit the path with the pen tool
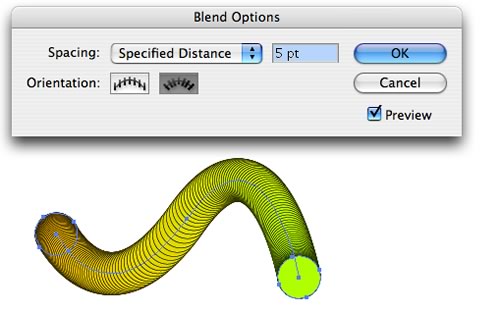
Double click on the blend icon and you have the Blend Options, where you can edit the blend properties
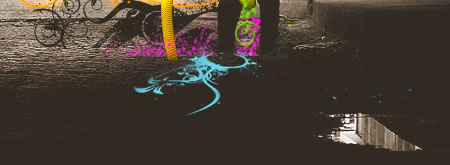
8 - We need some blue: I added another element beneath the guy's foot.
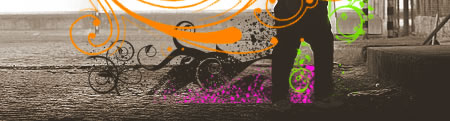
9 - Final refinements: Now it's time to refine the design, delete some parts of each element to make them look like they are mixed.
Sometimes the orange element goes in front of the blend, other times it goes behind, the same applies to the others
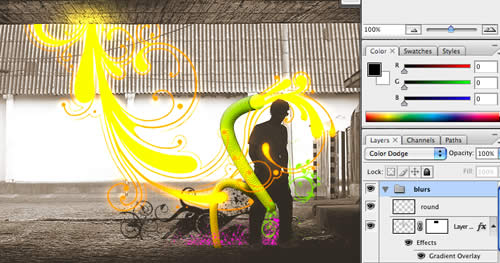
10 - Now we need some light: Duplicate the orange element, create a new folder in the layers pallet, put it inside this folder, set the folder to Color Dodge, and add a Gaussian blur to the element inside the folder.
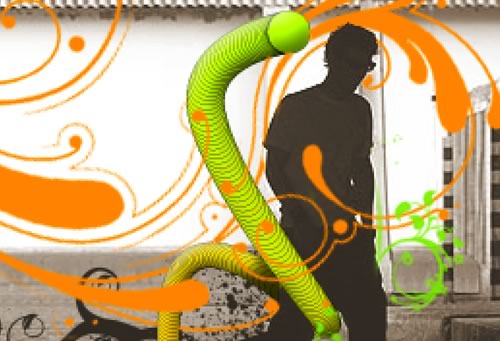
Final Result:

All files used can be downloaded.


