by abduzeedo
We all love typography and especially the vintage/retro ones. There's something on those artworks that catch our eyes and makes us really crazy about them. Despite the fact that some are quite old and done with rudimentary process the quality of the design is amazing and that's why books are the best way to get inspired by those and especially trying to learn how to do that using modern tools like Illustrator and Photoshop.
So in this tutorial I will show you how to create a nice vintage/retro typography based on an artwork from the book New Vintage Type: Classic Fonts for the Digital Age. The whole process will take you 2-3 hours, but it's quite simple. However it requires time. I hope you enjoy it and keep practicing always.
Step 1
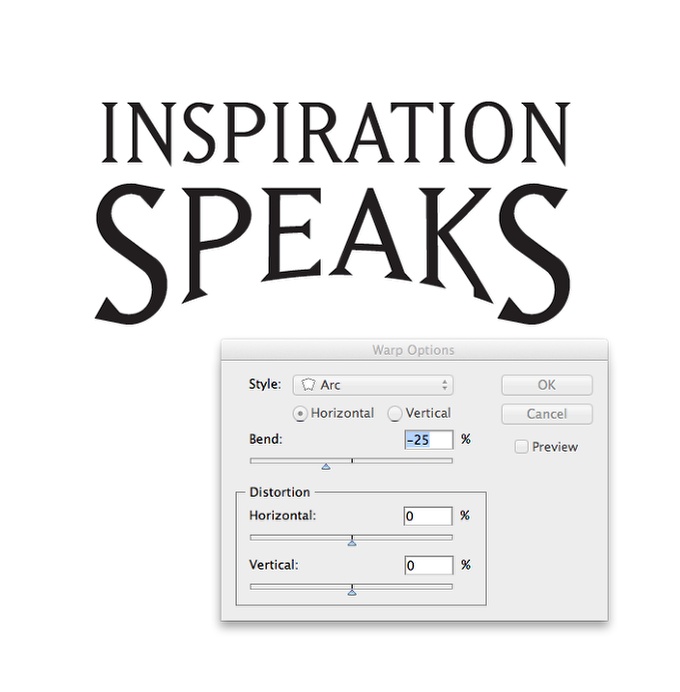
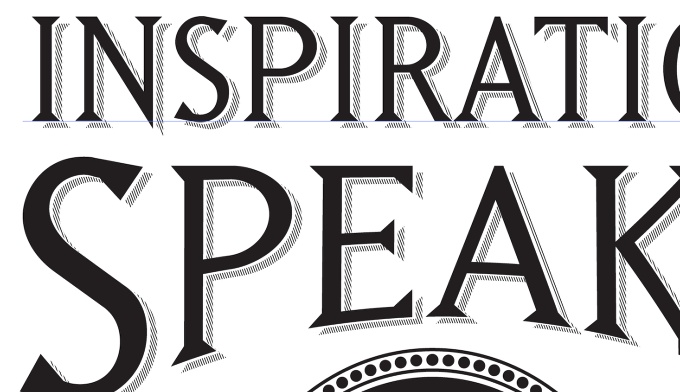
Open Illustrator and create a new document. The size doesn't even matter because it's vector and we will finalize our work in Photoshop. Type the words "inspiration" and "speaks'". Use uppercase. For the speaks, create 3 different text objects, 2 for the S and one for peaks. Make the Ss bigger than the peaks like the image below.

Step 2
Select the word peaks and go to Object>Envelop Distort>Maker with Warp. Select Ark Lower. Use - 25% for the Horizontal.
Step 3
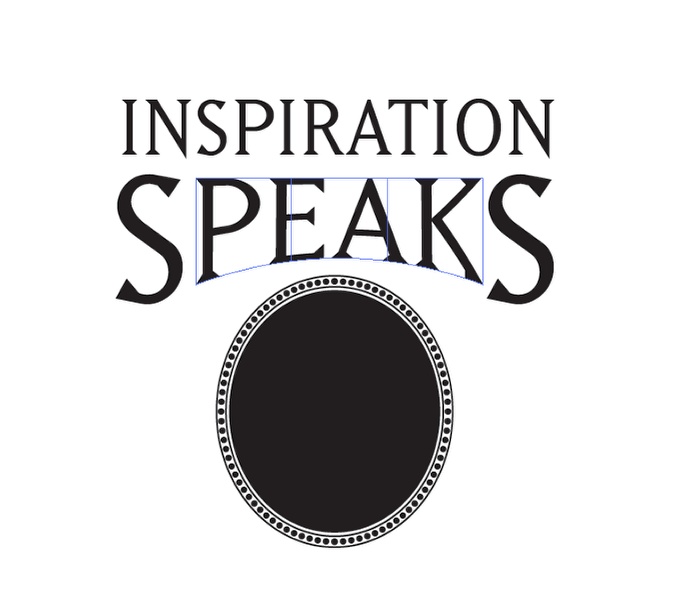
With the Ellipse Tool (L) create 3 ellipses like the image below. Note that some have thicker strokes than the others.

Step 4
Agai with the Ellipse Tool (L) add 2 circles. One at the top and the other at the bottom of the ellipses.

Step 5
Select the Blend Tool and click on the top circle, then on the botton one to create the blend. Edit the number of steps until you have something like the image below. This values might change depending on your design.

Step 6
Create an ellipse in between the 2 big ones, this new ellipse will be the path for the circles. Delete half of the ellipse then. With the Direct Selection Tool (A) select the line that the blend follows and then select the half of ellipse let. Go to Object>Blend>Place Spine. Now the circles will follow the ellipse spine.

Step 7
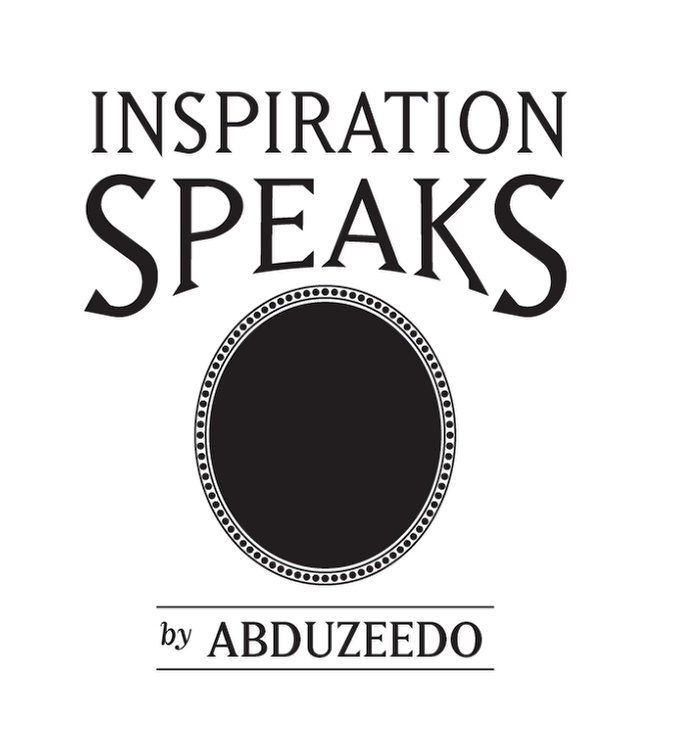
Duplicate the blend and flip it vertically using the transform tools via pathfinder (View>Pathfinder).
Step 8
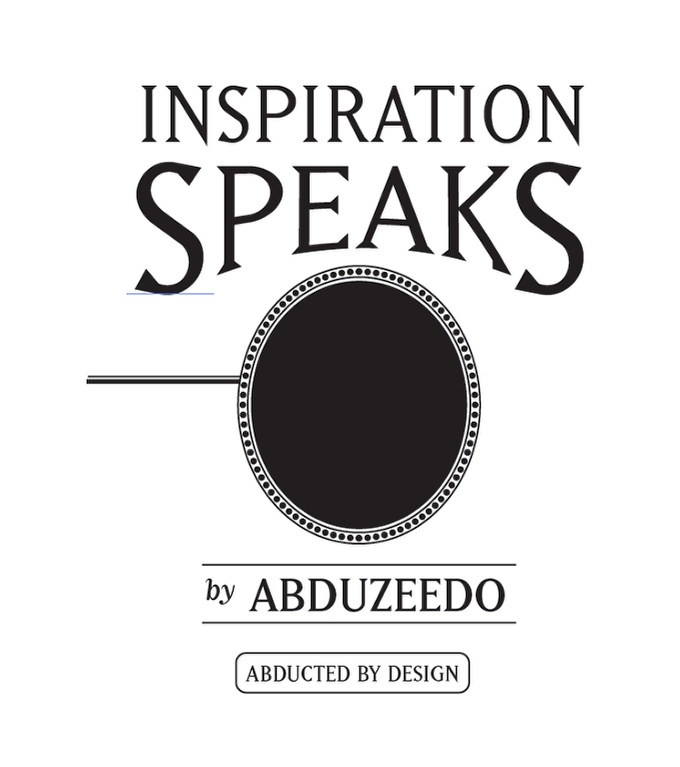
Add more text, in this case I added by ABDUZEEDO. Also add 2 lines one at the top and the other at the bottom.
Step 9
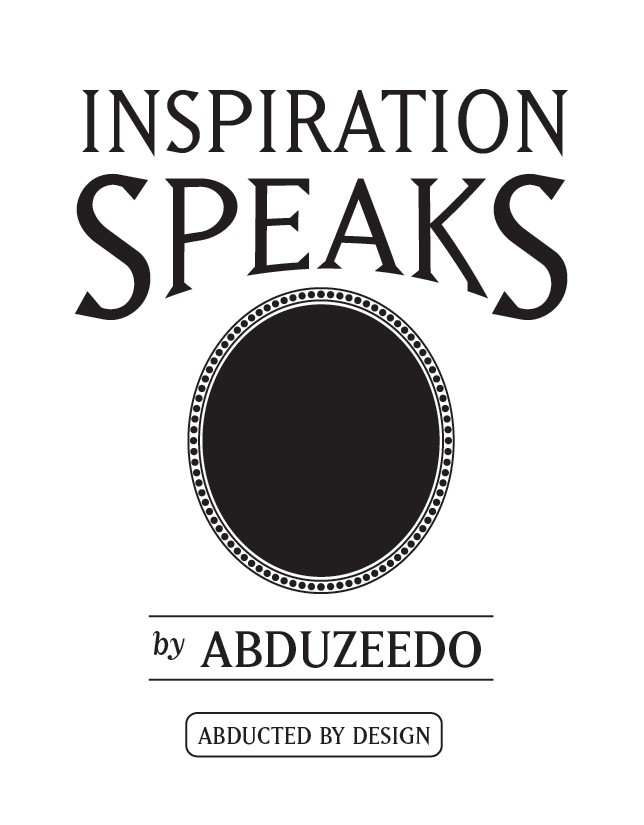
Keed adding more elements, this time I added a rounded rectangle using the Rounded Rectangle Tool. Then I typed ABDUCTED BY DESIGN.
Step 10
With the Rectangle Tool (M) create 2 rectangles, the top one thinner than the bottom and position it next to the big ellispe.
Step 11
With the Spiral Tool create a spiral to use in the end of one of the rectangles.

Step 12
With the Ellipse Tool (L) create a ellipse to fill the end of the spiral.

Step 13
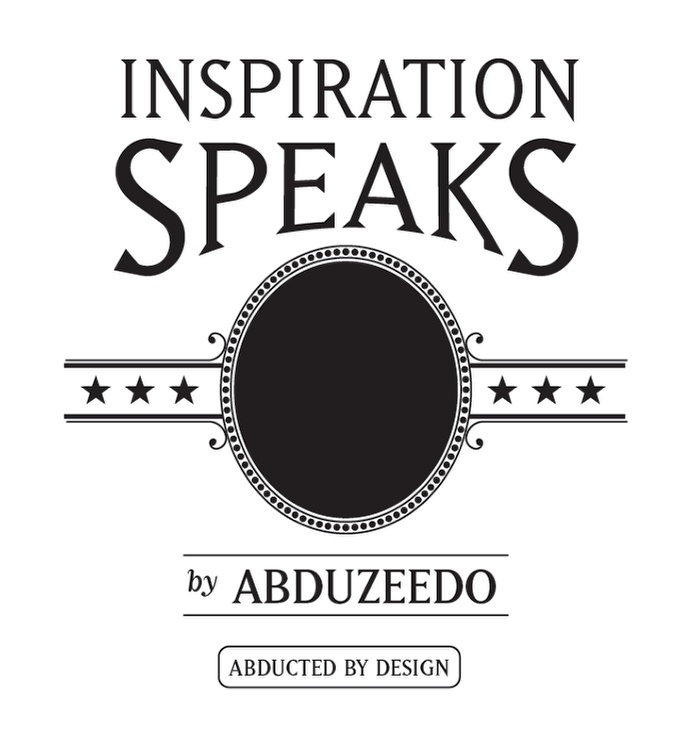
Now with the Star Tool add one star, then duplicate it twice to have 3. Align and ditribute them uniformly.

Step 14
Now just duplicate elements to have the center part as the image below.
Step 15
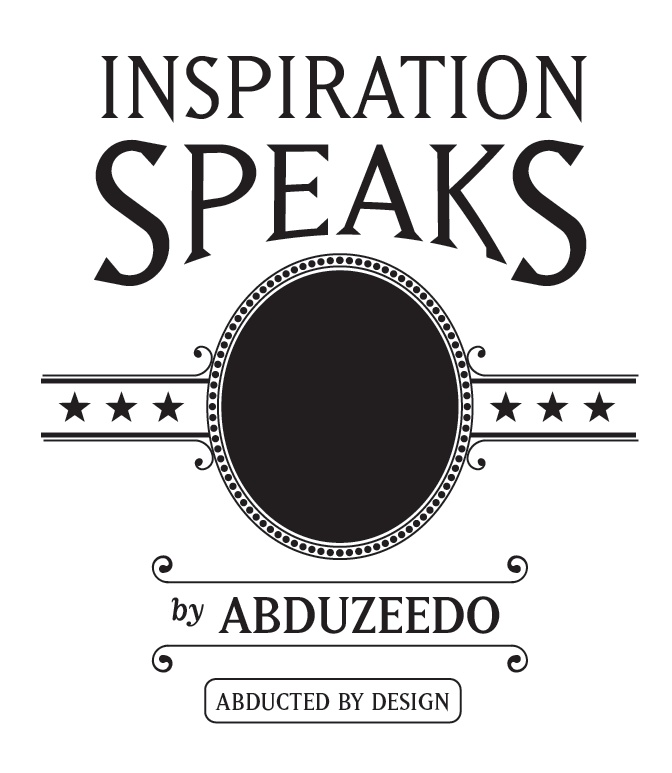
Again with the Spiral Tool create spirals for the lines of the By Abduzeedo element.
Step 16
Select the elements of the By Abduzeedo part and go to Object>Envelop Distort>Envelop with Warp. Use Arc with the same 25% Horizontal.
Step 17
With the Line Segnent Tool (\) add 2 lines and then with the Blend Tool create a diagonal pattern like the image below.
Step 18
The select the Inspiration Speaks part and group them. Duplicate it once and change the color to white. Move this new copy so it is beneath the black text, and also move a few pixels down and right. After that duplicate this white layer and move it a few more pixels down and left, but then cut it (Edit>Cut). Select the diagonal pattern and go to View>Transparency. You will see 2 thumbs, one with the pattern and another empty. Double click on the empty one to enable the clip mask, then copy the white text in place (Command + F). That will mask the pattern with the text object.
Step 19
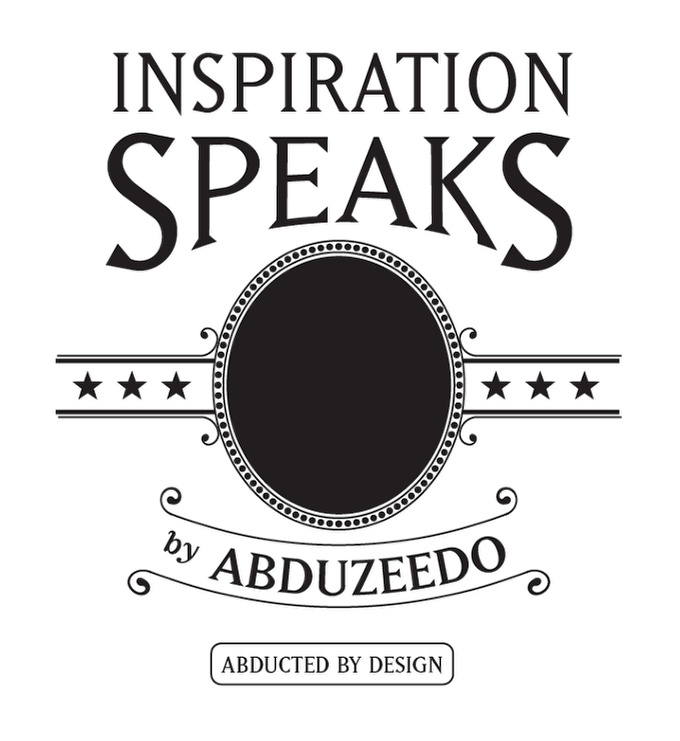
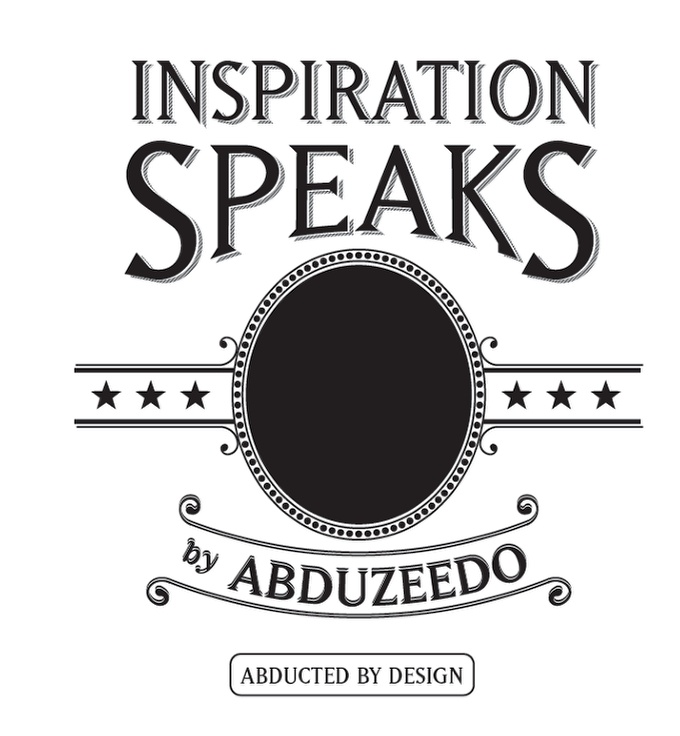
This is the final vector object we have. Notice that I also duplicate the By Abduzeedo part. It's up to you here, the idea is try different things :)
Step 20
Open Photoshop and import the vector image. You can do that by copying and pasting or exporting a bitmap from Illustrator. In my case the latter was the fastest one, so it was the one I recommend. Also I added here a image of the Abduzeedo logo I created in Pixelmator a long time ago for testing and place it in the center of the ellipse.
Step 21
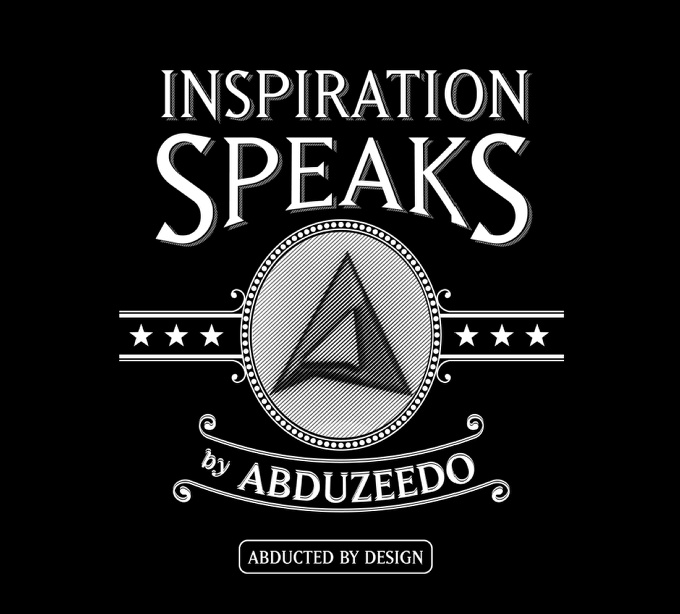
Go to Image>Adjustments>Invert. Now we have a black background with white elements.
Step 22
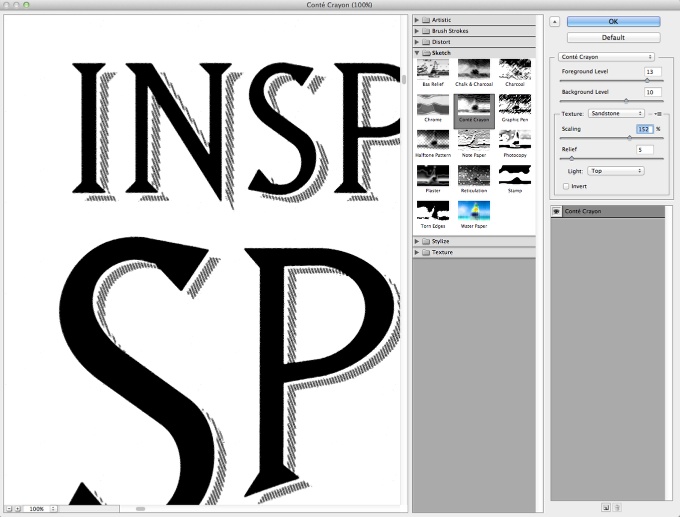
Duplicate the image and with the new layer go to Filter>Sketch>Contê Crayon. Use 13 for the Foreground Level, 10 for the Background Level, Sandstone for the Texture, 150% for the Scaling and 5 for the Relief.
Step 23
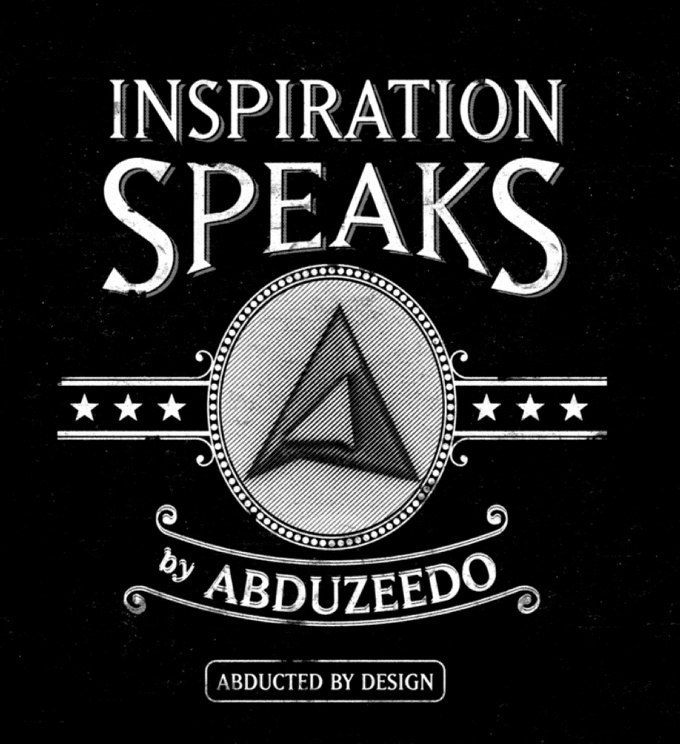
With the Brush Tool (B) and some vintage/dirty brushes from Eduardo Recife (http://www.misprintedtype.com/v4/) start painting with black and white over the image. Also add a new layer and start paiting with white only. Tip: Go to Window>Brush (F5) and then create a brush activating the Shape Dynamics, Scattering and Transfer. That way you can paint of the image without looking too uniform.
Conclusion
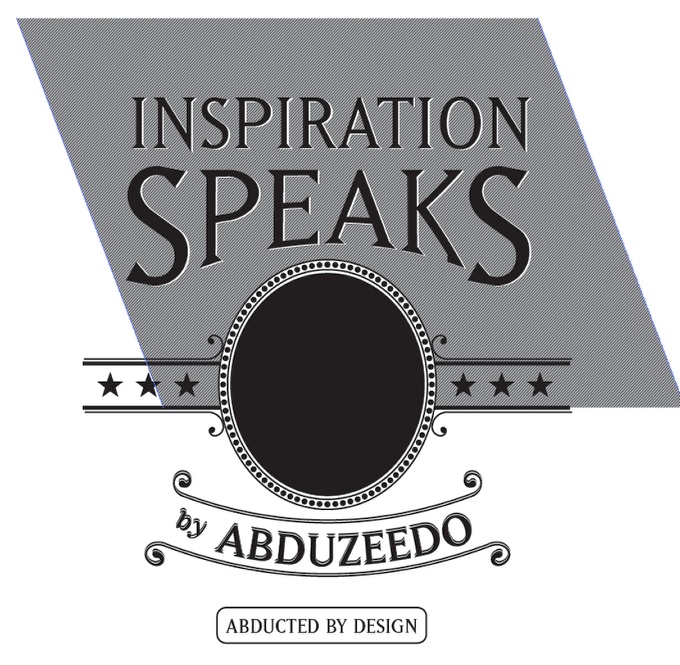
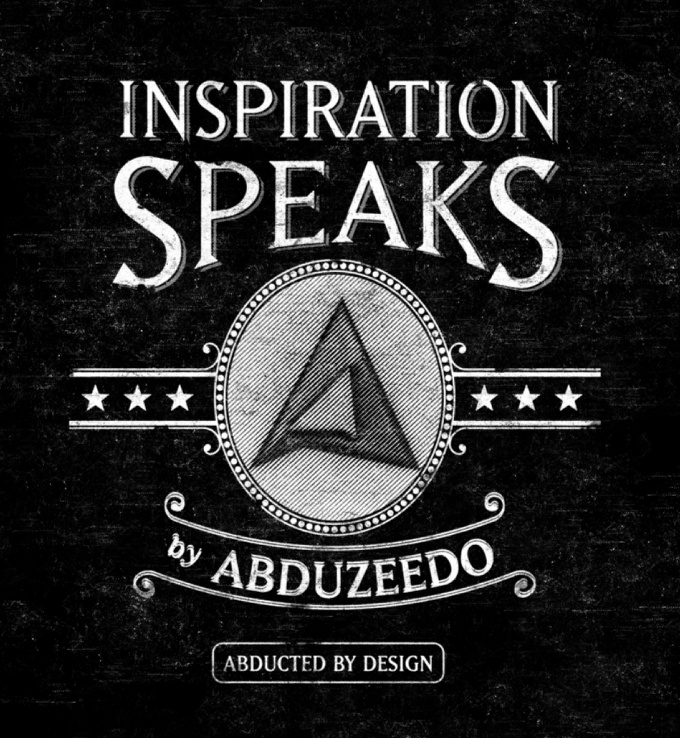
Here is the final image, you can exaggerate a littel bit because my idea here is use this design on top of an photo, then using Screen for the Blend Mode, all the black will be transparent and only the white will be shown.
As you can see, the design process is quite simple and it's all about trying and practicing. Now we understand a bit on how this vintage elements are creating, therefore we can start creating our own. The typography books were indeed very useful.
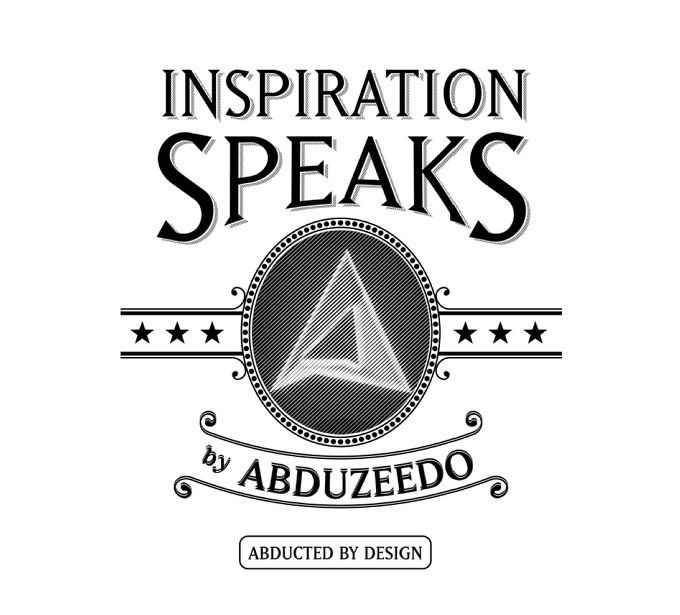
Another Version