by abduzeedo
It is been quite a long time since the last time I posted a tutorial. I haven't for some reason stopped. I used to do this every week, it was part of my routine but little by little I stopped doing. I remember never having too much of a hard time to come up with something but without using it, I definitely lost it. Now I am trying to create a routine again and write a few tutorials per month. Nothing fancy, just things I'd like to try and for this first one, I decided to try a little sort of cutout effect using Photoshop. I added a little color touch in the end, just to make it a bit more unique. Anyways, I hope I start getting better little by little.
Step 1
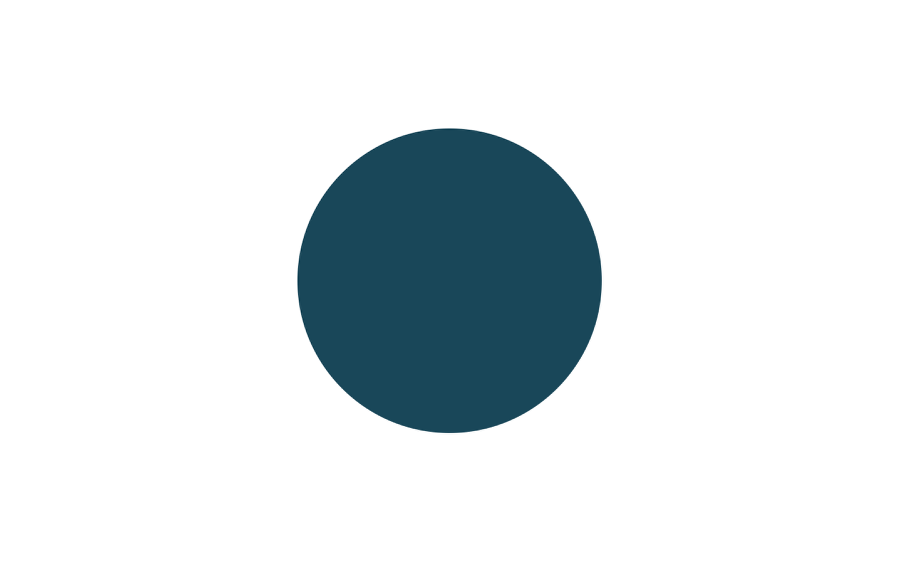
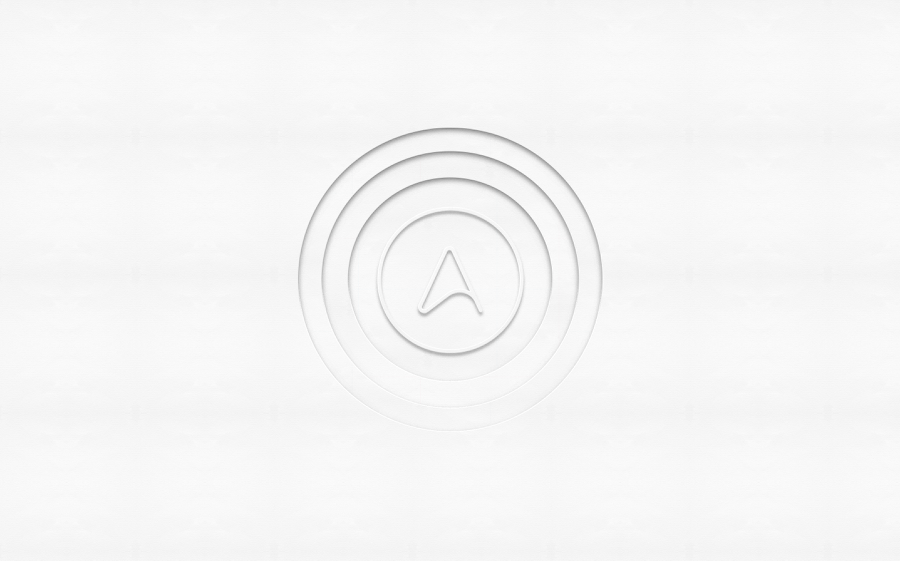
Start with a circle in the middle of your canvas.
Step 2
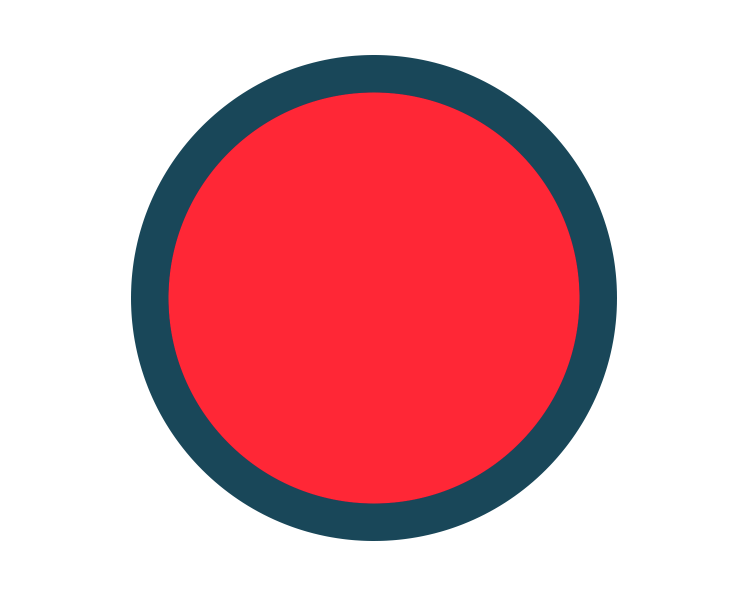
Add two other smaller circles like the image below. You can add more if you want but for this composition, I used 3 circle only.

Step 3
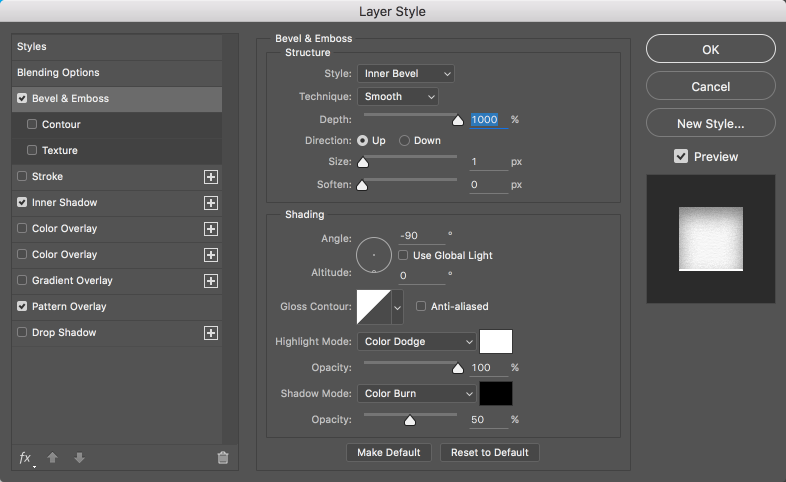
Now it is the most important part, the Layer Styles. They will give the look we are looking for. First thing let's use a Bevel & Emboss. That's because if you noticed when you cut paper, the border always has a litte reflection and bump from the cut.
Step 4
The second part, of course, is the shadow. That will give the optical illusion of depth. For this, I used the Inner Shadow, that way we have control of the shadows for each circle. Another important thing is the Noise for the Quality. That gives that little dirty look that real materials have.
Step 5
The last thing is the paper texture. For that we will use the Pattern Overlay with a paper texture I found on Google. You can use any texture you want. Ideally, you should take a photo of the texture you want, that way you have a truly unique design.
Step 6
Here's the outcome of the layer styles for all three layers.

Step 7
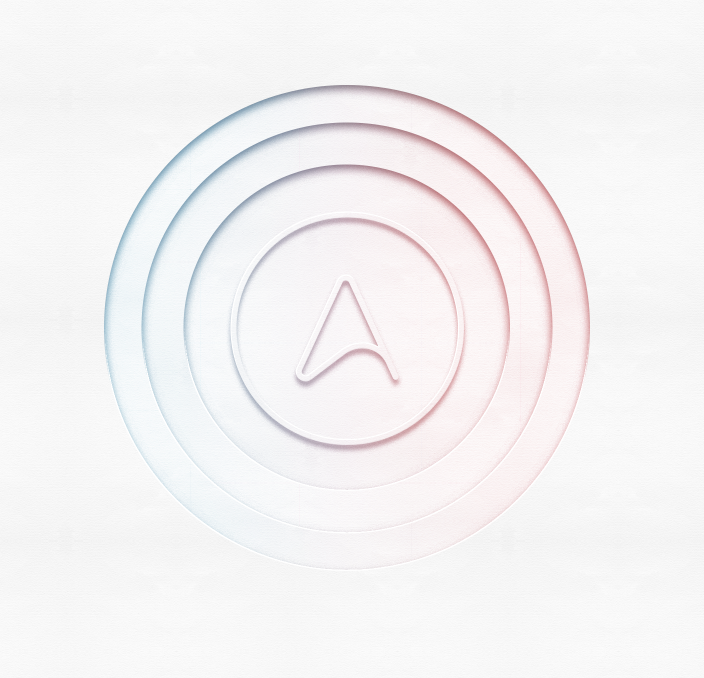
Now add the pattern to the background of the artwork. Besides that, I added the Abduzeedo logo in the center and use pretty much the same layer styles, but instead of inner shadow, I used Drop Shadow.
Step 8
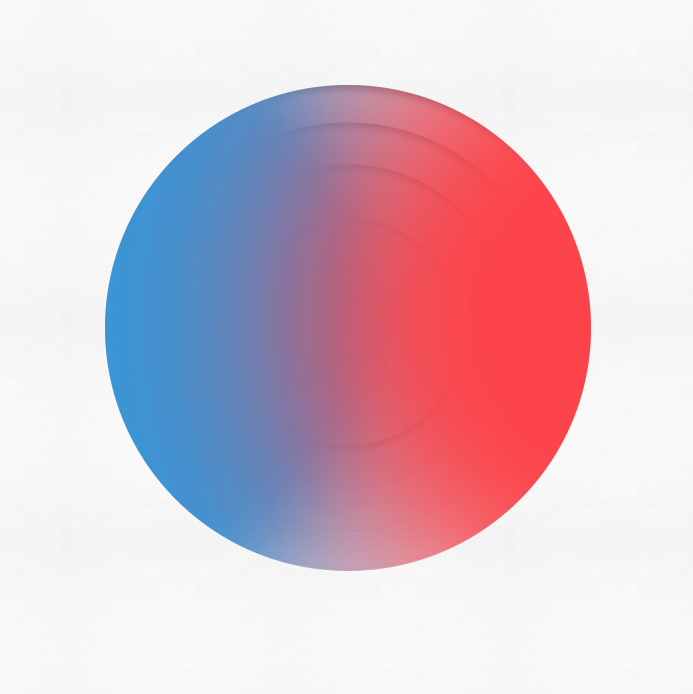
Add a layer on top of the other layers and then with the brush tool paint half with cyan and the other half with pink. Then you can mask using the biggest circle as the mask shape.
Step 9
Change the Blend Mode to Soft Light, that way it will affect just the shadow and grey tones.
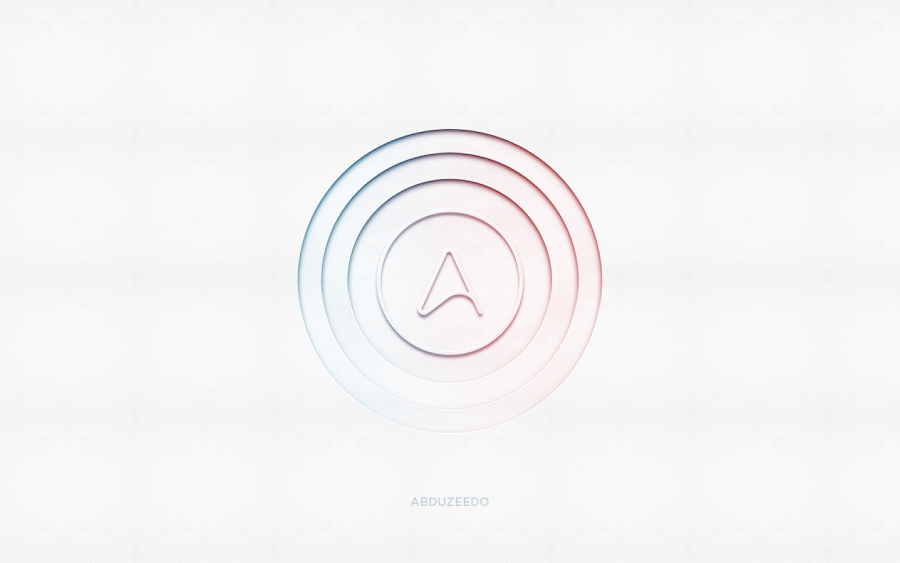
Conclusion
You can duplicate all layers and merge them onto a new one, then use Color Burn for the Blend Mode in order to increase the contrast. The outcome will be something simple but yet with some nice contrast.