by abduzeedo
Movie posters are always a great source of inspiration, movies area always about periods of times, sometimes it's in the future, others in the past. Some are really good at representing some art styles. That's the case of the new movie called The Great Gatsby. It's heavly inspired by the Art Deco movement and it's simply beautiful. It's so cool that we had to try to do that in Photoshop and share in a tutorial.
So for this tutorial we will create a Art Deco image based on the poster of The Great Gatsby movie. We will use Adobe Illustrator and Photoshop to create the whole thing. The process is not difficult but it's very time consuming. Another thing to notices, is that there's no specific rules but to keep the square angles.
Step 1
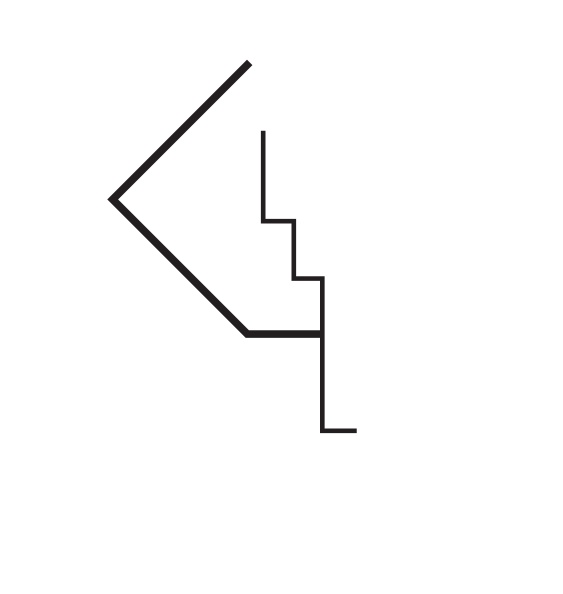
In Illustrator, create a new document. Then with the Line Segment Tool (/) or the Pen Tool (P) start creating some basic lines using squared angles. To do that hold the Shift tool in Illustrator when adding the lines.
Step 2
Keep adding more lines. The goal here is to create one half of the image, the one one will be just a copy of it flipped horizontally.

Step 3
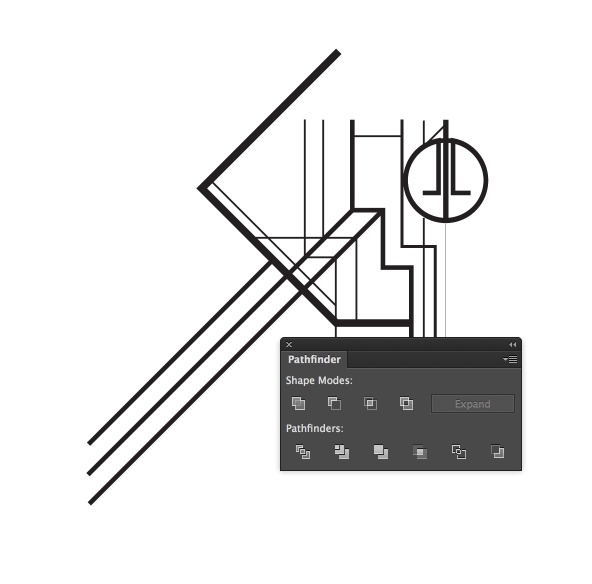
Play with different stroke weights and also use the Pathfinder tool to cut things. It's important to keep the lines straight and with different stroke weights.
Step 4
Keep adding more lines, there's no rules, just make sure you connect the lines so they have a nice flow.
Step 5
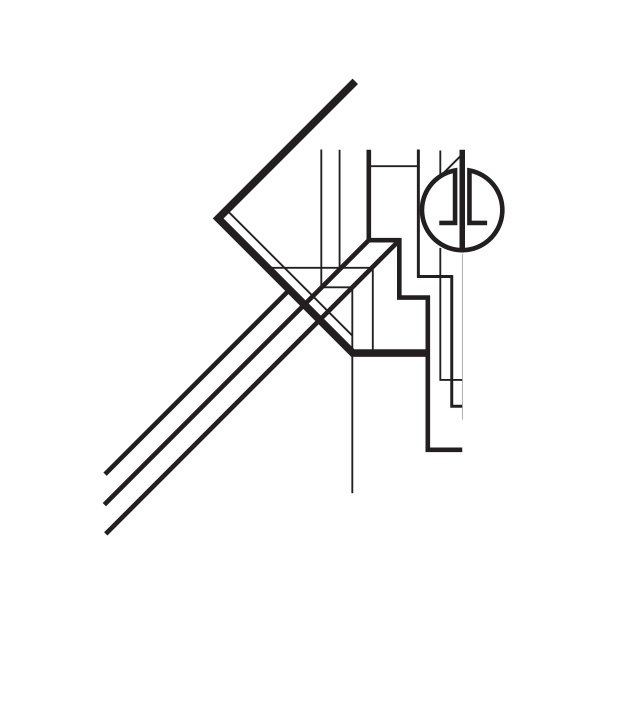
Duplicate the circles created in the Step 3, here is important to have the full canvas for reference, in our case the circles are in the center of the design.
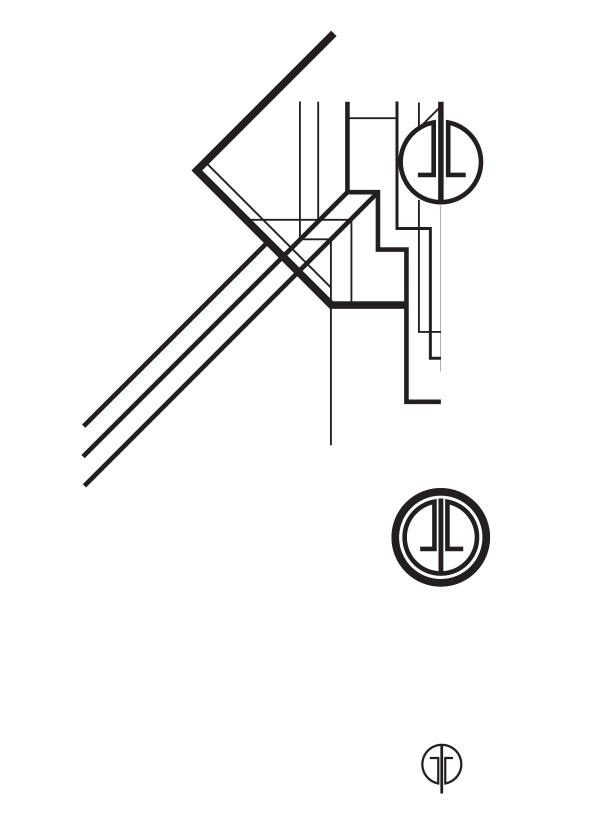
Step 6
Add 3 thicker lines like the image below.
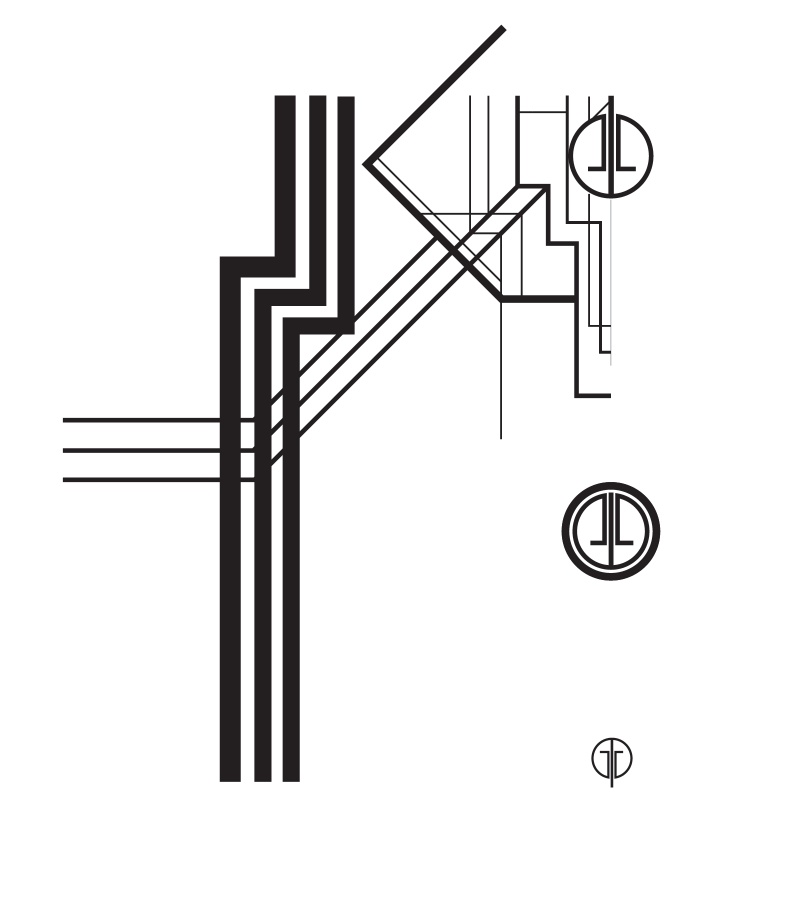
Step 7
Now let's add the area for the text. Start with the Rectangle Tool (M), then cut it in the middle so you have just half of it. Also make sure that the circle in the center is in front of the rectangle.
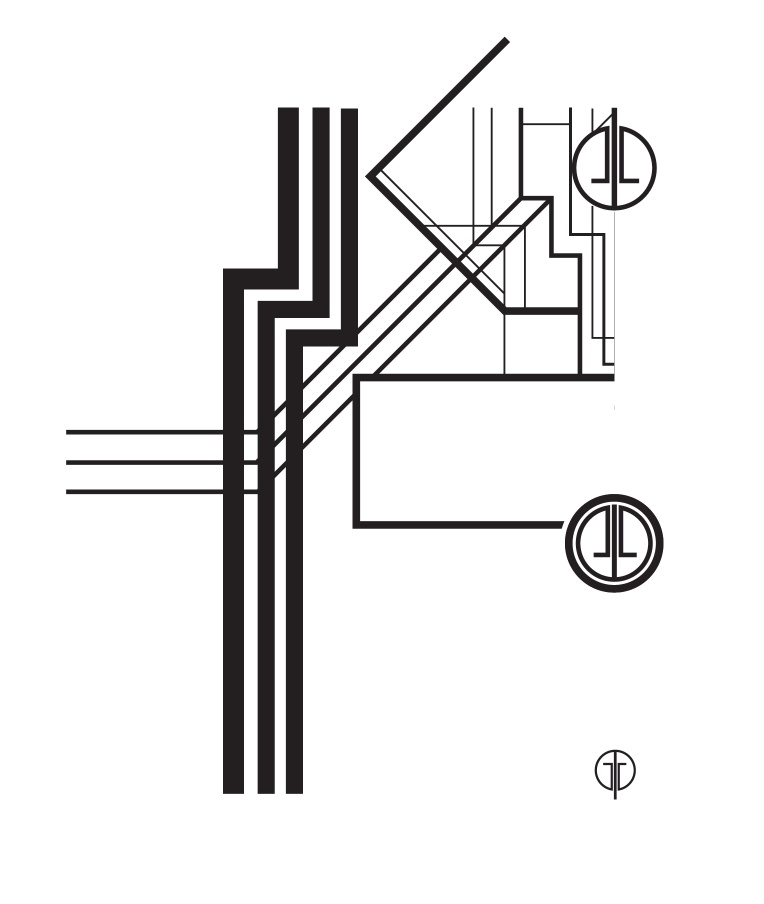
Step 8
Add a square and rotate it 45º, position it on the left of the center rectangle.
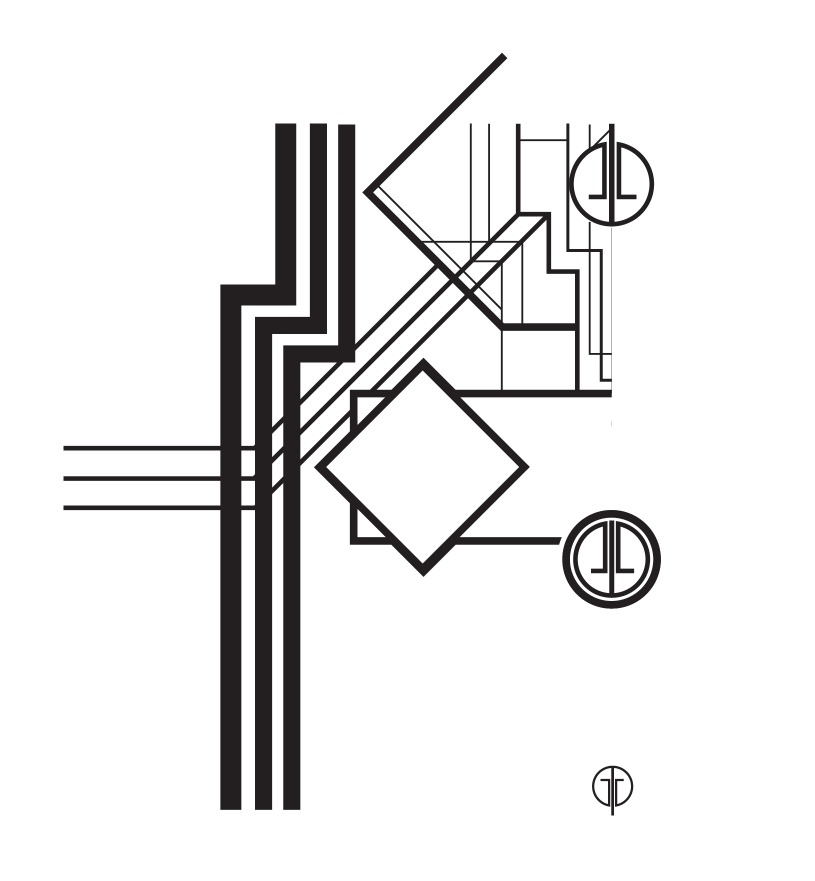
Step 9
With the Pathfinder Tool, use Unite to merge both to create one object only.
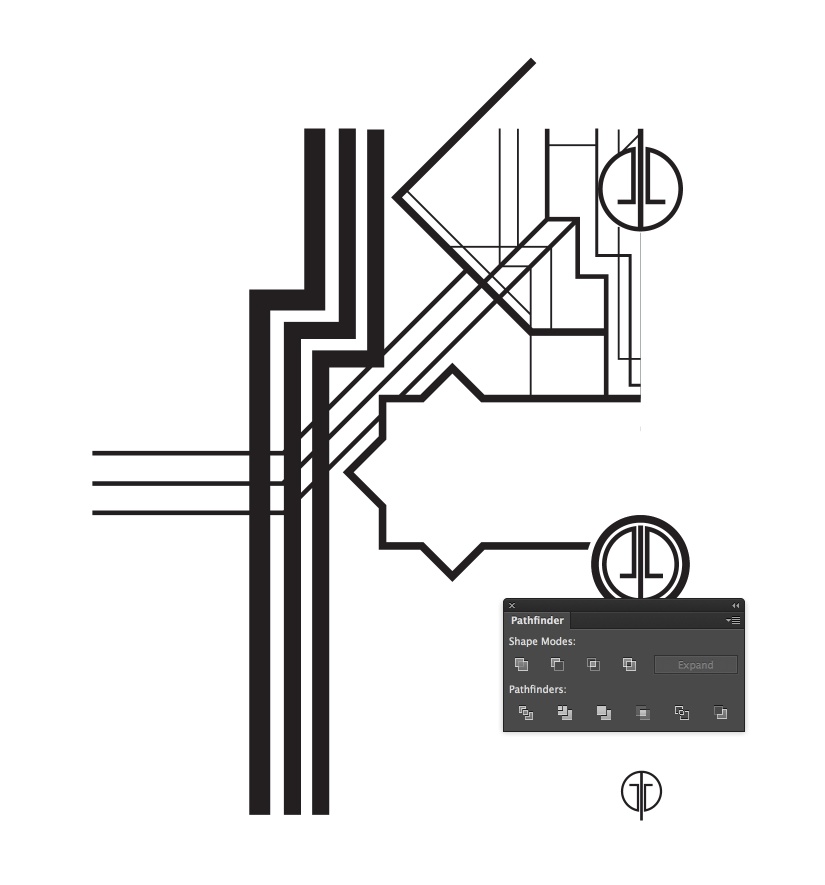
Step 10
Kee adding more lines, always making sure they connect to one another in some way.
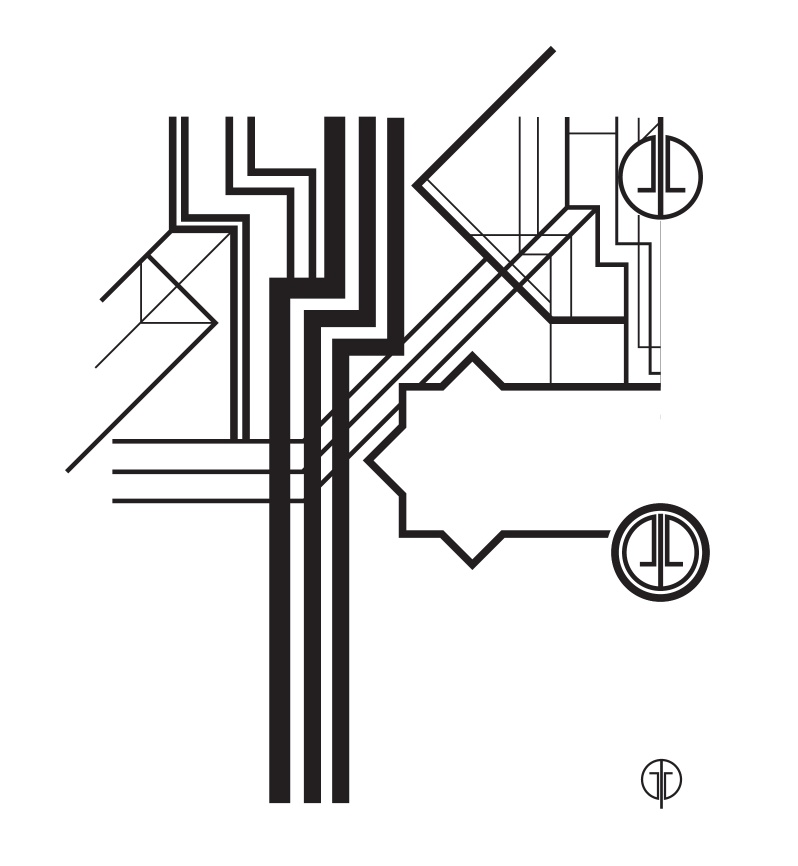
Step 11
Duplicate the top lefft and flip it vertically, then connect the lines like the image below.
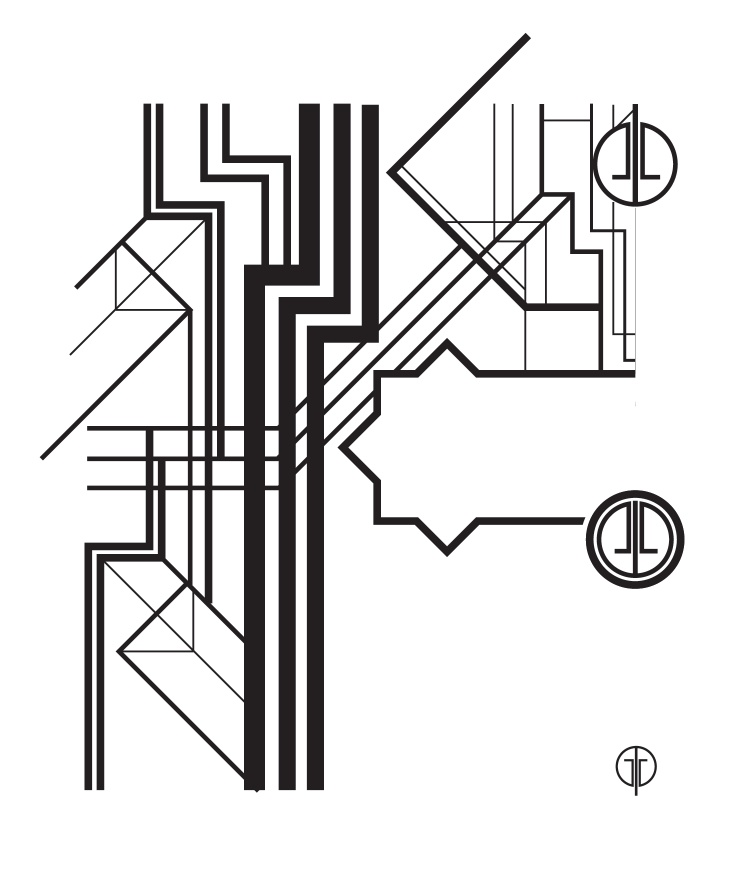
Step 12
Start creating the bottom part, first with the thicker lines for reference.
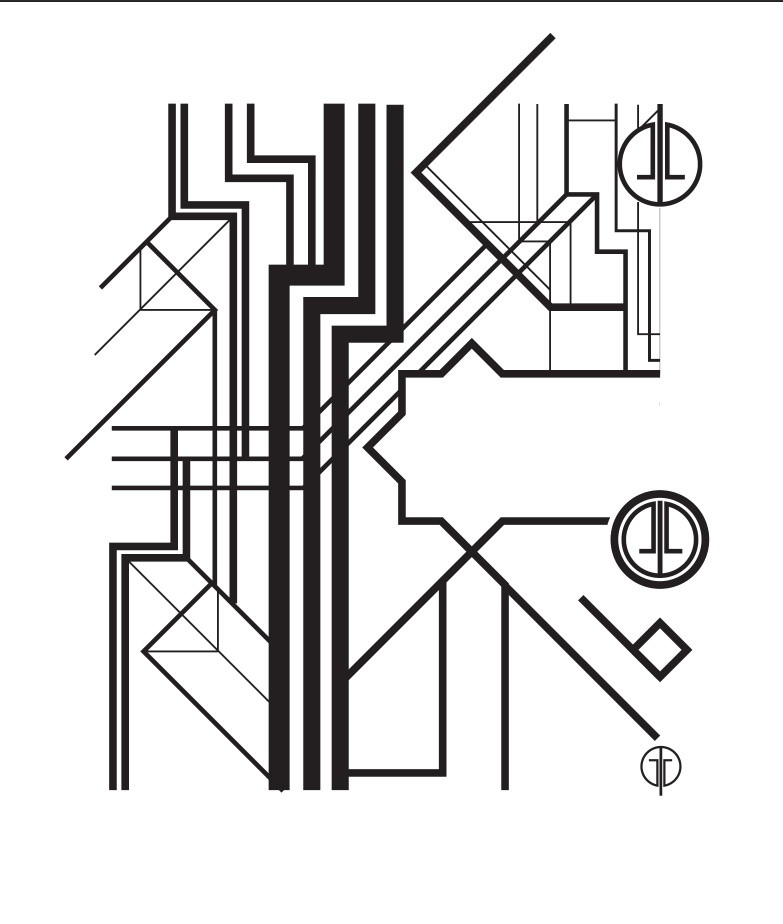
Step 13
Then add the thinner ones.
Step 14
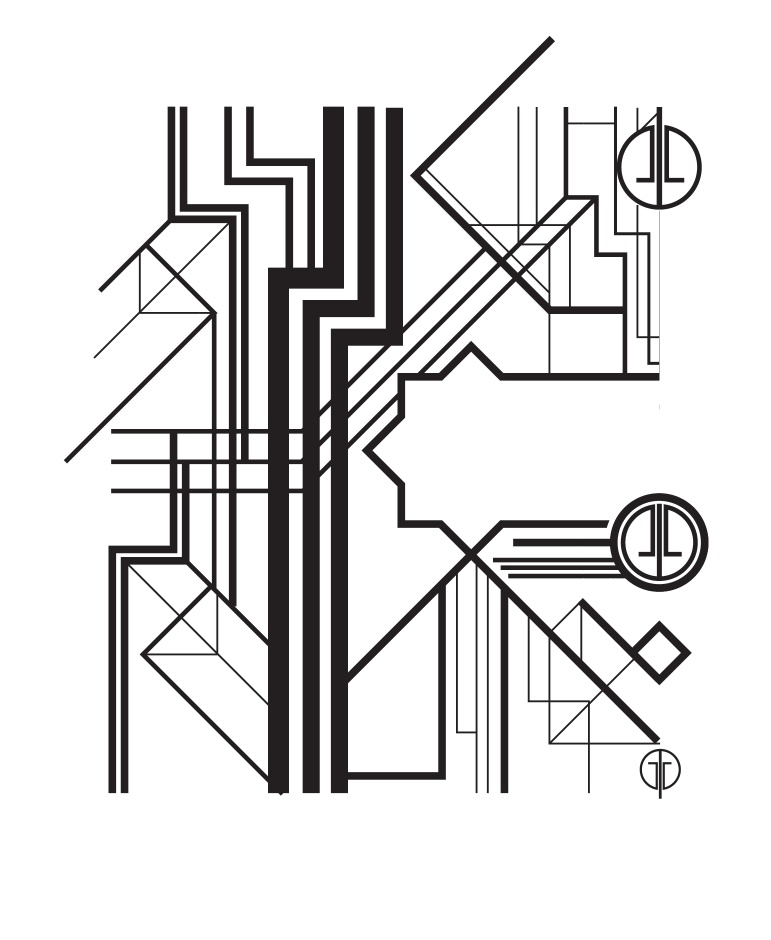
Once you finish half of the design select all layers and duplicate it, then flip it vertically. Connect the lines ans make sure that it's center aligned.
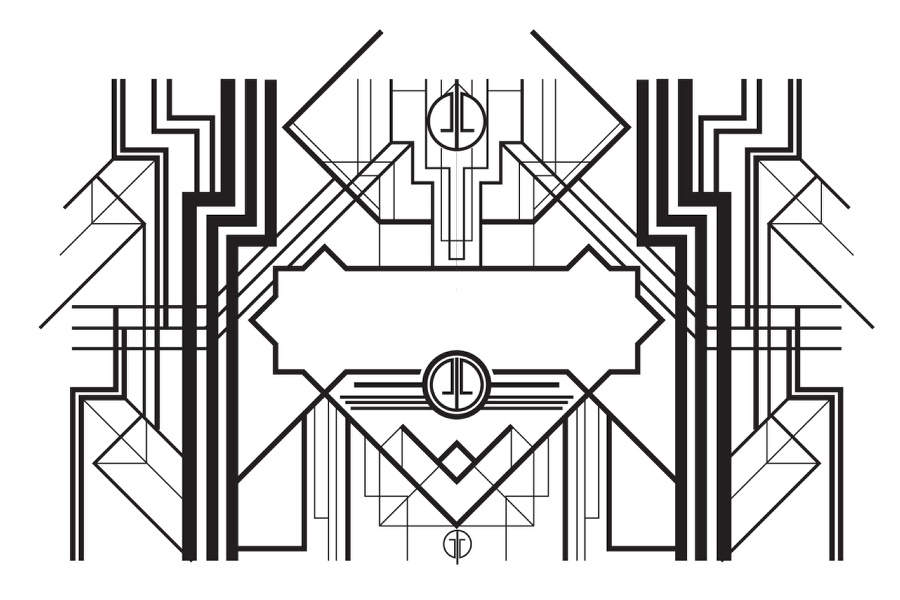
Step 15
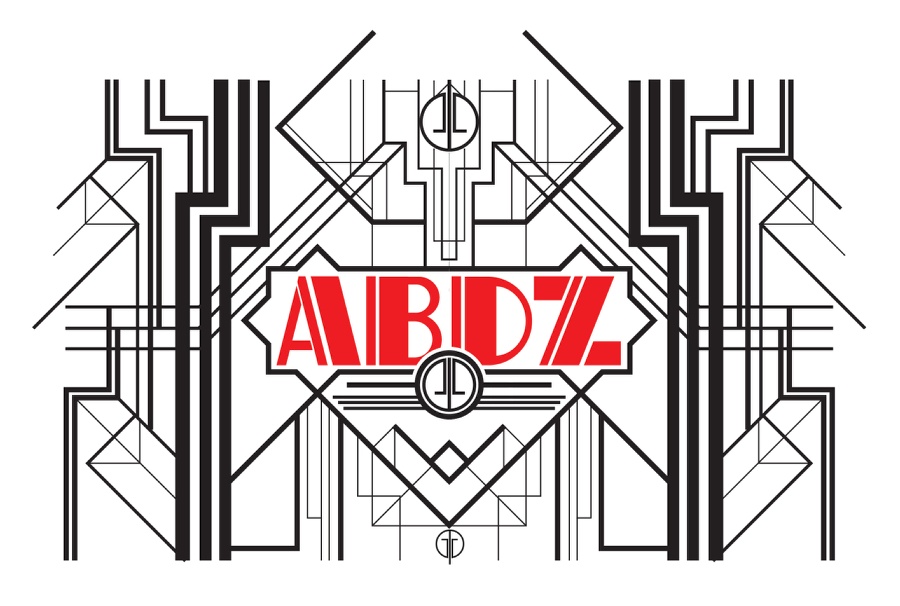
The last part in Illustrator is the text part, use the poster of The Great Gatsby for reference and create the text you want. The Art Deco style for the text is quite simple, it's basic a think line next ot a thinner one.
Step 16
Now in Photoshop, let's import the objects created in Illustrator. The first thing to do is copy all lines and paste them in Illustrator. Note that I didn't copy the text. Also copy just the thicker lines and paste them in a separate layer, it's important for the next steps.
Step 17
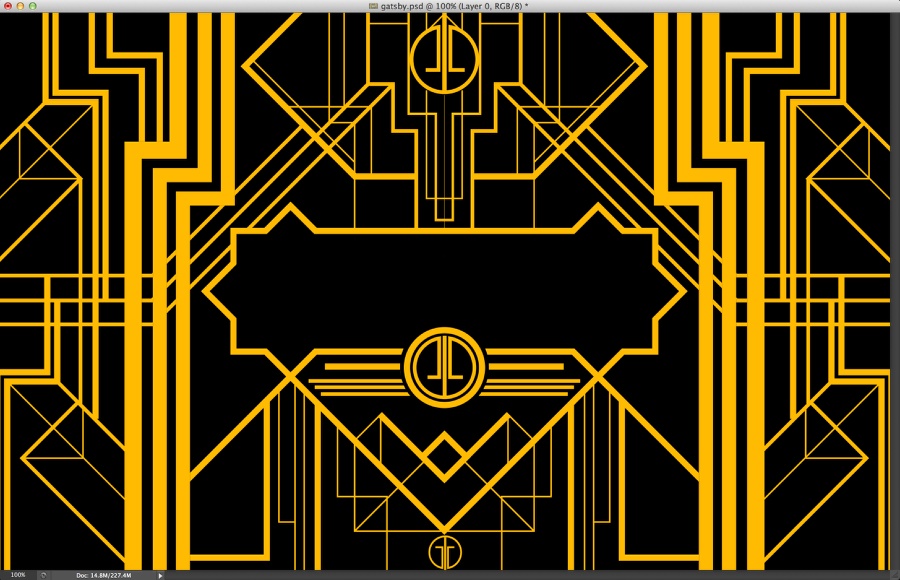
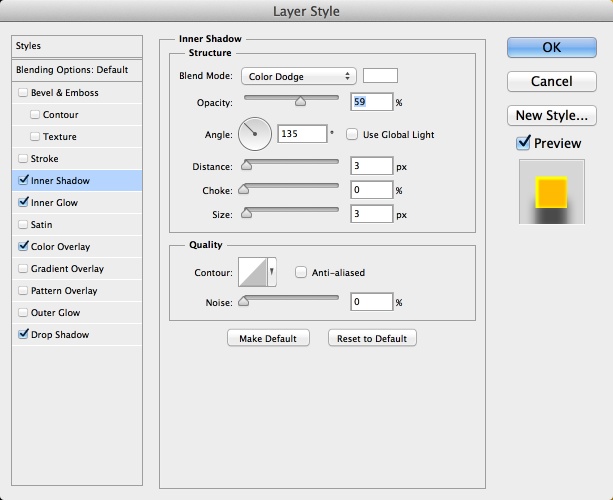
Let's apply some layer styles. In Illustrator we used just black and white, so the first thing to do here is use a nice yellow/orange for the color overlay (#ffba00). That will be our gold texture. Then select Inner Shadow and use the values below.
Step 18
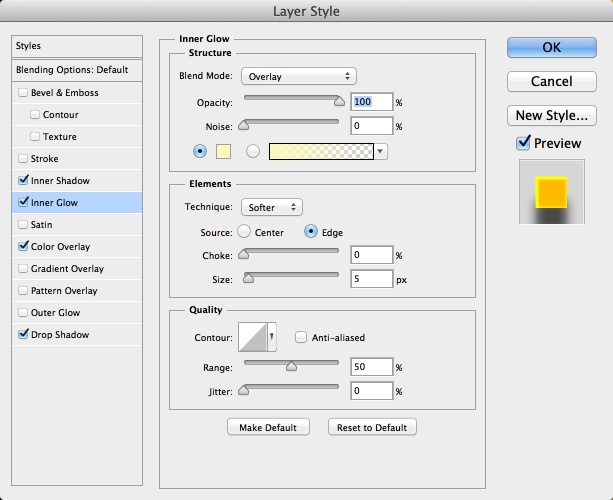
Select Inner Glow and use the values below.
Step 19
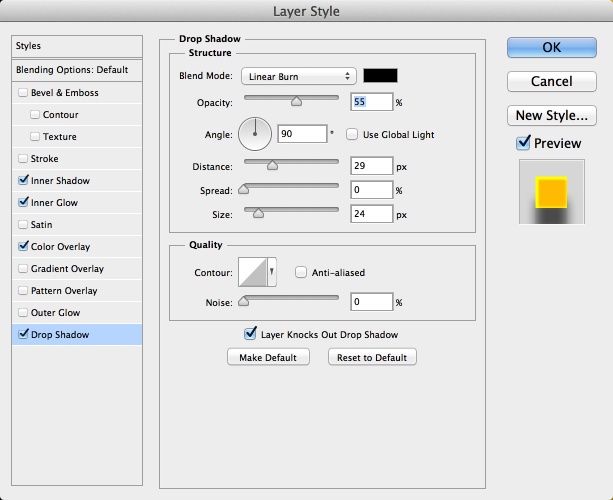
Select Drop Shadow and use the values below. Drop Shadow will start giving the depth we want. Remember, you will apply the same layer styles to both layers, one with all lines and the other one on top of it, just with the thick lines. The one with the thick lines will have the shadows visible on top of the other.
Step 20
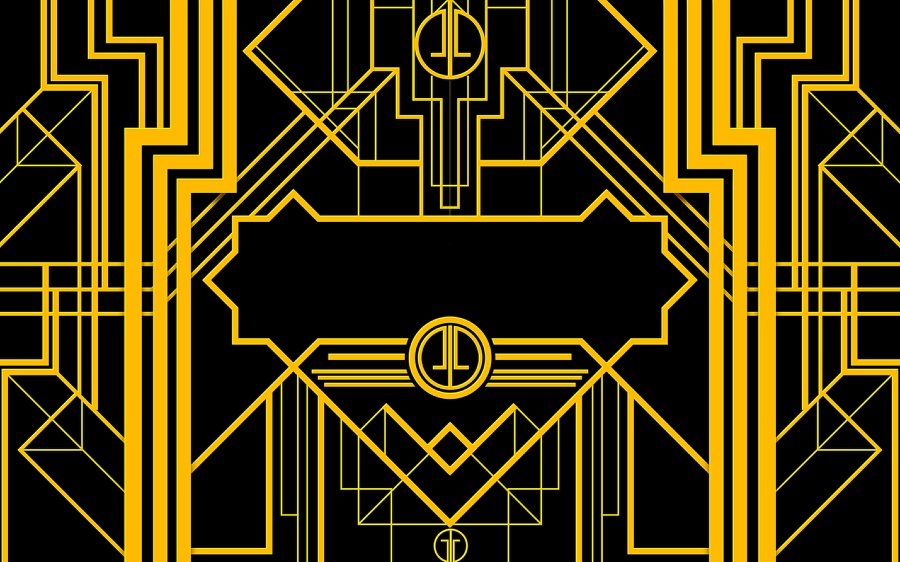
Here will be the design you will have in Photoshop. Note that the background is black and not white.
Step 21
Add a layer on top of the others. Group this layer into a folder and change the Blend Mode to Color Dodge. Select the layer inside the folder and then with the Brush Tool (B) and a very soft brush, start painting with the white at 10% on the areas you want to create a highlight.
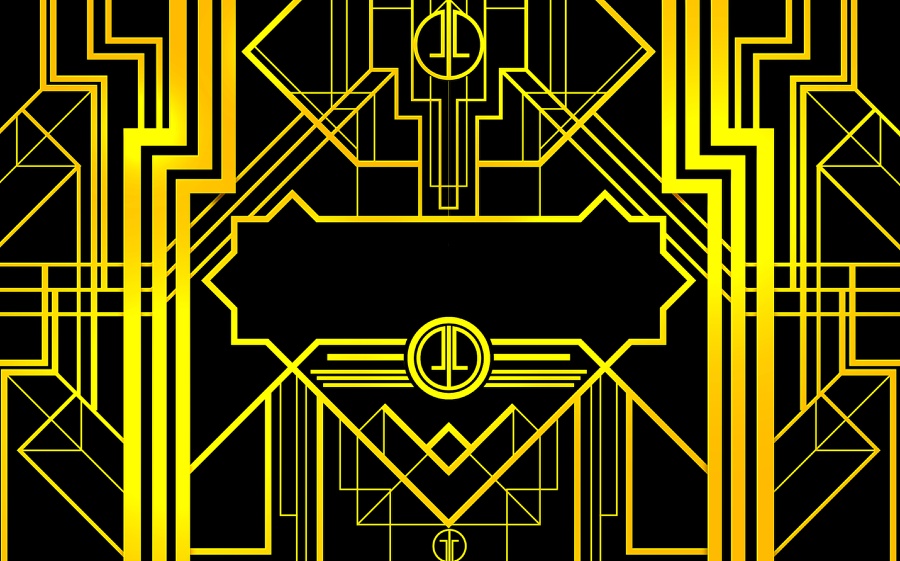
Step 22
Add another layer and group it into layer. Change the Blend Mode of the folder to Linear Burn. Select the layer inside the folder and then with the Brush Tool (B) and a very soft brush, start painting with black at 20% on the areas you want to make them darker and sort of on the second plane. Also use the Lasso Tool (L) to mask some areas to create shadow effects like (1, 2, 3, 4 and 5).
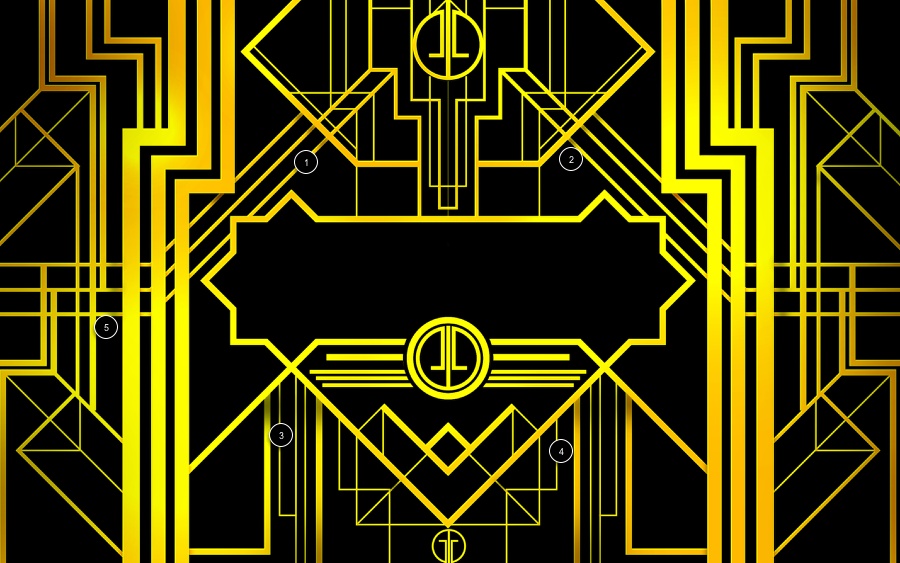
Step 23
Add a new layer and fill it with white. Then go to Filter>Noise>Add Noise. Use 80% for the Amount. Make sure you have black and white for the background and foreground color. Then go to Filter>Blur>Motion Blur. Use 0º for the Angle and 120 pixels for the Distance.
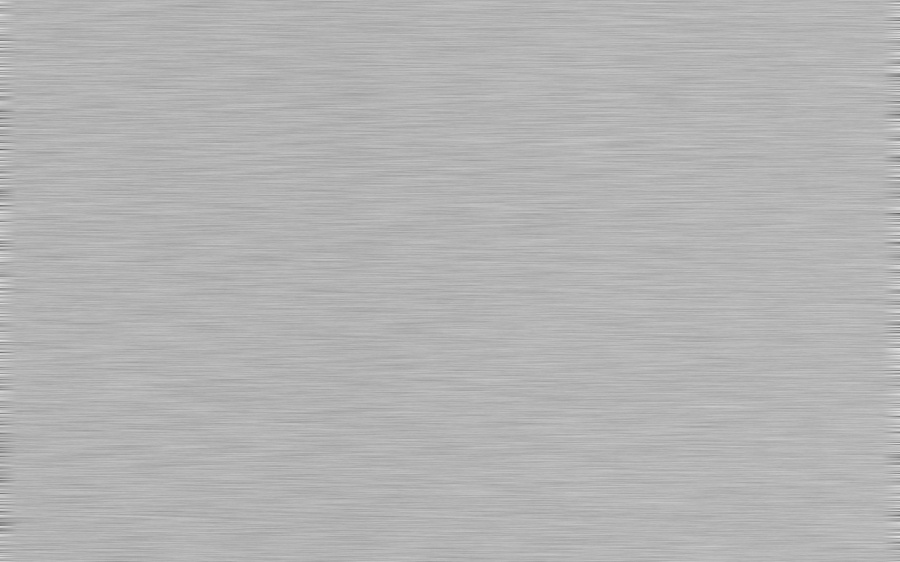
Step 24
Change the Blend Mode to Multiply.

Step 25
Add the text, copy from Illustrator and paste it in Photoshop. Use the same layer style but use a gradient from white to medium grey in the center. The idea is to make the line as gold and the text as silver.

Conclusion
Select all layers and duplicate them. With the new copies selected merge them into a new layer, then go to Filter>Blur>Gaussian Blur. Use 10 pixels for the Radius. After that change the Blend Mode to Overlay at 70% Opacity. Duplicate this layer and change the Blend Mode to Screen at 70% Opacity, then duplicate it again and go to Layer>Layer Mask>Reveal All. Select the thumb of the mask and go to FIlter>Render>Clouds. That way we will use the clouds to mask the layer and make it less uniform.
Our design is pretty much done, now it's up to you to improve upon it, there are a lot more to be done so I hope you have fun. A Merry Christmas and Happy New Year.
