by abduzeedo
Last week Adobe release some new updates in the Creative Cloud apps, including Photoshop and Illustrator. The best new feature for me was the live corner effects in Illustrator. It is a simple little feature but it will make my job so much easier, especially when creating logos, icons and symbols. To give you a little overview I decided to create a new Abduzeedo wallpaper using Illustrator and Photoshop applying some offset path effects and of course the live corner.
So in this tutorial, I will show you how to create a simple wallpaper mixing vectors and photos. We will play with Offset Path, Live Corners and some other effects in Illustrator and Photoshop.
Step 1
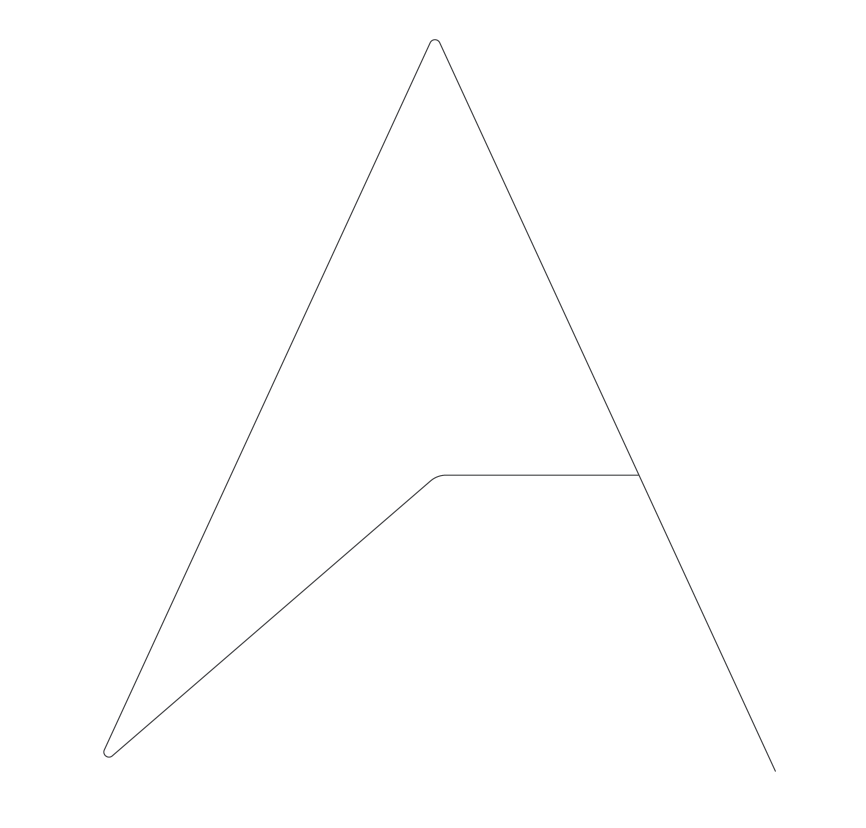
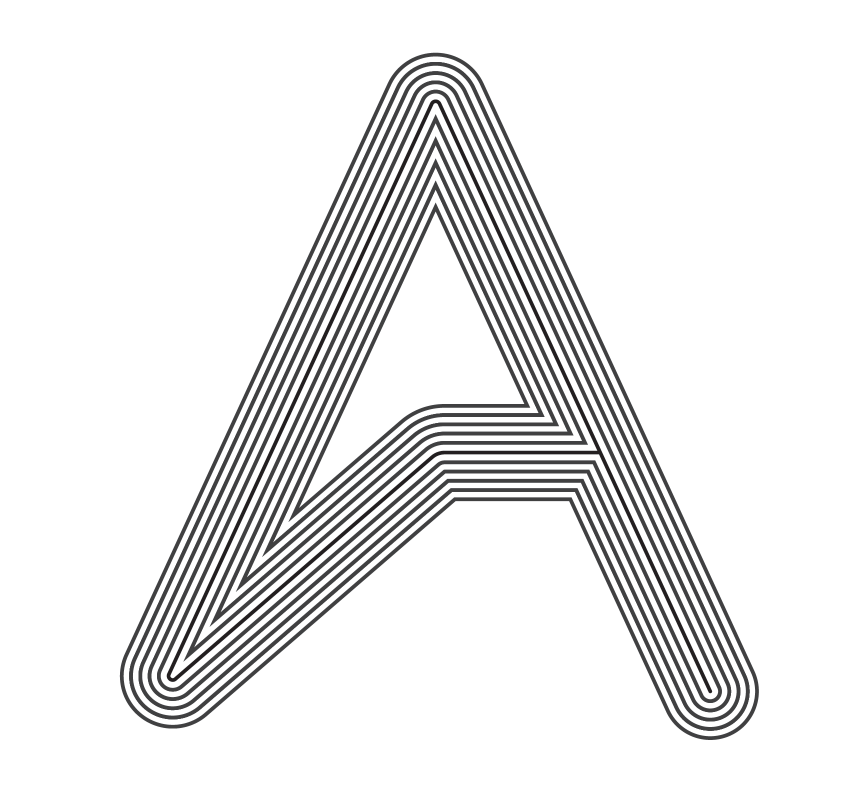
Create a simple path in Illustrator. I am using the Abduzeedo symbol for this tutorial.

Step 2
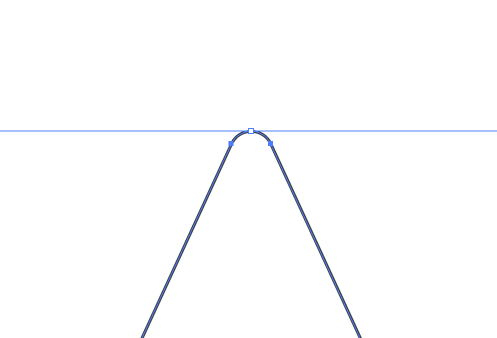
One of the newest features in Illustrator is the Live Corners. The cool thing about this feature is that you can make round corners much easier. To do that, with the Direct Selection Tool (A), select the corner you want to edit and notice there's a blue circle with a dot in the center.

Step 3
Drag that circle down to start editing the corner.
Step 4
Here's the Abduzeedo symbol with some better-rounded corners done with live corners.
Step 5
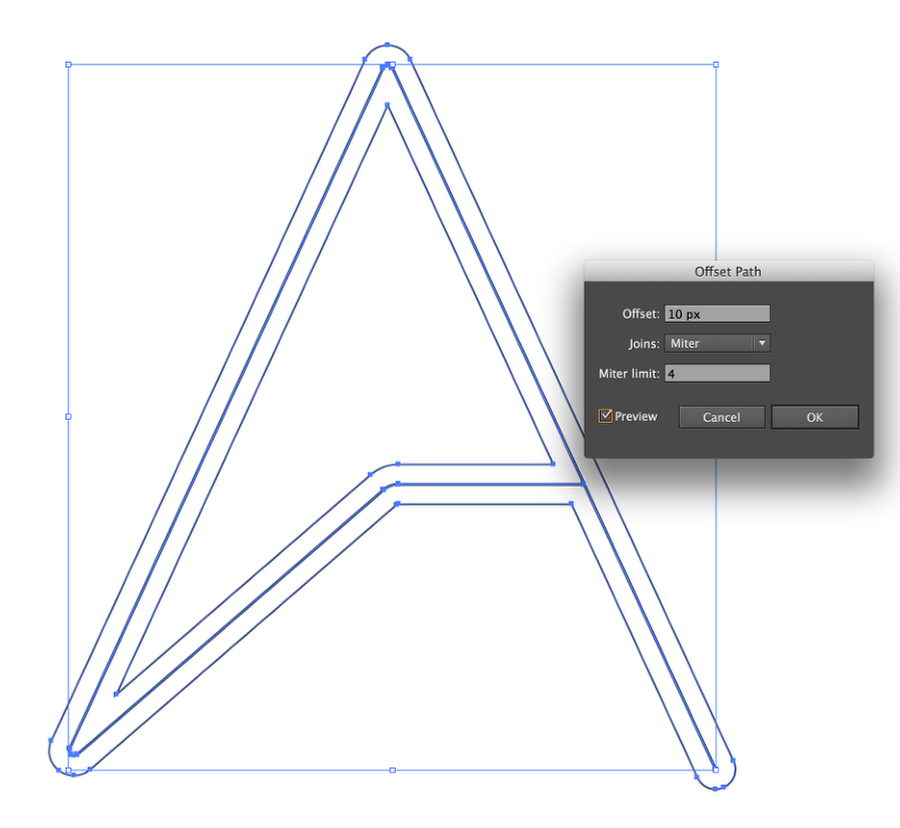
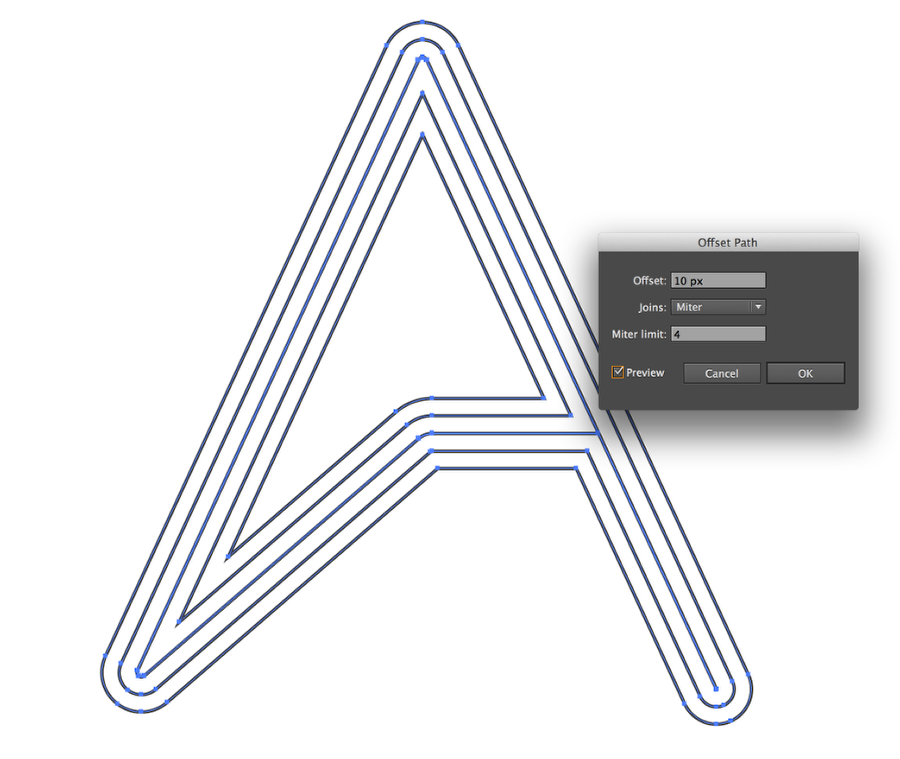
Select the path and go to Object>Path>Offset Path. Use 10px Offset and keep the default values for the rest. Make sure you check Preview so you can see the effect.
Step 6
Repeat the effect again. You can increase the stroke weight to make it more visible. Tip. If you want to have rounded edges like the one on the bottom right, expand the first path.
Step 7
Repeat the process a few more times.
Step 8
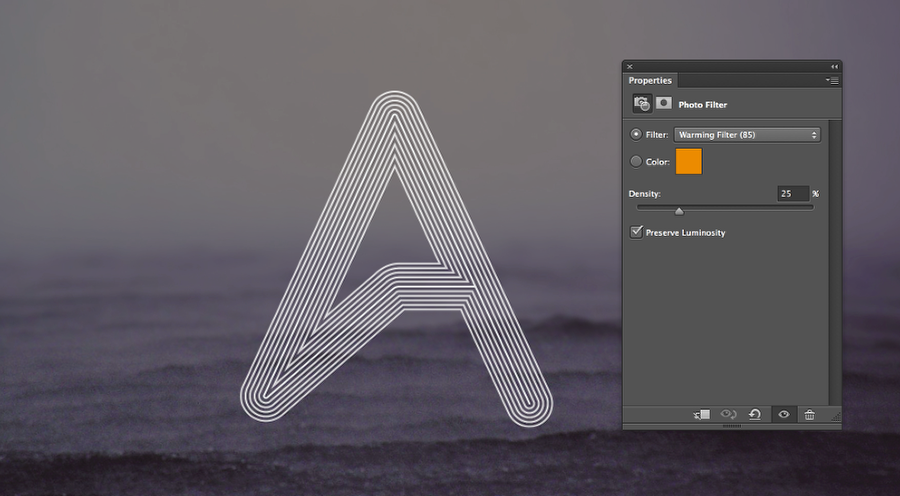
Now in Photoshop, find a nice photo to use in the background. The one I am using is from one of the links in this really cool post at Medium: Stock photos that don’t suck https://medium.com/design-ux/62ae4bcbe01b

Step 9
Copy the vector in Illustrator and paste it in Photoshop.

Step 10
Select the vector and go to Image>Adjustments>Invert. After that change the blend mode to Color Dodge at 60%

Step 11
Go to Layer>New Adjustment Layer>Photo Filter. Select Warming Filter(85), use 25% Density.
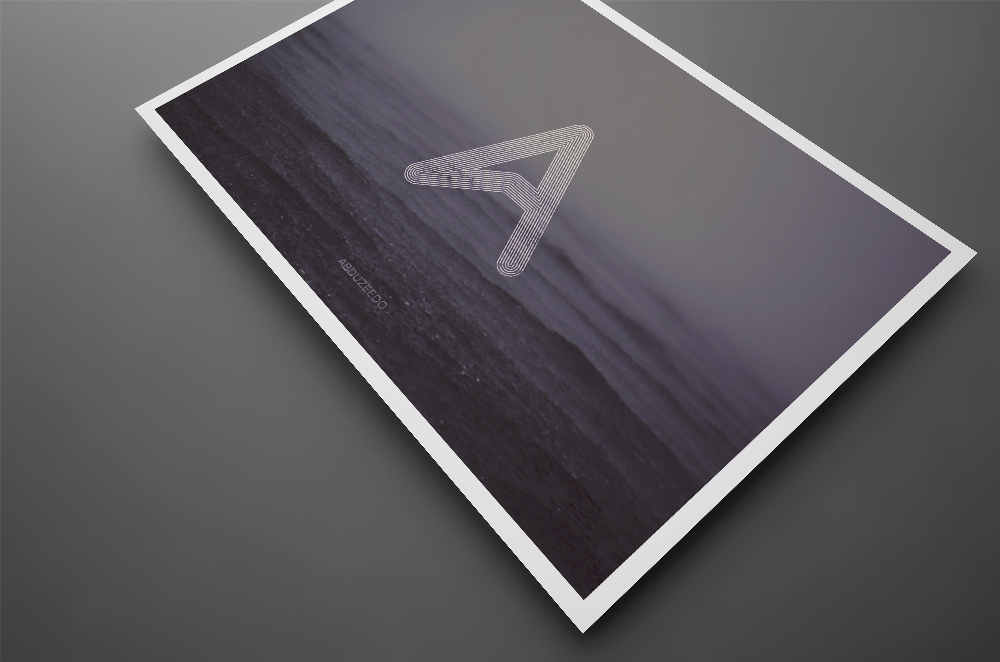
Conclusion
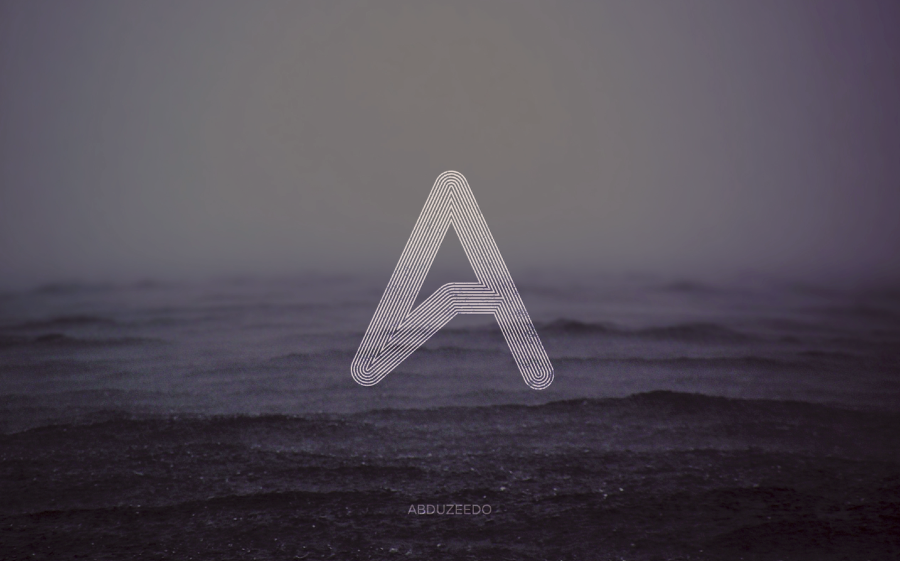
You can apply some brushes to make the symbol sort of old and with that distressed effect and your composition will be done. I love how simple features can make some processes much easier. The live corner effect and the offset path allowed me to create this composition and less than 30 minutes. Of course, before that, I spent quite a long time looking for inspiration ;)
")


