by abduzeedo
This weekend I went to the movies to watch Interstellar in IMAX 70mm. This movie was for me the most anticipated one this year and I left the theater in awe. The movie is visually stunning and as expected from Nolan, a mind-bending experience in terms of storytelling. Still blown away, I decided to create an image in Photoshop inspired by my experience watching this incredible film.
So in this little tutorial or case study, I will walk you through my process from Illustrator to Photoshop. I won't provide a lot of details because I think it's better for you to try and not follow instruction, but I think you can have a good idea of how the end result was achieved.
Step 1
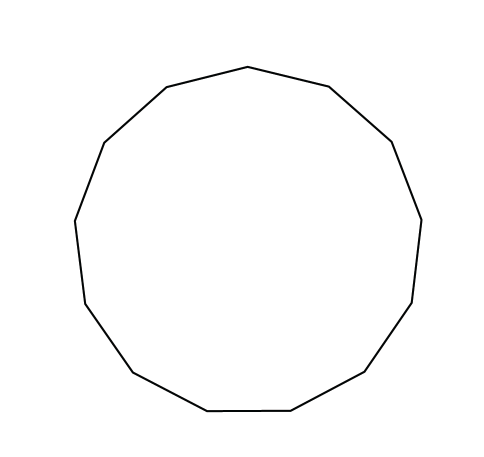
In Illustrator, create a new document and then with the Polygon Tool create a polygon with more than 8 sides.
Step 2
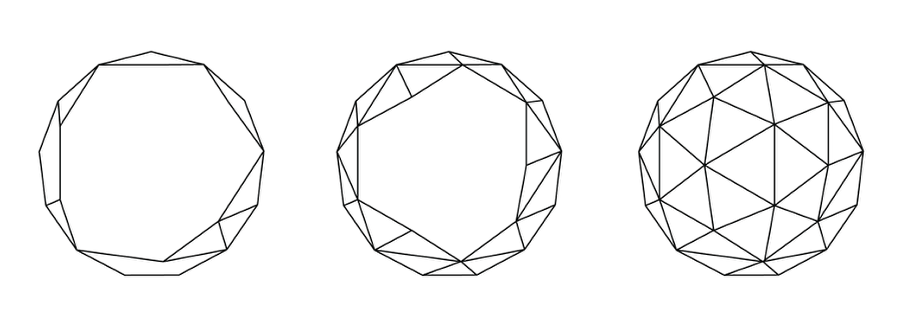
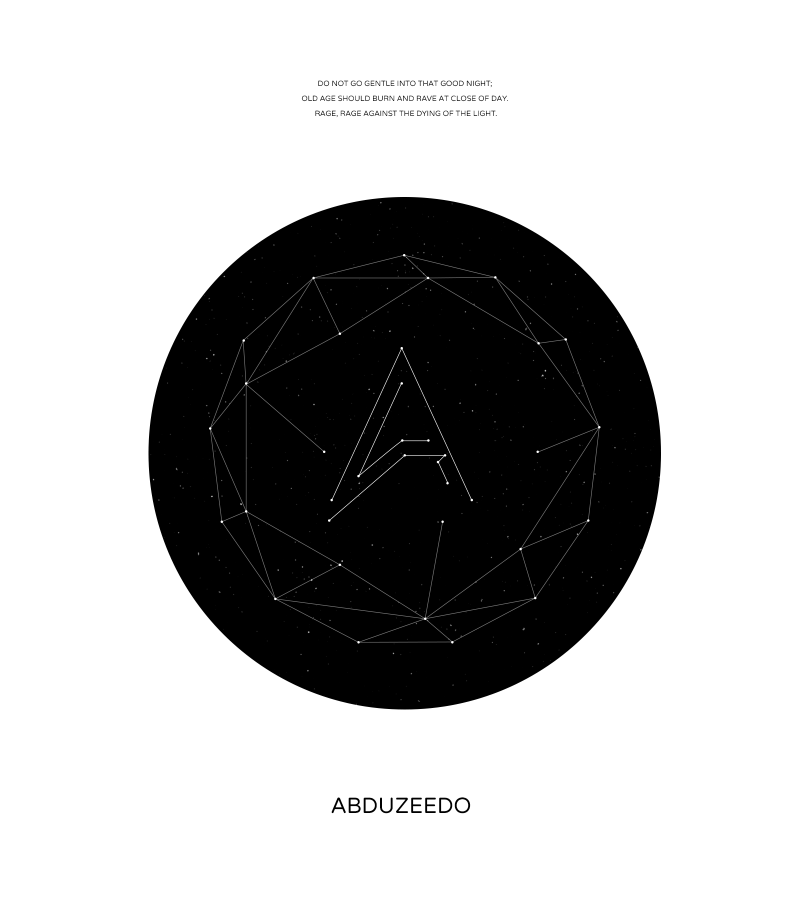
With the Line Segment Tool start creating lines and connecting them to create the polygonal effect we want to achieve.
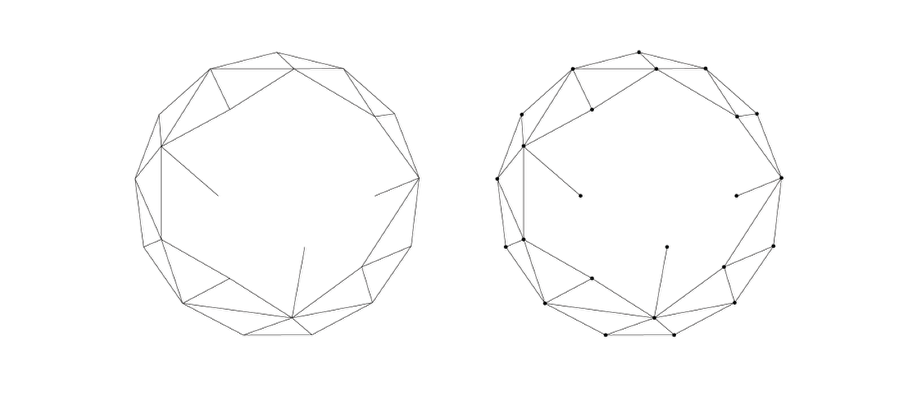
Step 3
Once you finish the full sphere, delete some areas in the center like the image below. After that with the Ellipse Tool, create a circle for each intersection of lines.
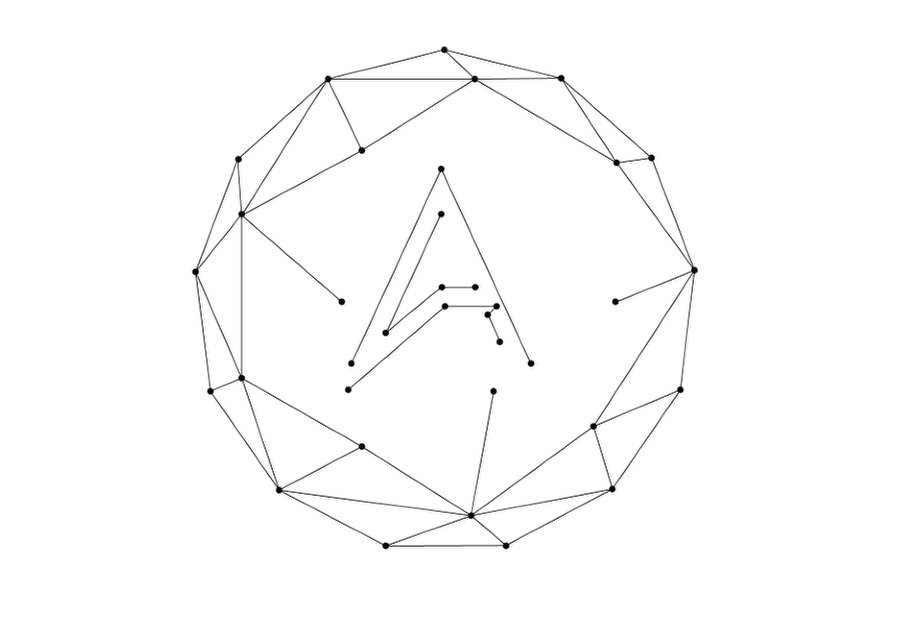
Step 4
I repated the same process for the Abduzeedo symbol.
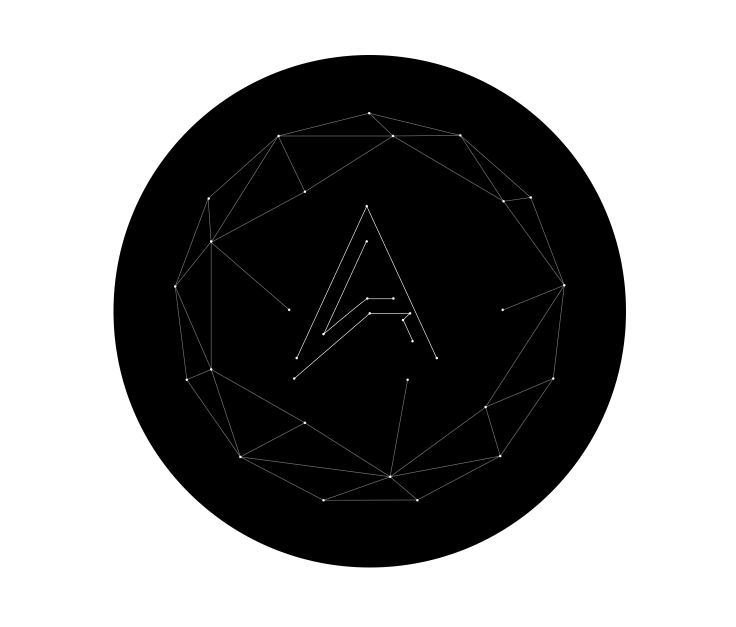
Step 5
In Photoshop, create a black circle in the center of the document.

Step 6
Import the design you created in Illustrator to Photoshop.
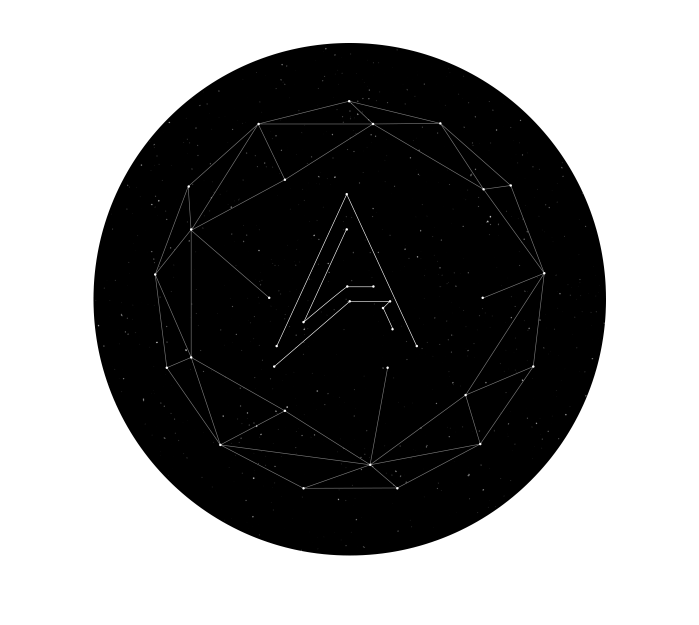
Step 7
To add stars in the background, an easy techinque is to create a new layer, fill it with black and then go to Filter>Noise>Add Noise. Use around 10% for the amount. Then go to Image>Adjustments>Levels. Adjust the black and the white leves until you have just a few white dots.
Step 8
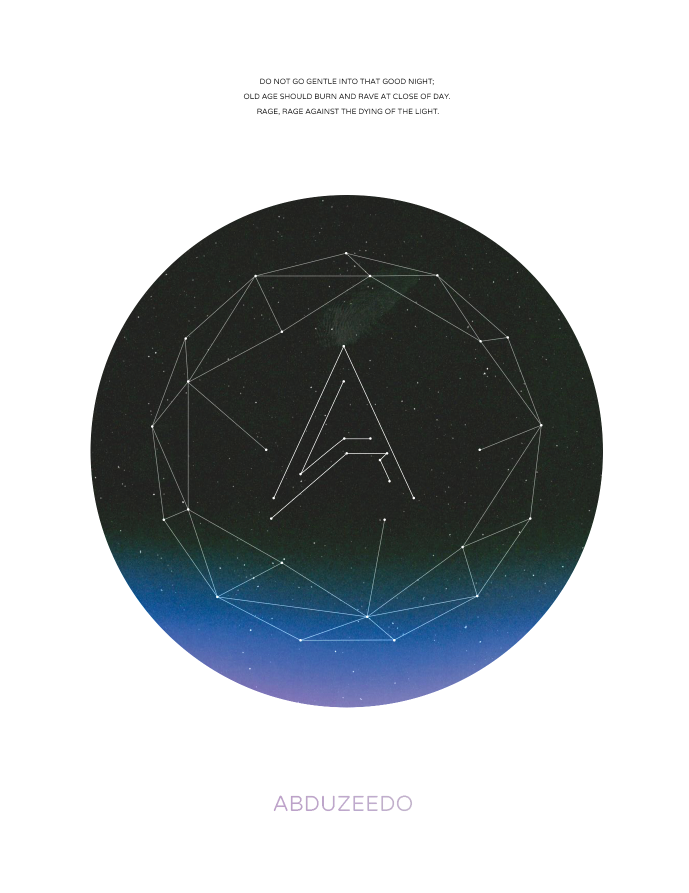
Add the text you would like to add to your design. I am using a quote from the Interstellar movie.
Step 9
Using Google Image search I searched for a light leak image. Then with the Adjustments>Hue and Saturation I changed the colors to a cool, blue/purple palette. After that change the Blend Mode to Linear Dodge (add). That will make the image only visible over the dark areas of the composition and invisible over white.

Conclusion
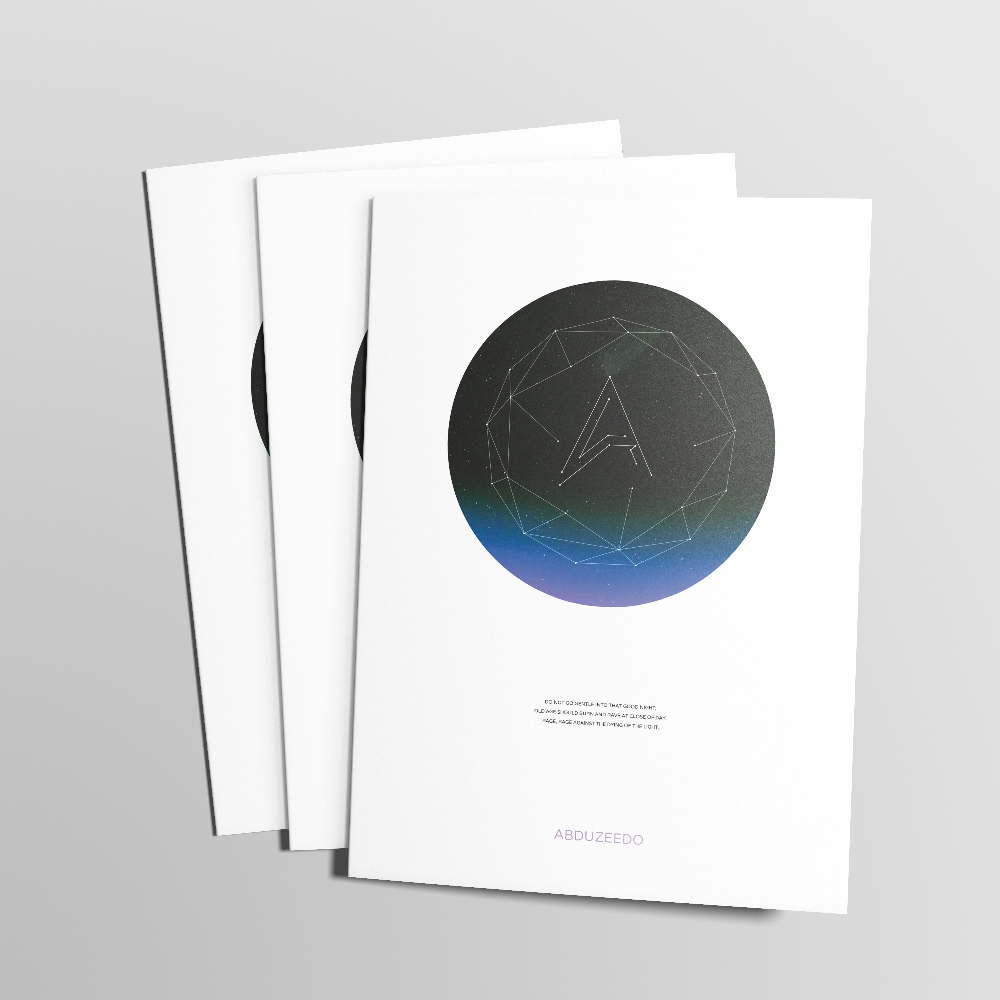
The process behind this image is quite simple and it was something I used to do a lot in the beginning of the blog, just playing with Blend Modes and the space theme. With vectors and the white area the composition got simpler and more refined. It would work really well for a poster as well. Now it's up to you to come up with your own design, but first, got to the movies to watch Interstellar and get some inspiration.