by abduzeedo
Light effects are my favorite type of effect, I don't know why but I always liked to play around in Photoshop trying to recreate them. Then once I discovered the power of the Blend Modes, especially the Color Dodge, creating this effects became much easier.
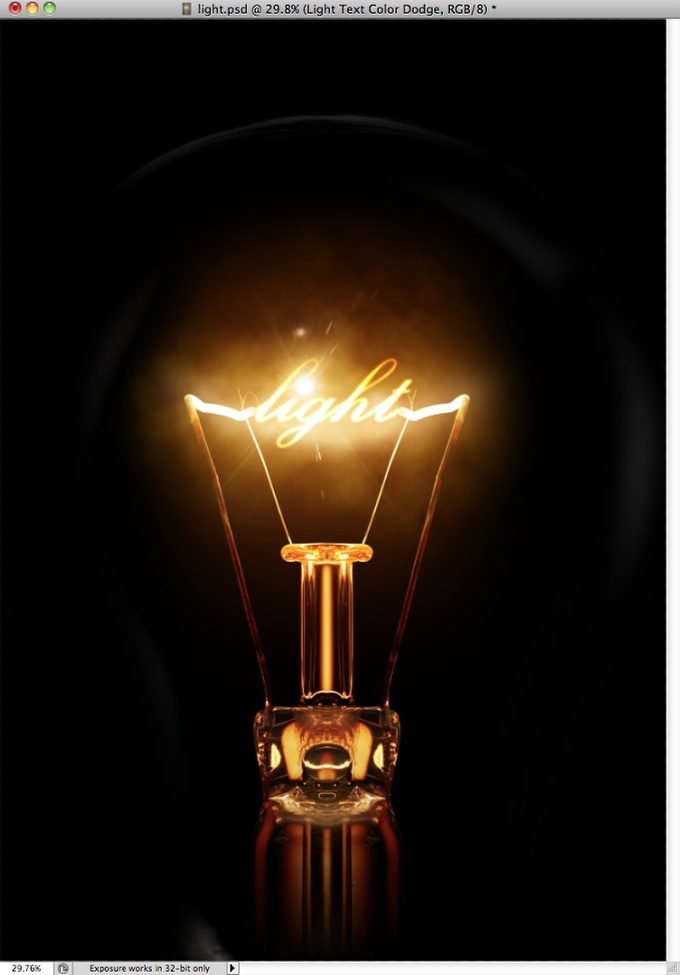
So in this tutorial I will show you how to create a super cool text light effect mixing some photos to give more realism. The cool thing about this effect is that the whole process is very simple and quite easy.
Step 1
Open Photoshop and create a new document, after that make sure that the background is in black.
Step 2
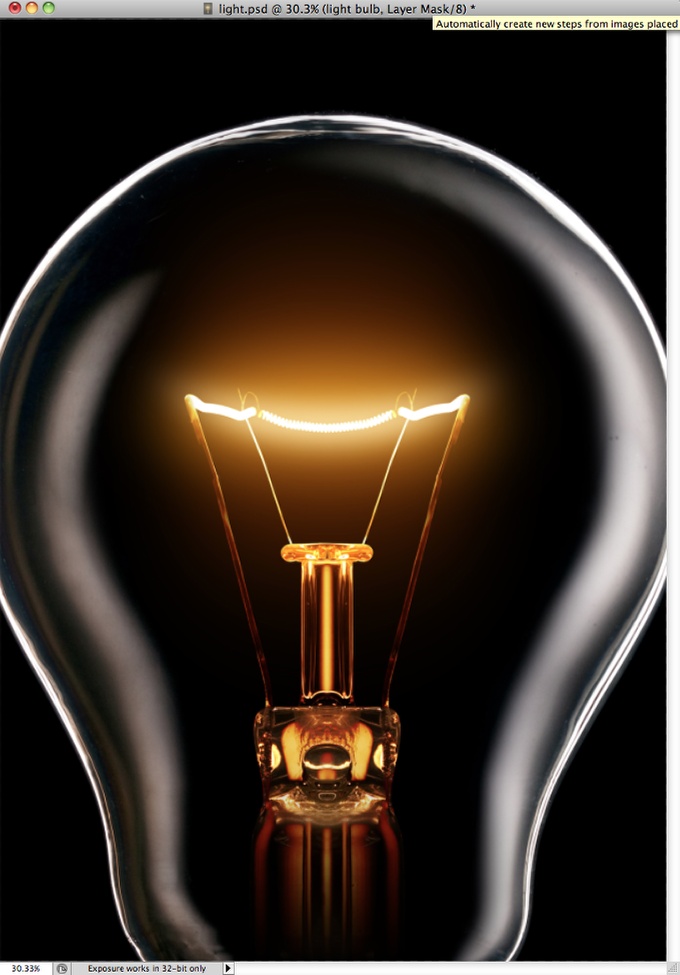
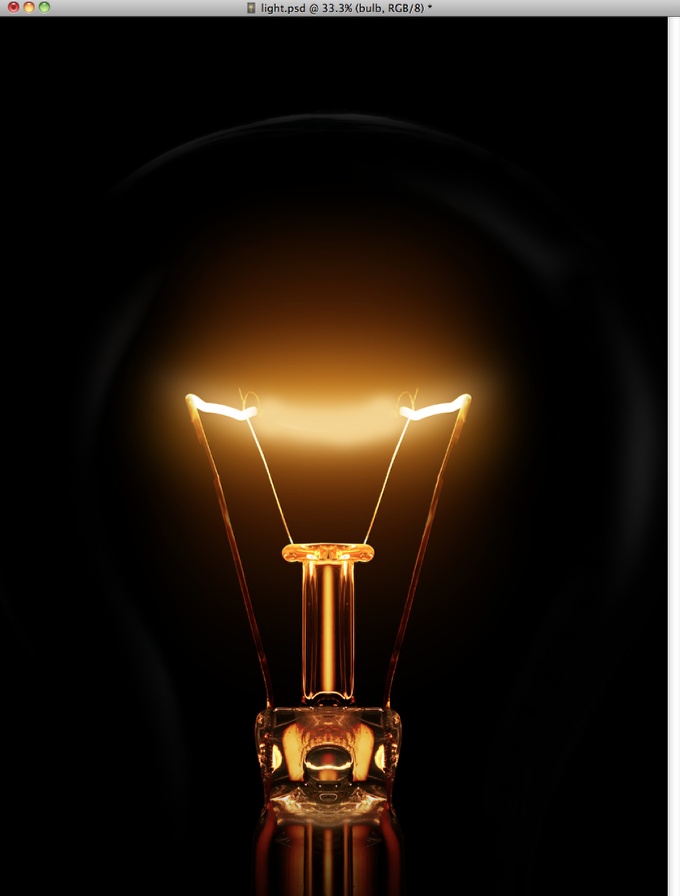
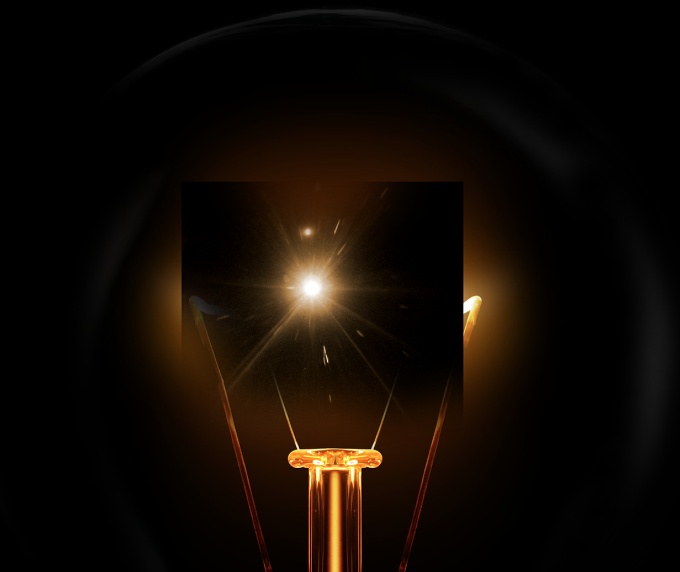
To make the effect more realistic let's use a stock photo, the one I am using is courtesy from Shutterstock and you can find it at http://www.shutterstock.com/pic-24939406/stock-photo-glowing-lamp-on-bl…. Place the image in the center of the document but make sure that the filament area is big engouh.
Step 3
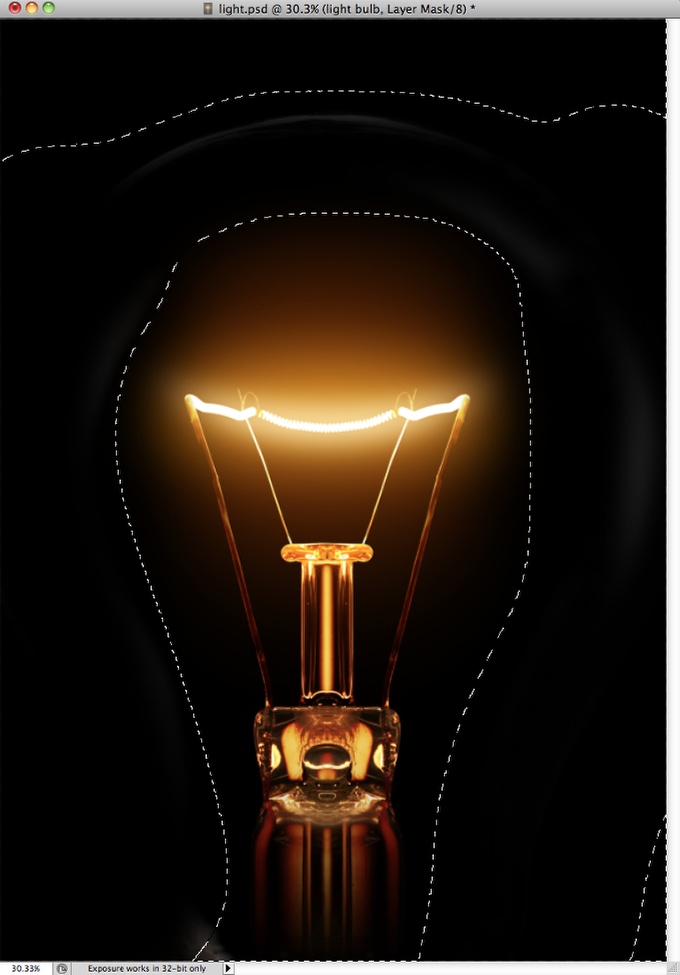
Go to Layer>Layer Mask>Reveal All. Then with the Brush Tool (B) select a very soft brush (0% hardness0 and black for the color. Start paiting the areas of the light you want to hide. Use the image below for reference.
Step 4
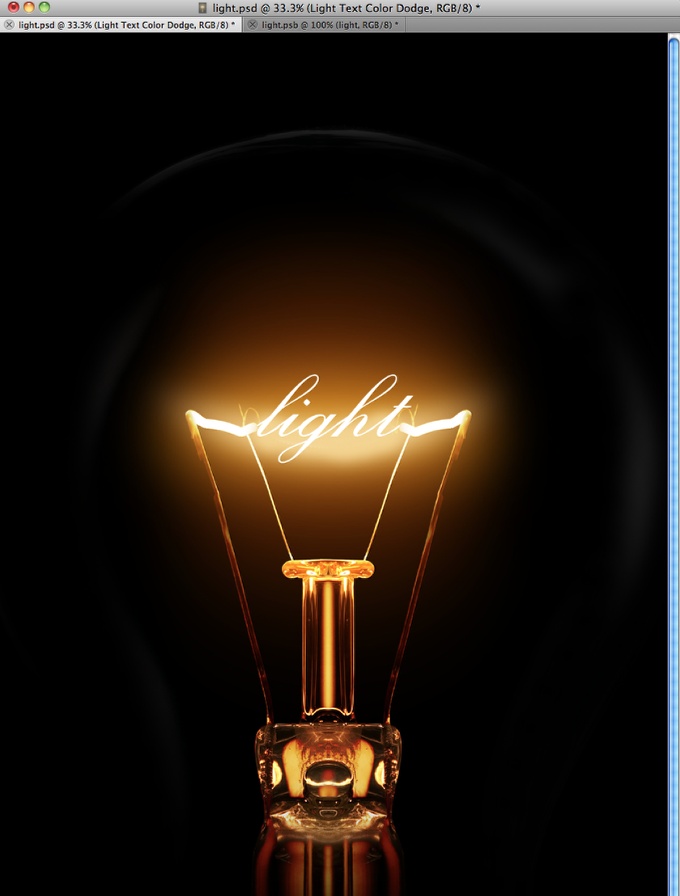
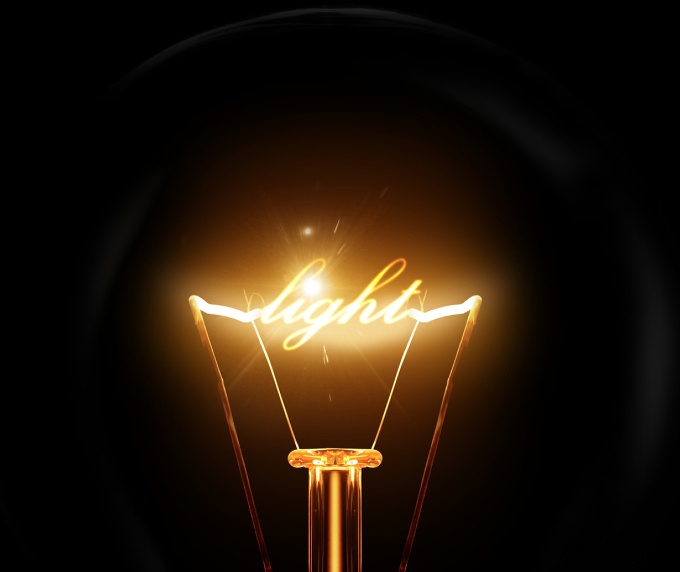
Now let's delete the filament area where we will add the text with the light effect later on. To do that is pretty easy, with the Eyedropper Tool (I) select the color of the area you will paint, the with the Brush Tool (B) and a very soft brush, start paiting over the filament. Note: I added a new layer instead of painting over. Another tip is if you are using the Brush Tool (B) you can just press Alt to use the Eyedropper Tool.
Step 5
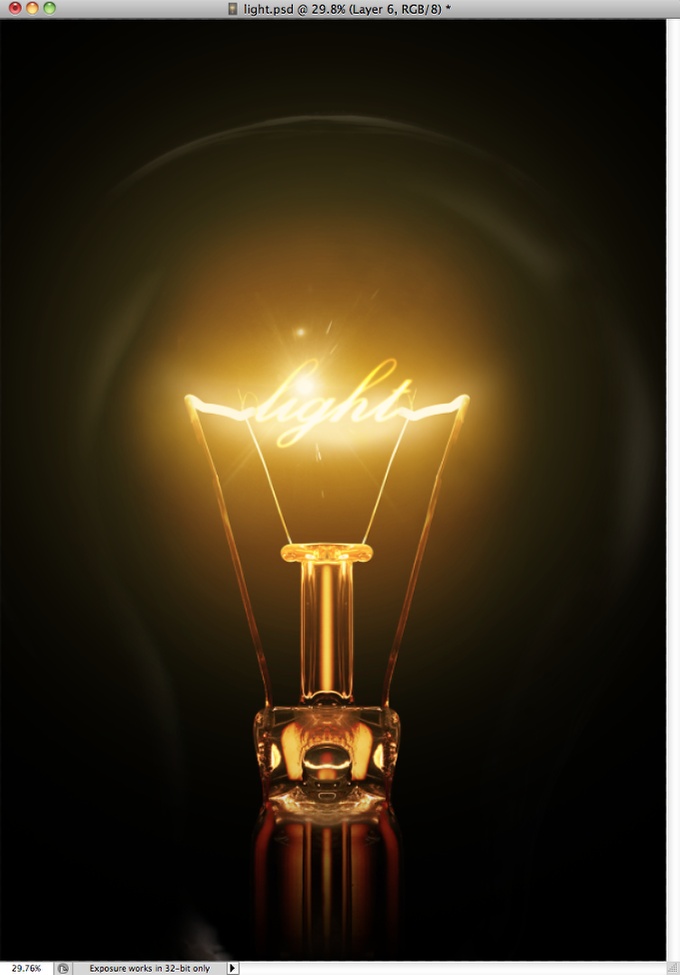
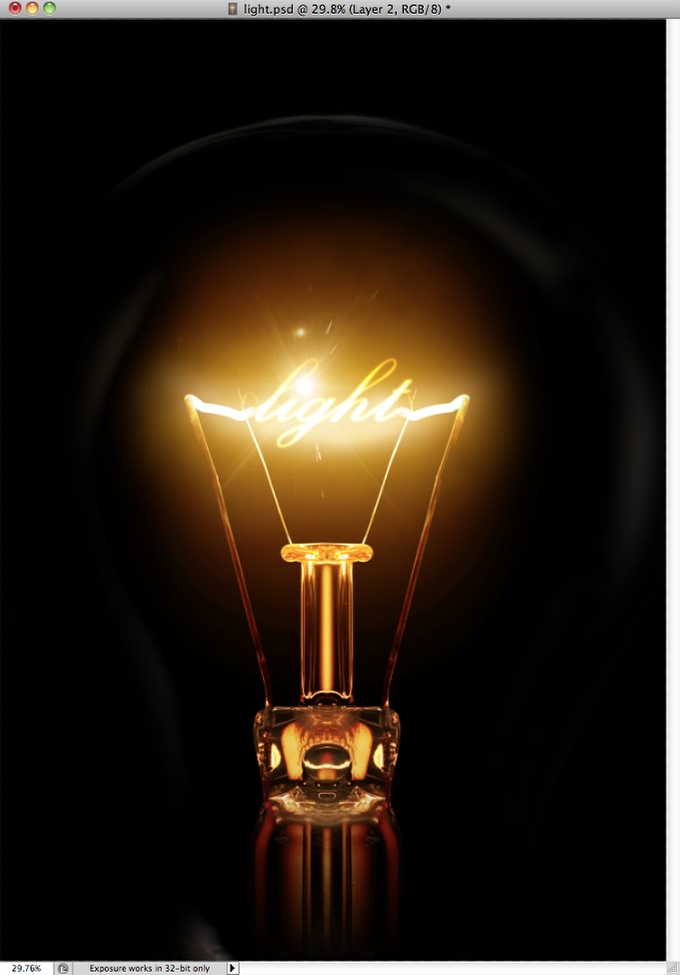
With the Horizontal Type Tool (T) add the word light in white. I am using Exmouth for the font, you can download it here http://www.dafont.com/exmouth.font. For the size I am using 82 pixels but the size will depend on your document size. After that add a new folder in the Layers Palette and change the Blend Mode of this folder to Color Dodge. Move the light text into the folder you have just created.
Step 6
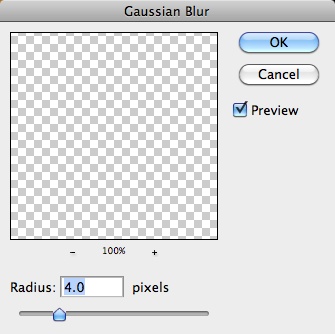
With the text selected go to Filter>Blur>Gaussian Blur. Use 4 pixels for the Radius.
Step 7
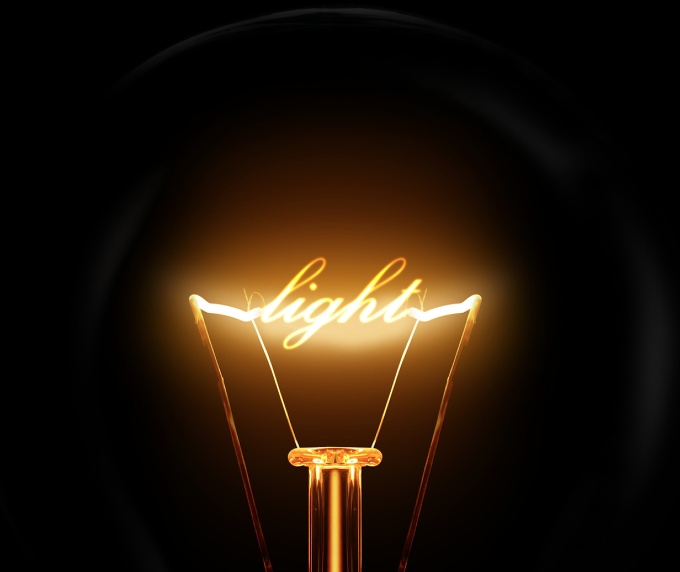
Because the white text is inside the folder with the Color Dodge, the effect will be the same as if the text layer had a black background. You can see that the edges get sort of blended with the background creating a perfect light effect.
Step 8
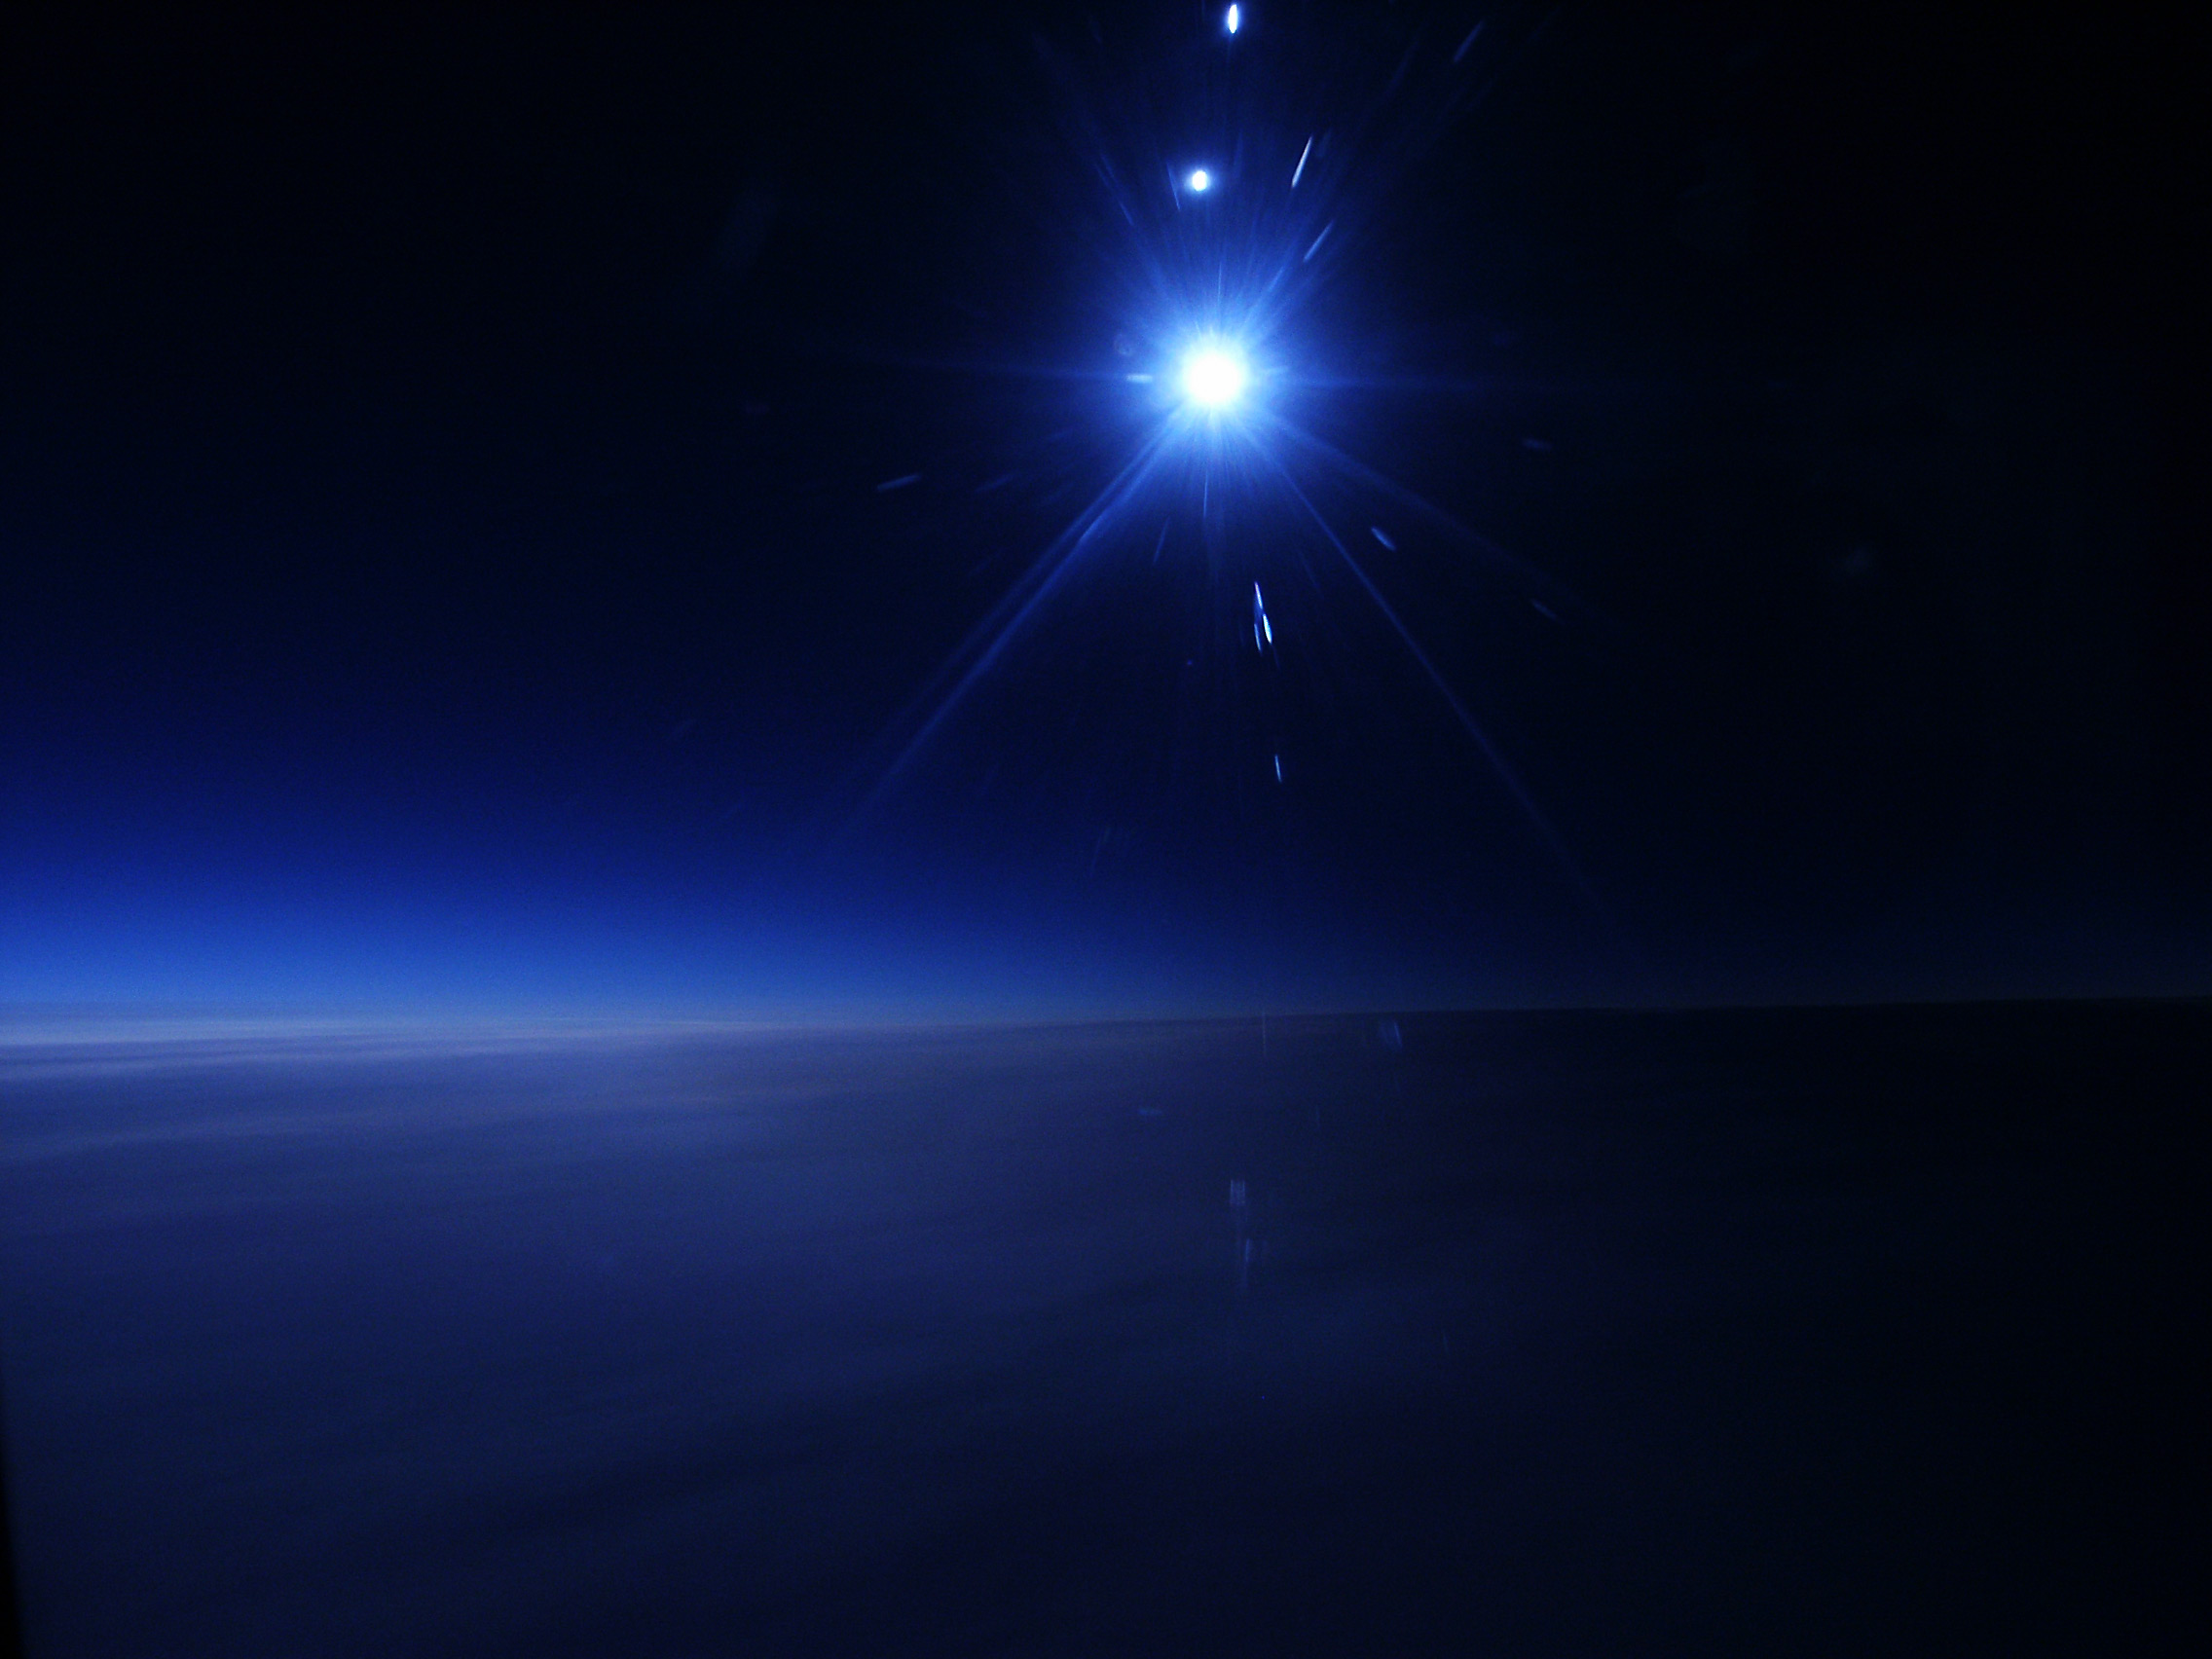
Again to add more realism, instead of creating a lens flare in Photoshop we will use a real photo. The one I am using I found in Google Images and you can find it here http://web.williams.edu/astronomy/IAU_eclipses/jmp_eclipse03_04.jpg.
Once you imported the photo the first thing to do is delete the areas that you won't be necessary and keep just the flare. After that go to Image>Adjustments>Desaturate.
Step 9
With the flare layer already desaturated, just change its Blend Mode to Screen. Screen is a very useful Blend Mode because it turns what is black into full trasparency the grey scale becomes a transparency level, so it's perfect to create light effects.
Step 10
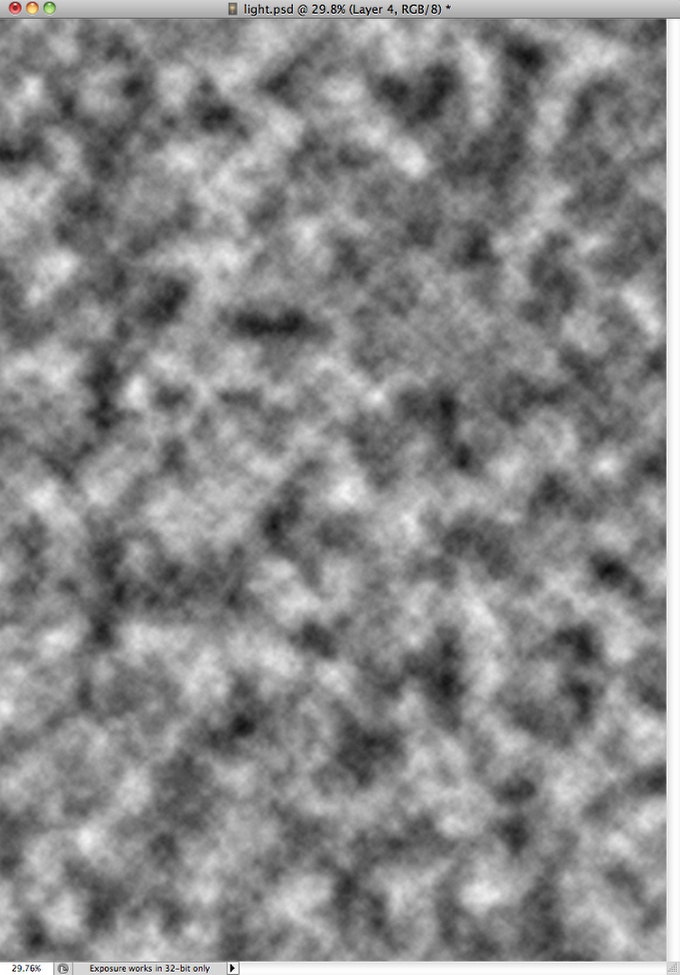
Add a new layer and go to Filter>Render>Clouds. Make sure you had black and white for the background and foreground colors. This layer also will be on top of the others.
Step 11
Change the clouds' layer Blend Mode to Color Dodge. After that add a new folder in the Layers Panel and move the clouds layer into it. After that change this folder's Blend Mode to Overlay.
Step 12
Add a new layer inside the folder in which you moved the clouds' layer. Make sure that the new layer is beneath the clouds' layer. After that with the Brush Tool (B) and a very soft brush with #f5d38b paint a round spot in the center of the light effect. Change this layer's Blend Mode to Overlay too.
Step 13
Now add another layer on top of all the others and then with the Brush Tool (B) and a big and very soft brush using white for the color, paint another big spot in the center of the light effect. After that go to Layer>Layers Styles>Color Overlay. Use #ffd648 and Linear Burn. The idea is to make the light a bit stronger.
After this we are done and as you could see, most of the light effects are all about blending colors with photos. The Blend Modes in Photoshop are very powerful for this type of effect and I would recommend you to study more about them, especially the Color Dodge one.