by abduzeedo
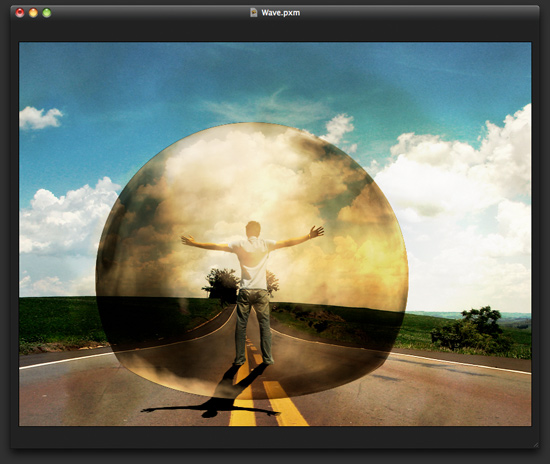
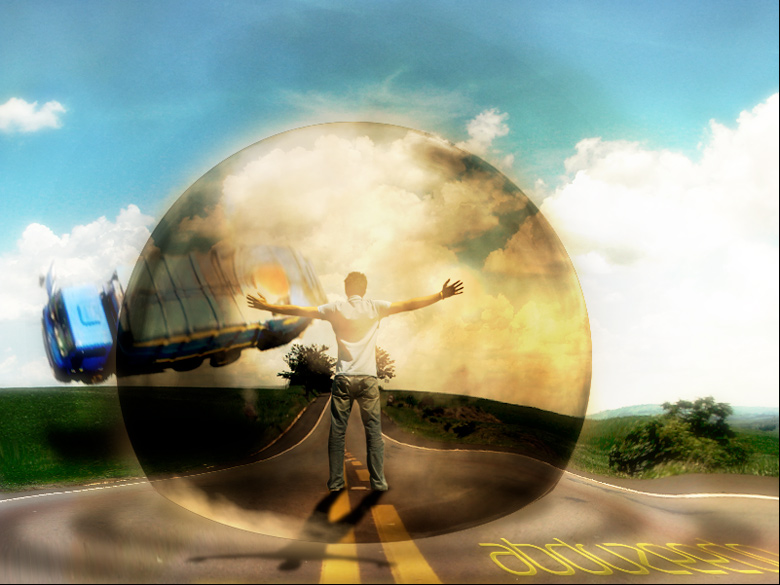
Almost 2 years ago, I wrote a Photoshop tutorial that became quite popular. Its effect was a sort of explosion of mental waves, like a powerful superhero attack. Because of the tutorial’s popularity, I decided to recreate that effect in Pixelmator.
In this tutorial, we will play with a few filters such as blurs, clouds, and distortions. Additionally, we will mix some photos and blendings in order to complete the images.
Step 1
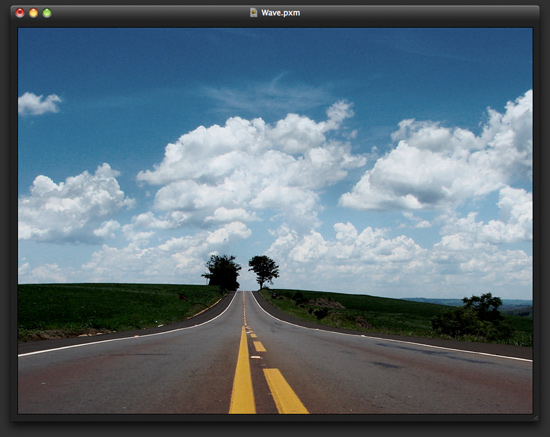
Open Pixelmator; create a new document. The size I chose was 800×600 pixels. Next, import a photo of a road. You can download the one I used at http://www.sxc.hu/photo/958370/
Step 2
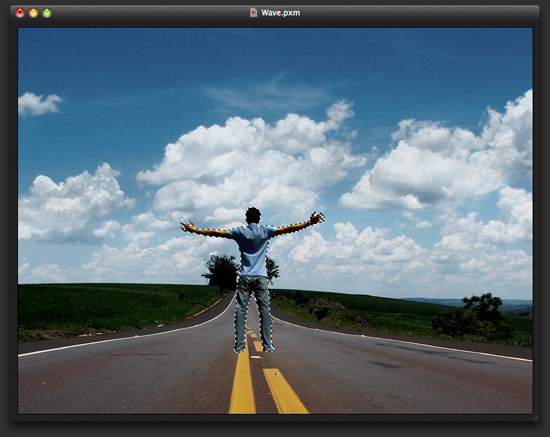
Next, we need a photo of a guy who will be our superhero. You can find the picture I used at http://www.sxc.hu/photo/853035

Step 3
Using the Lasso Tool (L), create a marquee selection in order to remove the background from the photo of the guy.
Step 4
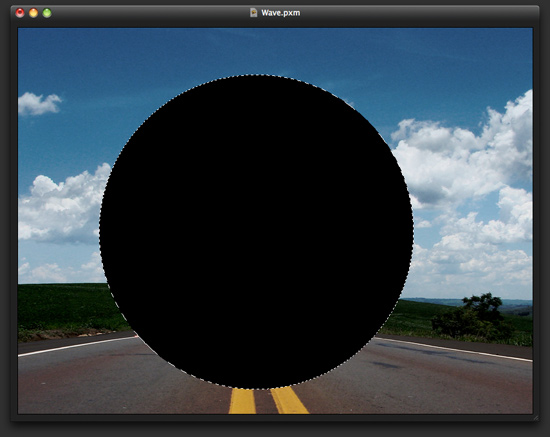
Add a new layer, then select the Rectangular Marquee Tool (M); change the type to Oval.

Step 5
Fill the layer with black, using the Paint Bucket Tool (N).
Step 6
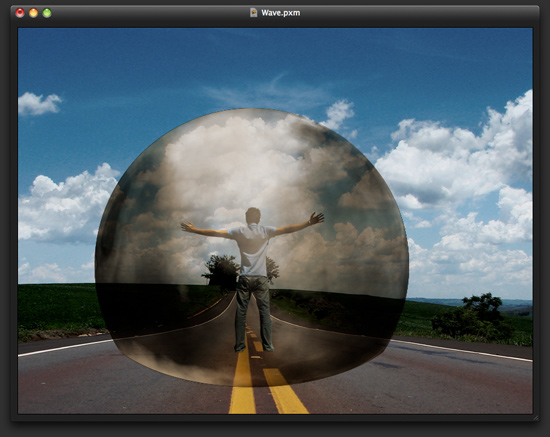
With the Rectangular Marquee Tool (M), select the bottom part of the ellipse that you created, then go to Edit > Free Transform. See the image below for reference.

Step 7
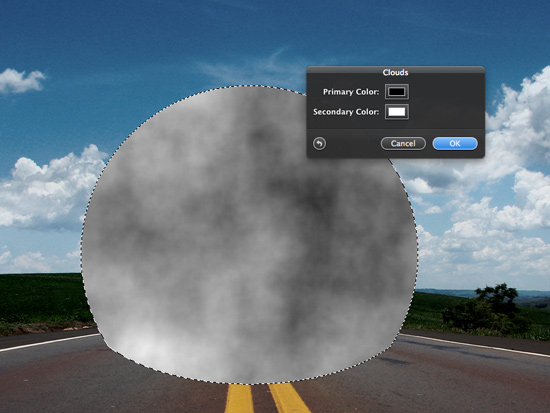
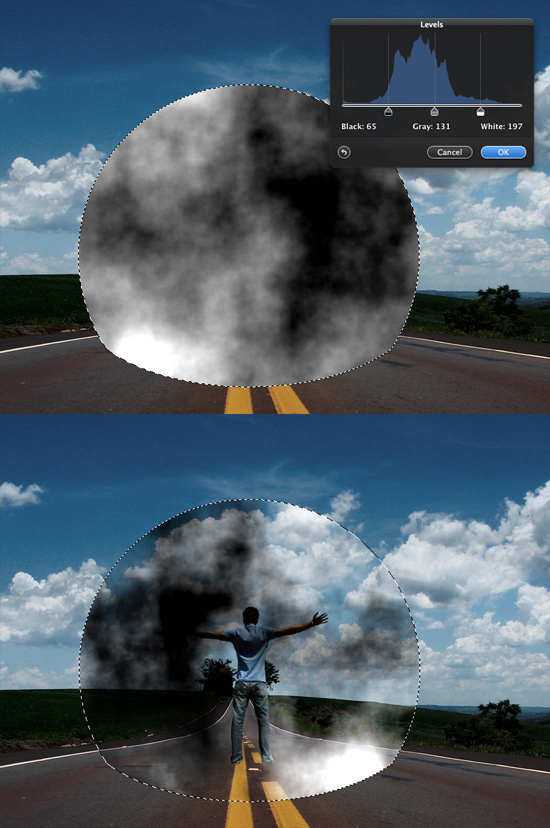
Holding the Command key on your keyboard, click on the thumb of the Ellipse layer in the Layers Panel. Then, add a new layer and go to Filter > Generator > Clouds. Use black and white for the colors.
Step 8
Go to Image > Levels; increase the Black to 65 and the White to 195. This will strengthen the clouds. Next, go to Edit > Transform > Flip Horizontal. I chose to flip the effect because the dark area of the clouds was not in the right position. Because rendering the clouds is a random filter, however, you might not need to flip them. Change the Blending to Hard Light and the Opacity to 80%.
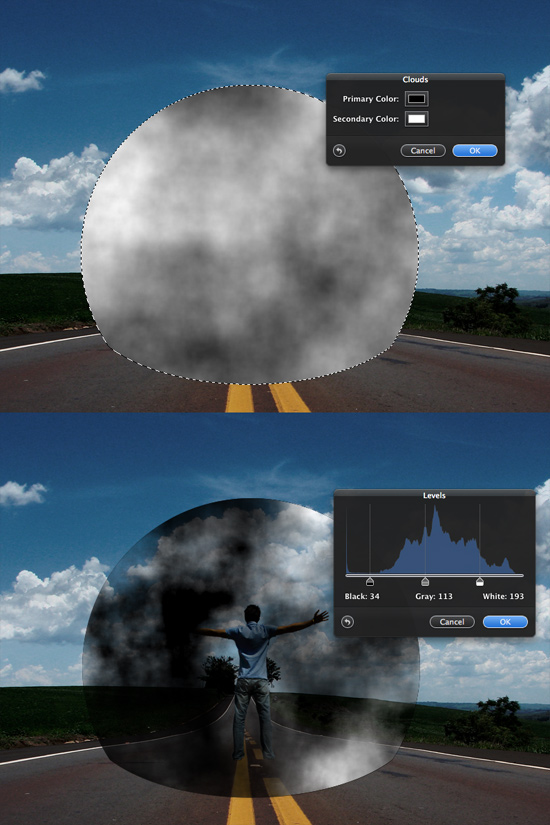
Step 9
Basically, repeat the same process in another layer. This time, however, the layer will be on top of the first one, and the Blending will be Multiply. The Opacity will be 100%.
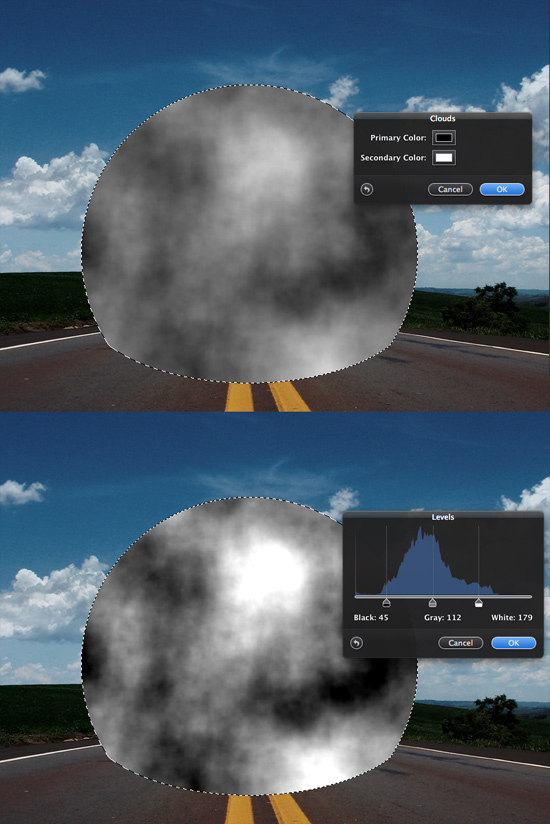
Step 10
Repeat once again, using Hard Light for the Blending. Now you have 3 layers of the clouds effect.
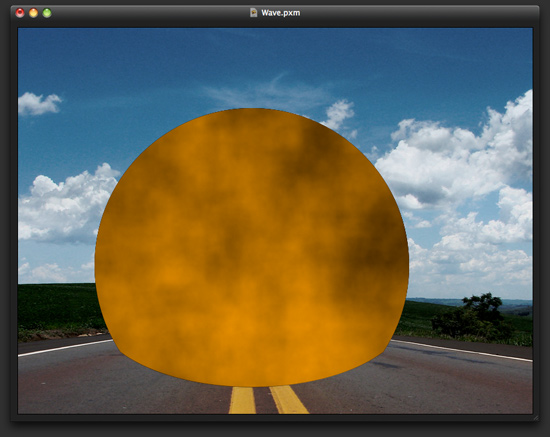
Step 11
Create another layer and go to Filter > Generator > Clouds. Use black and orange for the colors; then change the Blending to Overlay and the Opacity to 30%.
Step 12
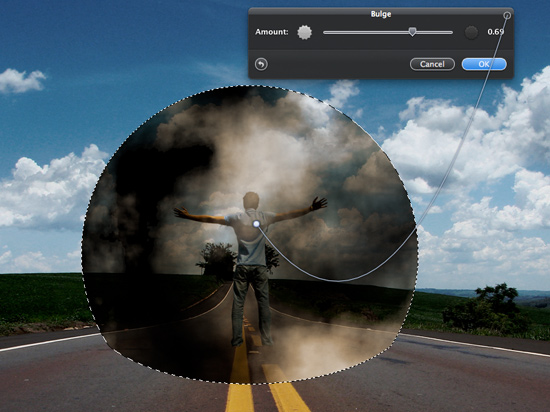
Now, apply the Bulge Filter (Filter > Quartz Composer > Distortion > Bulge) to all the layers. The marquee selection must still be active; otherwise, the effect will expand. For the first layer, use 0.7 for the Amount.
Step 13
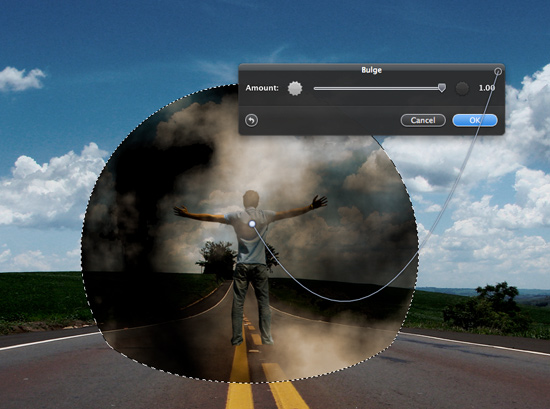
For the second layer, the one with Multiply Blending, use 1 for the Bulge Amount.
Step 14
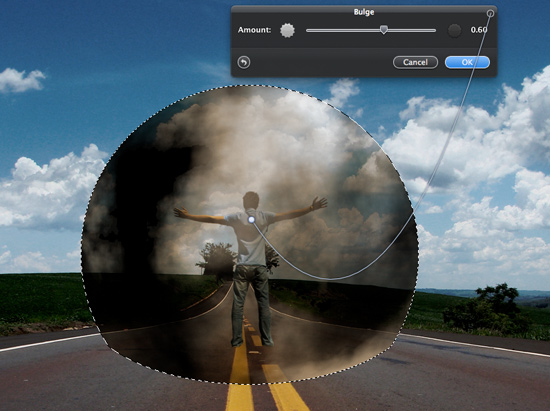
For the third layer, use 0.6 for the Bulge Amount.
Step 15
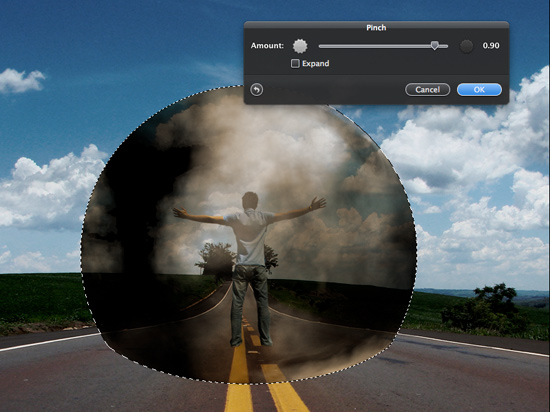
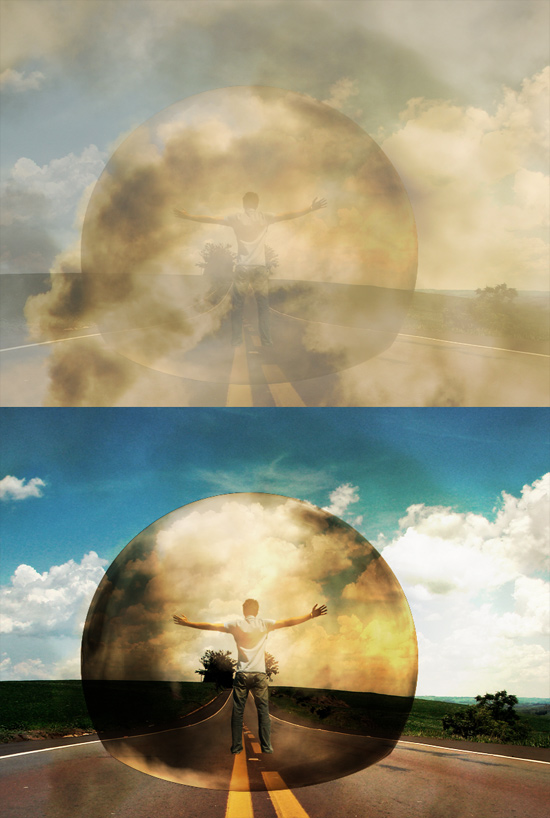
Apply another filter to all layers; go to Filter > Quartz Composer > Distortion > Pinch. This filter will add an impression of movement to the edges of the mental explosion effect. Experiment with different values for each layer.
Step 16
As seen in the previous step, the effect was a bit too dark; hence, you should adjust the Opacities. Use 60% for the first layer (the one with Hard Light), 100% for the second layer (with Multiply), and 60% again for the third layer (with Hard Light).
Step 17
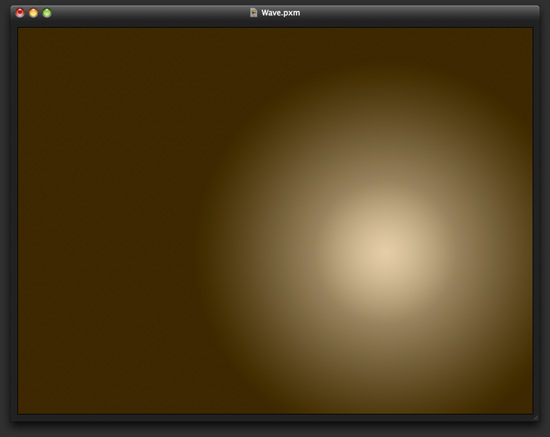
Add a new layer, on top of the others. With the Gradient Tool (G), fill the layer with a radial gradient from beige to brown. Use the image below for color references. Next, change the Blending to Color Dodge.
Step 18
On top of all the other layers, import a photo of smoke. You can download the one I used here: http://www.sxc.hu/photo/941942 Change the Blending to Overlay and the Opacity to 80%.
Step 19
Duplicate the layer of the man, then fill that layer with black by creating a marquee selection (using the layer of the man for reference). Hold Command and click on the thumb of the man’s layer. Then, add a new layer and fill it with black.
Step 20
Go to Edit > Transform > Distort. Move the shadow until you find a nice perspective. (Try to follow where the guy’s shadow might naturally fall.)
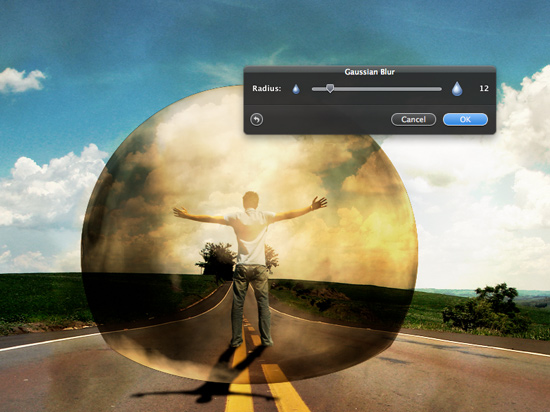
Step 21
Go to Filter > Blur > Gaussian Blur. Use 12 for the Radius.
Step 22
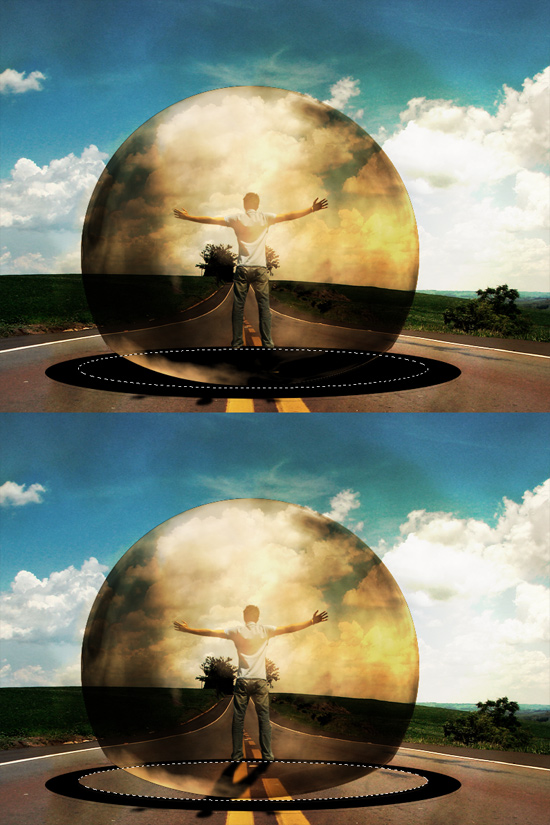
Add a new layer, beneath the other layers but on top of the road’s layer. With the Rectangular Marquee Tool (M), create an ellipse, like in the image below. Fill the new layer with black.

Step 23
Create another ellipse with the Marquee Tool (M) and delete that area.
Step 24
Duplicate the layer and resize it (go to Edit > Free Transform). Make it much bigger, as shown in the image below.
Step 25
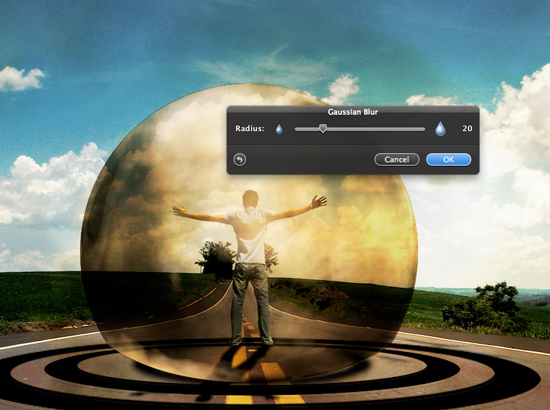
Duplicate it again, but make it much smaller this time. Go to Filter > Blur > Gaussian Blur; use 20 for the Radius.
Step 26
Apply the Gaussian Blur to the other Ellipse layers as well.
Step 27
Reduce the Opacity of the Ellipses to 40% or less.
Step 28
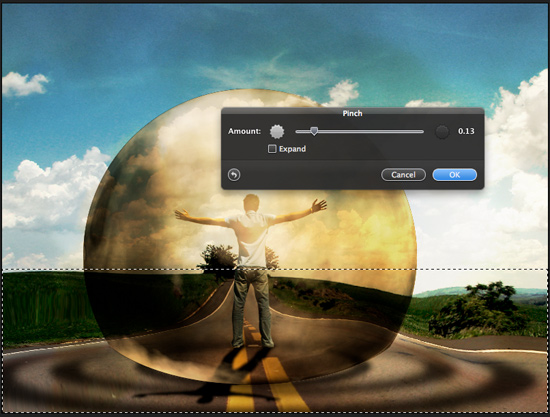
Duplicate the road layer. With the Rectangular Marquee Tool (M), create a selection like the one shown in the image below.

Step 29
Go to Filter > Quartz Composer > Distortion > Pinch. Use 0.13 for the Amount. This step adds a little distortion to the road.
Step 30
Now you can add more elements, such as a truck. I used a photo of a truck and applied a Motion Blur. Go to Filter > Blur > Motion Blur. Near the man’s left hand, I also applied the Pinch Distortion to the truck, but I selected only the area inside the bubble.

Step 31
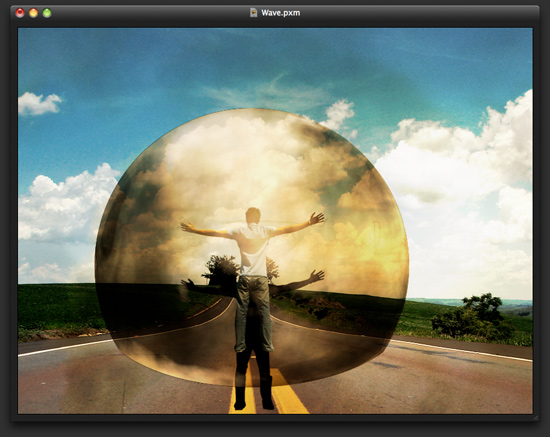
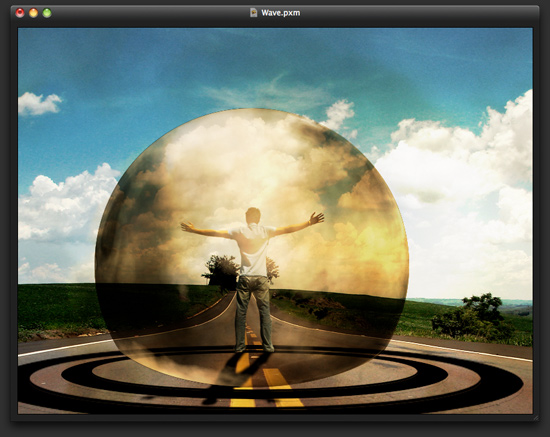
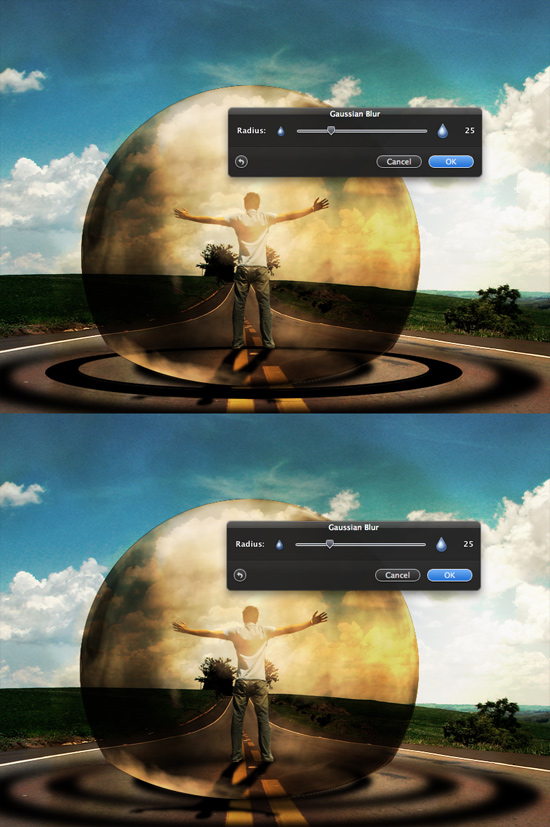
Select all the layers and duplicate them. Go to Layer > Merge Layers. You will have one layer of the image, so go to Filter > Blur > Gaussian Blur. Use 25 for the Radius. Next, change the Blending to Screen.
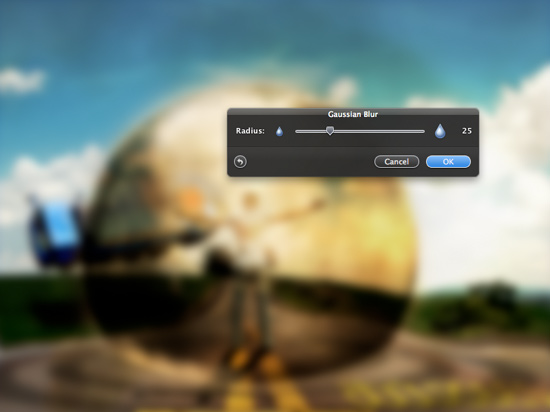
Conclusion
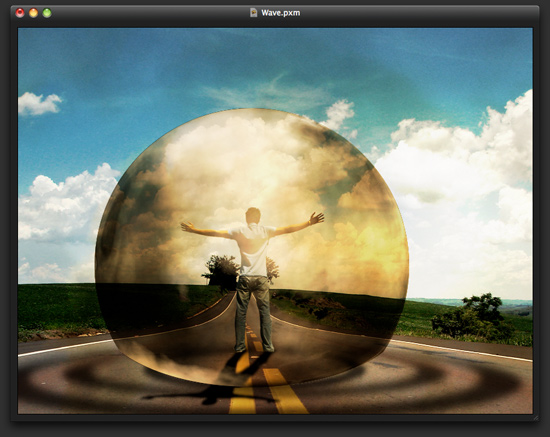
With the Eraser Tool (E), delete the areas that are too bright and too close to the guy. (The idea is locate the guy in the center of the explosion.)
Download the Pixelmator File
Click here to download the Pixelmator file used for this tutorial

![Neon light effect in Photoshop [revisited]](/sites/default/files/styles/square_1x1/public/originals/hero_neon.png?itok=lP4mbIak "Neon light effect in Photoshop [revisited]")


