by abduzeedo
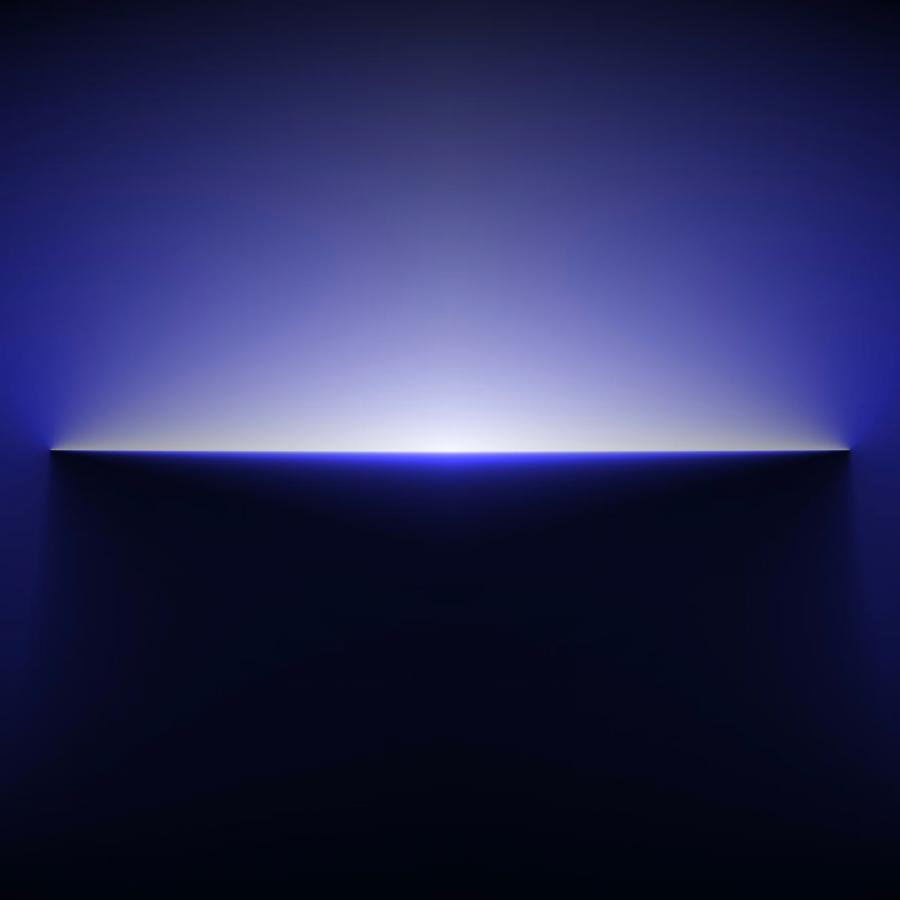
Last week I was waiting hours in airports, as usual, I was wandering and checking out banners and signs when I found a beautiful Sony ad of a cel phone called Xperia. The thing that really caught my attention was the wallpaper of the phone. It was a colorful light bean crossing the screen . I really like the effect and thought to myself, that is a good idea for a tutorial.
So in this tutorial I will show you how to create a super easy but at the same time beautiful light effect.
Step 1
Open Photoshop and create a new document, for the size I used 1920x1200 pixels. After that fill the background layer with a very dark grey (121212).

Step 2
With the Rectangle Tool (U) create a rectangle in the middle and crossing the canvas, use white for the color.

Step 3
If you are using Photoshop CS4, convert the rectangle to Smart Objects so you can apply Smart Fllters. Then go to Filter>Blur>Gaussian Blur. Use 10 pixels for the Radius.

Step 4
Add another layer and then with the Brush Tool (B), use a very soft brush, with 0 hardness. Select white for the color and then start painting some spots. Use the keyboard shortcuts [ and ] to reduce the opacity of the brush, that way you will be abel to create more variations.
After that select the rectangel layer and this layer you have just painted and then go to Layer>Group Layers. The layers will be in an folder on the Layer Panel. Change the folder's Blend Mode to Color Dodge then.

Step 5
Add a new layer on top of the backround layer but beneath the other layers including the group with the light effects. Then fill the layer with any color and go to Layer>Layer Style>Gradient Overlay. Use Multiply for the Blend Mode, 90% for the Opacity , 180º for the Style and for the Colors use purple, red, yellow, and green. Also over the Blending Options, change the Fill Opacity to 0, that way the layer will have just the Gradient Overlay.
After this step you will be able to see a very nice and colorful background already.

Step 6
Add a new layer, on top of the gradient layer but beneath the others. Then go to Filter>Render>Clouds. Make sure you had black and white for the background and foreground colors. After the clouds filter, go to Filter>Blur>Gaussian Blur. Use 20 pixels for the Radius. Change the Blend Mode to Soft Light, then with the Eraser Tool (E) using again a very soft brush, delete parts of the layer. The idea is to make the gradient less uniform, like a smoke.

Step 7
Create a new document using 100 pixels for the width and 10 pixels for the height. Resize the background layer so it's half of the height, 5 pixels. Select all and go to Edit>Define Pattern. Name the new pattern the way you want it, and you will have a very cool stripe pattern.
Back to our design, add a layer on top of the background layer but beneath the others. Then with the Paint Bucket Tool (G), change the type from foreground to pattern. Select the stripped pattern you have just created and fill the layer with it. After that change the Opacity to 2% and go to Filter>Blur>Gaussian Blur. Use 2 pixels for the Radius.

Conclusion
Press Command(mac)/Control (pc) + Alt + Shitf + E, and you will have a new layer with all the layer merged. Then go to Filter>Noise>Add Noise. Use 1.4% for the Amount and Gaussian for the type. Now it's all about adding your brand and you have an awesome wallpaper. Once again we have just played with Blend Modes and basic filters. Most of the light effects use the same process, so it's all about trying and playing with the tool.


