by abduzeedo
For this week's tutorial, I will share something new that I am still trying to learn how to do it. It's the retro/futuristic/geometric illustration style I've been seeing more and more often. This illustration is inspired by the work of Justin Mezzell, Matthew Lyons and Dan Matutina. I also see that James White has been experimenting with this style as well. In my case, I will try to share a simple and easy way to achieve the style using Illustrator and Photoshop. As it is my first attempt, bear with me and let me know if you have any tips to improve it.
So in this tutorial, I will show you how to create a Retro-Futuristic Illustration using Adobe Illustrator and Photoshop. I won't add a lot of details on how to create the shapes, it's more like a simple walkthrough on how I create the illustration.
Step 1
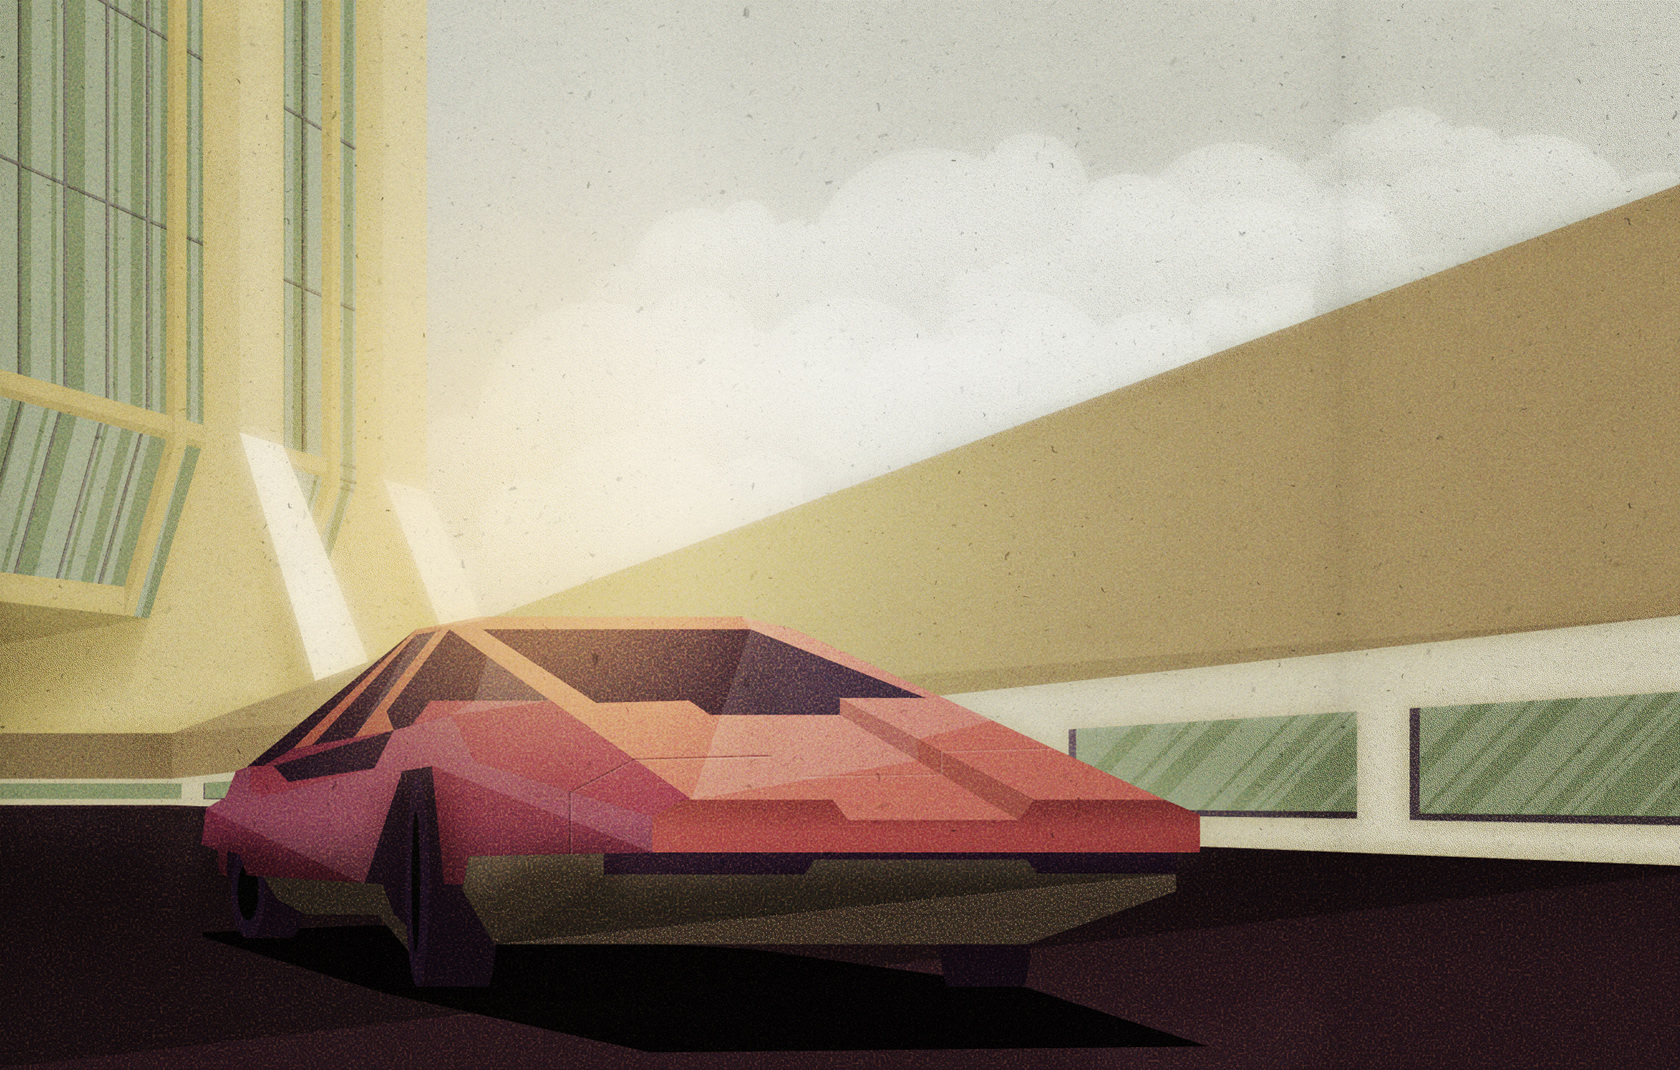
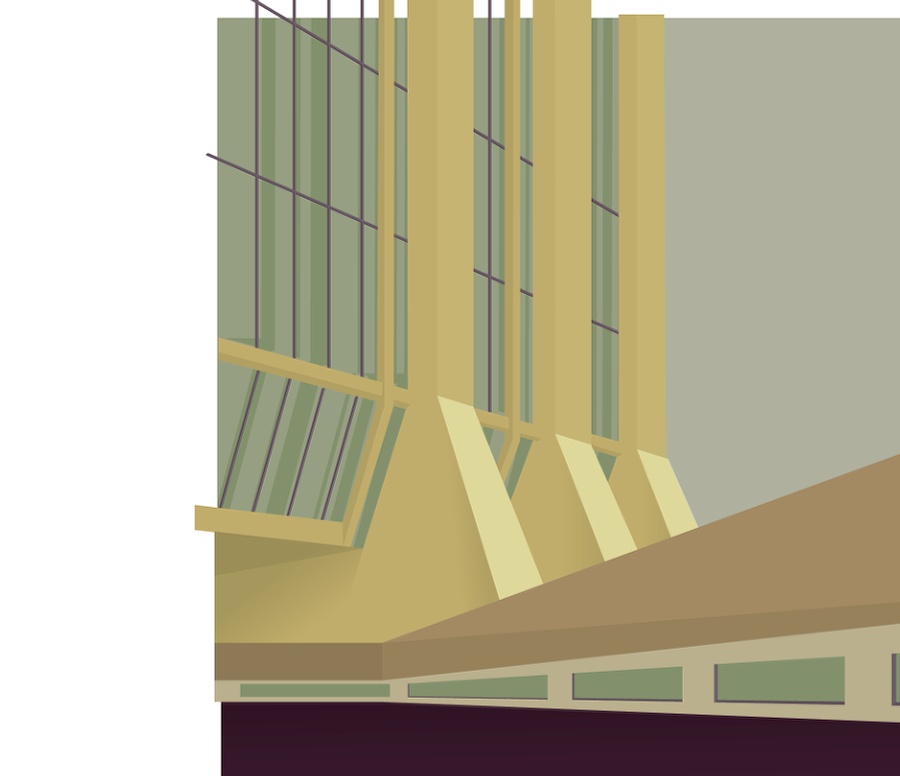
Open Illustrator and start creating the composition. As I am learning I used an old illustration for reference so I could understand exactly what gives the illustration the style I want. In this case, the vanishing points, perspective, and very geometric forms are the secret. I started creating everything in greyscale. Once I had the basic objects I moved to the color part.
Step 2
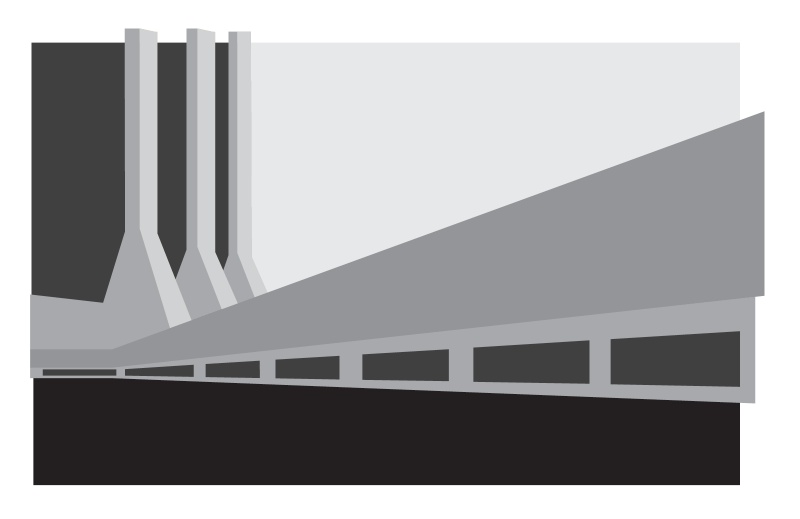
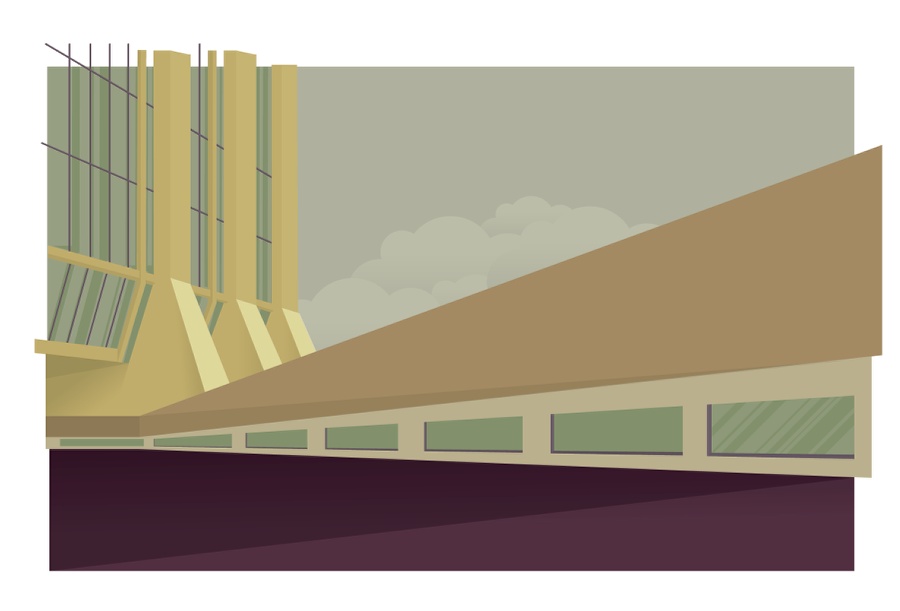
Another important thing was to understand the color palette that would give the effect I wanted. Once again, I got one illustration from Justin Mezzell and start using some of the colors he used to see If I could achieve the same effect.
Step 3
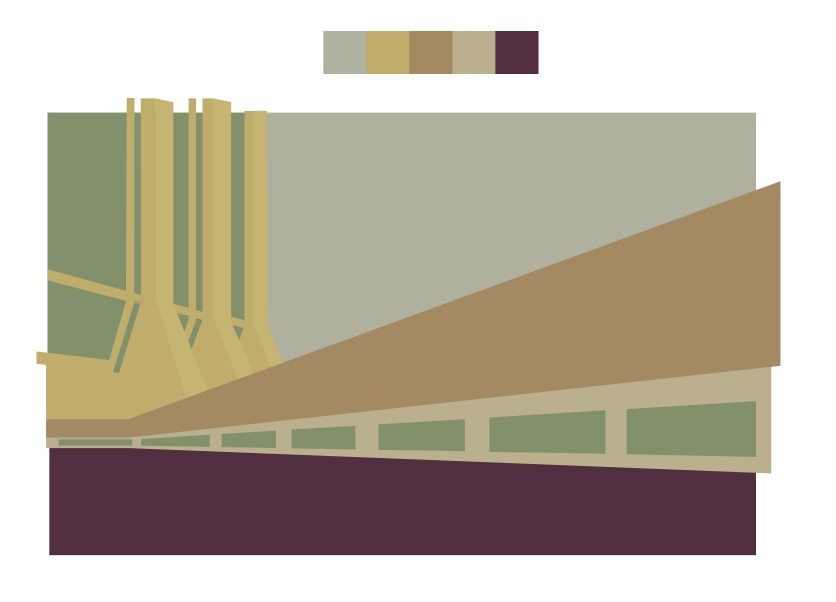
After coloring, it was time to add some dimensionality to the image. The first and most important thing is the use of hard shadows. Most of these designs are inspired by old ads and architecture illustrations where hard shadows were very common. To create the basic shadows I used black at 10% with Multiply for the Blend Mode. I also added some frames for the windows to create the 3D effect.
Step 4
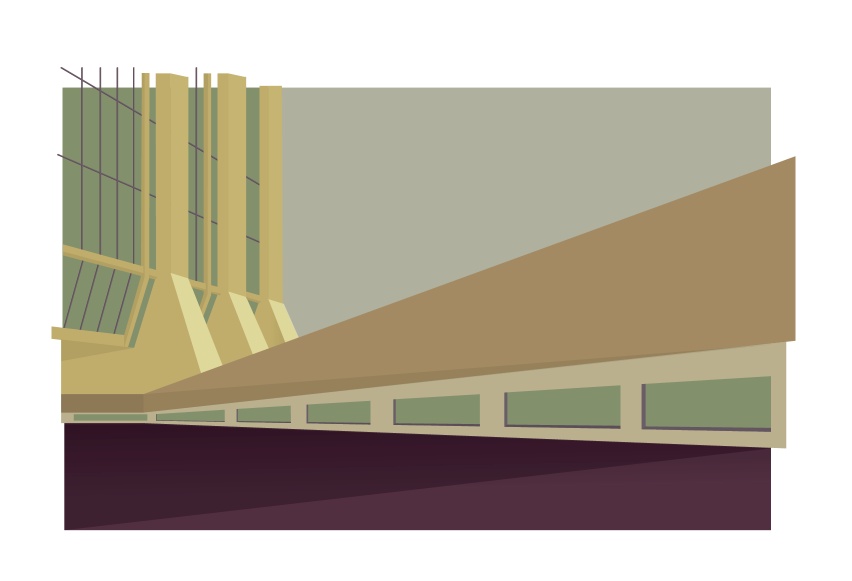
To increase a little bit more the realism I added some subtle gradients as you can see in the image below. For the gradient colors, I used white and black at 10% with multiply for the opacity.
Step 5
To create the clouds I used basic circles and pathfinder to unite them into one object. After that, I apply the same subtle gradient. One I had a basic cloud, I started duplicating it and playing with sizes and angles.
Step 6
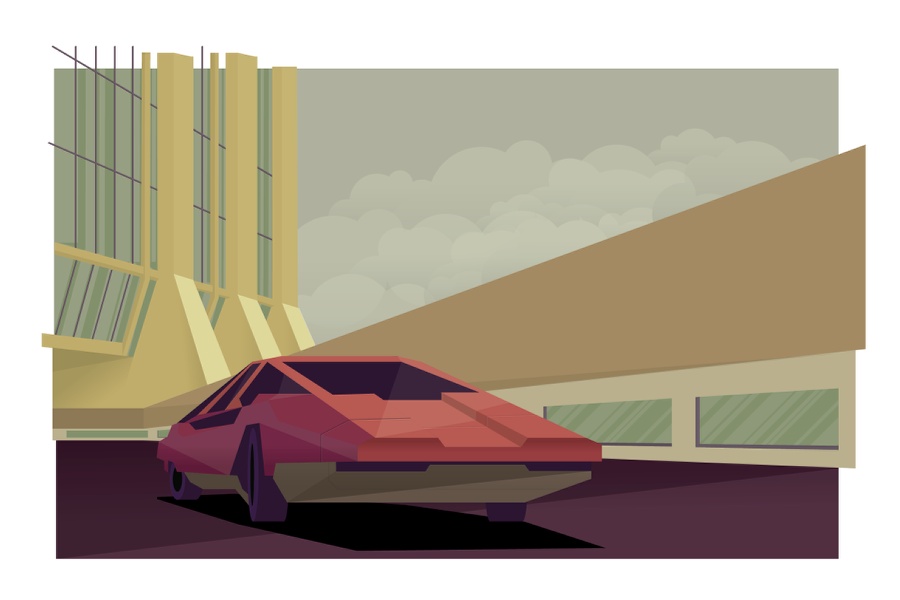
For the car it was pretty much the same thing, just some angular shapes, not using curves at all. At this point, I had understood a little bit more of geometric illustrations so I started deviating from the original illustration I was using for reference. Notice the reflection on the windows, that was a really nice touch that I saw in the work of Justin Mezzell as well.z
Step 7
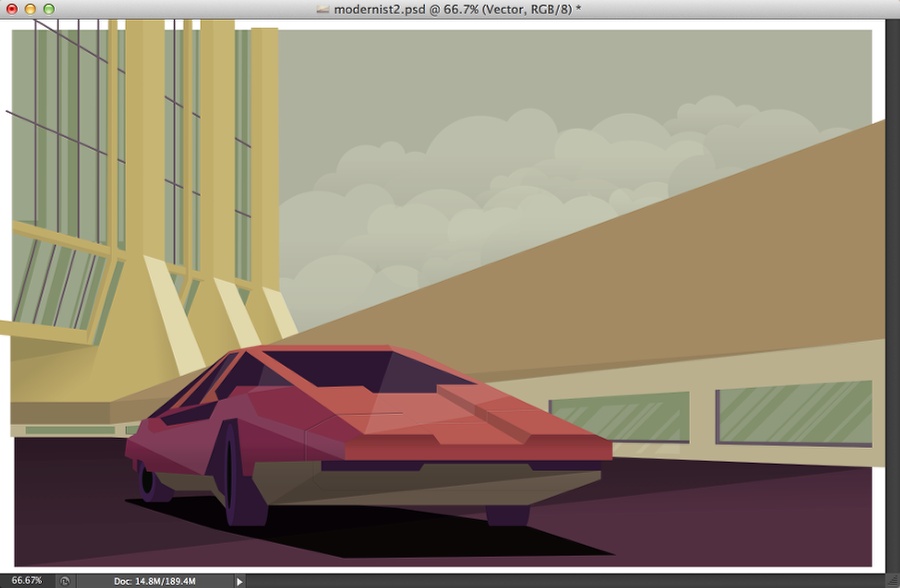
Time to go to Photoshop to add some effects. Copy the composition from Illustrator and paste it in Photoshop. I am using 2880x1800 for the size.
Step 8
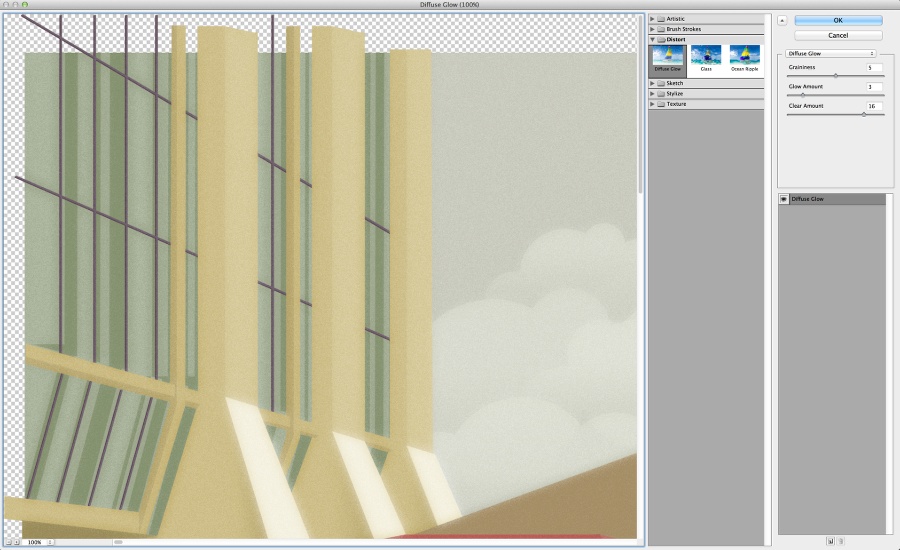
I always paste vectors as Smart Objects, so I can always tweak them without destroying everything. So the first thing to do is go to Filter>Filter Gallery>Difuse Glow. Use the values below to add some nice grain to the image.
Step 9
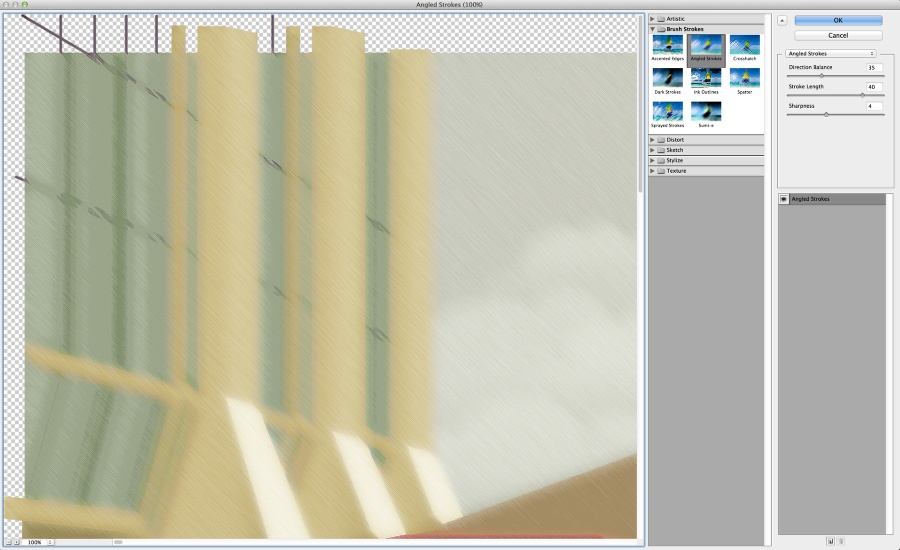
Duplicate the layer and then go to Filter>Filter Gallery>Brush Strokes>Angled Strokes. Use the values in the image below. The idea here is to add some brush deformations. The best thing would be to do that by hand, but for the tutorial, we will stick to filters.
Step 10
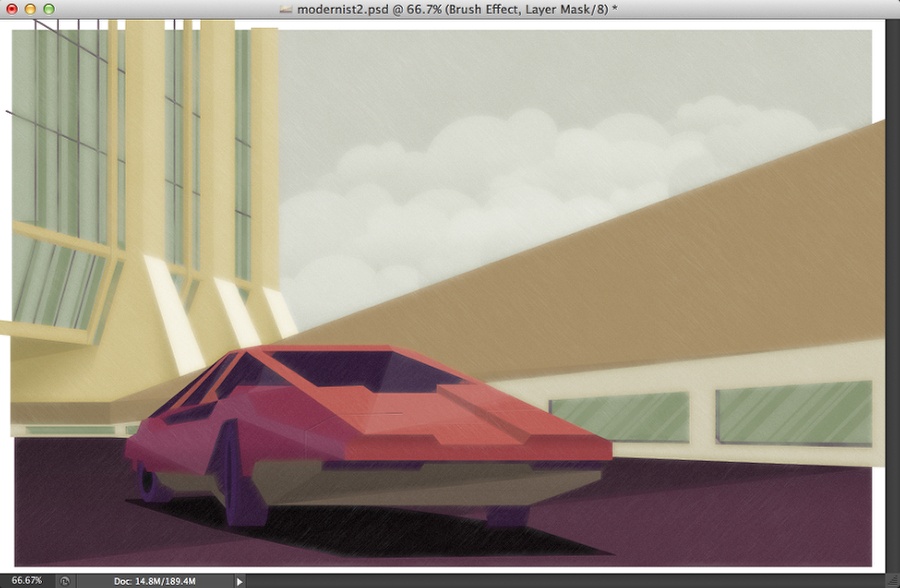
Reduce the opacity of the layer with the angled strokes to 80% with Lighten for the Blend Mode.
Step 11
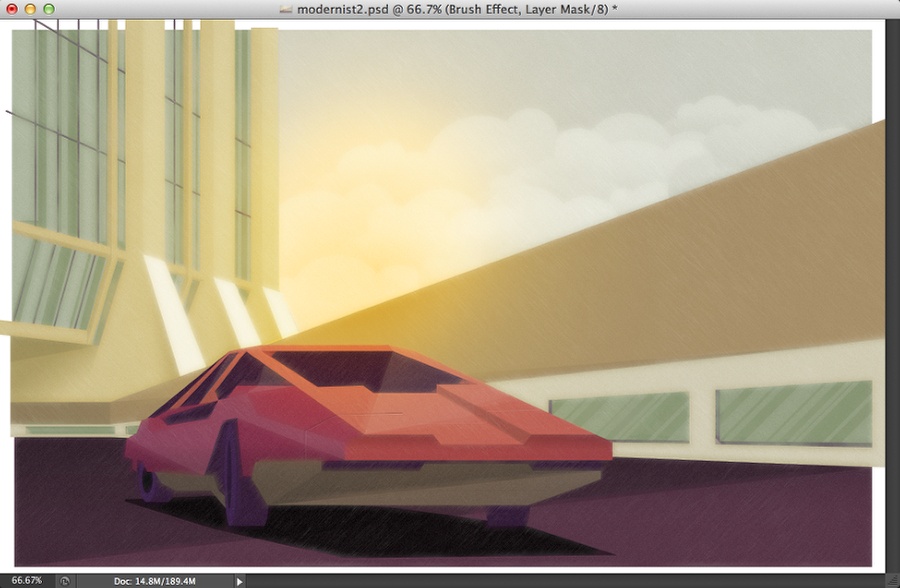
With the Brush Tool (B) and a very soft brush, paint a nice orange spot to create a sunset effect. I used Overlay for the Blend Mode at 100%
Step 12
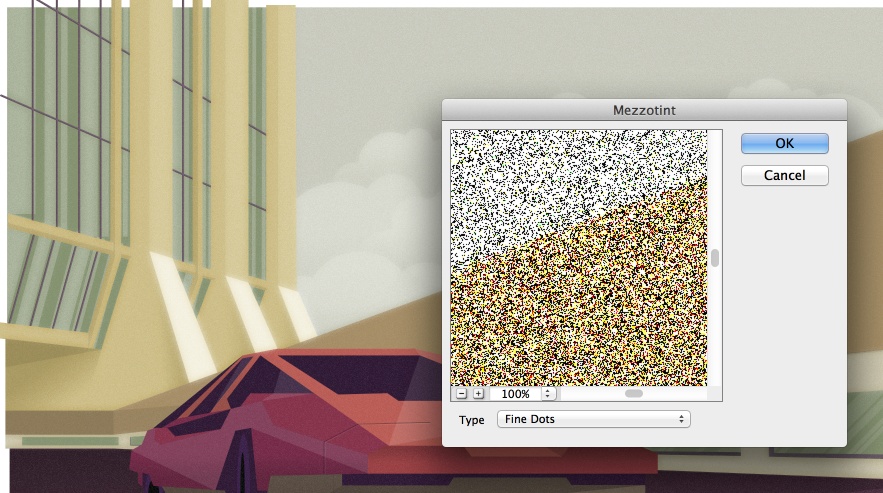
Duplicate the illustration layer and then go to Filter>Distort>Mezzotint. Use Fine Dots.
Step 13
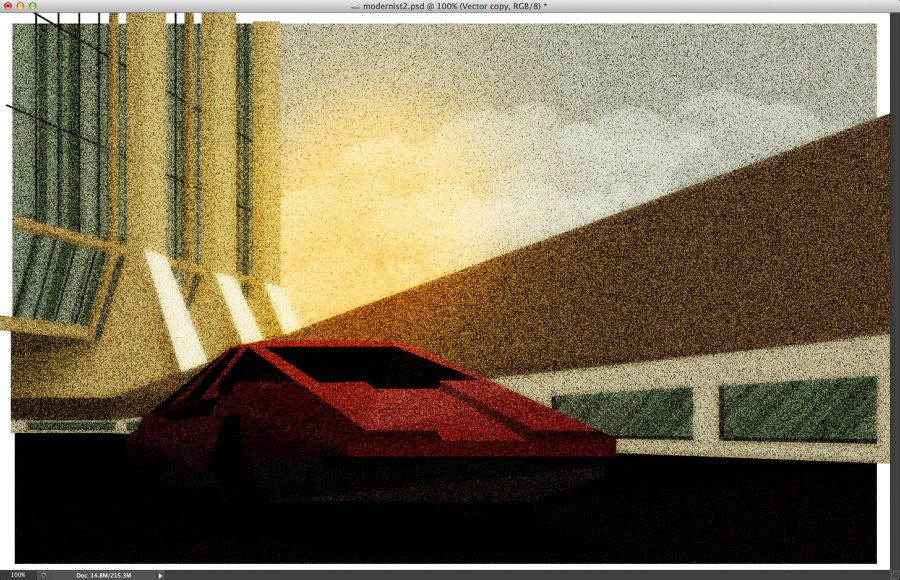
Go to Image>Adjustmetns>Desaturate. Then change the Blend Mode to Color Dodge. You will have something like the image belowl.
Step 14
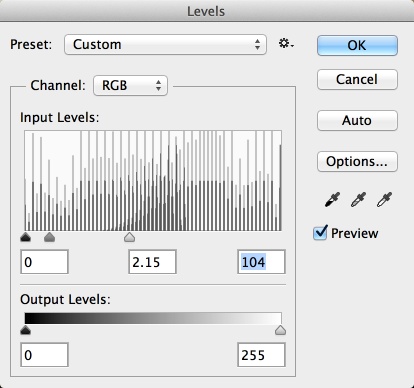
Go to Image>Adjustments>Levels. Reduce the white input levels to 100 or a bit more. The goal here is to make the light grains almost invisible.
Step 15
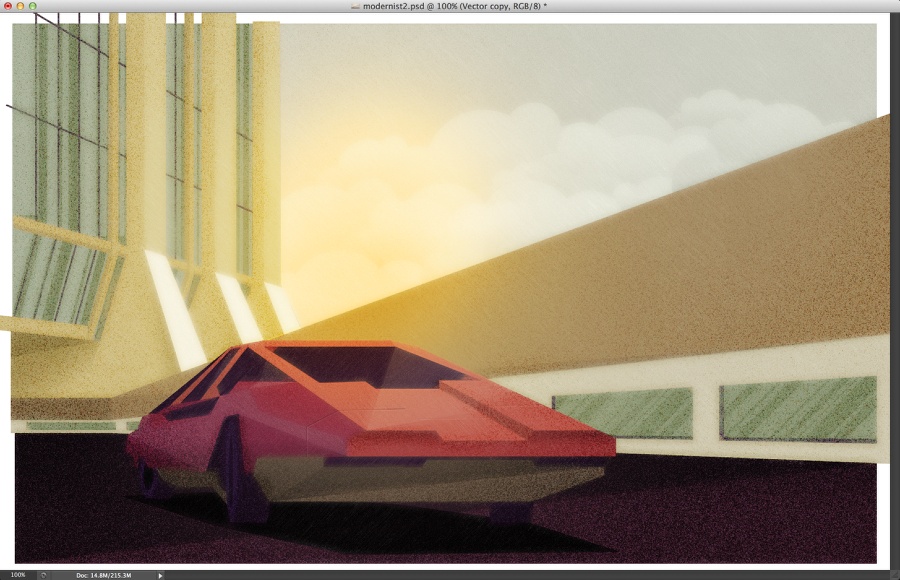
With the Eraser Tool (E) you can delete some areas of the grain layer to make it less strong. I tried to hide the grains on the lighter areas and make it visible on the dark ones.
Conclusion
You can also do the same as the previous steps for the dark grains to create another layer with lighter grains. It will make the effect a little bit better and more real. Your design after this will be pretty much done and as I said, it was the first time I tried something like this. I am still learning and it is up to you to take it from here and make it perfect. If you do so, share with us, we would love to see what you can come up with.