by abduzeedo
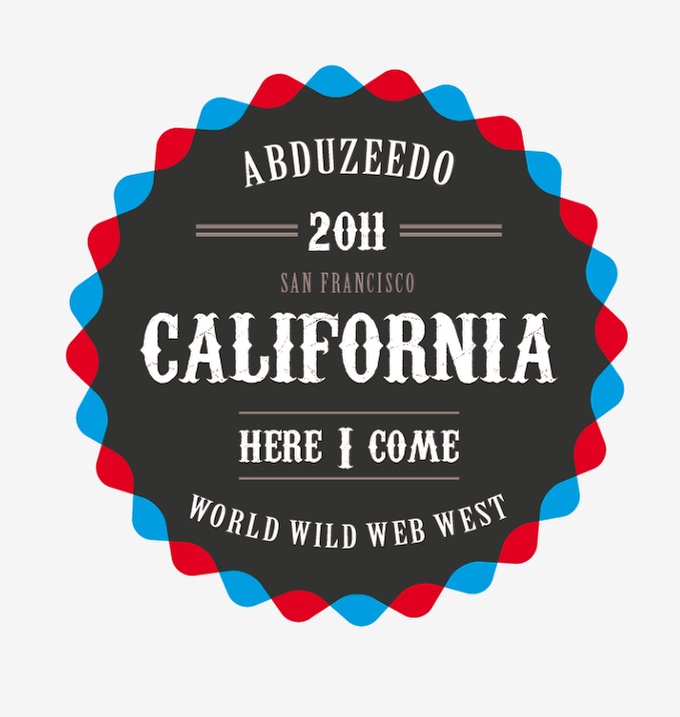
It's been more than two weeks since I've finally moved permanently to California, USA. Before the big move, I was playing with Illustrator and Photoshop to create a vintage look badge. After a few hours trying different typefaces, I got a nice result and published it on my Dribbble profile.
I have received quite a few emails since I published that asking me how I did the effect, so in this tutorial, I will show you how to create a vintage look badge using Illustrator and Photoshop
Step 1
Open Illustrator and create a new document. Then with the Start Tool create a star in red.

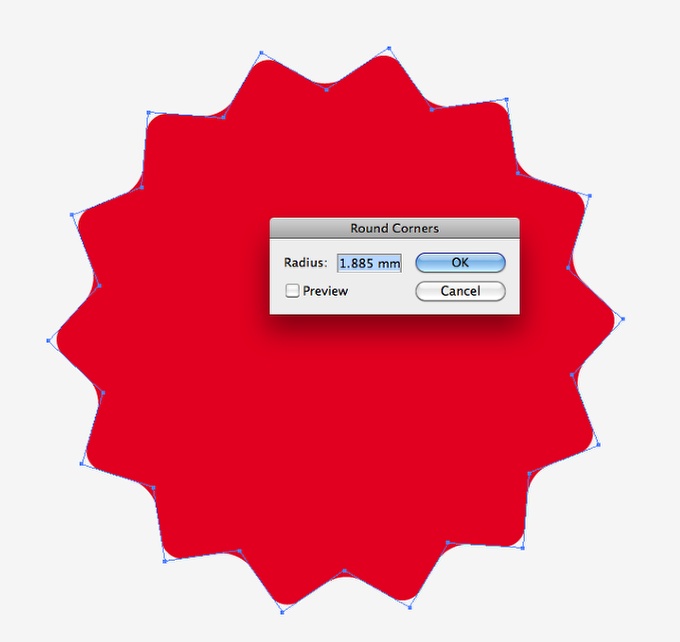
Step 2
Go to Effect>Stylize>Round Corner. Use 1.885 mm for the Radius.
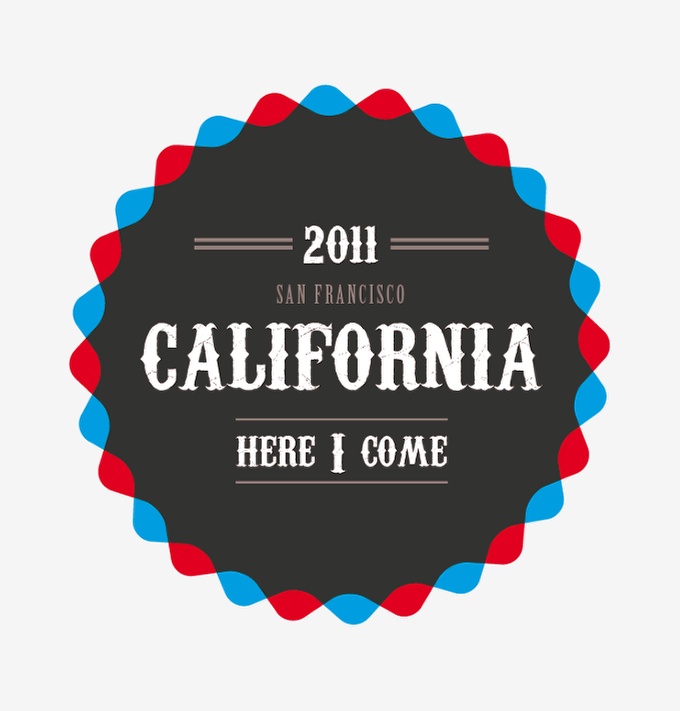
Step 3
Duplicate the star with round corners and then rotate it like the image below. Also, change the color to Cyan.

Step 4
Select the cyan start with round corners and then go to Window>Transparency. Use Multiply for the Mode. The areas that the cyan are on top of the red will turn to grey.

Step 5
For the typography, I used Carnivalee Freakshow for the words California, 2011 and here I come. For the word San Francisco, I used Birch Std. Also, I created some lines in grey with the Rectangle Tool (M).
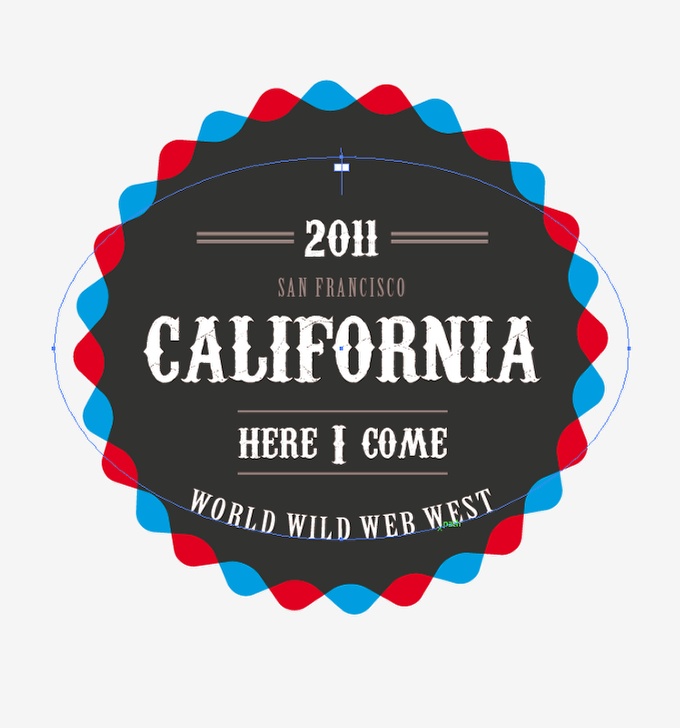
Step 6
Now with the Ellipse Tool (L) create an ellipse like the image below, then with the Type on Path Tool add the words World Wild Web West.
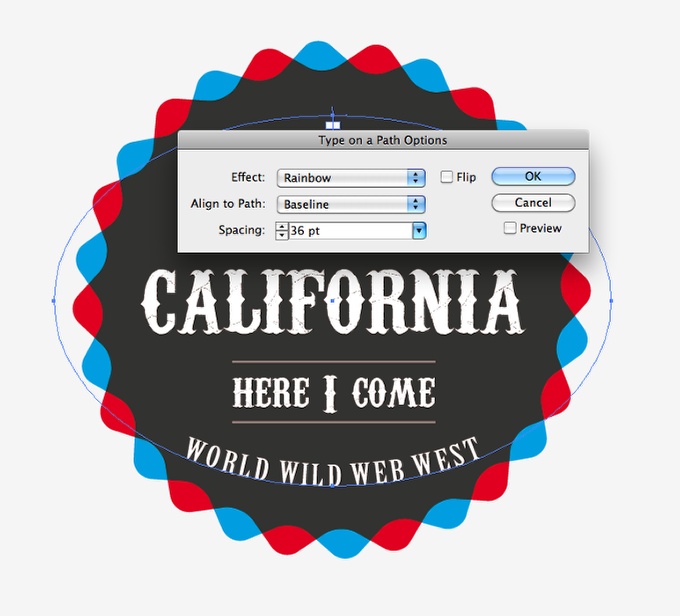
Step 7
Also, you can edit the text on the path by double-clicking on the icon of the tool to go to the Type on Path Options. I used Rainbow for the Effect, Baseline for the Align to Path and 36pt for the Spacing.
Step 8
Do the same thing but now for the text that goes on top, which is ABDUZEEDO.
Step 9
Copy all the objects in Illustrator and then go to Photoshop and create a new document. I'm using 2560x1440 pixels for the size, the paste the Illustrator vectors.
Step 10
For the texture of the design I used an image from Shutterstock, you can find it at http://www.shutterstock.com/pic-62706346/stock-photo-paper-texture.html. So imported it and place it beneath the vector. Also change the Blend Mode of the vector layer to Multiply.
Step 11
With the Magic Wand Tool (W) select an area of the texture like the image below. You will get some areas selected. Then select the vector layer and go to Layer>Mask>Hide Selection. That way you will create a really nice old style/vintage look to your design.

Conclusion
To create some nice vintage effects using Photoshop is pretty easy, it's all about playing with layer masks and textures. However, the most important thing on this design is the Illustrator part in which I played with typography and other elements to create a nice composition. So the tip is, look for inspiration and try to learn as much as you can about design principles, the effects afterward are the easiest part.


