by abduzeedo
A couple of weeks back we featured an image for the wallpaper of the week that was the Abduzeedo symbol with a chrome effect. Quite a few people asked me how it was composed so this weekend I decided to write a simple tutorial on how to achieve a cool chrome effect using Photoshop. I am using the Photoshop CC but you can create a similar effect with pretty much any new version of Photoshop.
So, in this tutorial, I will show you how to create a chrome effect in Photoshop using just layer styles. The whole process is very simple but it might require some tweaking and a little bit of time.
Step 1
In Photoshop create a new document. I am using 2880x1800 for the size so I can use it as a desktop wallpaper for my laptop. After that put the logo/symbol you want to apply the chrome style.

Step 2
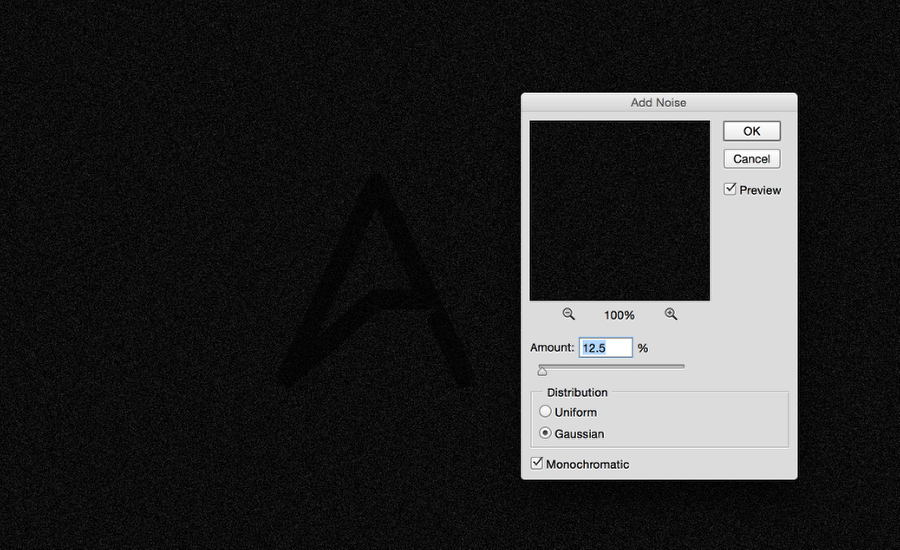
Add a new layer and fill with black with the Paint Bucket Tool. After that go to Filter>Noise>Add Noise. Use 12.5% for the Amount, Gaussian and Monochromatic.
Step 3
Duplicate the layer and for the one on top go to Edit>Transform>Flip Horizontal. After that change the Blend Mode to Screen at 40%.
Step 4
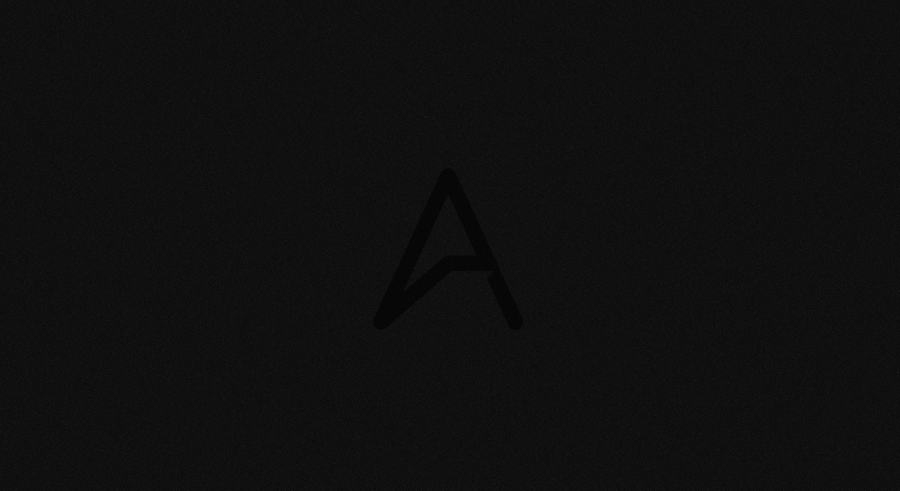
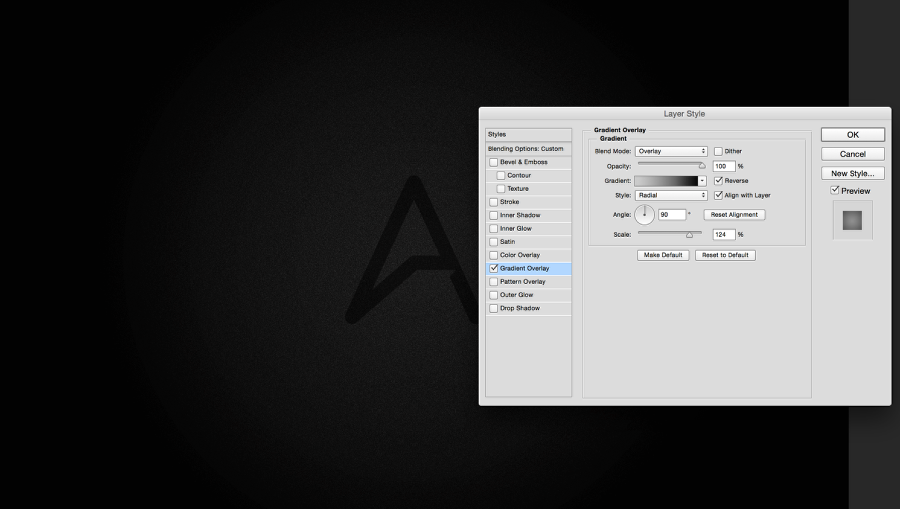
Group the 2 layers with noise and then for the group apply a layer style. Select Gradient Overlay and use Radial with a light grey in the middle and black for the edges.
Step 5
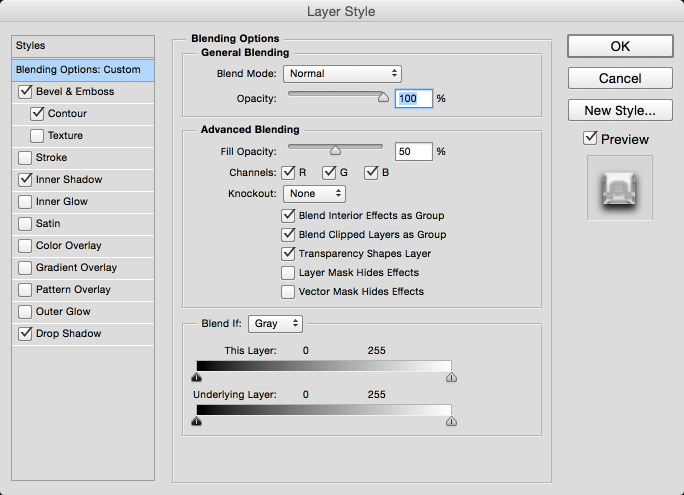
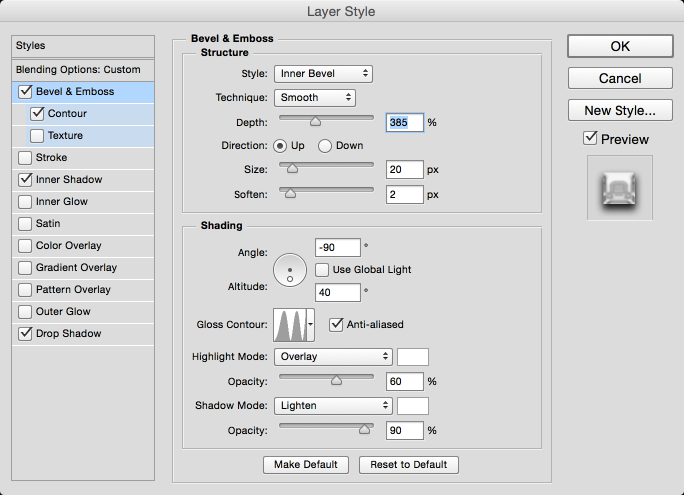
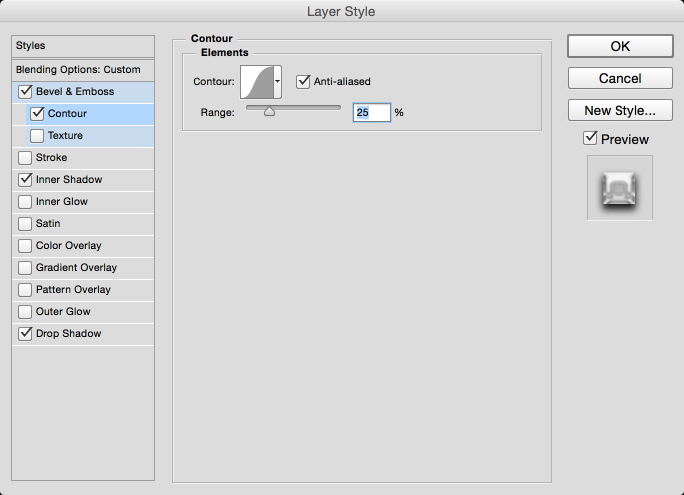
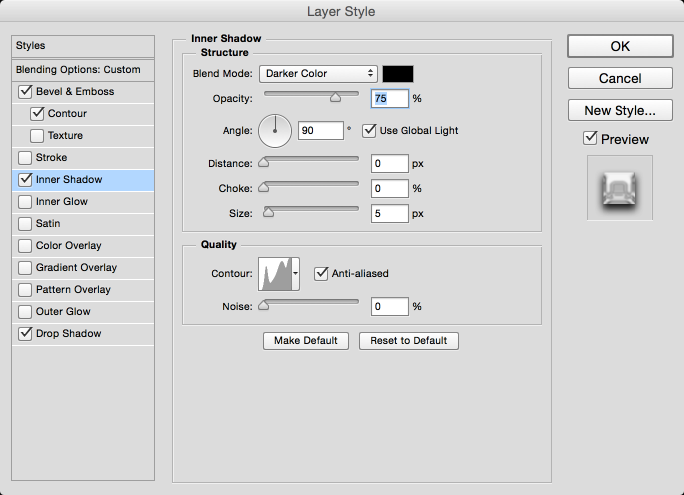
Select the symbol and then go to Layer>Layer Style>Blending Options. Use the settings like the images below. Note: The settings might vary depending on the type and size of your symbol, so play with the values until you find the best result. These are the best settings for the Abduzeedo symbol.
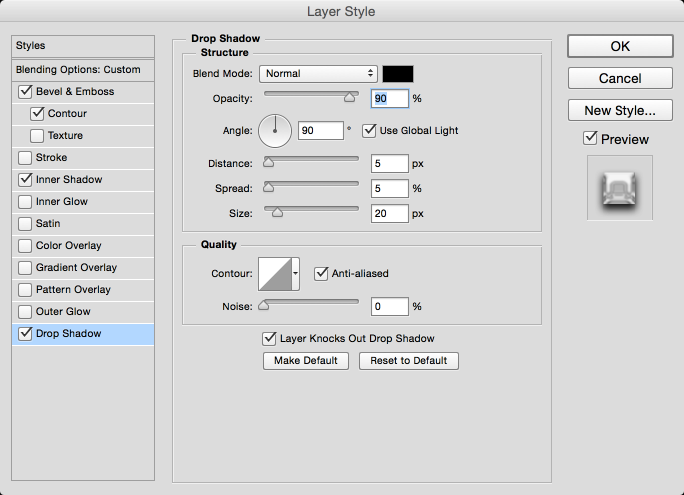
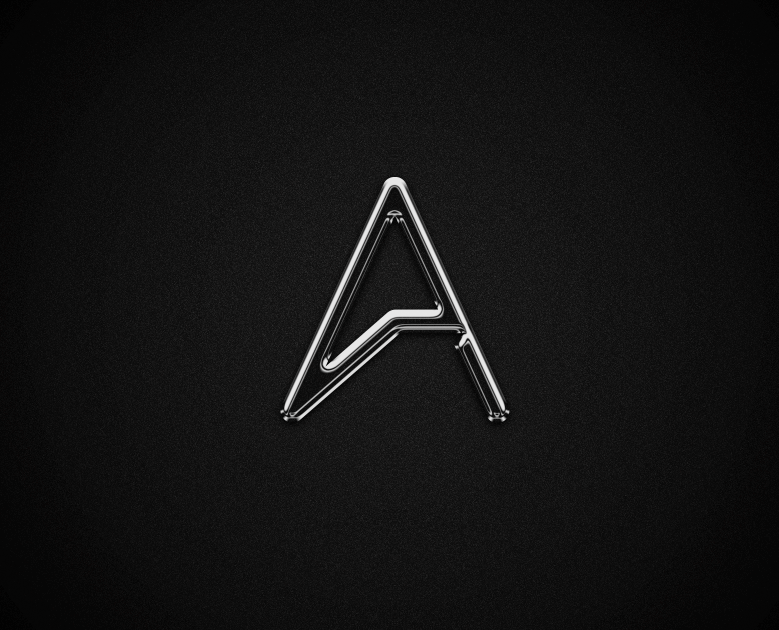
Step 6
Here I added the logotype and apply similar chrome effect.
Step 7
Select all layers and duplicate them. Merge all the new duplicated layers onto one layer and then go to Filter>Blur>Gaussian Blur. Use 15 for the amount. After that change the Blend Mode to Screen at 50% and go to Layer>Add Layer Mask. With the Brush Tool make only the symbol area visible so this layer will create a sort of glow effect.

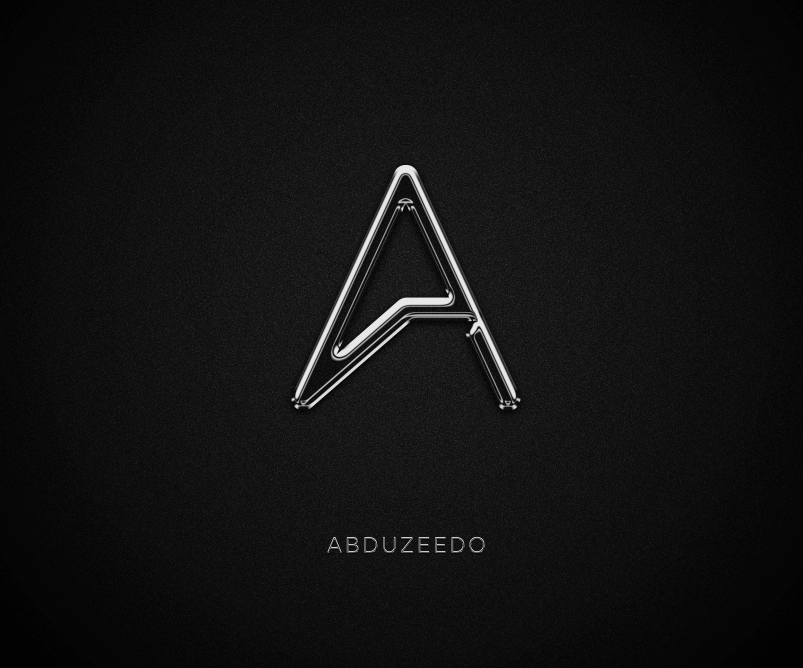
Conclusion
Here is the final result. As you can see the last step add a nice shine and glow to the image making the chrome look more realistic. I mentioned before, but it's important to play with the settings because they might have different results depending on the form of your symbol. Now it's up to you, just have fun and start creating nice wallpapers as well.