by abduzeedo
In this tutorial I will show you how to create a really nice light effect using basic filters and tools in Pixelmator. The idea is to create an image with that 80s feeling in it but modern as well.
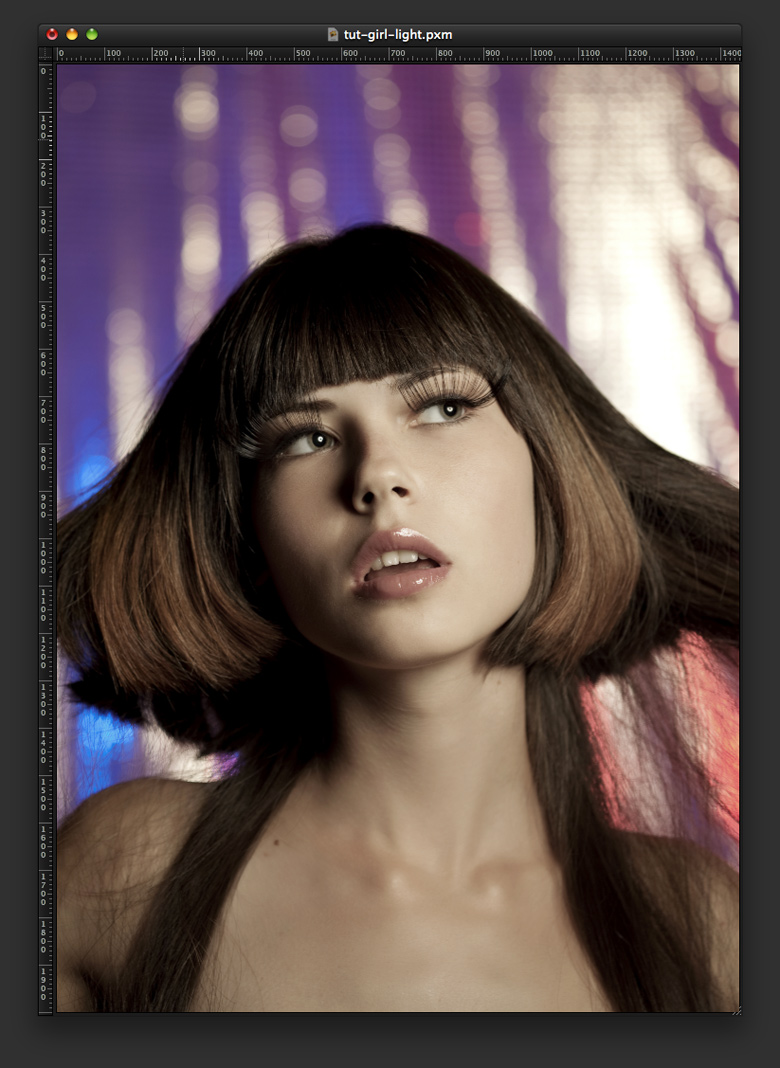
Step 1
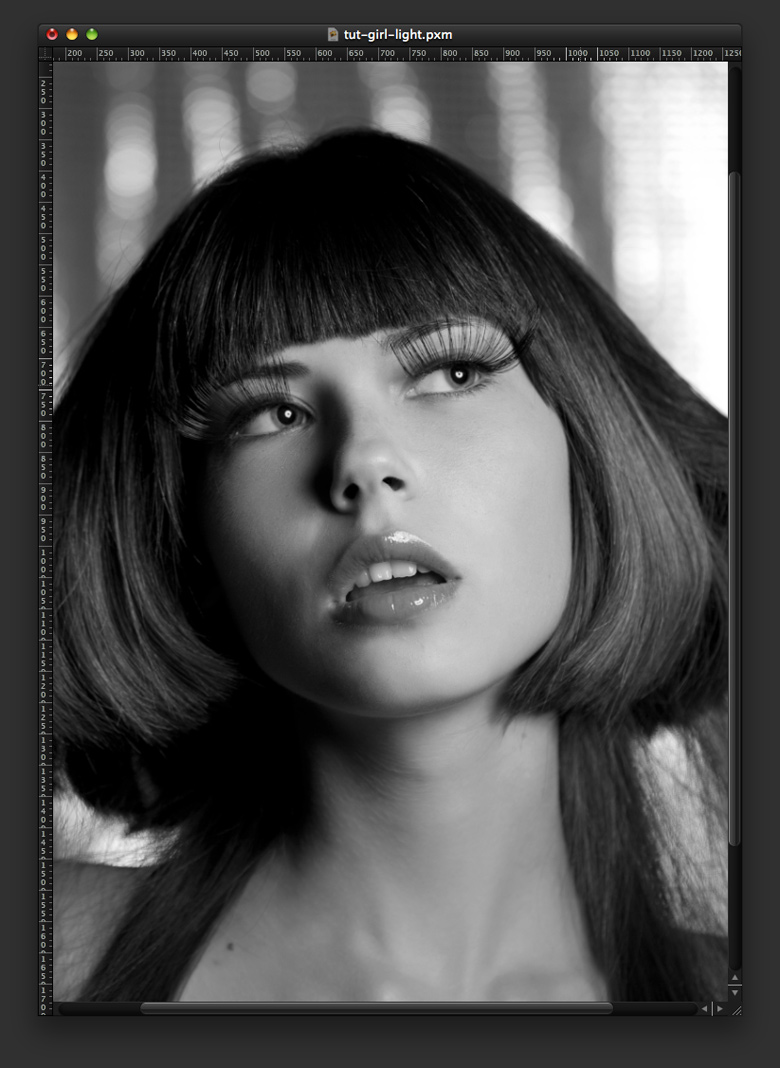
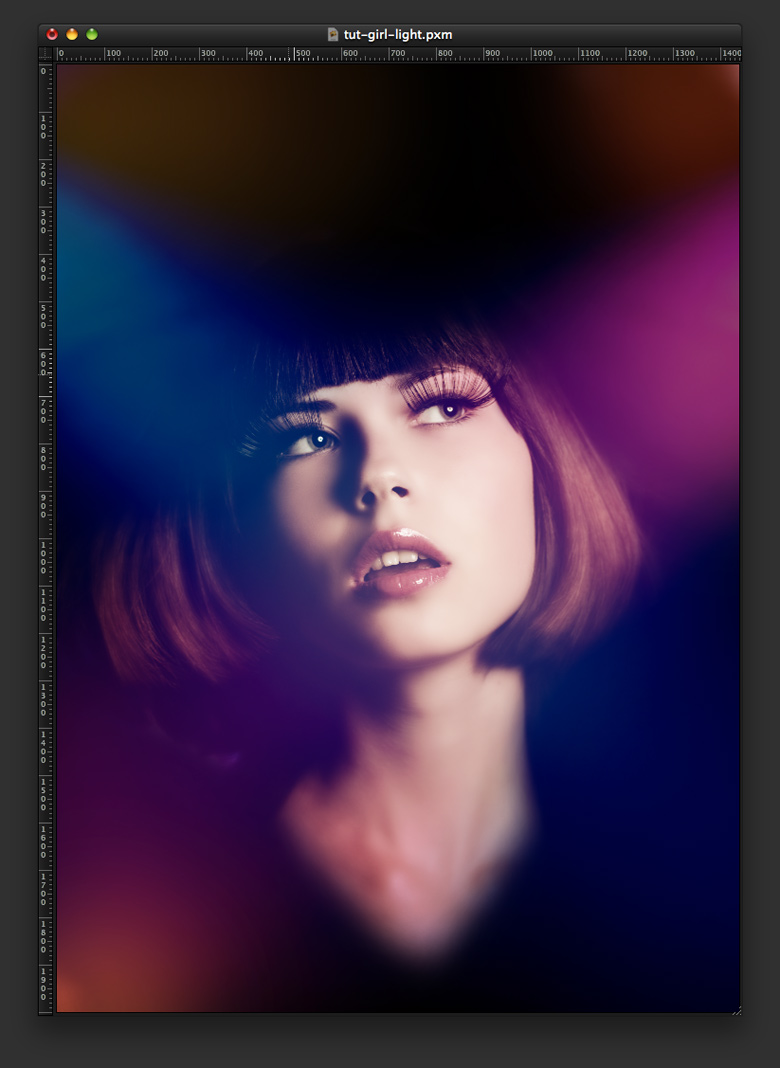
Open Pixelmator and create a new document. The size I am using is 1440×2000 pixels. After that, import a photo of a girl; the one I’m using is courtesy of Shutterstock and you can find it here.
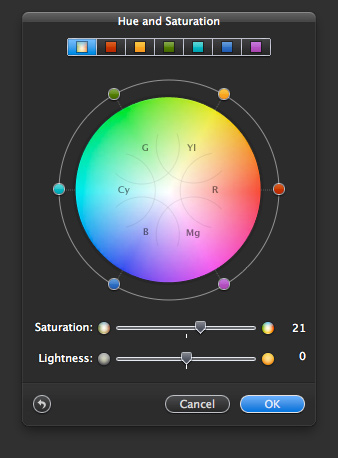
Step 2
Duplicate the layer of the girl and go to Image>Hue and Saturation. Increase the Saturation to 20.
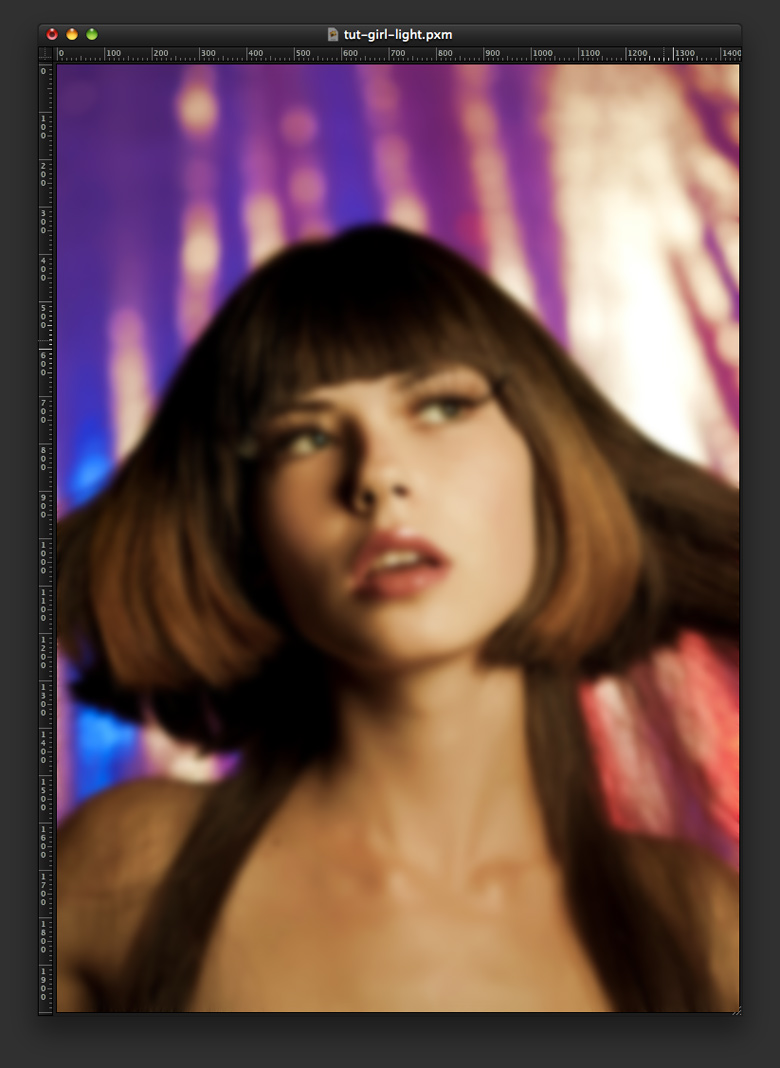
Step 3
Now the color of your image will be a little bit more saturated, in this case warmer as well.

Step 4
Duplicate the layer of the girl, the one on which you increased the saturation, and go to Filter>Blur>Gaussian Blur. Use 20 for the radius. So you will have a pretty blurry image on top of the other. The idea here is to make the girl’s skin super smooth.
Step 5
With the blur layer selected, go to Layer>Add Layer Mask. Then with the Brush Tool (B) and a very soft brush, start painting on the layer mask over the eyes, nose and mouth in order to hide the blurry layer. So you will have all the details in those areas but keep a super soft skin. This is not supposed to be highly realistic, so there won’t be any problem in doing that.

Step 6
Now, duplicate the layer with no blur and go to Image>Desaturate. Rearrange this layer so it will be on top of the others. After that, change its Blending to Soft Light.
Step 7
Add a new layer and with the Brush Tool (B) and the same soft brush, start painting with black in order to hide the background. Leave just her face with a part of her hair and neck. Use the image below for reference.
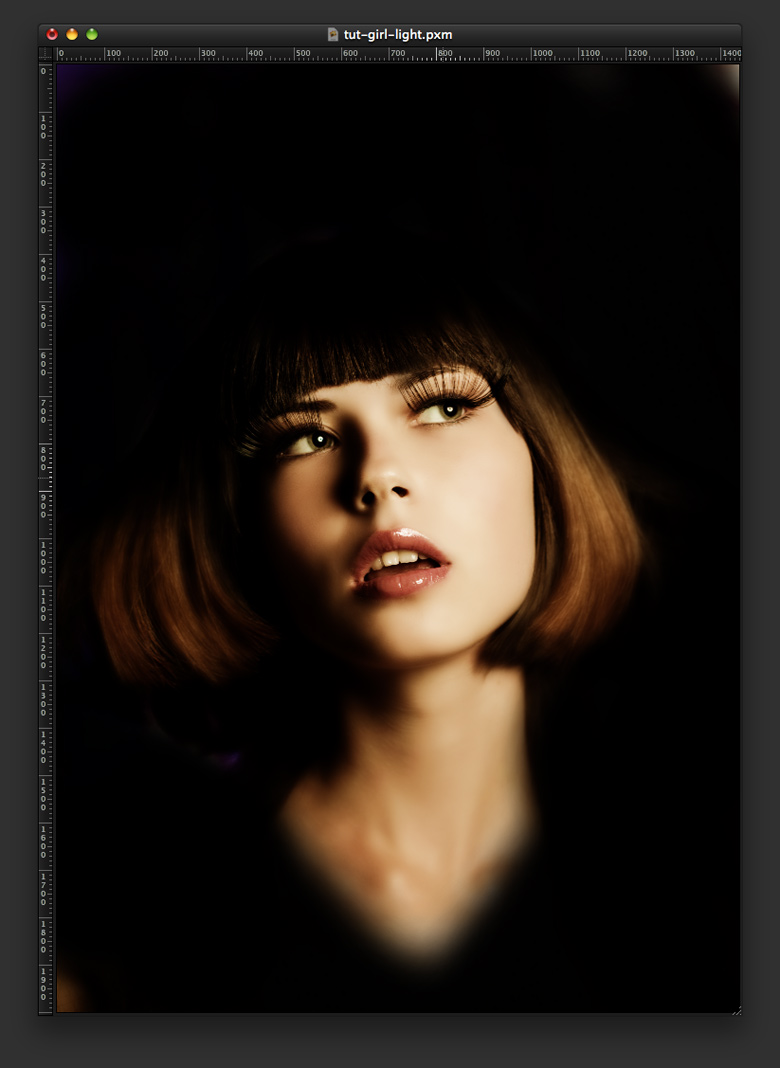
Step 8
Still with the Brush Tool selected, add a new layer on top of the others and start painting with red and orange on to bottom left, and top right and left. Play with the opacity of the brushes; these colors have to be very subtle.
Step 9
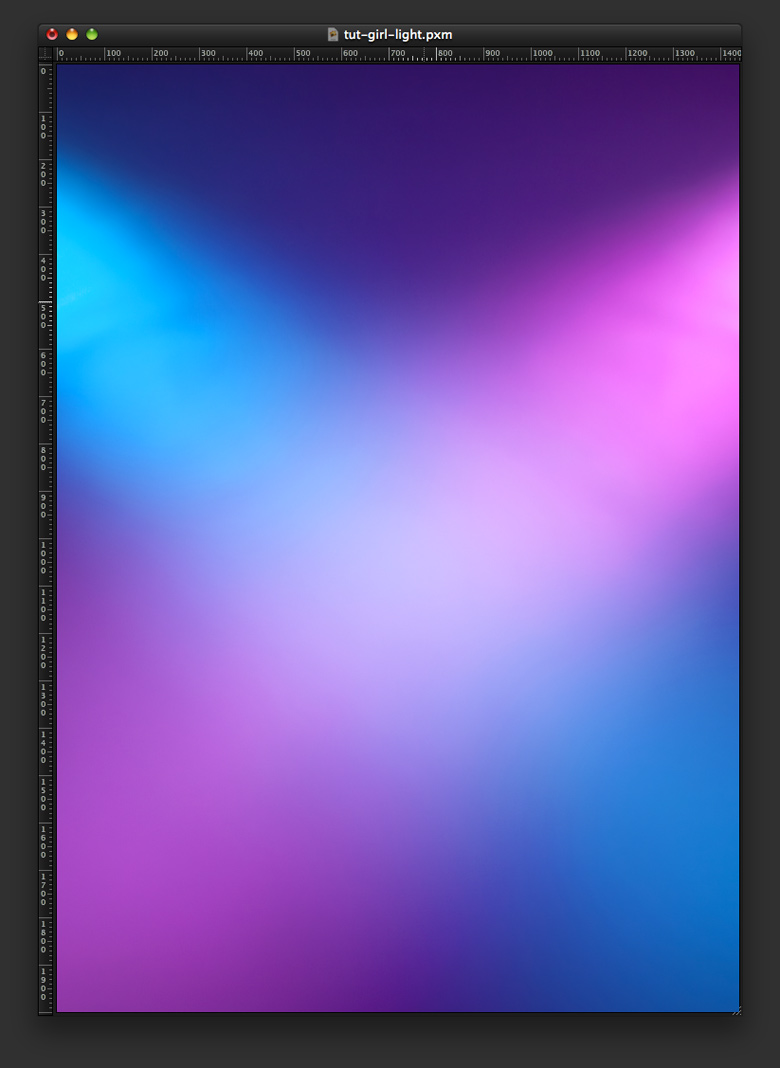
Now let’s use another image. You can do that using brushes if you want as well; however, I use a stock photo from Shutterstock. You can find it here. Position the image on top of the other layers and change the Blending to Hard Light at 40% Opacity.
Step 10
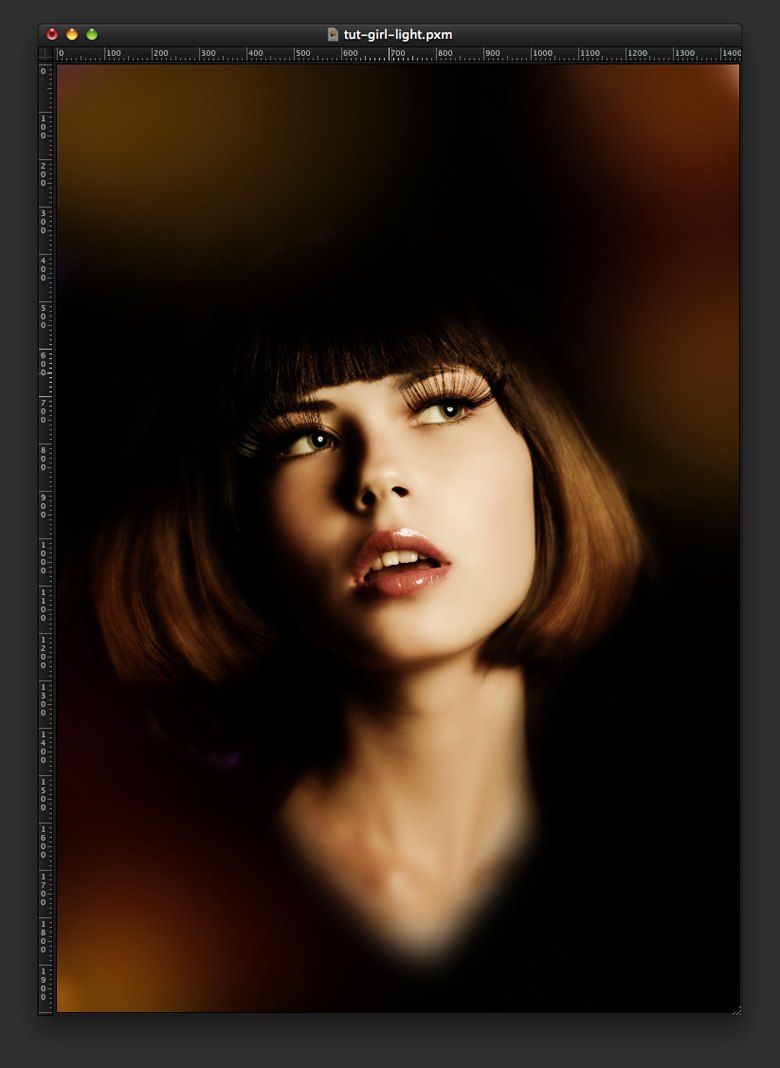
This will be the result you will have after these 10 steps. The concept is pretty much done. Now let’s just add a few more effects.
Step 11
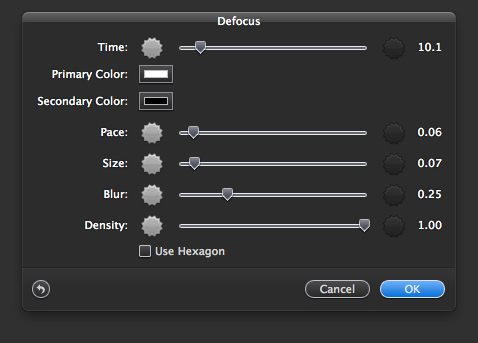
Add a new layer beneath the lights layer from the previous one. After that go to Filter>Quartz Composer>Generator>Defocus. Use the image below for the values.
Step 12
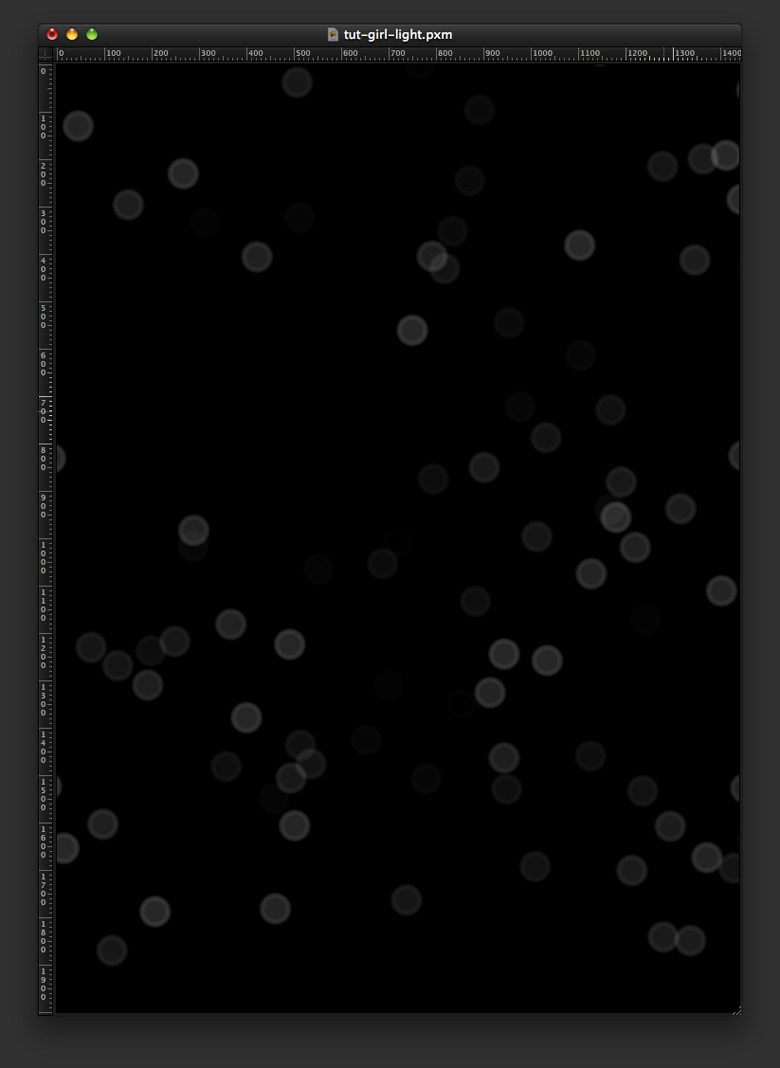
You will have an effect like the image below. Change the Blending to Color Dodge. After that, go to Image>Levels. Increase values of the white input in order to make the bokeh stronger.
Step 13
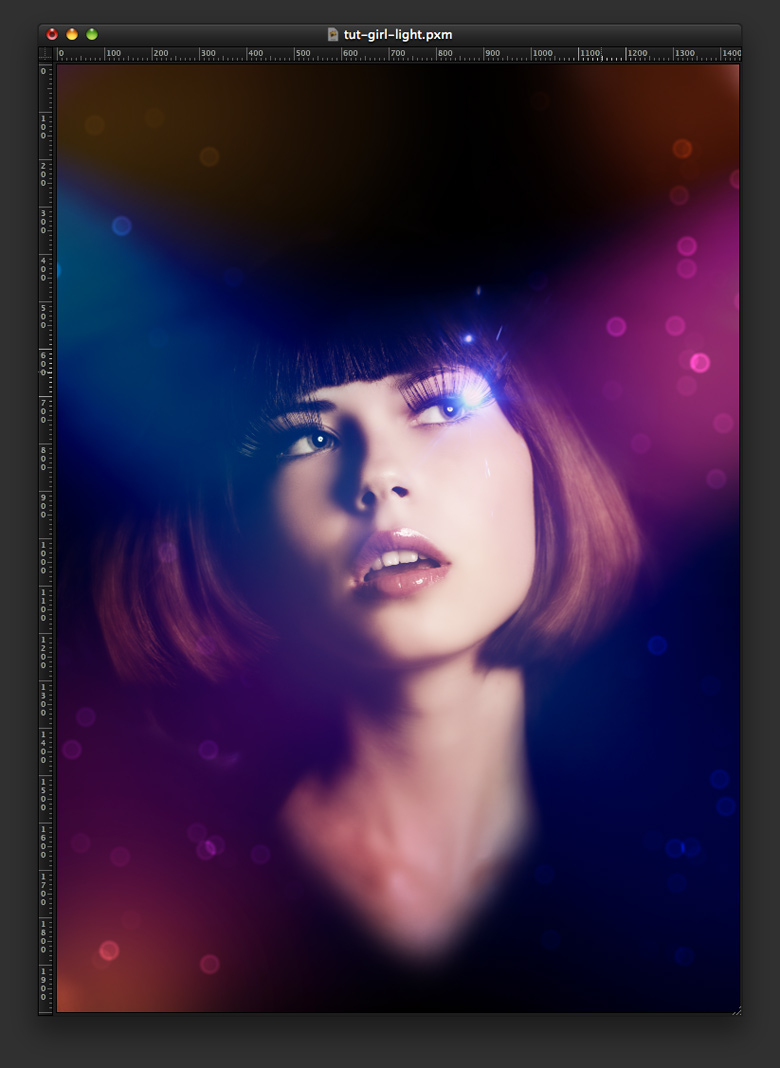
If you didn’t like how the bokeh was rendered, simply try a few more times until you get a nice result. You will also have to delete the bokeh effect that is over the girl’s face. I also added a little lens-flare effect next to her eye. That lens flare is from a photo that you can download for free at http://www.williams.edu/astronomy/IAU_eclipses/jmp_eclipse03_04.jpg. Resize the image and use Screen for the Blending.
Step 14
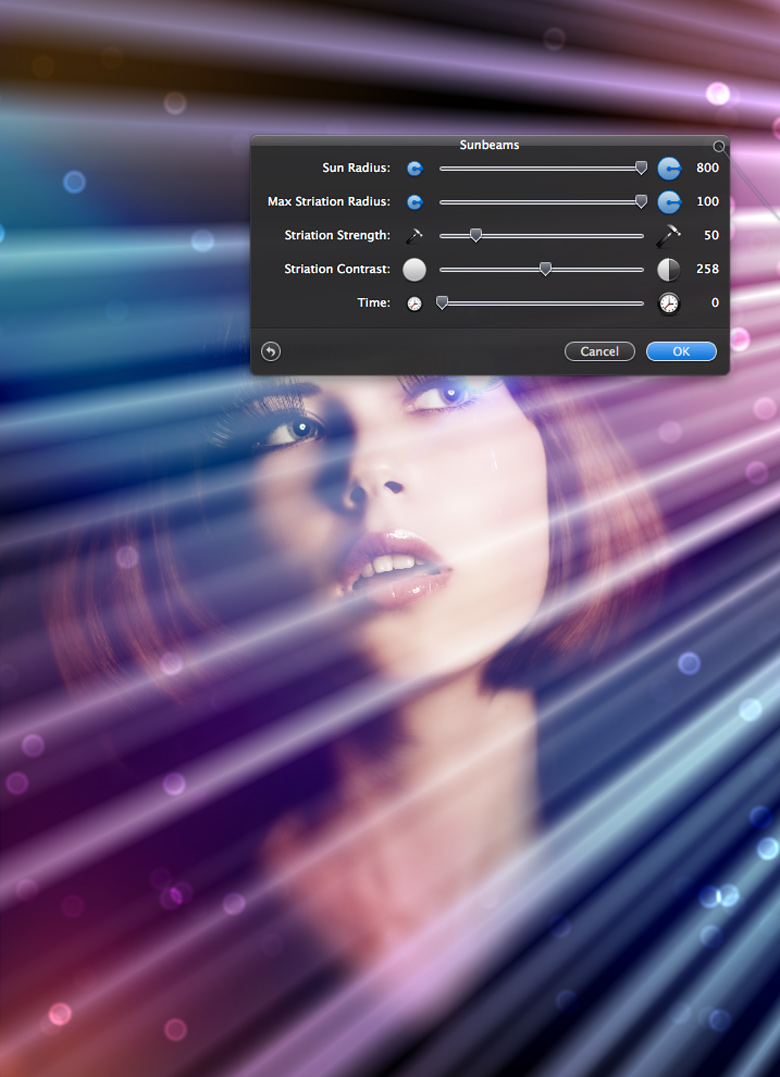
Add a new layer on top of the previous one and go to Filter>Generator>Sunbeans. Make sure you had black and white for the colors. Move the controller far to the top right and use the image below for the values.
Step 15
Add a new layer and fill it with black. This layer will be beneath the one you applied the sunbeams filter. Select both layers and merge them into one. Change the Blending of this new layer to Color Dodge. You can go to Filter>Blur>Gaussian Blur and add some blur to the rays.
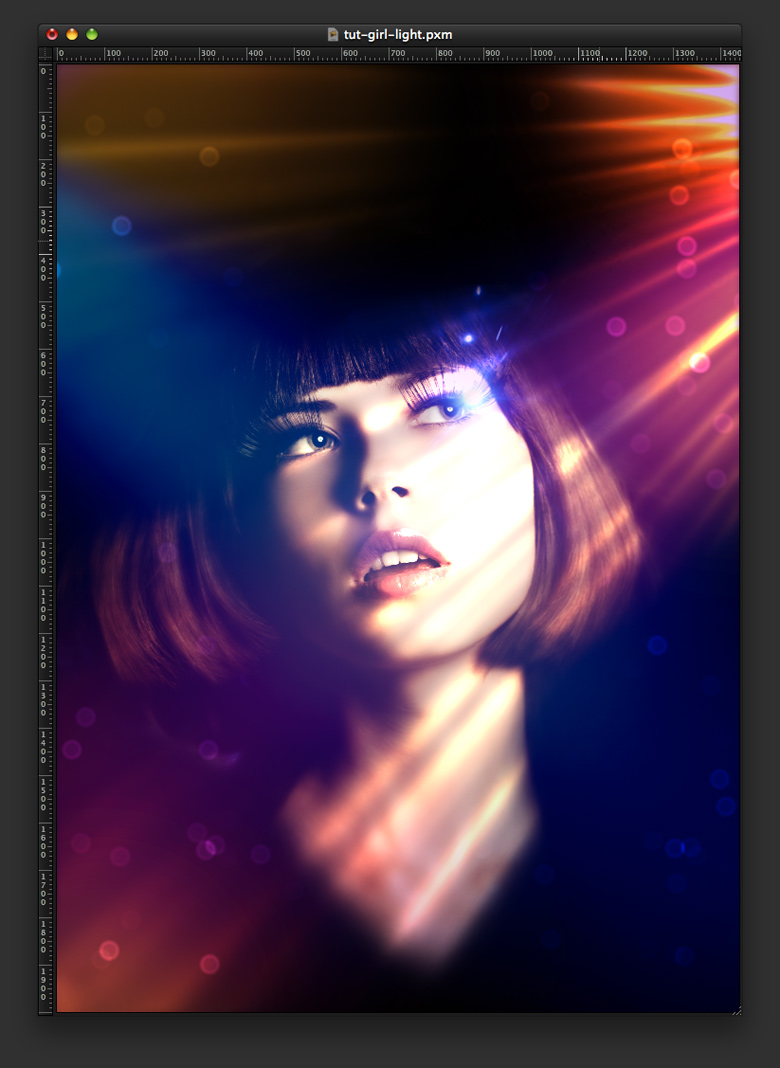
Step 16
With the Eraser Tool (E) and a very soft brush, delete most of the rays, leaving just the area over the girl’s face and the top right. Also reduce the Opacity to 40%.

Step 17
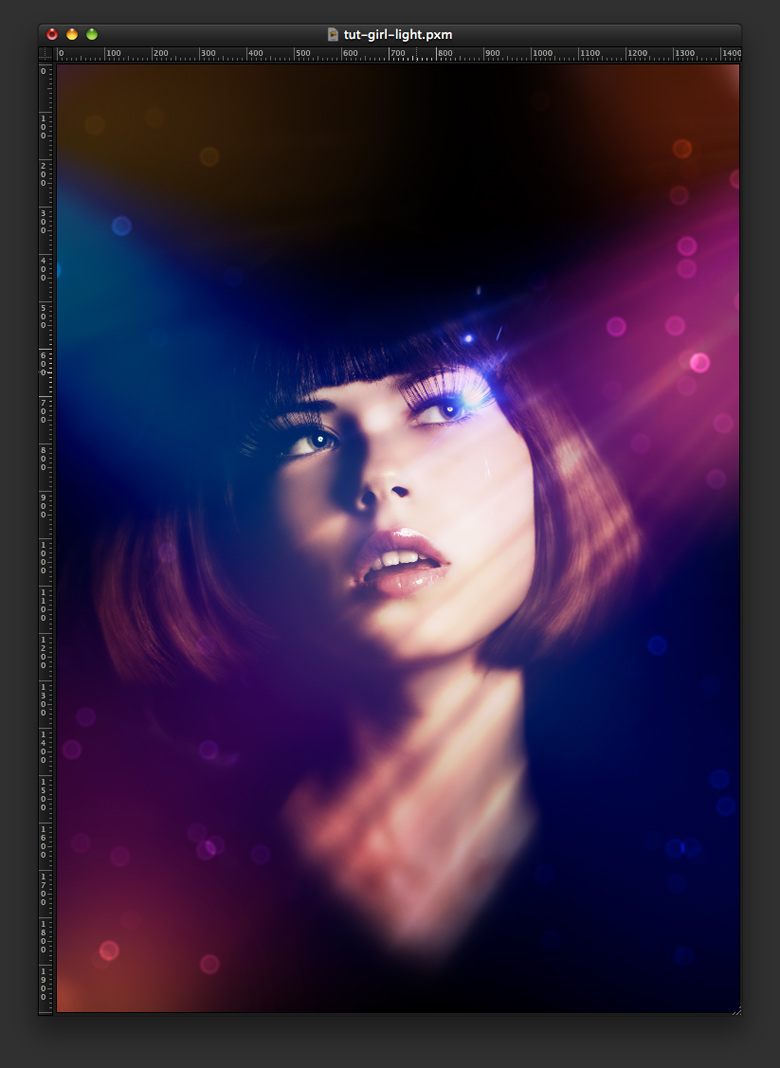
Duplicate the rays layer and move it to the top a little bit. After that, change the Blending to Soft Light. After that add a layer on top of the others and fill it with yellow. Change this layer’s Blending to Soft Light at 15%.
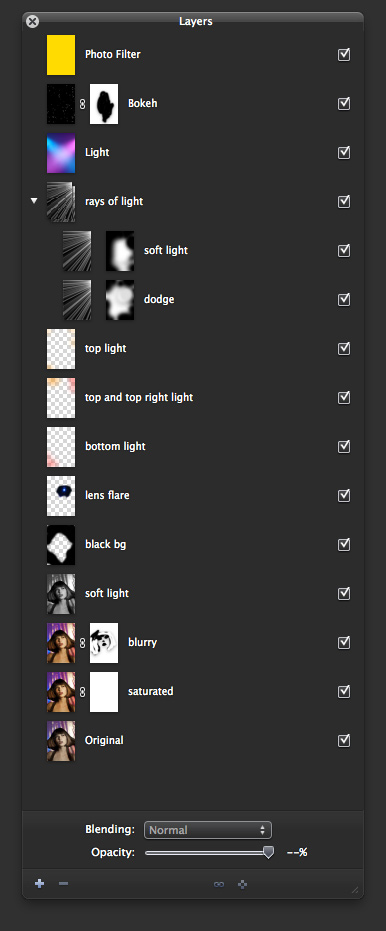
Layers Order
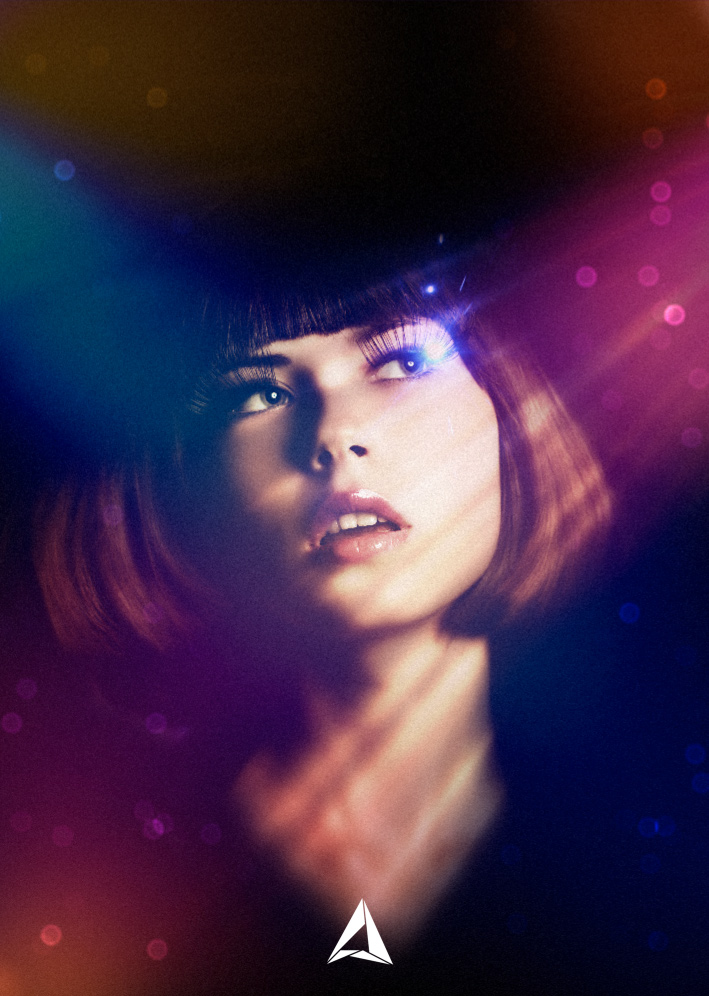
Conclusion
Now, it’s all about adding some noise and your logo. The effect is done. We basically played with brushes and blendings to create this effect. Now it’s up to you to apply the technique to your own projects.