by abduzeedo
Last night I was watching TV and decided to create an image for a Christmas tutorial. I was willing to work a little bit more with Cinema 4D, and as I have seen some Christmas designs with candy canes, I decided to try and design my own candy cane typeface. I also used Photoshop to create the background and the whole composition.
So in this tutorial I will show you how to create a 3D text in Cinema 4D, then in Photoshop we will import the .3DS file and play with it using the Photoshop 3D capabilities. We will also play with some filters, brushes and blend modes to create the effect.
The whole process will take a few hours, and this tutorial is more like a case study then a tutorial per se, I will show you some details of how I created the image but I really encourage you to try different values and elements as well.
Step 1
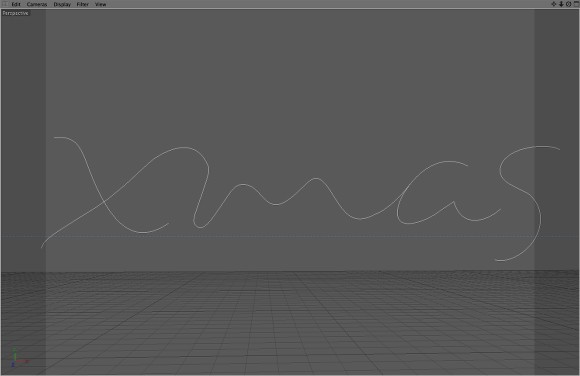
The first thing to, actually, was to create the font. I created this font in Illustrator using my laptop's trackpad, it's not very complicated it's all about adjusting the points after you have a rough version. So I saved the AI file in Illustrator as AI version 8, that way I would be able to open it in Cinema 4D.
Now, in Cinema 4D, go to File>Open and open the .AI file.
Step 2
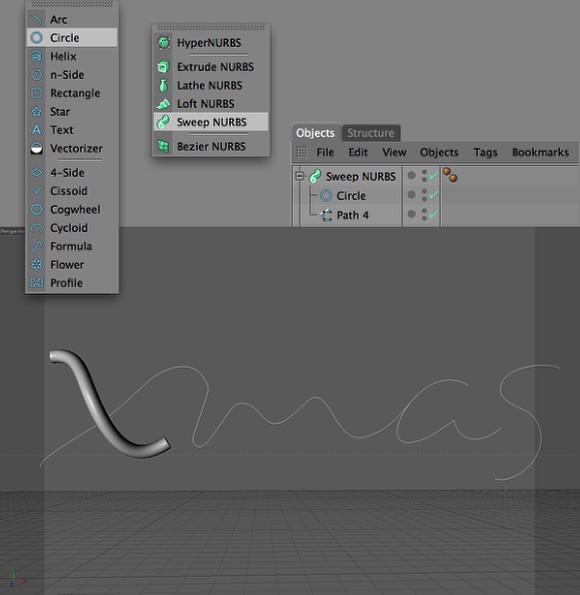
After you have imported the path in Cinema 4D we will need to extrude the path to create our 3D text. The first thing to do is to add a circle spline that will be the shape of our object.
Go to Objects>Spline Primitive>Circle. Then go to Objects>Nurbs>Sweep Nurbs. You will have the Sweep Nurbs object, the circle and the paths in your Objects Panel. Move the circle and one of the paths into the Sweeb NURBS object. The circle has to be on top of the path. That's it, you will have a nice 3D extrusion. You can resize the circle in order to make the 3D oject thinner.
Step 3
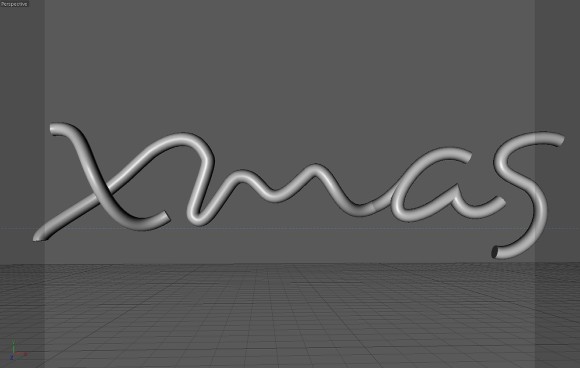
Repeat the same thing for the other paths of the word "xmas"
Step 4
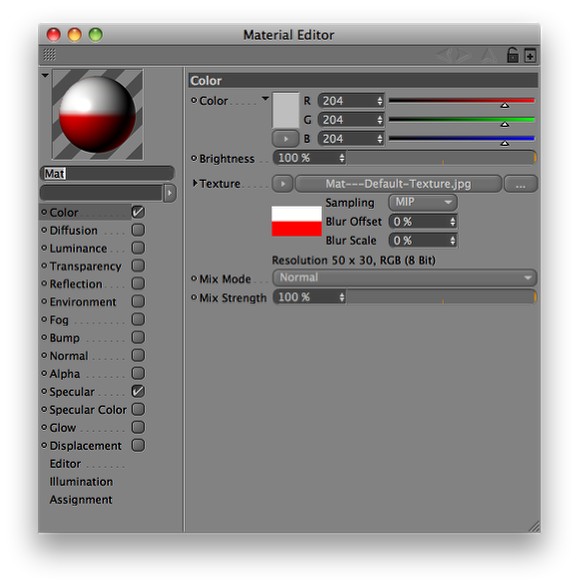
Over the Materials Panel, add a new material, go to File>New Material. Then select the color settings. For the texture I created a material that is a red and white stripe. You can download all files in the end of the tutorial.
Step 5
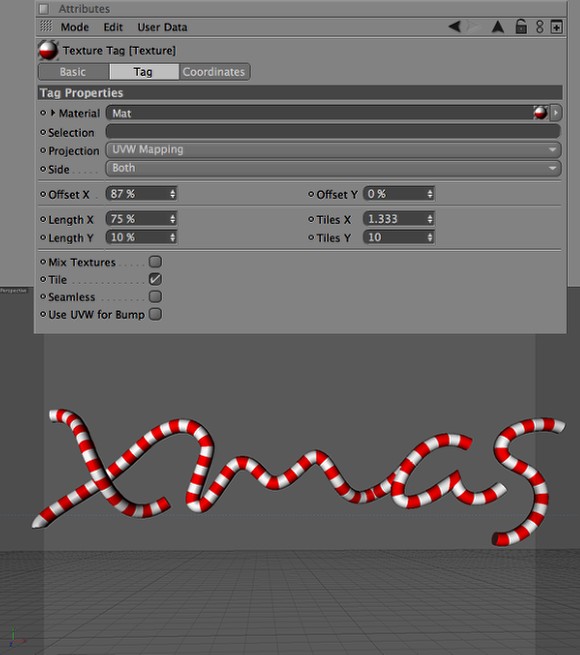
Just drag the material you have created over the objects to apply it to them. Now click on the Texture Tag, next to the object on the Objects Panel and then you will see the tag properties. Change the Title Y to 10 for the letters "x", "a" and "s". for the "m" use 30 because it's wider than the others.
After that go to File>Export and export the file as .3ds. That way we will be able to play with the 3D features in Photoshop, if you have the CS4 Extended.
Step 6
In Photoshop, create a new document, I used 1920x1200 pixels for the size. After that fill the background layer with a dark red (#4d2828). Then go to 3D>New Layer from 3D file... select the .3ds file you have saved from Cinema 4D.
Once imported you will be able to rotate, scale and move the 3D object in a 3D space in Photoshop. Also if you double click on the 3D layer in the Layer Panel you will have the 3D settings.
Step 7
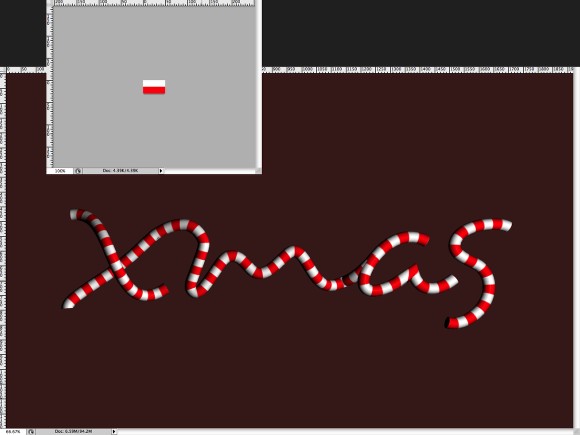
Double click on the material option of the 3D layer in the Layer Panel. Photoshop will open a new document with the texture, make sure you have the white and red stripe texture used in Cinema 4D, if not import it and just save it. The texture will be applied again. Tip: You can create new textures and apply to the object in Photoshop as well.
Step 8
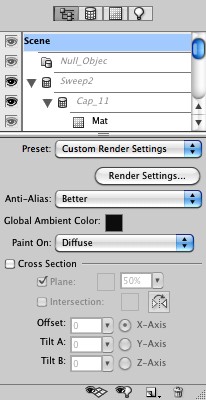
Below you can see the 3D options you have in Photoshop.
Change the Anti-Alias to Best and then duplicate the 3D layer. Hide one of the layers so we can use it later if necessary. With the other layer go to Layer>Rasterize>3D. We will do that because Photoshop gets too slow when working with 3D layers.
Step 9
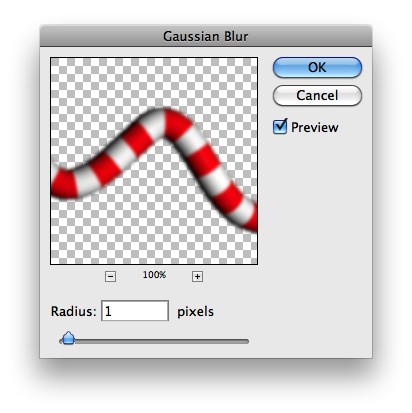
Go to Filter>Blur>Gaussian Blur. Use 1 pixel for the Radius.
Step 10
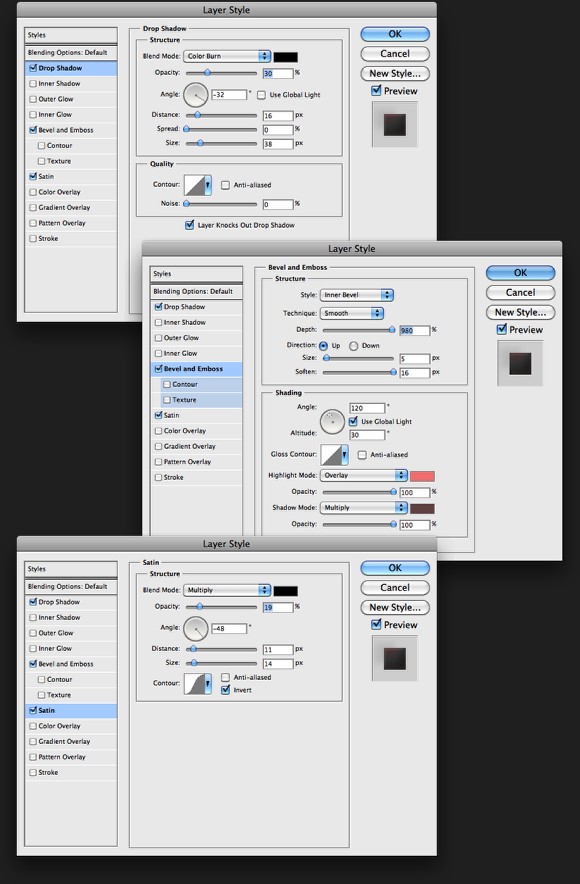
Now let's add some layer styles. Go to Layer>Layer Style>Drop Shadow, use the image below for the values. You will also apply Bevel and Emboss and Satin.
Step 11
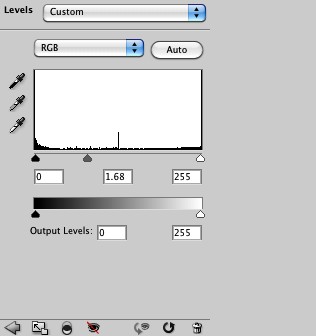
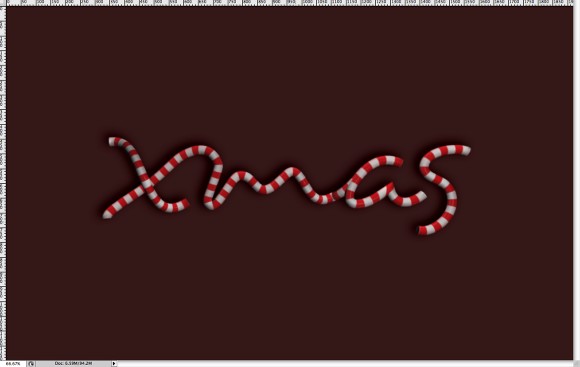
With the layer styles applied to the layer, go to Image>Adjustment>Levels. Change the middle input to 1.68. The rest stays the same.
Step 12
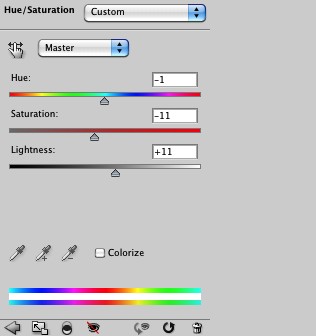
Go to Image>Adjustments>Hue and Saturation. Reduce the Saturation to -10 and increase the Lightness to 10.
Step 13
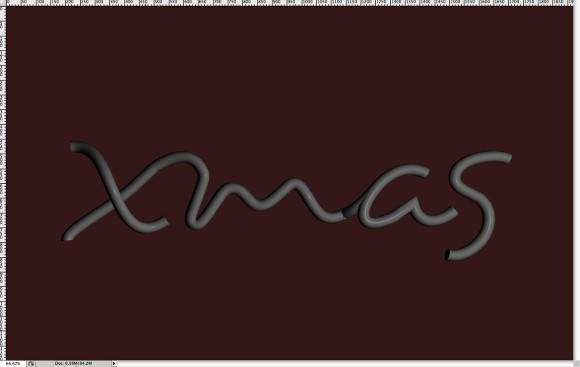
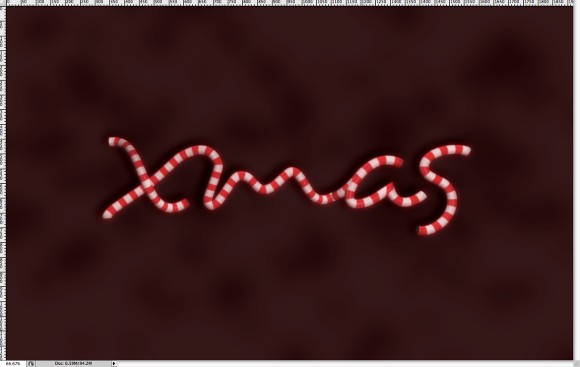
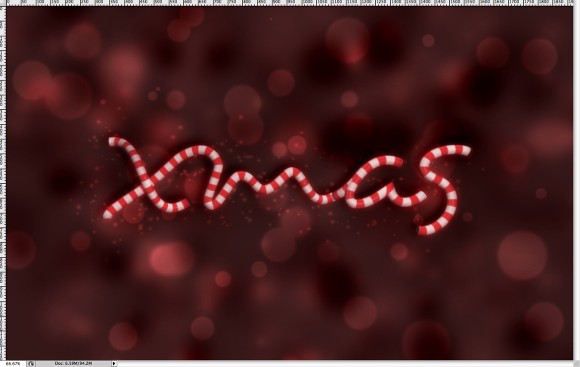
After all these steps, this is the image you will have. Duplicate it and disable the shadow.
Step 14
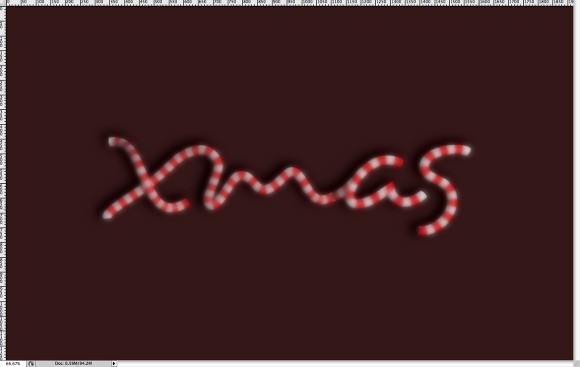
With the duplicated copy selected, it will be on top, go to Filter>Blur>Gaussian Blur. Use 10 pixels for the Amount.
Step 15
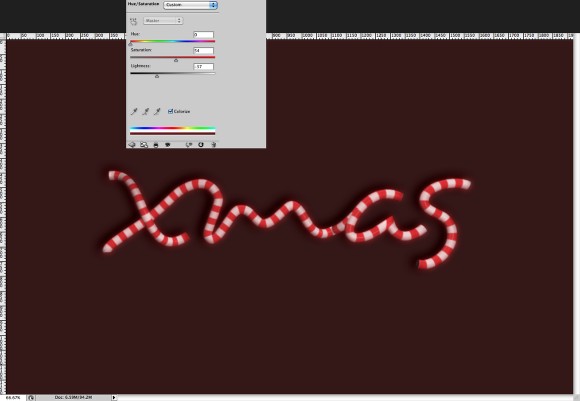
After the Gaussian Blur, go to Image>Adjustmetns>Hue and Saturation. Select Colorize and then move the Hue to 0, the Saturation to 54 and the Lightness to -35. Also change the Blend Mode to Screen.
Step 16
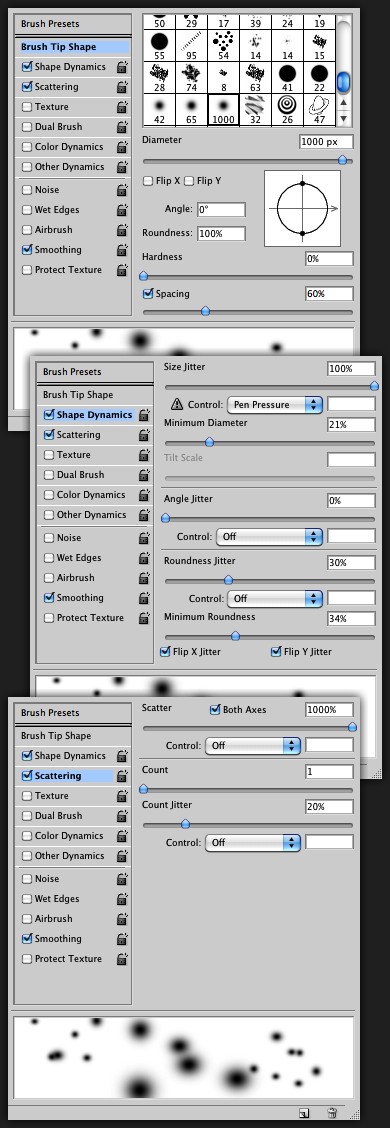
To create the background we will use a new brush preset. Select the Brush Tool (B) and go to Window>Brushes. Select a regular brush shape. We will use Shape Dynamics and Scattering to create our brush preset. Use the image below for the values.
Step 17
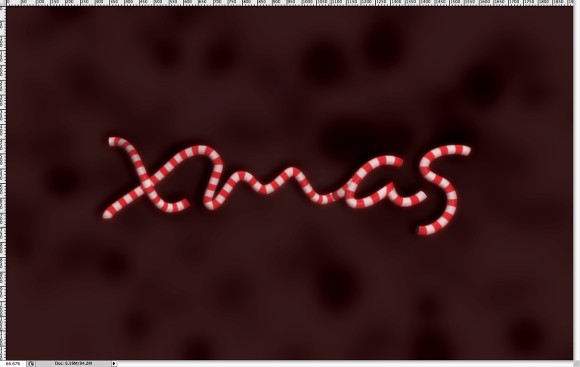
Over the Layer Panel, add a new group. Change the Blend Mode of the group to Color Burn. Inside this group add a new layer. With the Brush Tool (B) and the brush you have just created, select black for the color and paint some circles. After that go to Filter>Blur>Gaussian Blur. Use 40 pixels for the Radius. Also, change the layer's Opacity to 60%.
Step 18
Add another layer inside the group. Again with the Brush Tool (B) and black paint more circles. This time however make them a little bigger. Use the keyboard shortcuts to "]" make the brush bigger or "[" to make it smaller. Reduce the layer's Opacity to 60%. Also, go to Filter>Blur>Gaussian Blur. Use 20 pixels for the Radius.
Step 19
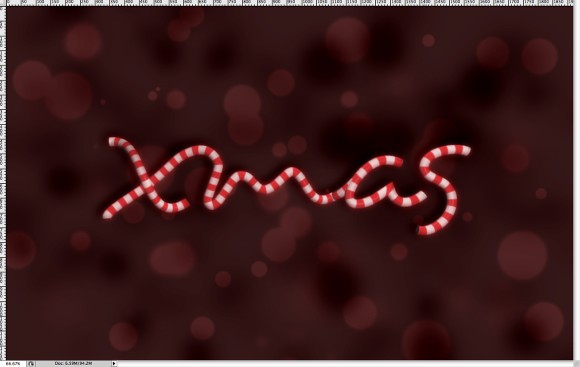
Now, add another group in the layer panel. Change the Blend Mode of this new group to Color Dodge. Create a new layer inside of the group and with the Brush Tool (B), select white for the color and paint some circles. Make sure that they are not blurry. To change the hardness of the brush, use the keyboard shortcut Shift + ]. Also reduce the layer's Opacity to 30%.
Step 20
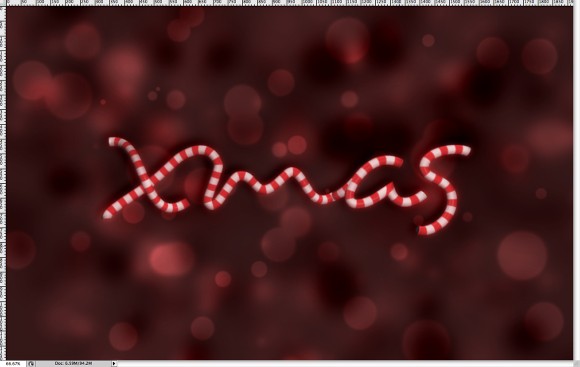
Add another layer and paint some more circles, bigger this time. Also go to Filter>Blur>Gaussian Blur. Use 40 pixels for the Radius. After that change the Opacity to 20%.

Step 21
Repeat the last step, this time however use 40% for the Opacity.
Step 22
Add another layer and reduce the size of the brush, the idea is to create some very small particles. Also, make sure that the brush is very soft, or go to Filter>Blur>Gaussian Blur to soften the effect.
Step 23
With the Direct Type Tool (T), create a new layer with some text. I searched on the internet for some Christmas songs. Use a small font size and paste the lyrics. Paste as many time as necessary so the text covers the vertical size of the design.
For the font, I used a handwriting typeface. After that go to Filter>Blur>Gaussian Blur. Use 1.5 for the Radius. For the Opacity use 35%.

Step 24
Add another text layer with the Direct Type Tool (T) and paste the lyrics again. This time use a bigger font size. Also, go to Filter>Blur>Gaussian Blur. Use 1.5 pixels for the Radius. After that change the Opacity to 45%. Use the image below for reference of positions.

Step 25
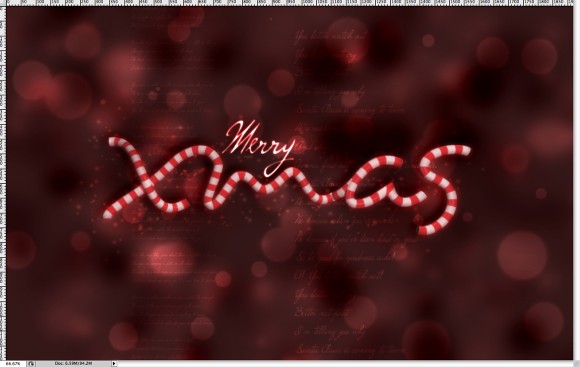
Now add the word "Merry", right on top of the "m". Repeat pretty the same thing we did in the previous step, but use a much bigger font.
Step 26
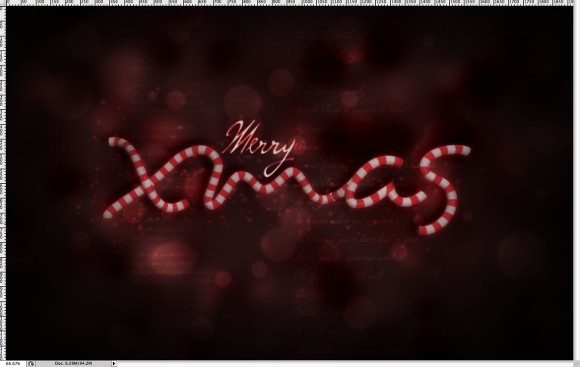
Add a new layer on top of the others then with the Brush Tool (B) and a very soft brush, select black for the color and reduce the opacity to 50%.
Start painting the edges of the document. The idea is to make the edges really dark and to leave only the center iluminated. You can apply a gaussian blur to soften the effect even more.
Step 27
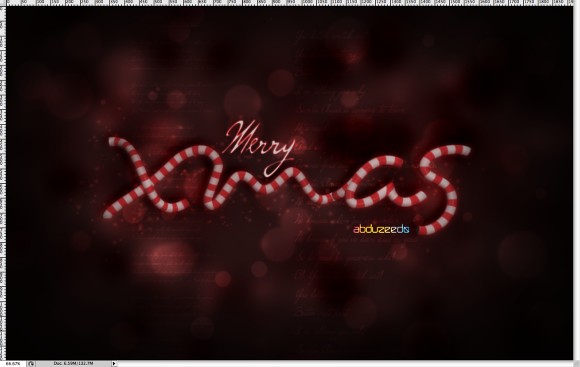
Just add your logo and then select all layers.
Duplicate them and with the copies selected go to Layer>Merge Layers. You also can use the keyboard shortcut to create a layer with all the layers merged. It's Command(mac) or Control (PC) + Alt + Shift + E.
Step 28
Select the Gradient Tool (G) and create a new gradient. For the colors use black, white and black. Use the image below for reference.
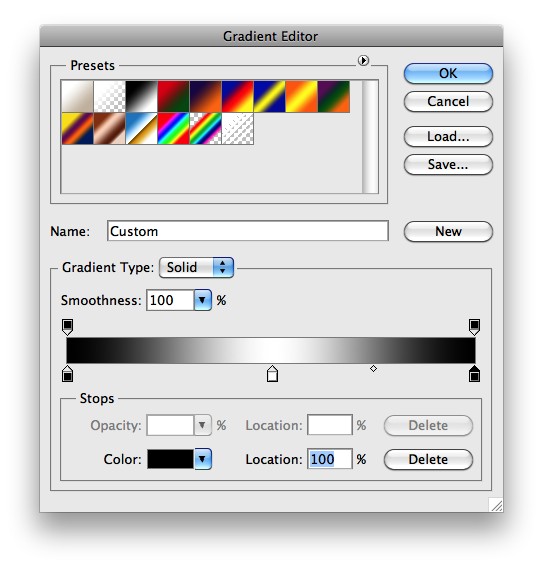
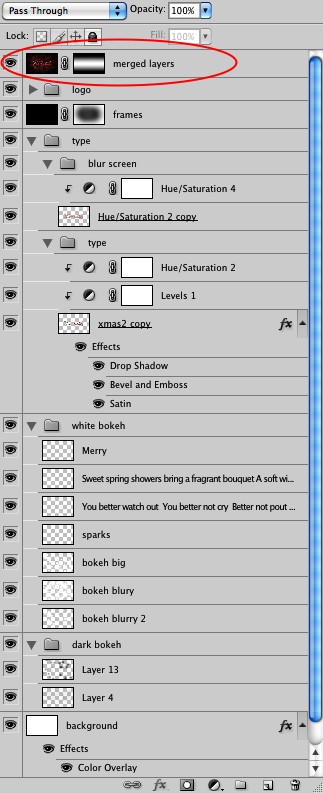
Step 29
With the merged layer selected go to Layer>Layer Mask>Reveal All. Fill the layer mask with the gradient you have just created, exaclty like the image below. Also you can see how the layers are organized.
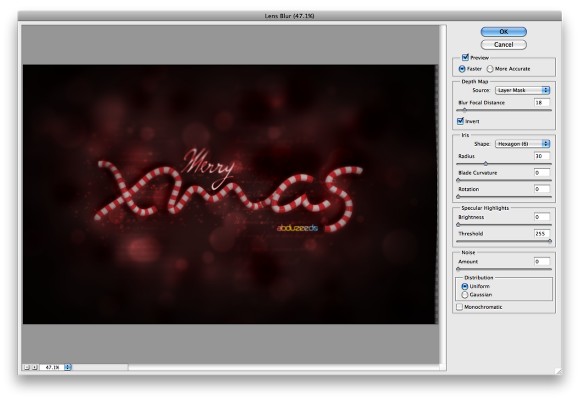
Step 30
Go to Filter>Blur>Lens Blur. Use the image below for the values. You will use the layer mask as source for the Depth Map of the lens blur. After you applied the lens blur, click with the right button of the mouse on the layer and disable the layer mask.
Step 31
Duplicate the Layer and go to Filter>Blur>Gaussian Blur, use 4 pixels for the Radius.
Change the Blend Mode to Screen and the Opacity to 15%. That will make the effect a little bit brighter.

Conclusion
You can add some noise in the end just to add a nice printed feel to the image.
For this image we used basic filters and the brush tool, we also applied some of the techniques I have shown you during this year like for the 3D effect in Cinema 4D, it was the same I used to create the Water Text Effect, or the background of this design that is basically a bokeh effect.
The idea of the tutorials is to learn some techniques and not simply the end result we get, because the important thing is that you know how to create some effects and then will be able to apply them in different situations.
I hope you like the tutorial and I wish you a Merry Christmas.

Click on the image for full preview.
Download the Source Files
Download the Illustrator, Cinema 4D and Photoshop files used for this tutorial.


")

