by abduzeedo
Following our series of tutorials inspired by movie posters, today we bring to you a simple image inspired by the new Jim Carrey and Steve Carrell's movie, The Incredible Burt Wonderstone. The poster and the TV spot show a really nice old signage effect, that's the title of the movie. As usual that was perfect for a Photoshop tutorial and also to create a nice animated gif.
So for this tutorial we will show you how to create a nice old signage effect using Photoshop and a stock photo. The whole process is pretty simple bu the end result is quite nice. We will also create a simple animated gif in the end.
Step 1
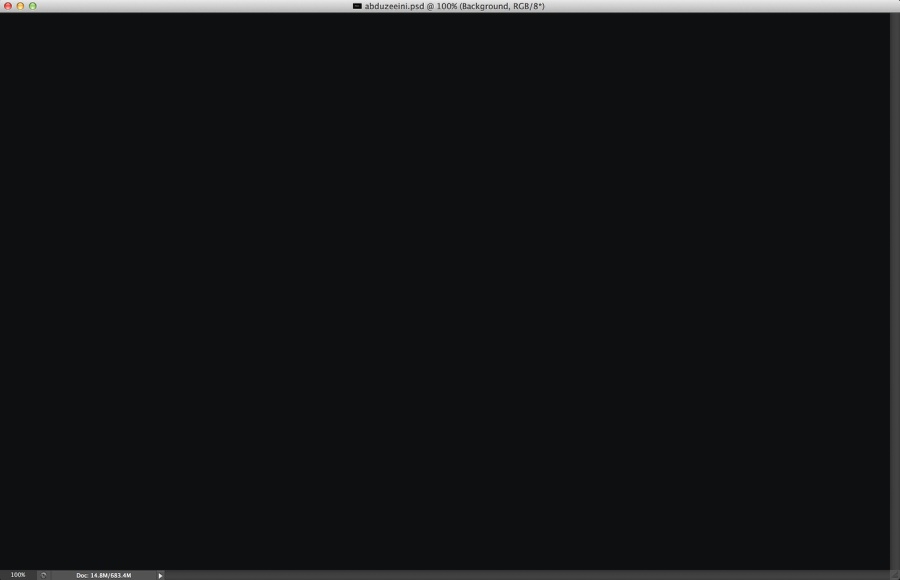
Open Photoshop and create a new document. I am using 2880x1800 because it's the resolution I need for a nice wallpaper. Make sure that your background color is black.
Step 2
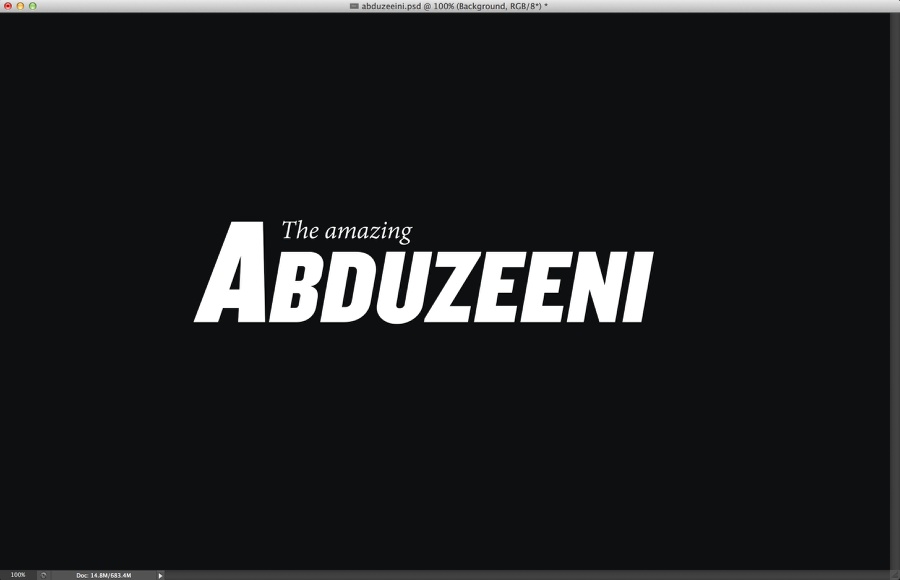
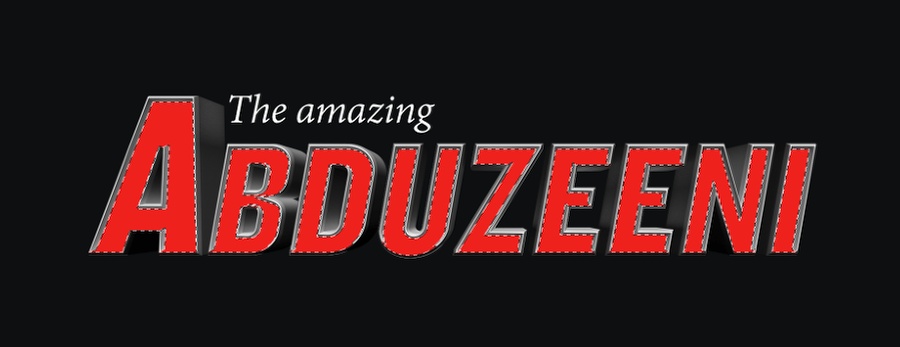
Let's add the text that will be the base of the design. The concept is inspired by the movie The Incredible Burt Wonderstone, it's about two magicians so it has all that Las Vegas style. For the font I used Knockout for the "Abduzeeni" and Adobe Devanagari for the "The amazing". Position the text like the image below.
Step 3
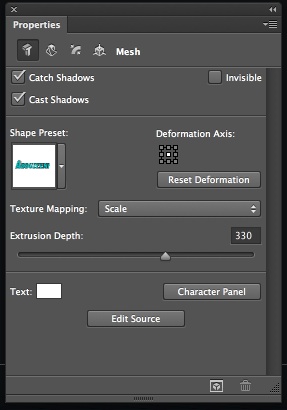
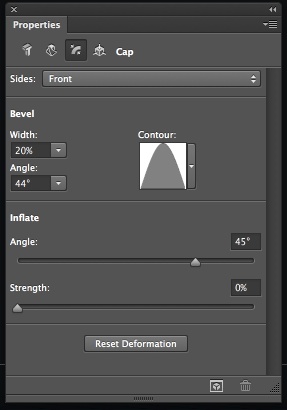
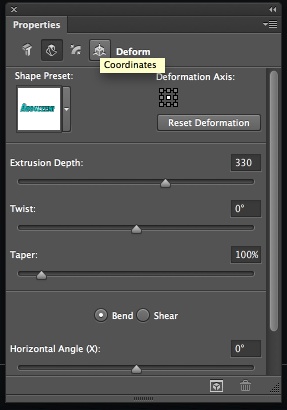
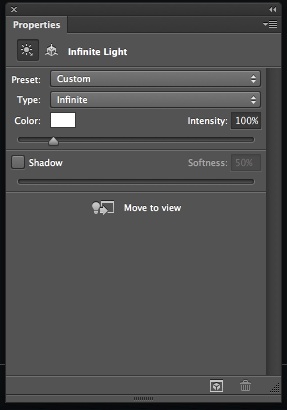
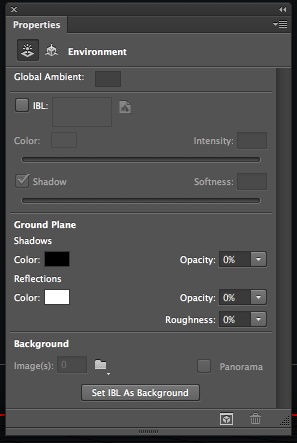
Let's use some 3D in Photoshop. Adobe has been working hard to give to Photoshop users a better 3D tool and I have to say, it's getting better. It's not as slow for basic 3D objects and it is also more intuitive. So To create our 3D text, just select the layer with the text you want to apply the 3D and go to 3D>New 3D Extrusion from Selected Layer. After that you the 3D panel will open and you will see the layers of the 3D. By clicking on the different layers: Scene, Current View, Text Extrusion, Infinite Light 1 and Default Camera, you will be able to change their properties. The images below show some of these properties.
The first 3 images ar properties of the text extrusion, the second is for the light and the third for the environment.
Step 4
Once you have your 3D settings adjusted, go to 3D>Render to render your 3D layer. You will have something like the image below.

Step 5
Select the face of the 3D object and create a new layer from it. Fill this layer with red. Go to Layer>Create Clipping Mask.
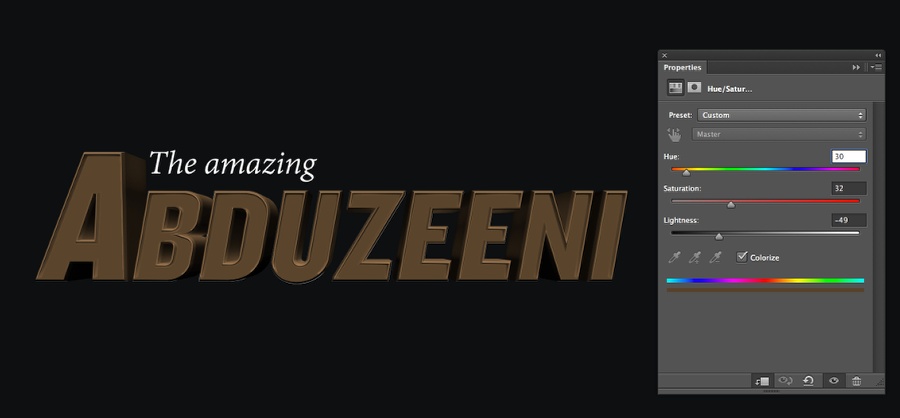
Step 6
Go to Layer>New Adjustment Layer>Hue and Saturation. Use 30 for the Hue, 30 for the Saturation and -50 for the Lightness. Make sure that this layer is also using clipping mask (Go to Layer>Create Clipping Mask) so the effect only applies to the 3D layer.
Step 7
To create the light bulbs, let's use a real image. The one I am using is courtesy of Shutterstock and it's called Neon casino entrance sign by MaxFX. Copy one light bulb that is not completelly on and another that is off. Paste these 2 lights to your composition and start filling the space on the letters. Notice that I am using a shadow to give some depth. You can do that using layer styles. Another tip is change the direction of the shadow for the letters that are on the left or right, that way we make sure it's a little bit more realistic.
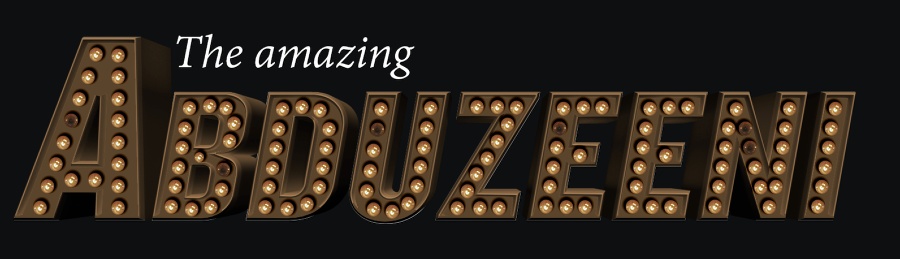
Step 8
Add a layer on top of the others and group it so it will be in a folder. Change the Blend Mode of the folder to Color Dodge. Select the layer inside of this folder and then with the Brush Tool (B), select a very soft and rounded brush with white for the color. Resize the brush so it is a 30% bigger than the light bulb. Paint in the select layer with white on top of the light bulbs you want to turn on.

Step 9
Repeat the same process to the other light bulbs.
Conclusion
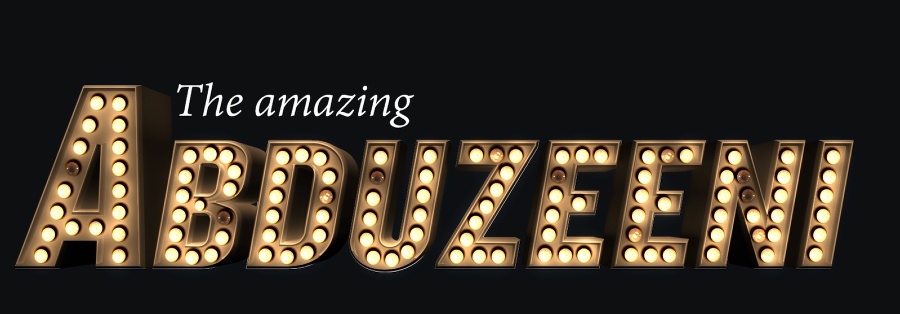
Duplicate all layers and merge the new layers into one. Go to Filter>Blur>Gaussian Blur. Use 10 pixels for the radius. Change the Blend Mode of this layer to Screen at 20%. Duplicate this layer again and change the Blend Mode to Overlay at 50%. Move the folder with the layer that has the white spots (previous step) so this layer is on top of all other layers. After all these steps you are good to go. You can make some adjustments and improve the design for sure, but that's the whole idea of the tutorial, to give you some directions, now it's up to you.

Animation
To create the animation is pretty simple, just create a few different versions with some lights on and off. After that using a app that can create animated gifs, just import all this images. I used Fireworks and for each state I used one of the versions.