by abduzeedo
I love changing the wallpaper on my devices. Phone, tablet and laptop. I also like abstract and in a way simple wallpapers, usually with some mix of gradient and color effects. For this tutorial I will show you how to create a super simple composition using gradients, brushes and blending modes. It’s a lot of fun and the best thing is that you can do that in Photoshop, Pixelmator, Figma, or whatever tool you use that supports Linear Burn and Color Dodge blending modes. The instructions here are in Photoshop but some of the variations were created with the same process in Pixelmator.
Step 1
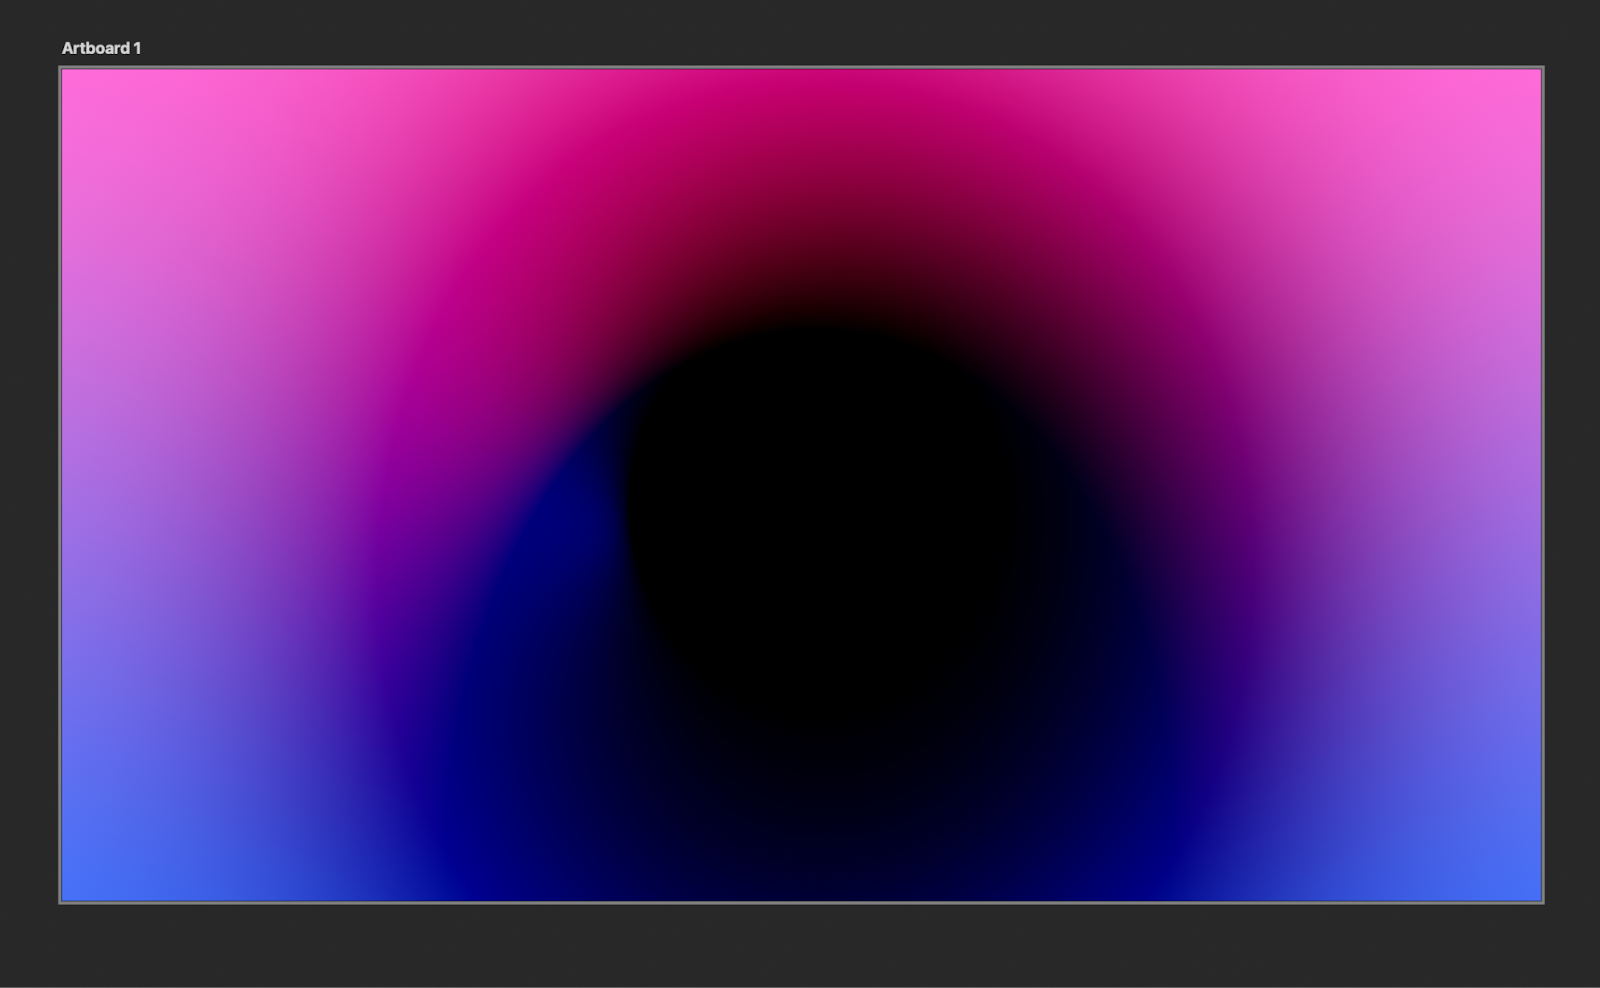
Create a new document then using the gradient tool fill the layer with a linear gradient from light pink to light blue like the image below.

Step 2
Create a new layer and fill it with white.
Step 3
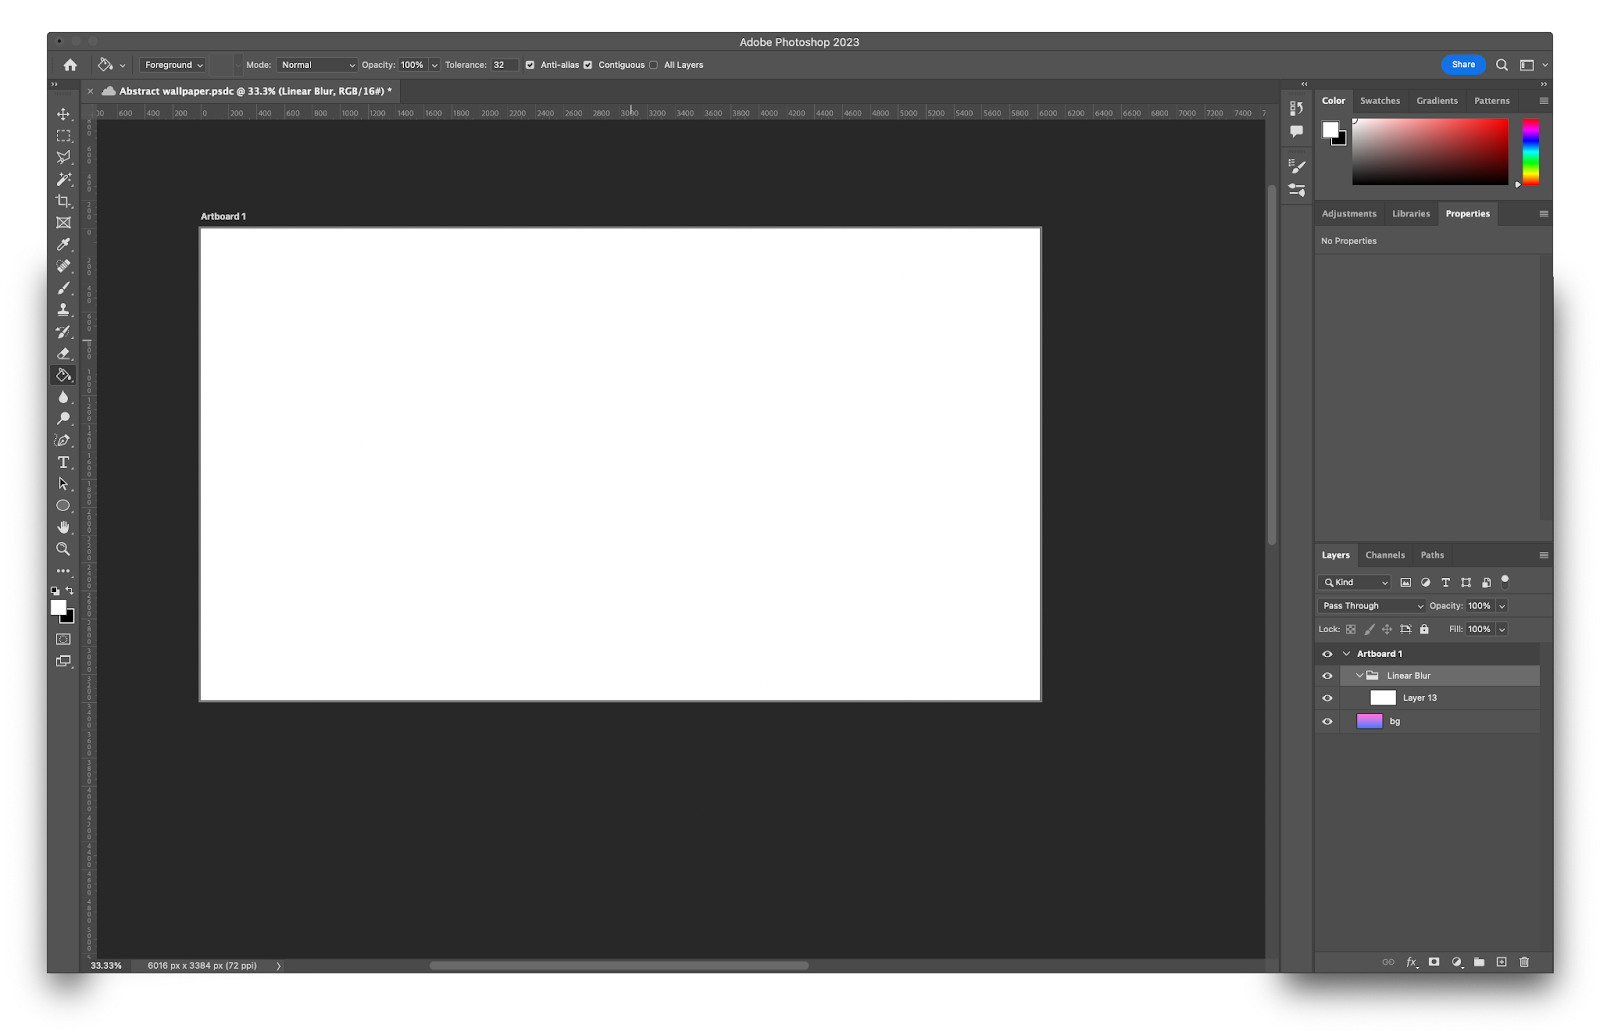
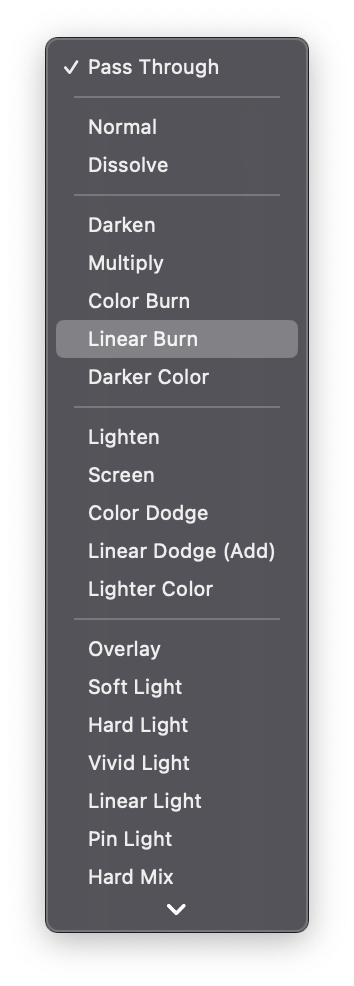
Create a new folder and move the white layer inside of it. Change the name of the new folder to “linear burn” — after that change the Blending mode to Linear Burn. You will notice that the white will become transparent. That means that it worked :)
Step 4
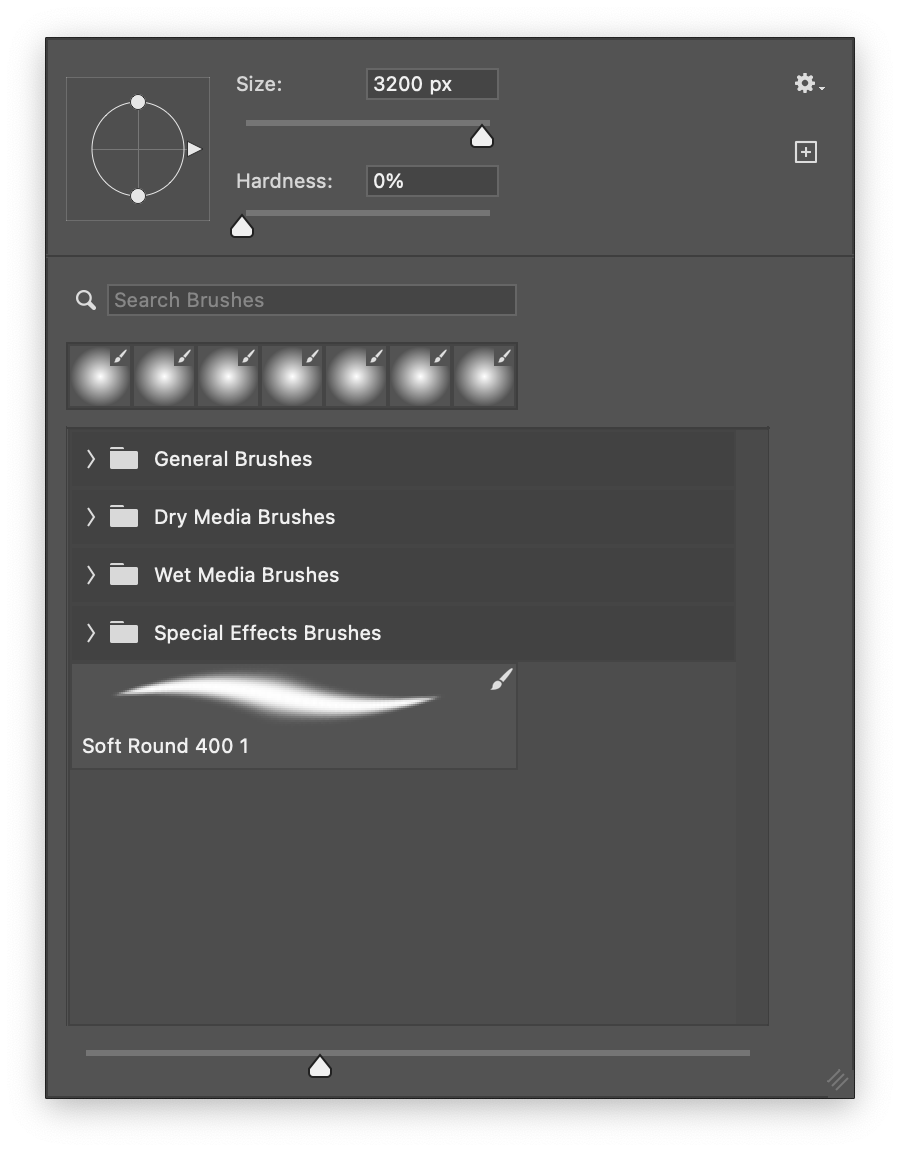
Create a new layer inside of the “linear burn” folder. Then with the Brush Tool (B) and a very soft brush with black for the color paint a one circle in the center of the screen. You will notice right away that the Linear Burn is working because of the way the colors blend together creating an interesting mix.
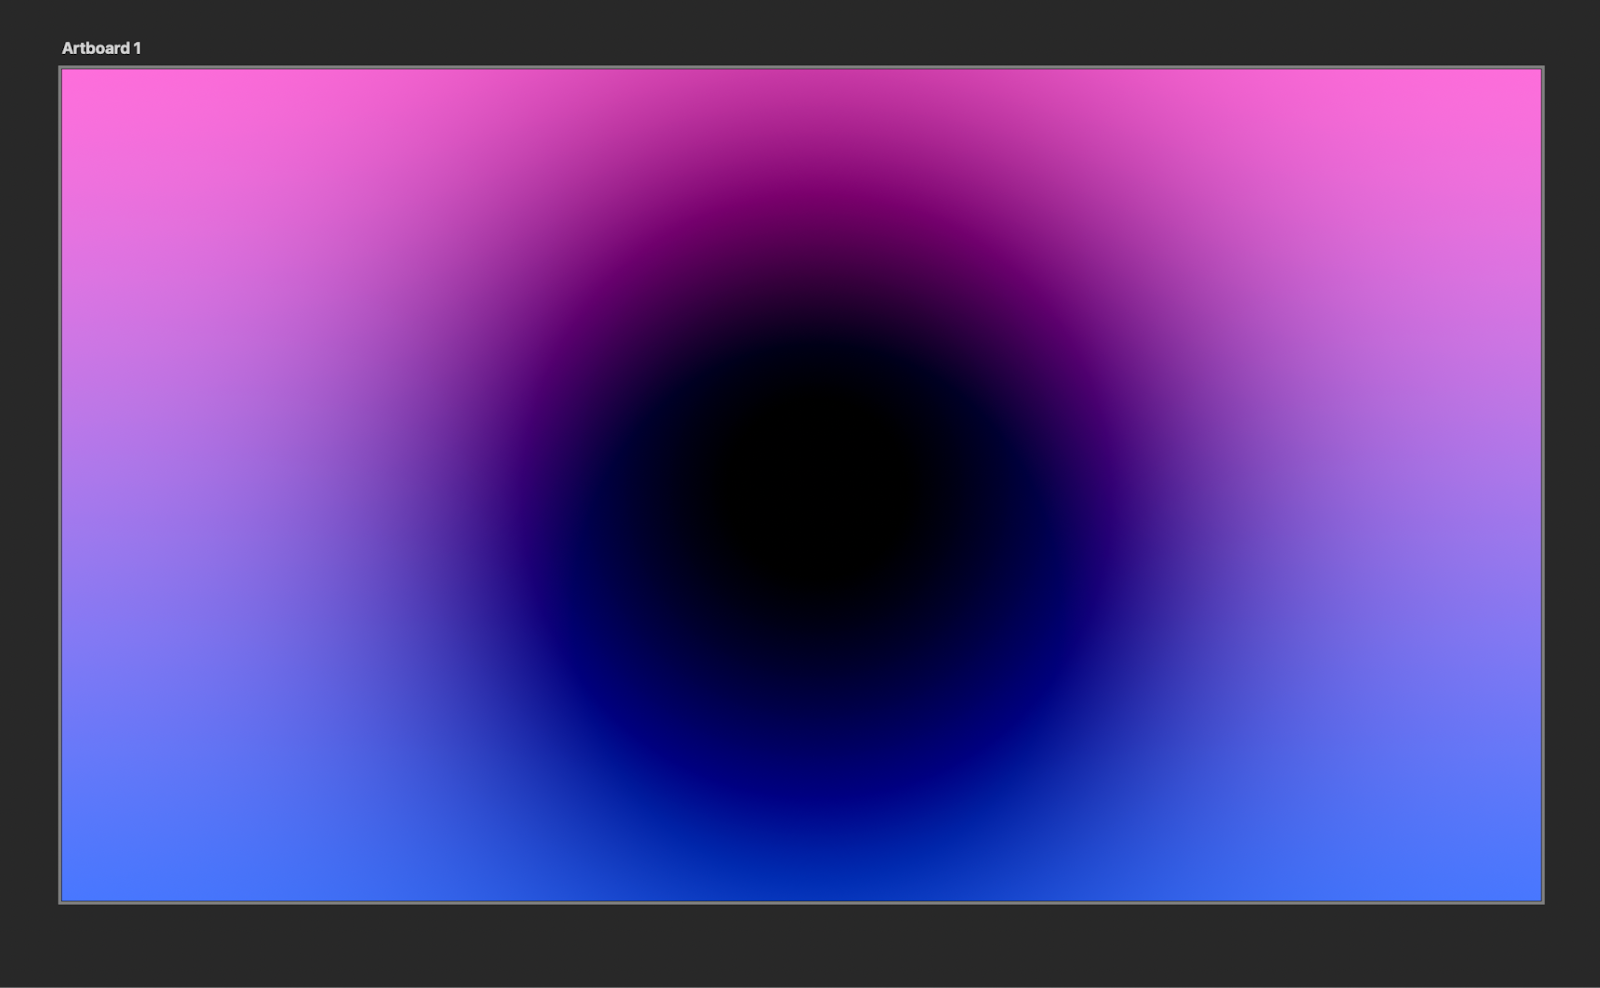
Step 5
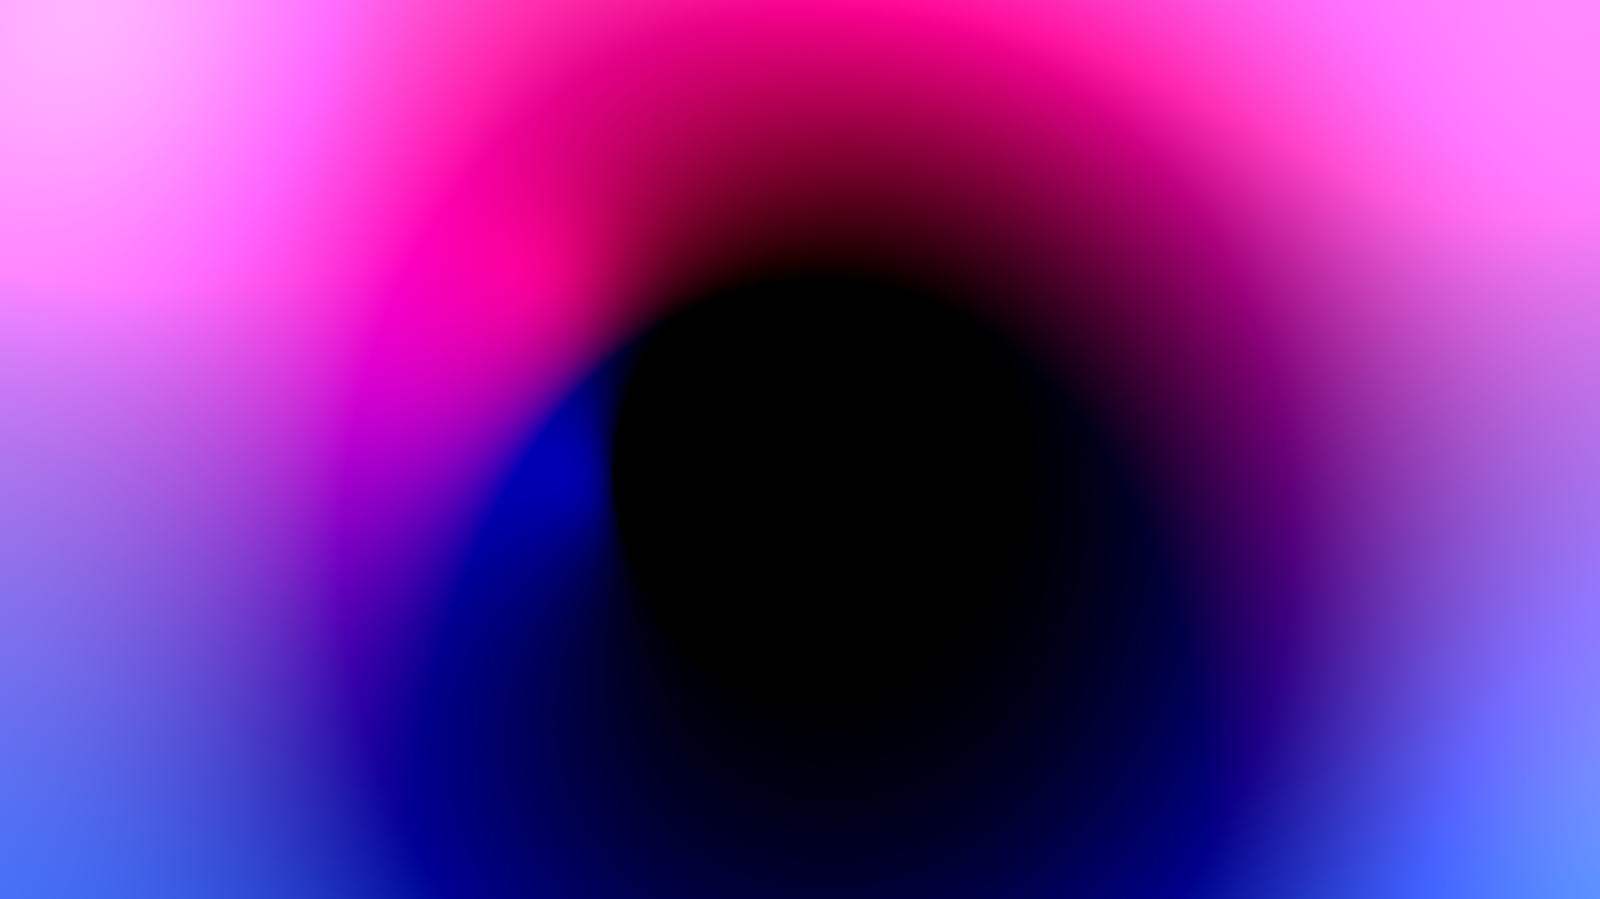
Add another layer inside of the folder. Now increase the brush size and reduce the transparency of the brush. Paint another circle a bit below the previous one.
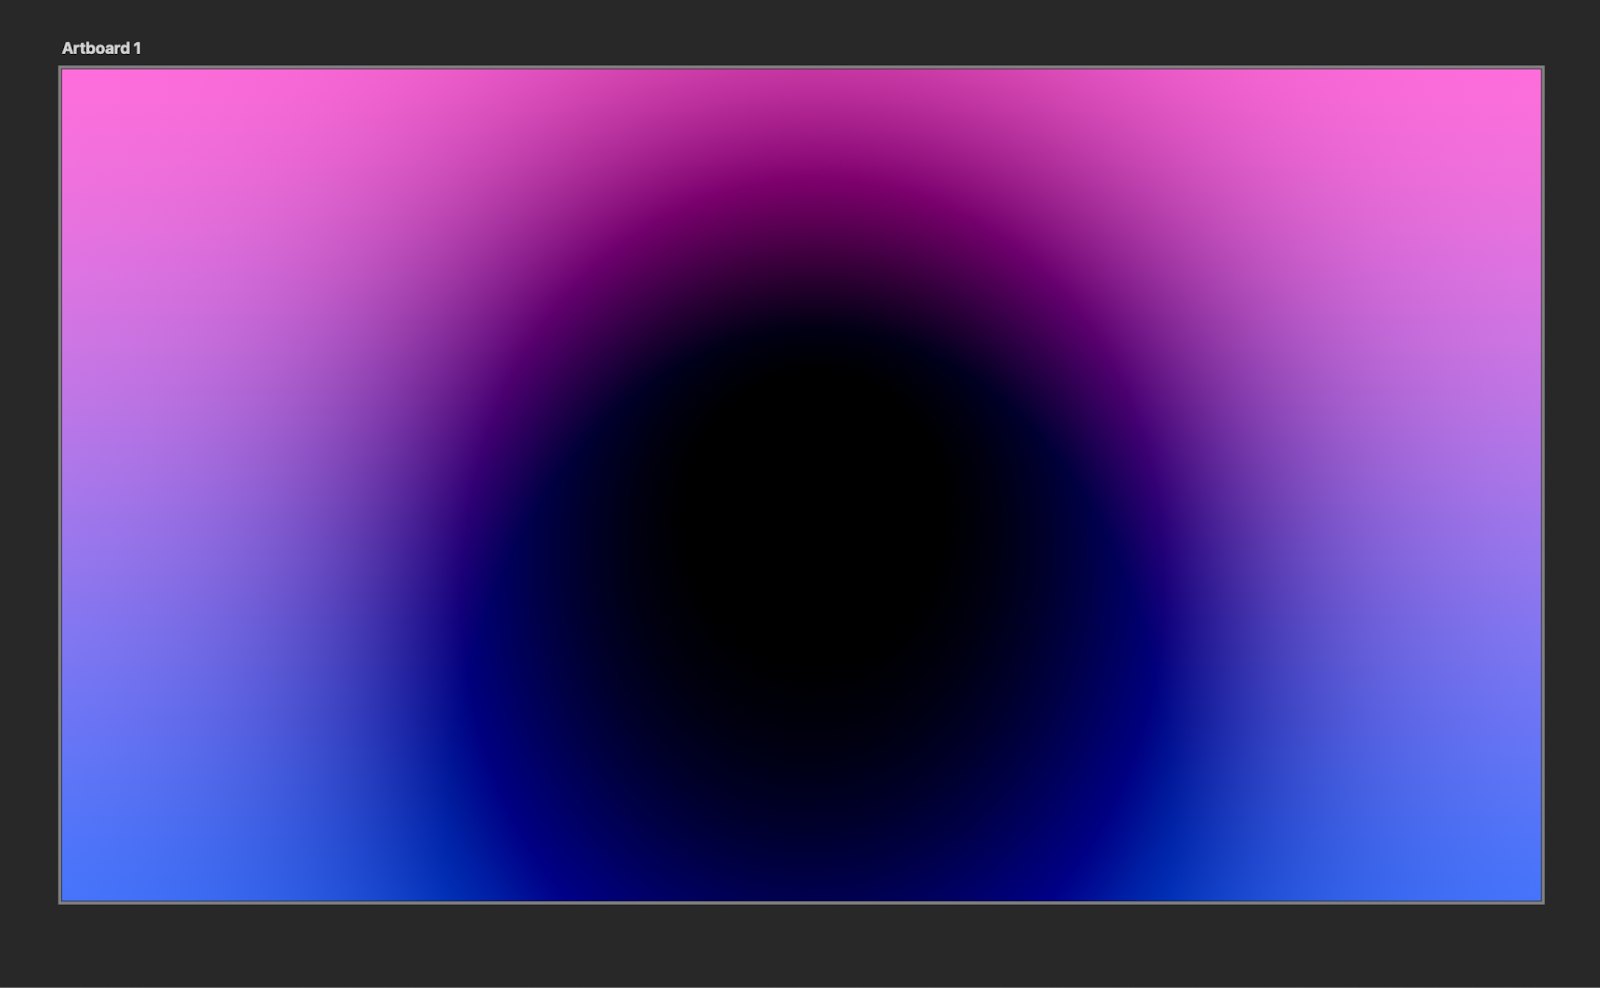
Step 6
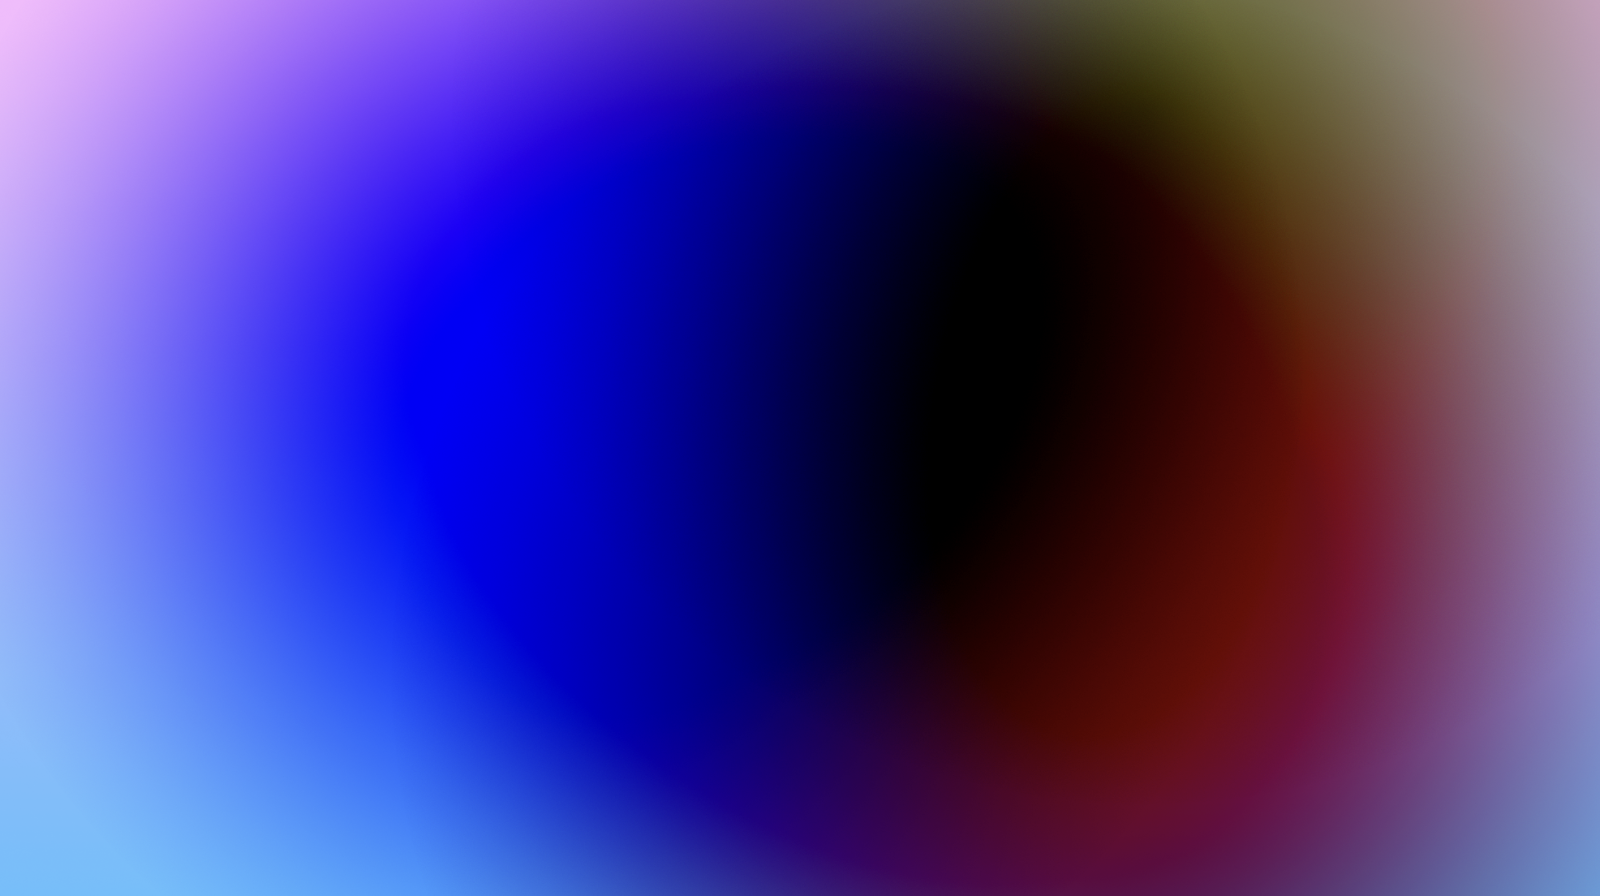
Repeat the process. This time however, use red for the color and move this layer to be under the other two black brush circles. It will make the pinks darker.
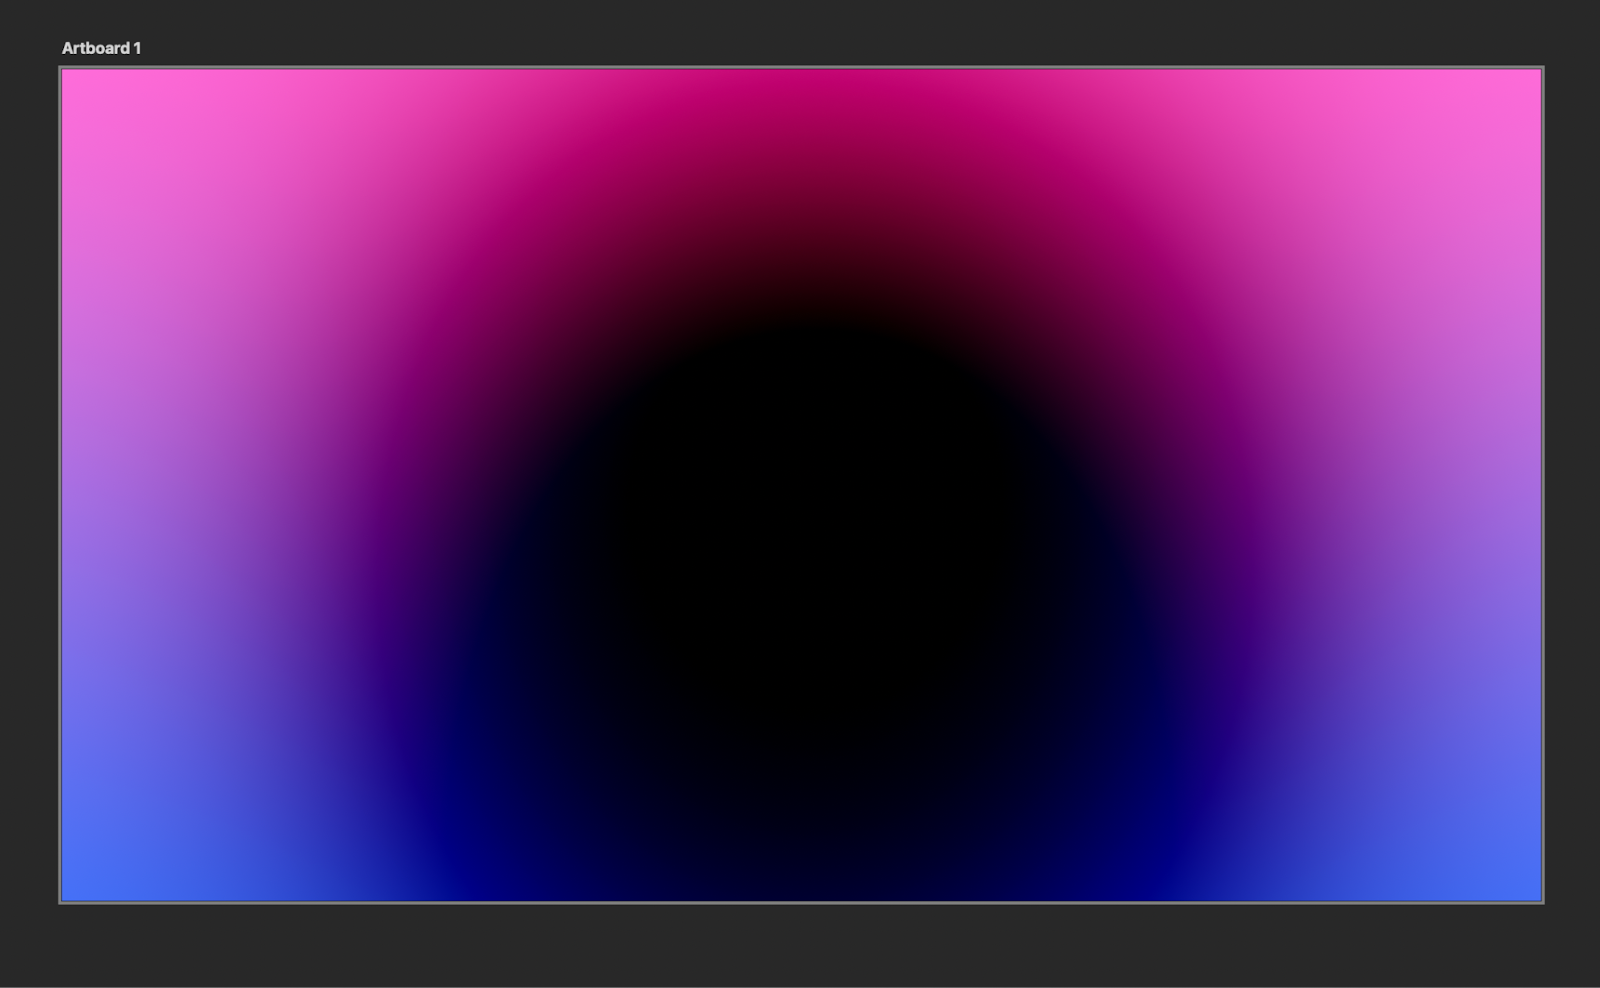
Step 6
Now let’s add a bit of contrast. Add another layer outside of the “linear burn” folder. At the root level. Fill this layer with black. Soon after create a new folder and move this black filled layer inside of it. Change the name of the folder to “color dodge” and change the Blending mode to Color Dodge — this time the black will disappear.
Step 7
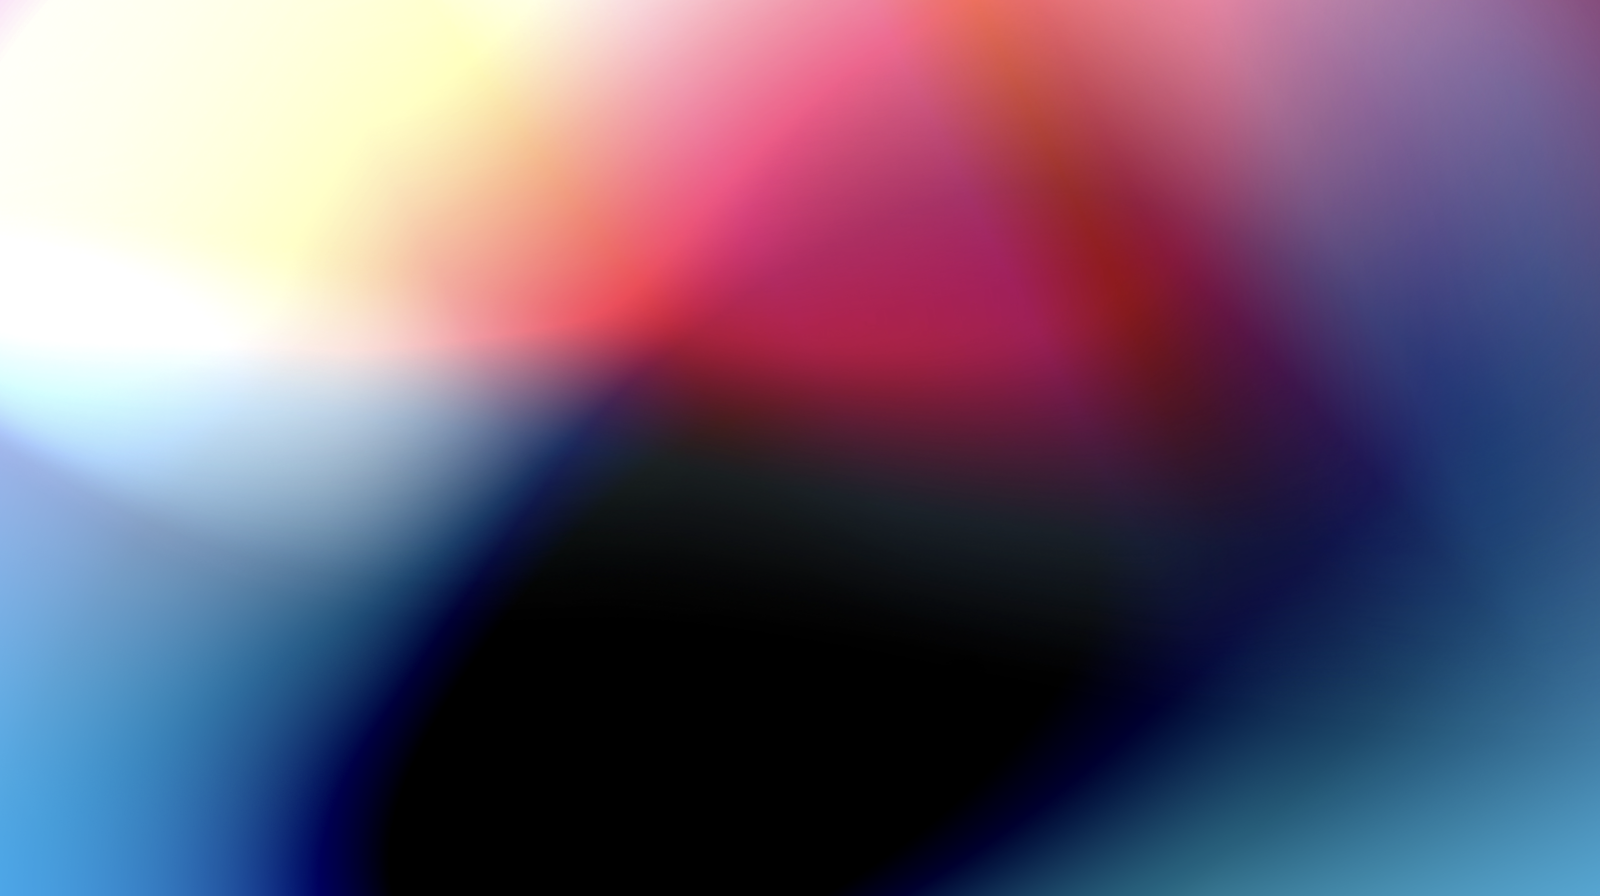
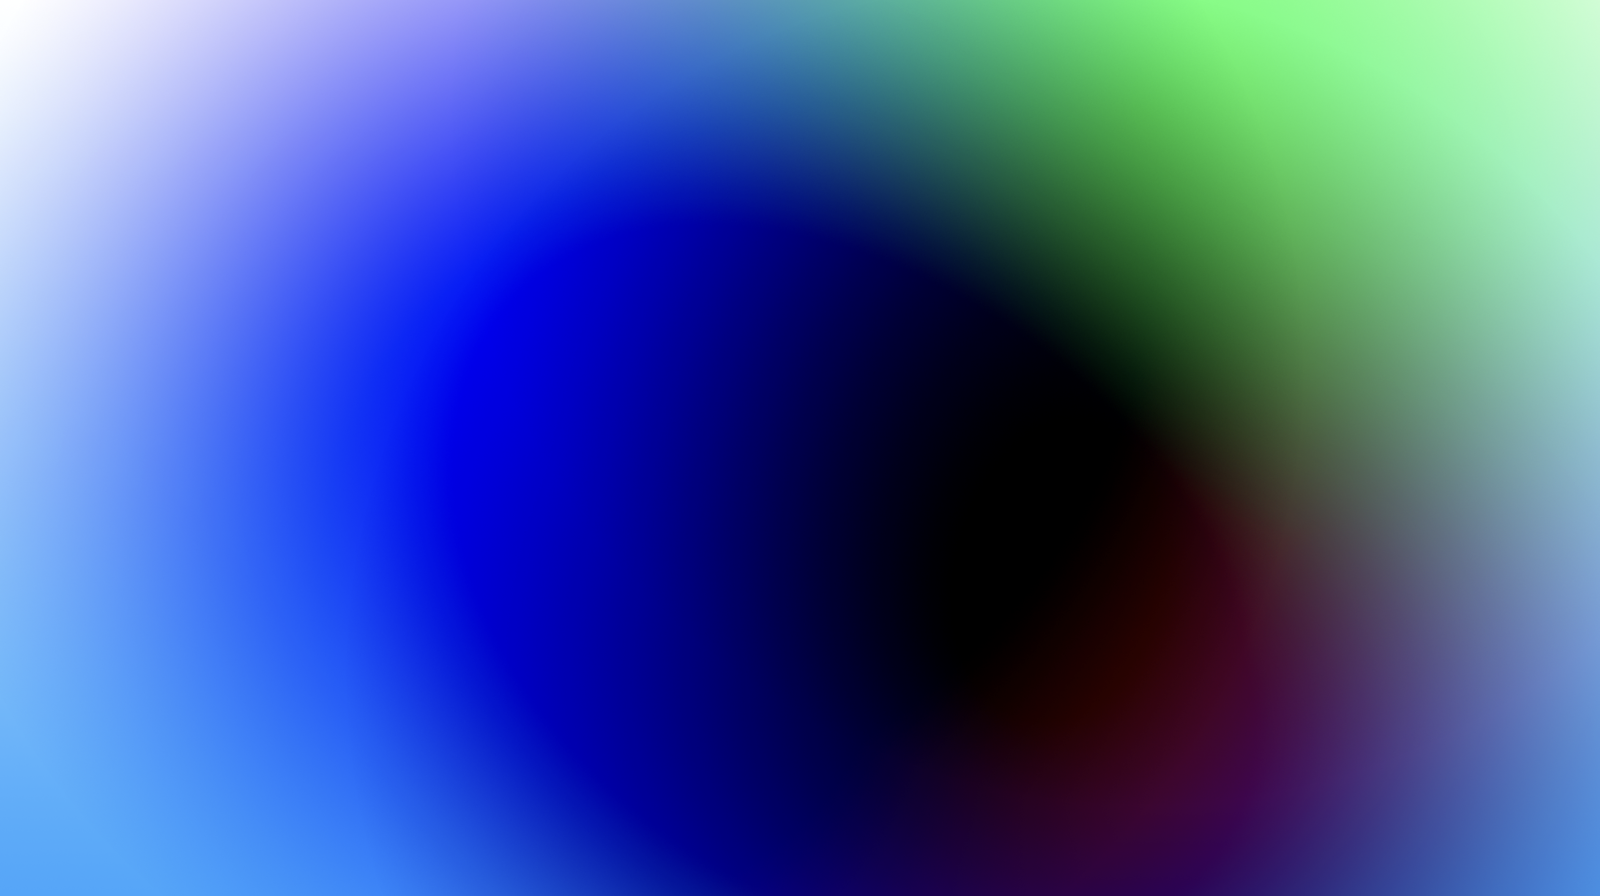
With the brush tool, select white for the color and experiment with some brush strokes to see the effect. In the image below I added a simple brush circle on the left side, almost in the center. Notice that it created a stronger contrast.
Conclusion
Add another layer inside of the “color dodge” and still with white but different brush opacities, paint some parts of the screen to create highlights.
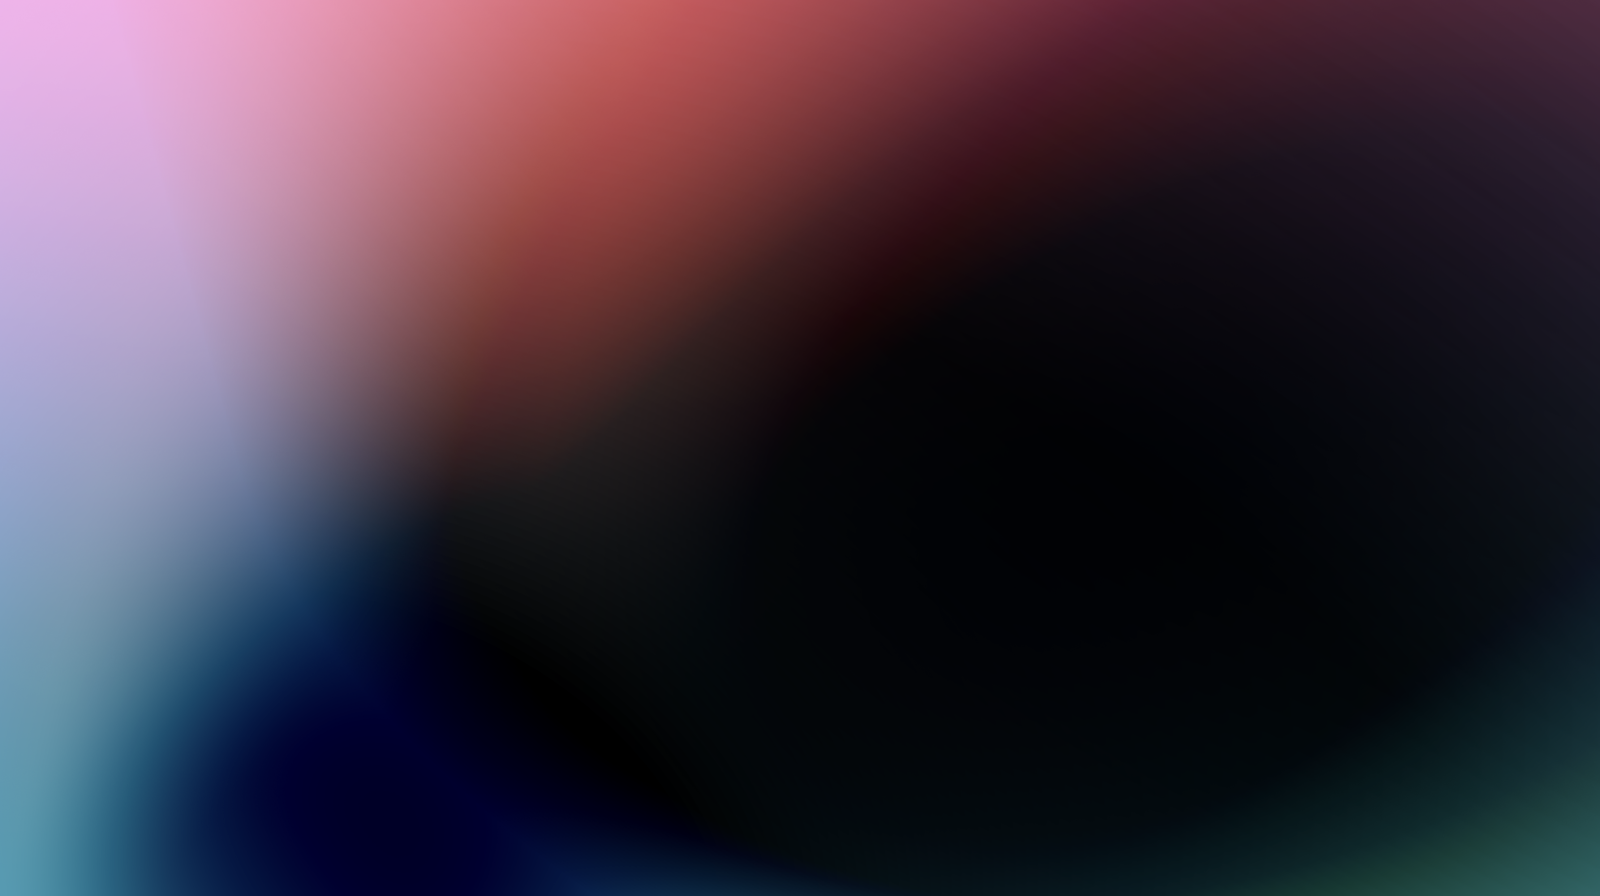
To summarize, the blend modes help the brushes blend together with the BG in a more realistic way. Linear Burn makes things darker, Color Dodge makes more highlights and light effects. You can play with different colors and extra distortions but the idea is the same. It’s up to you now, have fun.
Note: You can make animations like Lava Lamp style by moving the brushes around. It’s quite amazing.
Variations


![Neon light effect in Photoshop [revisited]](/sites/default/files/styles/square_1x1/public/originals/hero_neon.png?itok=lP4mbIak "Neon light effect in Photoshop [revisited]")


