by abduzeedo
In this tutorial, I will show you how to create a really nice effect from mixing a mosaic pattern with a photo. We will play around with masks and other basic filters, but the outcome will be very cool.
Step 1
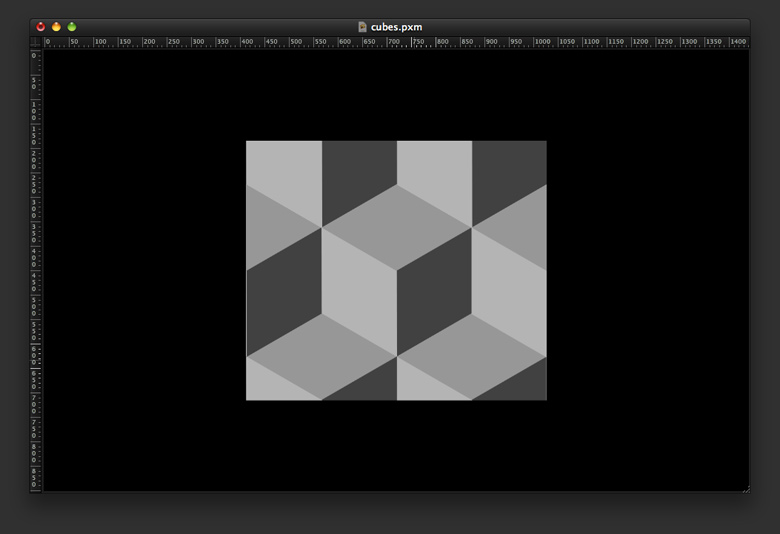
Open Pixelmator, and create a new document. I am using a size of 1440×900 pixels. Fill the background layer with black, and import the cubes pattern texture by clicking here. Insert it into your design.
Step 2
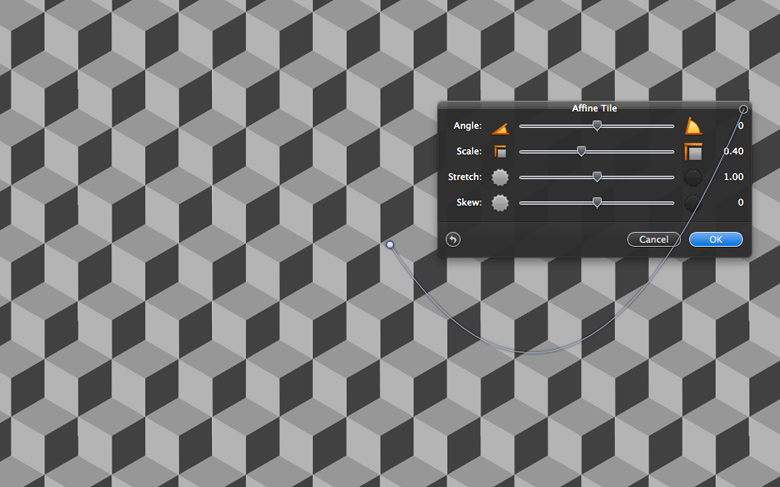
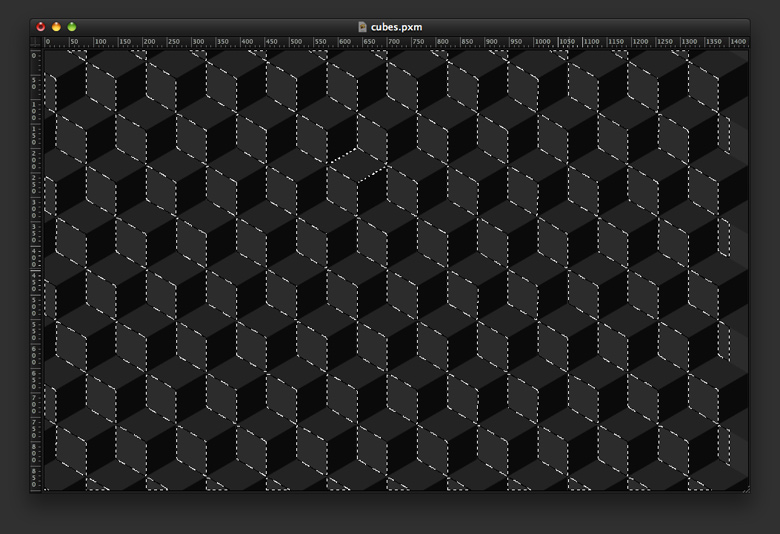
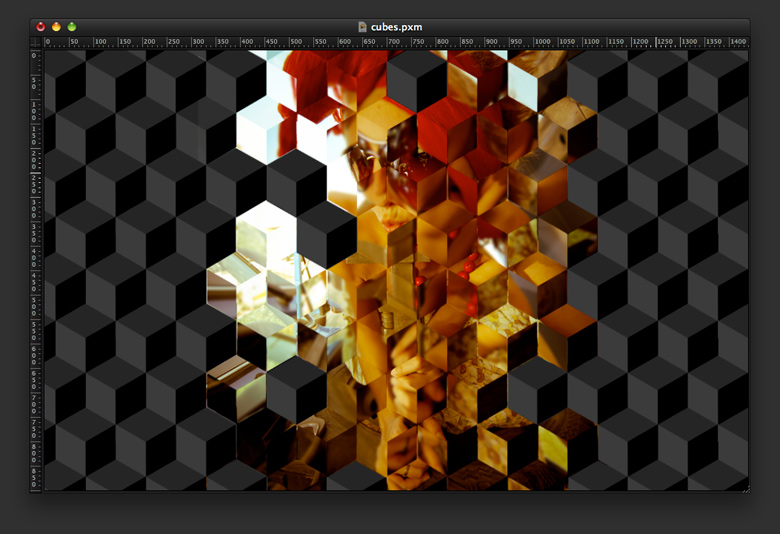
With the pattern selected, go to Filter>Tile>Affine Tile. Use 0 for the Angle, 0.40 for the Scale, 1 for the Stretch, and 0 for the Skew.
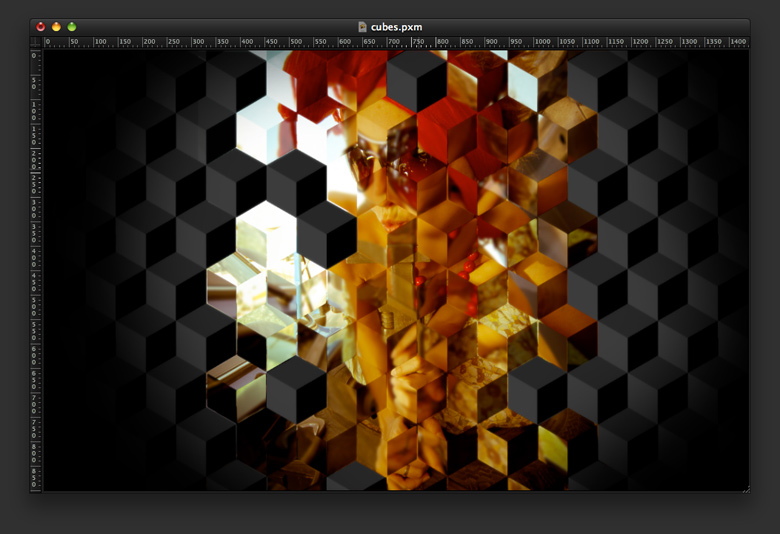
Step 3
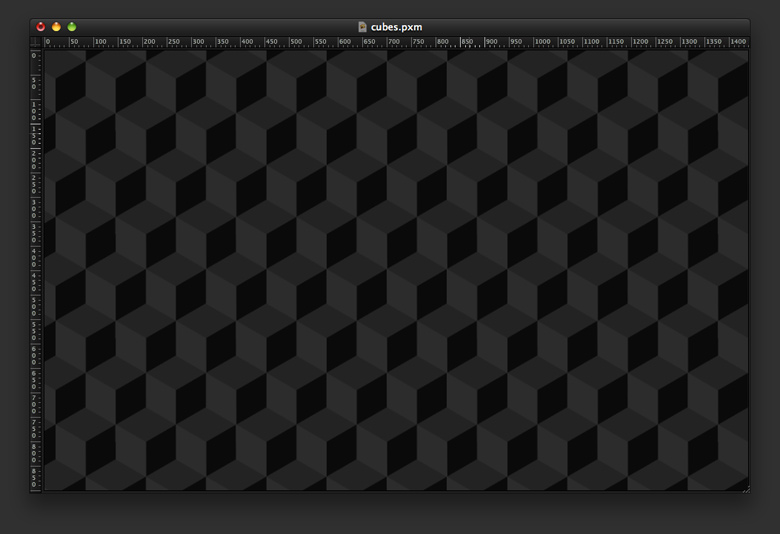
Reduce the Opacity of the layer to 20%. Make sure that the background is set to black.
Step 4
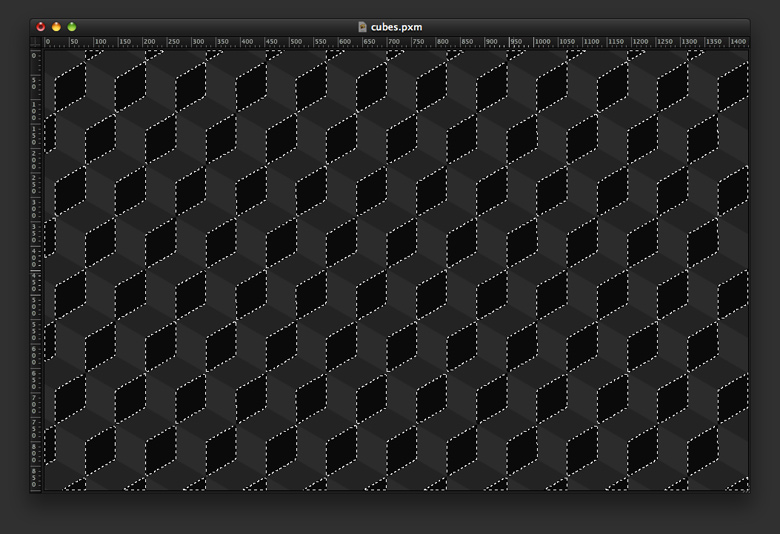
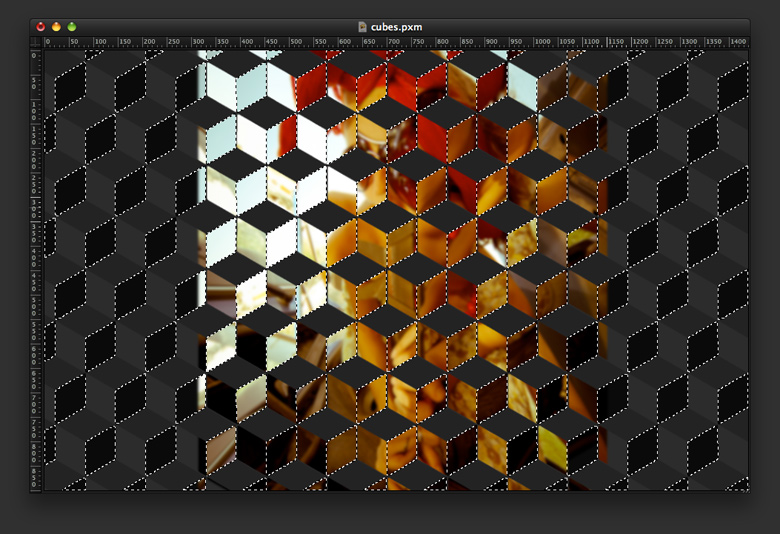
Using the Magic Wand Tool (W), select one of the sides of the cubes and create a new layer with it by inverting the selection and deleting the rest of the layer.
Step 5
Repeat the same procedure for the other side of the cube, and create another layer. These two sides will be used to mask the photos.
Step 6
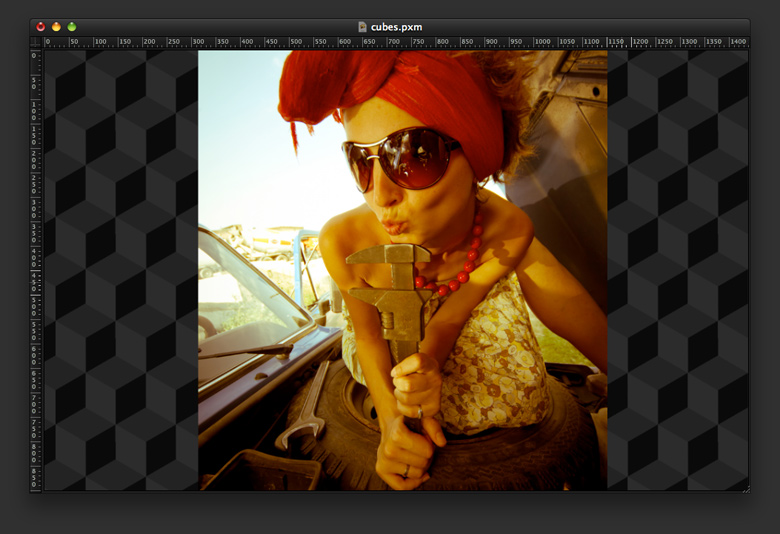
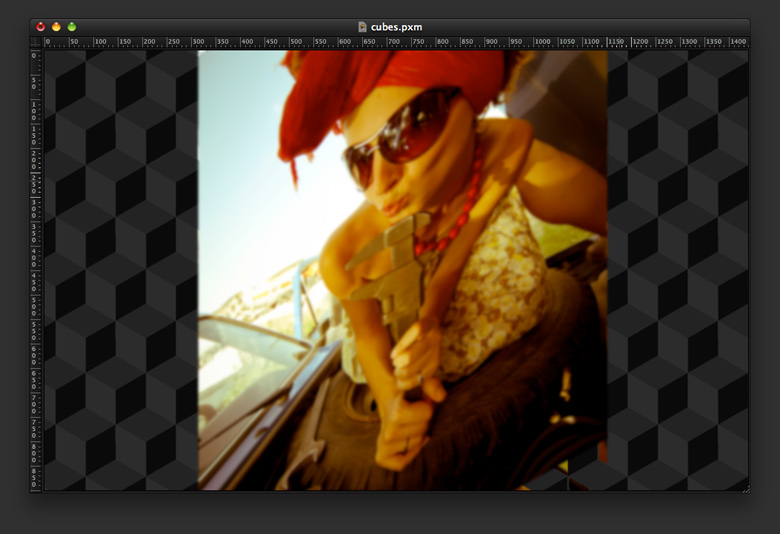
Now, let’s import a photo. The one I am using is courtesy of Shutterstock and can be downloaded by clicking here. Insert it in the center of the design, and duplicate it twice, so that you have three layers that include the girl.
Step 7
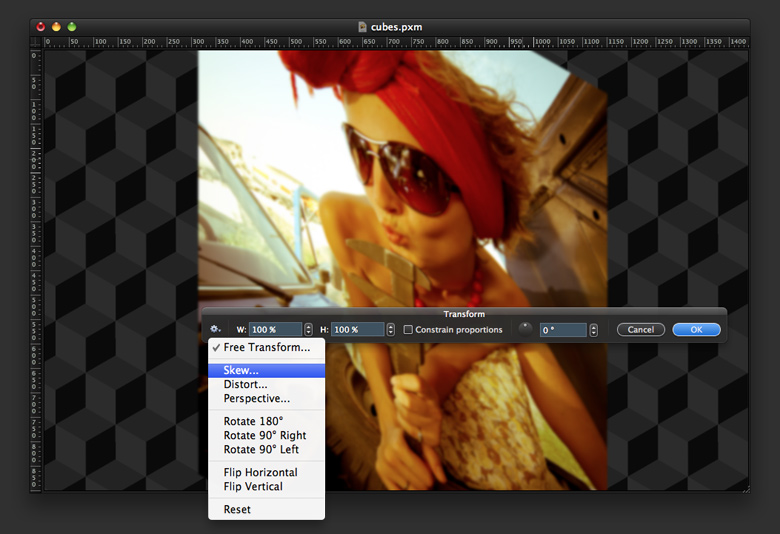
In one of the layers, go to Edit>Transform, then click on the little icon on the left, the little gear, and select Skew. Distort the photo following the cubes’ angle. Next, go to Filter>Blur>Guassian Blur. Use 15 for the radius.
Step 8
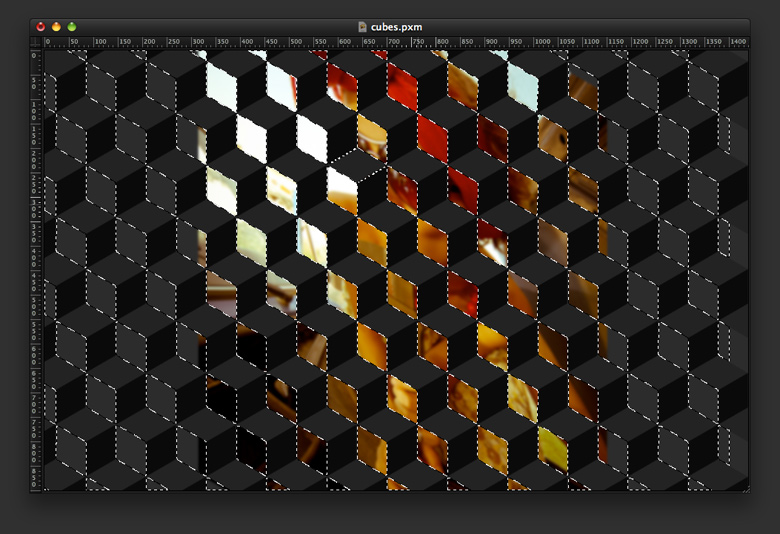
Holding down the Command key, click on the thumb of the layer of the sides of the cube layer created in step 5. Then select the distorted photo from the previous step, and go to Layer>Add Layer Mask.
Step 9
Repeat the same procedure from step 7 with the other layer of the girl.
Step 10
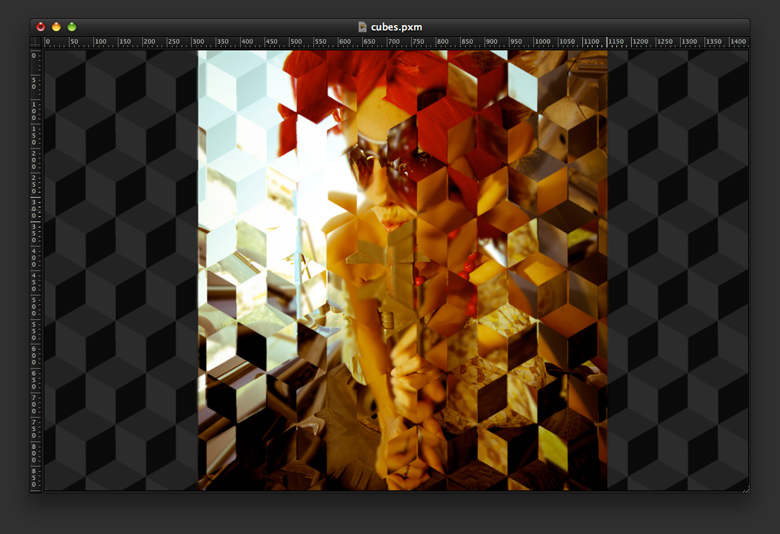
Again, mask the layer but use the other side of the cubes layer. That way you will have a sort of deconstructed photo that follows the cubes pattern.
Step 11
Now, make the non-distorted layer of the girl visible, and rearrange the order, so that it is behind the two other distorted layers. After that, group the three layers and rename the group “Girl.”
Step 12
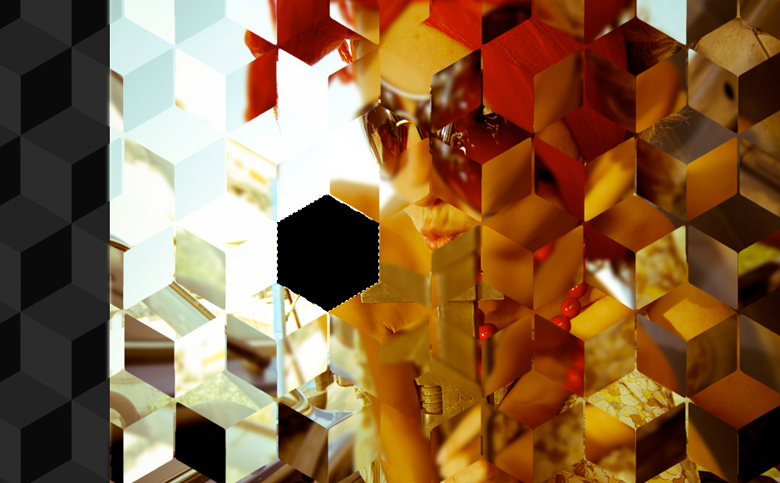
Using the Lasso Tool (L), create a marquee selection of one of the cubes. Add a new layer, and fill the marquee selection with black. You will now have a hexagon. Go to View>Show Brushes. Drag the layer with the hexagon to the brush palette, in order to create a new brush.
Step 13
Now select the “Girl” group, and go to Layer>Add Layer Mask. Then, using the Brush Tool (B), select the hexagon brush created in the previous step and use black to begin painting over the mask area to be hidden. Make some cubes visible by hiding sections of the “Girl” group.

Step 14
Duplicate the hexagonal pattern layer, and rearrange it, so that it is in front of the other layers. Next, change the Blending to Soft Light.
Step 15
Add a new layer on top of the others, and fill it with black. Change the Blending to Multiply, and select the Brush Tool (B). Using the color white and a big and very soft brush, begin painting in the center of the document in order to create a vignette effect.
Order of the Layers
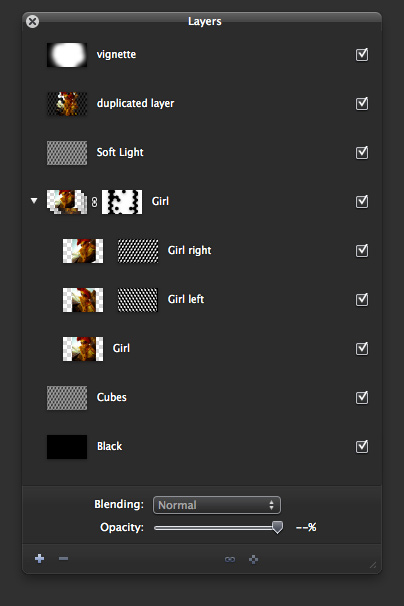
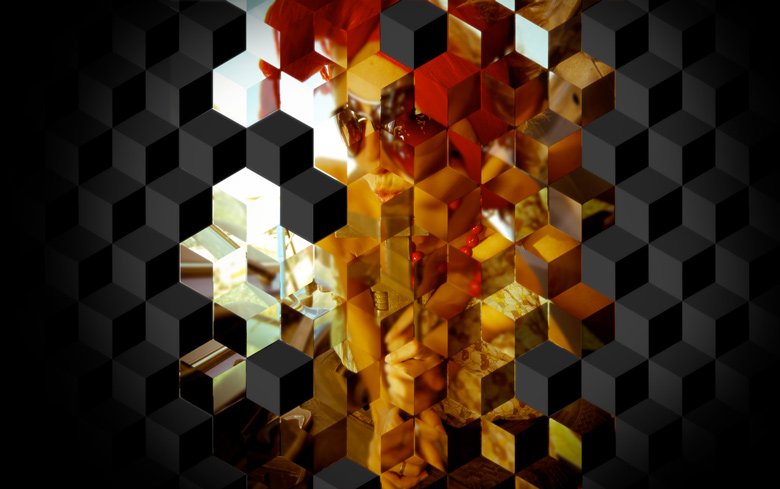
Conclusion
This method is an extremely simple technique with a really nice outcome. It is all about playing with a pattern and mask. It is now up to you to come up with different ideas and ways of using Pixelmator.


