by abduzeedo
Brushes are very useful in Photoshop. We may create all sorts of effects, from clouds to grunge brushes and many others. In lllustrator it is no different, actually it's easier to create and use brushes than in Photoshop because you can preview how they will look and edit them in real time, what makes a big difference. Creating brushes is really simple: just drag a shape to the brush panels and that's it! You got yourself a brand new brush.
Step 1
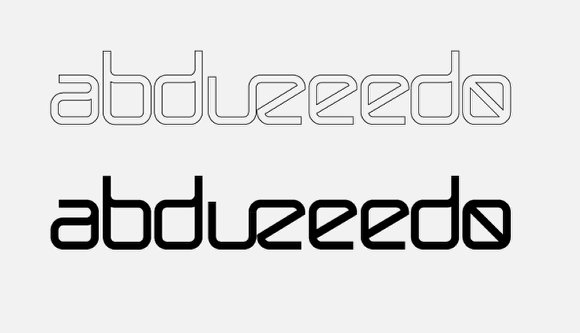
Open Illustrator and create a new document. Type the text you want or use your logo. I've used the Abduzeedo logo for this one.
Step 2
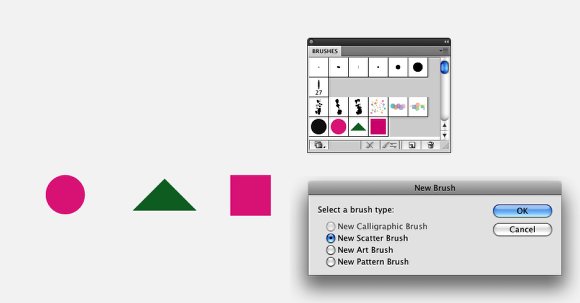
Create some basic shapes that will be used to create the brushes. I've used an ellipse, a triangle and a square. Then go to Window>Brushes to open the Brushes Panel. With the Brushes Panel opened now just drag the shapes into it to create a new Brush. A dialog box will appear, then choose New Scatter Brush and press OK.
Step 3
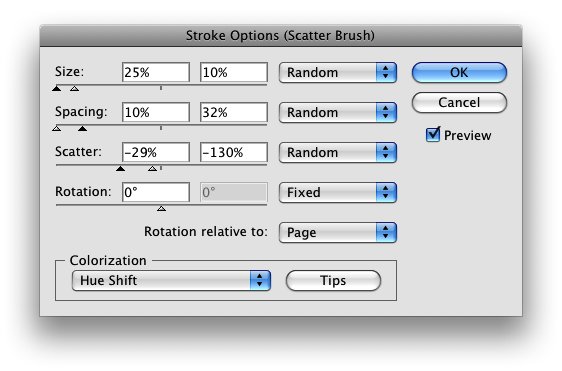
Let's edit the first Scatter Brush. You will have 4 main settings: Size, Spacing, Scatter, and Rotation. Change the size, spacing and scatter to Random and use the values below. Also for the Colorization use Hue Shift.
Step 4
Apply the brush to the logo. I used a light blue for the stroke.

Step 5
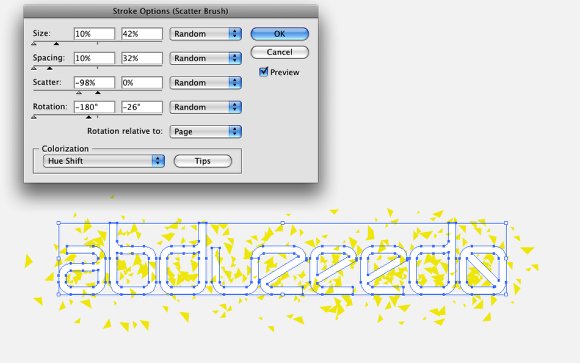
Repeat the same thing using the triangle brush, you may open the Edit Dialog Box by double clicking on the brush. Use yellow for the color.
Step 6
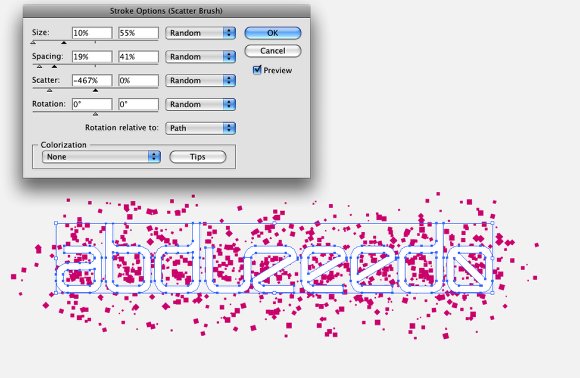
Now let's edit the square brush, repeat the same technique used for the other brushes and use pink for the color.
Step 7
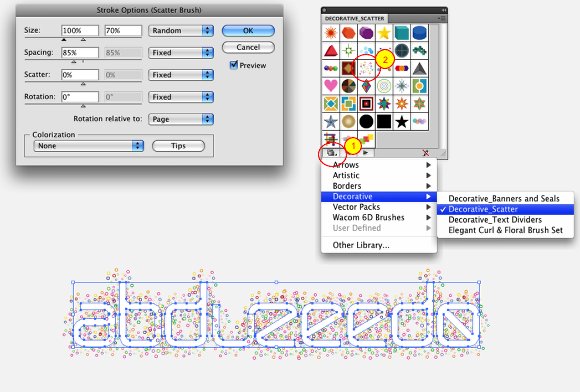
Click on the Brush Library Menu icon (1) and select Decorative then Decorative Scatter to open that library. Select the Dot Rings brush (2). Then edit the brush and once again play with the Size and Spacing, after that just apply it to another copy of the logo.
Step 8
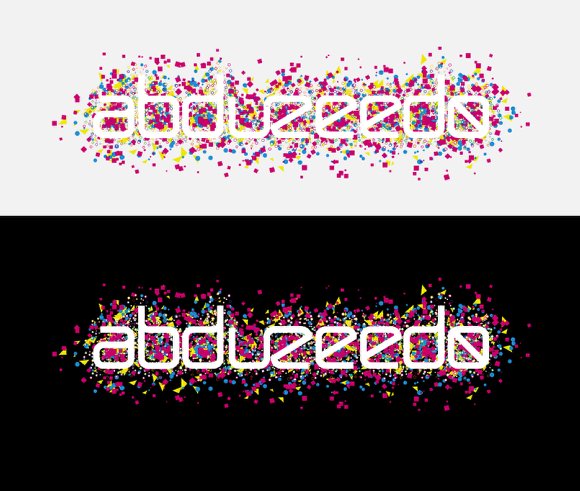
Now just align the 4 different versions of the logo and you will have a very nice effect. You may try differentthe stroke orders, like pink in the front or yellow for example.
Step 9
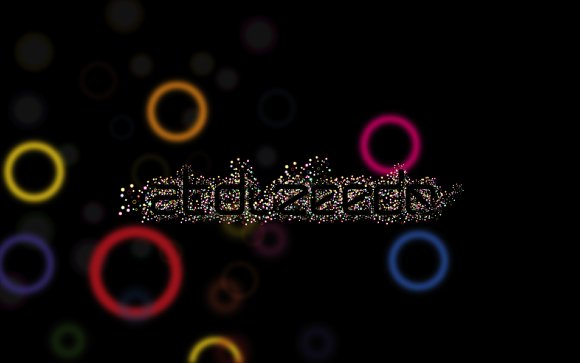
Just another variation using only the dot rings brush and then apply a Gaussian Blur (Effect>Blur>Gaussian Blur) to some elements to create a depth of field effect.
Conclusion
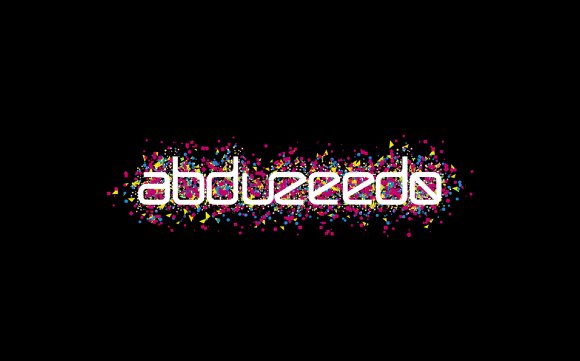
The brush engine in Illustrator is as powerful as in Photoshop or maybe even more powerful because we can edit the stroke settings anytime. It's a nice technique and if you want, you can expand the appearance creating shapes from the stroke and apply the 3D extrude filter to create a very cool effect.
Click here to download the AI file
Click here to download the Illustrator file used for this tutorial

