by abduzeedo
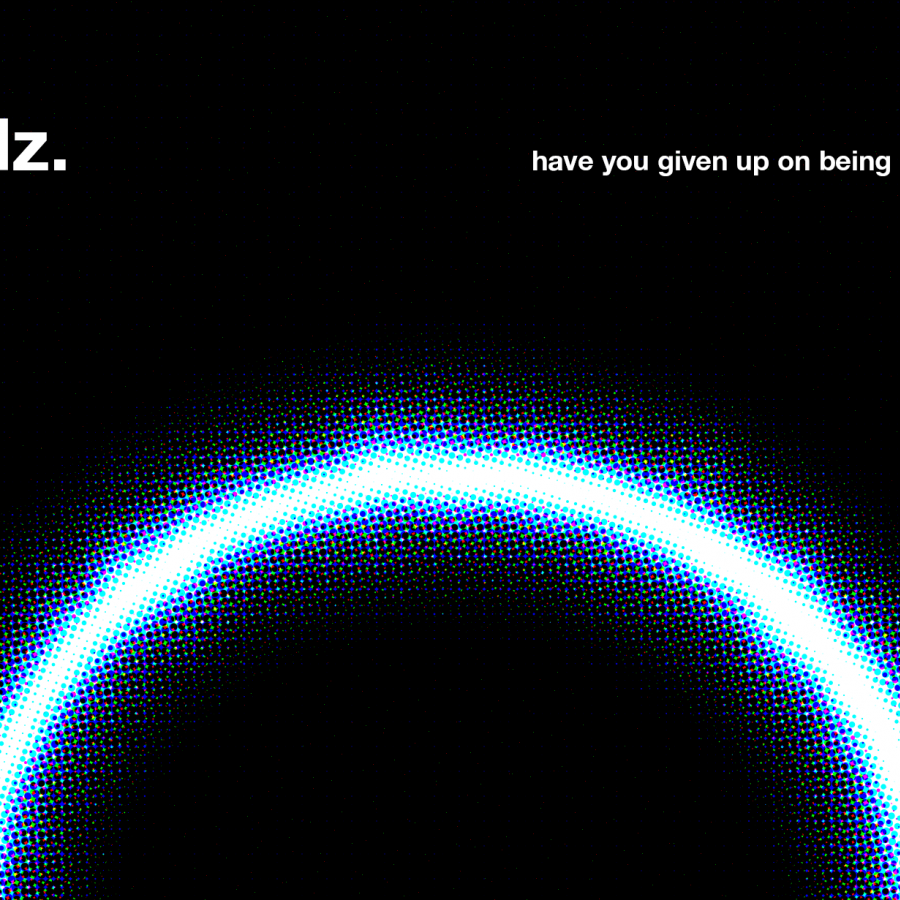
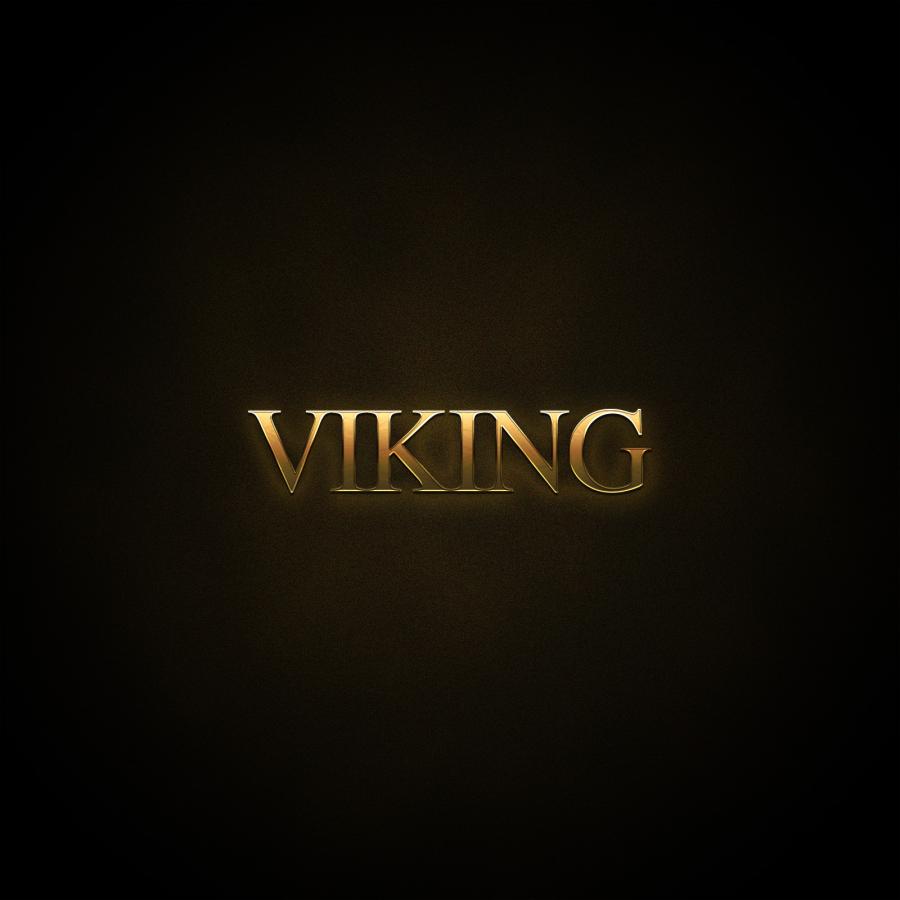
I have posted about how to create the neon effect in Photoshop a couple of times, however I still get emails from readers asking me how I did the light effect I use on the Abduzeedo logo. So I decided to simplify the process and show you how to create the this effect in very simple steps using basically Layer Styles and a few brushes.
Step 1
Open Photoshop and create a new document. I'm using 1920x1200 pixels. Fill the background with black.
Step 2
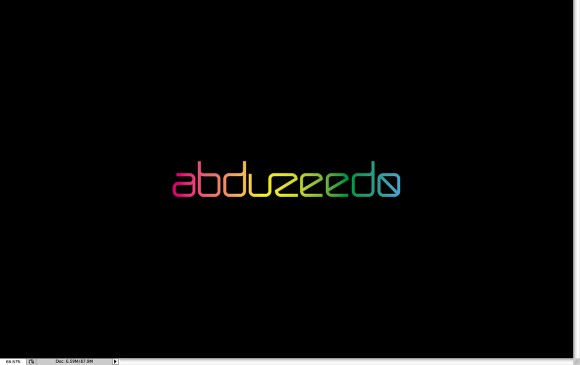
Import your logo and duplicate it. We will use 2 layers to achieve the effect, one will be the glow and the other the neon light.
Step 3
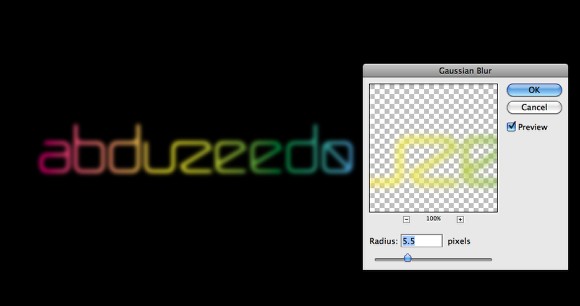
Select one logo and go to Filter>Blur>Gaussian Blur. Use 5.5 pixels for the Radius.
Step 4
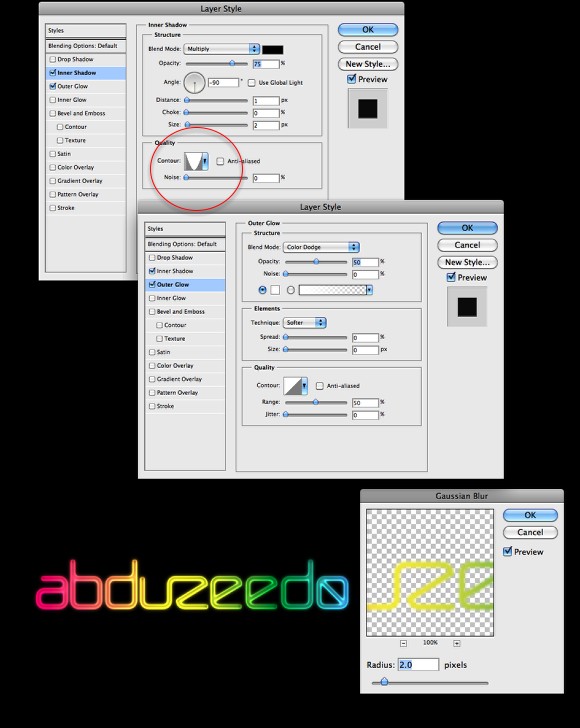
With the other logo layer, go to Layer>Group Layers. Now you will have the layer inside a folder. Change that folder's Blend Mode to Color Dodge. Inside the folder select the logo layer and go to Layer>Layer Style>Inner Shadow. Use black for the color and Multiply for the Blend Mode. Change the Opacity to 75%, the Angle to -90º, Diastase to 1 pixel and Size to 2 pixels. Now a very important part, change the Contour to the Cone-Inverted preset.
After that select Outer Glow. Then use Color Dodge for the Blend Mode, 50% for the Opacity, 0% for the Noise, white for the color.
The last thing on this stepe is to add some blur. Go to Filter>Blur>Gaussian Blur. use 2.0 pixels for the Radius.
Step 5
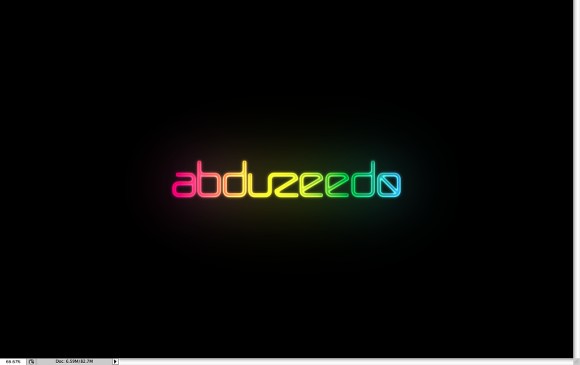
Select all layers used to create the logo and duplicate them (Layer>Duplicate). Then merge the duplicated layers (Layer>Merge Layers). Now just go to Filter>Blur>Gaussian blur. Use 100 pixels for the Radius.
This layer will be beneath the logos.
Step 6
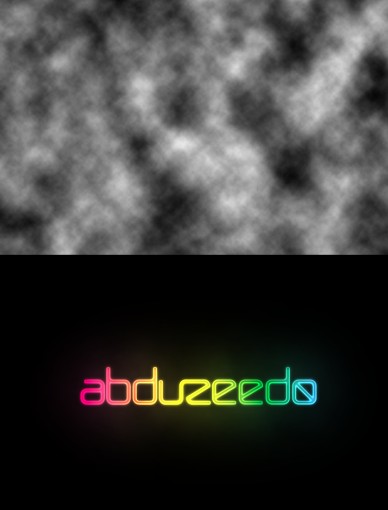
Add a new layer on top of the others and go to Filter>Render>Clouds. I love render clouds, it gives a nice touch to the design, more natural and less uniform. Also make sure that you were using black and white for the colors. After that change the Blend Mode to Soft Light and the Opacity to 30%.
Step 7
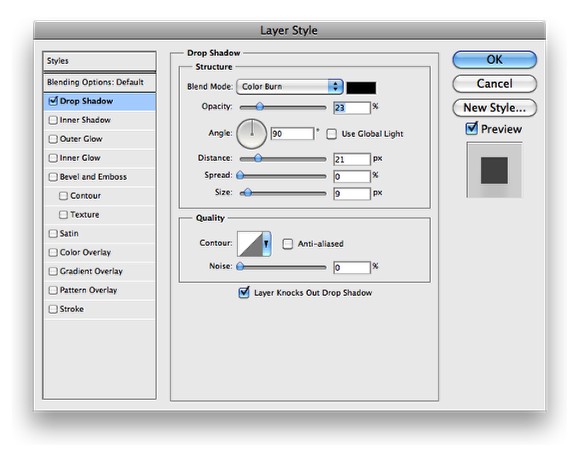
Select the blurry layer created in the Step 3 and then go to Layer>Layer Style>Drop Shadow. Change the Blend Mode to Color Burn, use black for the color, 25% Opacity, 90º for the Angle, 20 pixels for the Distance and 10 pixels for the size. This layer style will create a shadow and add more depth to the composition.
Conclusion
Now you will be able to create really cool texts with light effects easily. Also I suggest that you play with the Contour options like I did in the Step 4. You can achieve totally different results by just changing the contour, it's a very powerful feature and a bit unknown for the majority. This was just an example, now it's up to you.
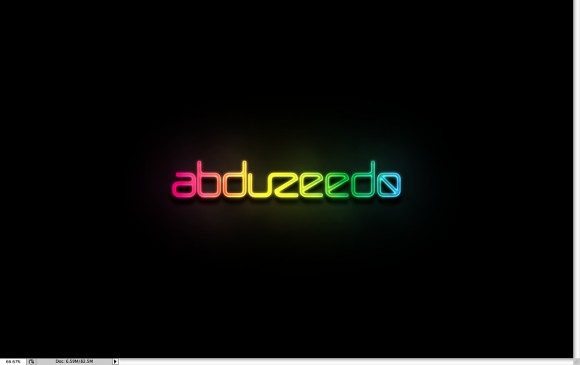
Click on the image for full preview
Screencast
Download the Photoshop file
Click here to download the Photoshop file used for this tutorial

