by abduzeedo
In this tutorial I will show you how to create a beautiful golden text in Pixelmator. It might be useful for your next Christmas design. We will use basic tools and gradients to mimic gold with this super easy technique. I also have writen a tutorial showing how to create the same effect but for Photoshop, you can find it at PSDTUTS.
This tutorial is part of a series of tutorials I have been writing for the Pixelmator Learn Site.
Step 1
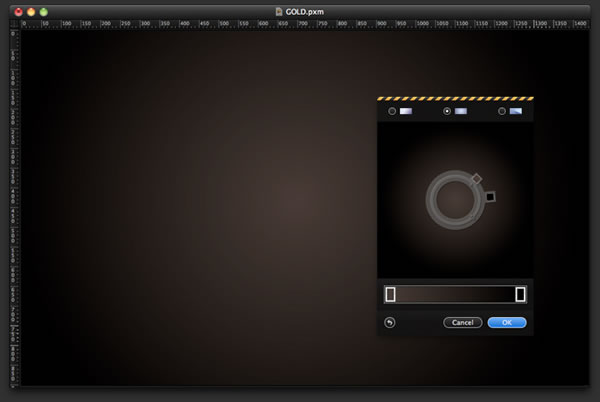
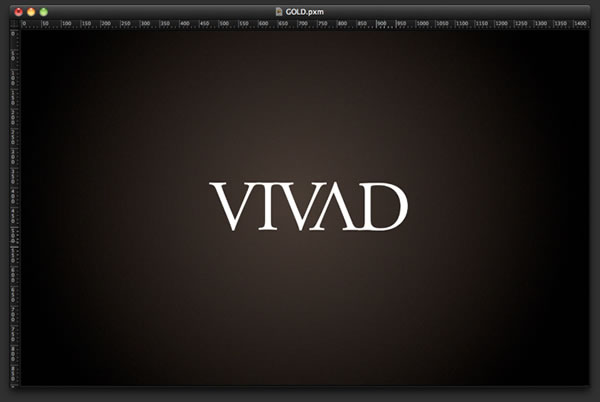
Open Pixelmator and create a new document. The size is not important but I’m using 1440×900 pixels. Then go to View>Show Gradient to open the Gradient Panel. Create a new Radial gradient from a dark brown in the center and blending to black. Fill the background layer with this new gradient.
Step 2
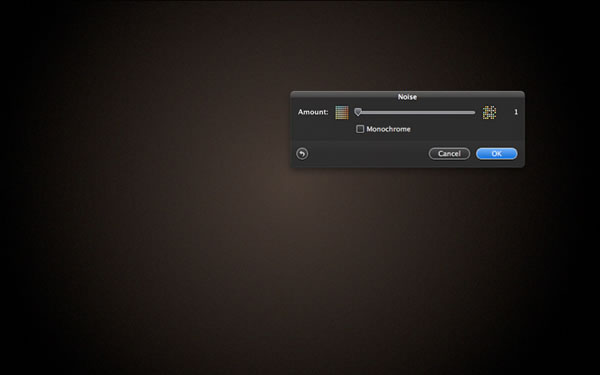
Go to Filter>Stylize>Noise. Use 1 for the amount and make sure that it’s NOT monochrome.
Step 3
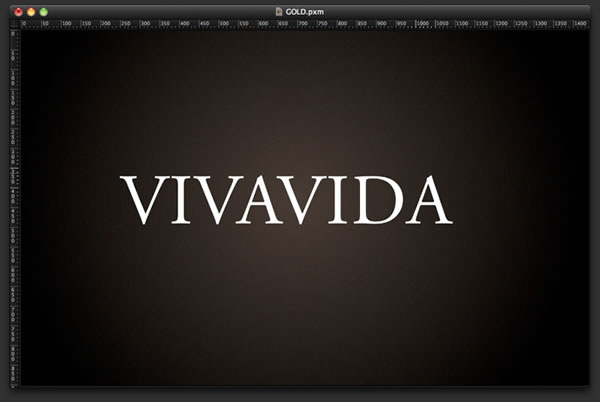
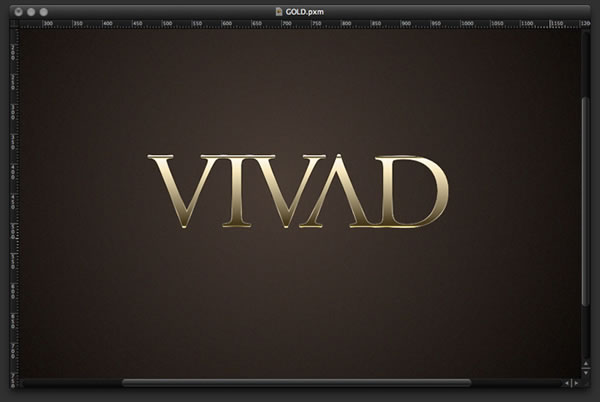
With the Type Tool (T) type VIVAVIDA (or any word you want). We will break the text into layers and create a new word. To do that, go to Layer>Rasterize Type Layer. Then with the Lasso Tool (L), select each character, then cut and paste it back. Each one will be in a different layer. (The font I used was Adobe Garamond.)
Step 4
Now that you have layers for each letter, let’s create a new word. The one that I came up with was VIVAD. The VIV is connected and so is the AD. Select the layers that make the word, and go to Layer>Merge Layers. You will have the word back in one layer only.
Step 5
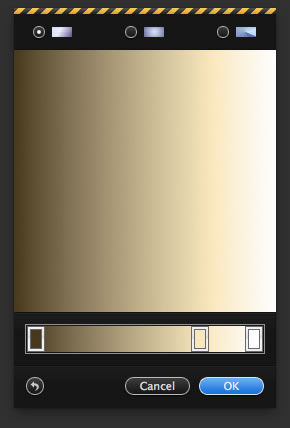
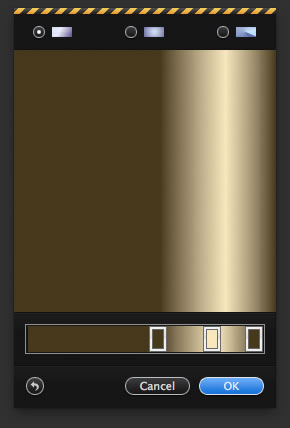
Go back to the Gradient Panel and create a new gradient preset. Create a linear one this time. Use dark brown, beige and white for the colors, exactly like the image below.
Step 6
Add a new layer on top of the word VIVAD and go to Layer> Create Clipping Mask. Use the Gradient Tool (G) to fill the layer with the gradient we created in the previous step. Start from the top of the word and finish at the bottom.
Step 7
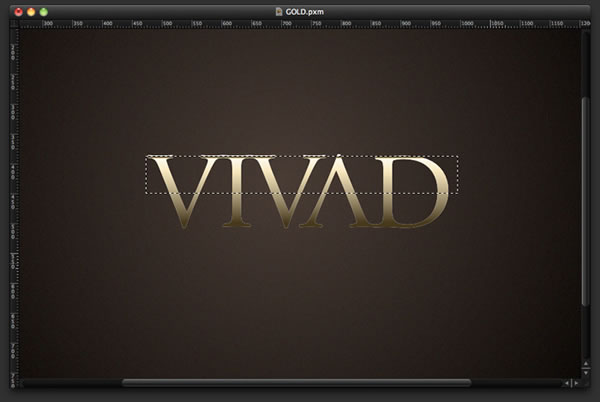
Add another layer on top of the previous one and go back to Layer>Create Clipping Mask. Change the Blending to Multiply. With the Rectangular Marquee Tool (M), create a rectangular selection starting 2 pixels down from the top of the word. With the Gradient Tool (G), fill the layer with the gradient we used for the gold letter; this time the direction will be the opposite, with the dark color at the top. Use the image below for reference.?
The idea is create a tiny line to create the reflection of the gold.
Step 8
Let’s repeat this step for the bottom of the word. The Blending will have to change, so you can use either Color Dodge or Screen. I used Color Dodge, but I had to duplicate the layer to get a stronger result.?
Repeat the previous step, but now the idea is to put a shiny line at the bottom of the word that had been dark.
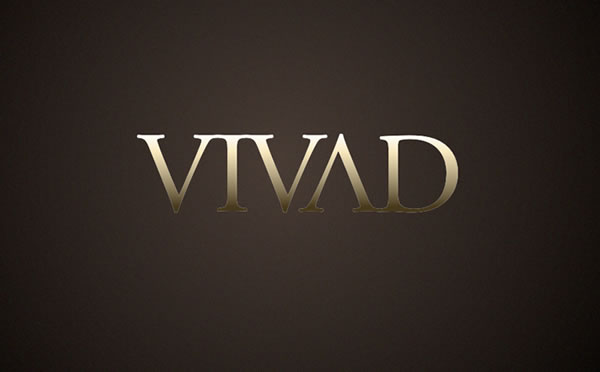
Step 9
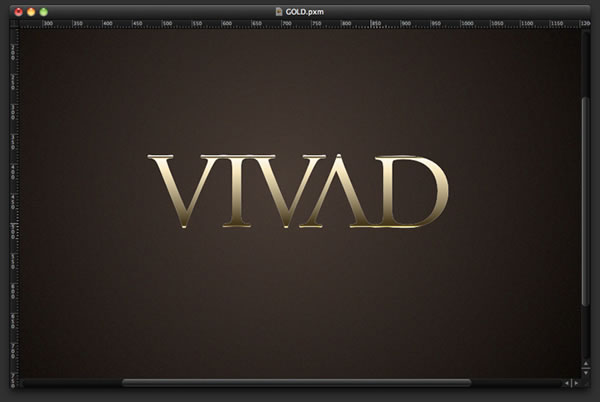
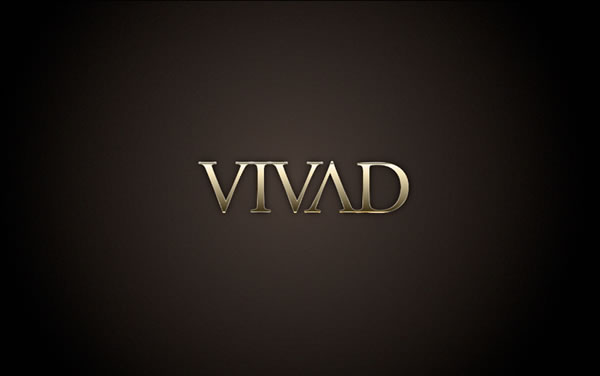
This is the result we have to achieve.
Step 10
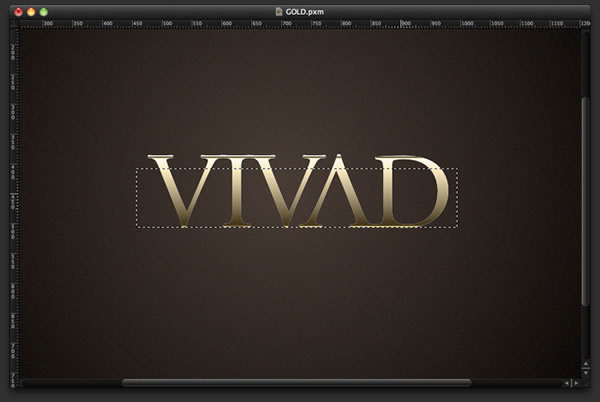
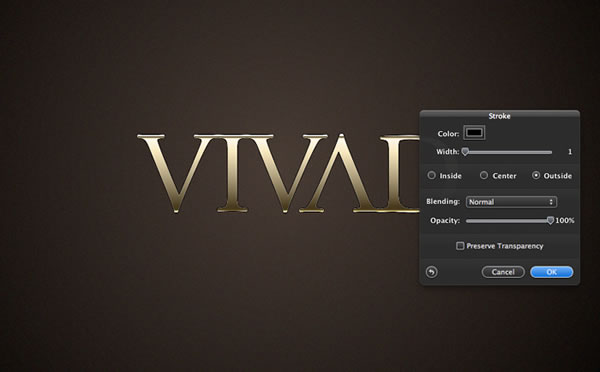
Duplicate the layer with the word VIVAD and move it beneath the gold effect. Then go to Edit>Stroke. Use any color, 1 for the Width and Outside.
Step 11
Again over the Gradient Panel, add a new preset using dark brown, beige and dark brown. Use the image below for reference. We will use this gradient to create another reflection to our golden text.
Step 12
Create a new layer on top of the layer where we applied the stroke. Then go to Layer>Create Clipping Mask. Fill this layer with the gradient we created in the previous step. The beige part has to be almost at the bottom of the word.
Step 13
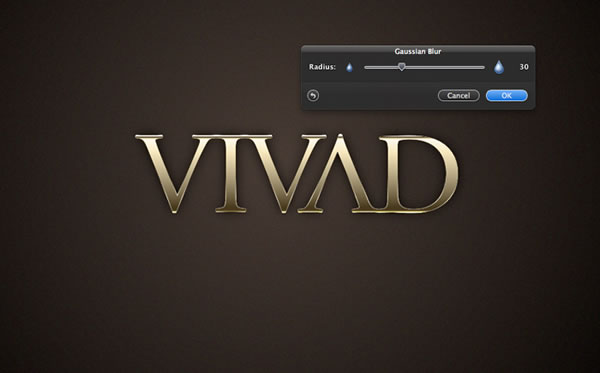
Duplicate the layer with the word VIVAD and put it beneath the other layers but on top of the background. Go to Image>Invert. It was white and now it’s black; then go to Filter>Blur>Gaussian Blur. Use 30 for the Radius. The idea is to create a nice shadow beneath the golden text.
Step 14
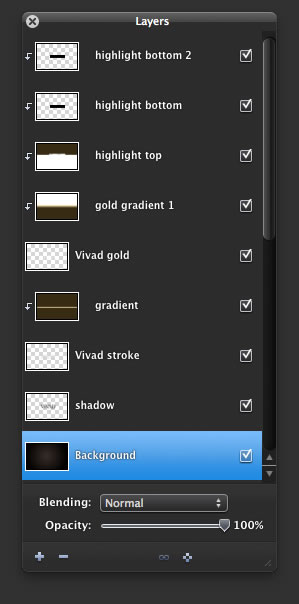
This is the gradient order that I have. Check yours to see if it’s similar, or simply download the file used for this tutorial to understand how the layers are organized.
Conclusion
This is a very simple but beautiful effect. Even though we don’t have the layer styles feature we have in Photoshop, we can create Bevels and Gradients using layers and clipping layers with gradients. We observe reality and try to recreate it with the tools that are available.
Versions
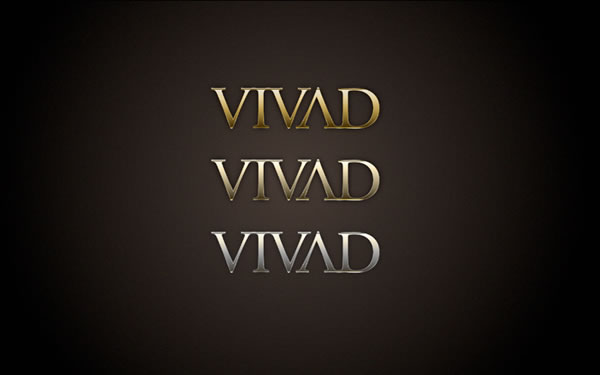
You can also create other types of metals, like silver. You can try different gradients or just apply Hue and Saturation.