by abduzeedo
Last week I posted some articles about typography and received quite a few emails asking me to create a tutorial on text effects. So I decided to play a bit with Photoshop to create a nice sort of 3D effect using a calligraphy font and a lot of Layer Styles. The effect is really simple and we will take a look at how to create patterns and light effects with Blend Modes.
Step 1
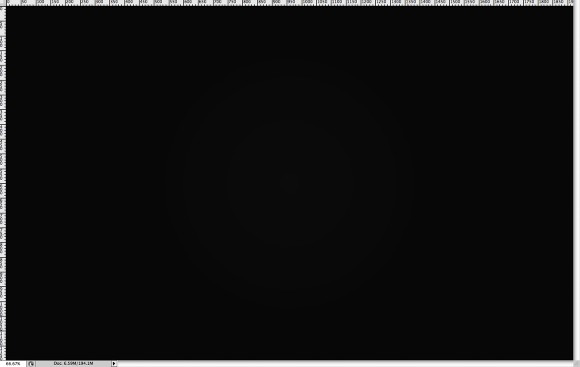
Open Photoshop and create a new document, I used 1920x1200 pixels for the Size. Then fill the background with a very dark color #1f1e1e.
Step 2
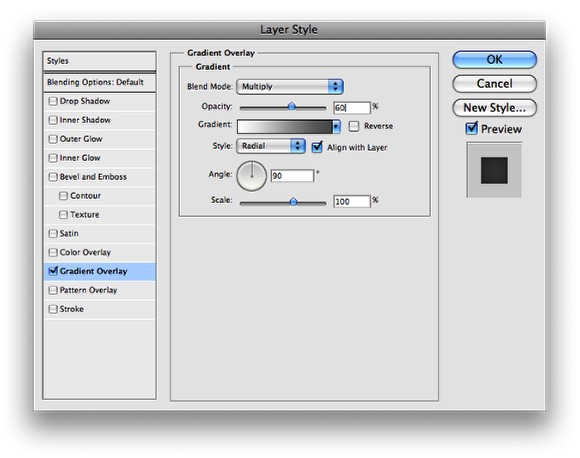
With the Background layer selected go to Layer>Layer Style>Gradient Overlay. Choose grey (#707070) and white for the colors. Change the Blend Mode to Multiply and the Opacity to 60%. The Style will be Radial. Make sure that the white is in the center. What will happen is that as we're using multiply the edges of the image will be darker. I'm applying this gradient via layer styles because I want to add a filter to the layer later on and then I will be able to try different colors.
Step 3
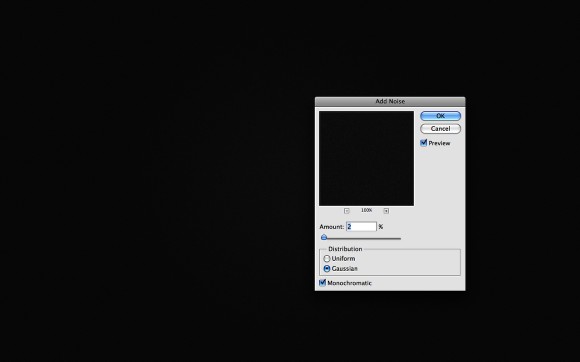
Now go to Filter>Noise>Add Noise. Use 2%, Gaussian and make sure you selected Monochromatic. Adding noise to gradients is really good because it makes the gradient more subtle.
Step 4
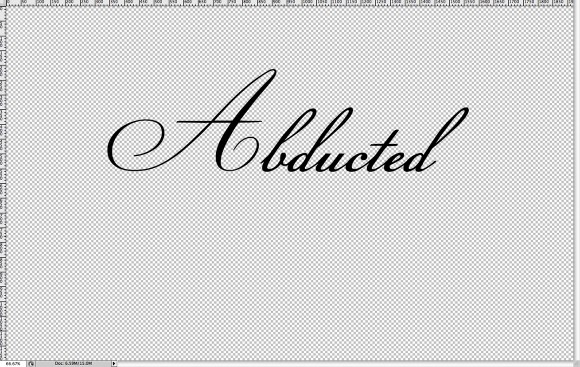
Let's add the text. We will need a caligraphy style font, I'm using Champignon and you can download it at http://dafont.com. Type Abducted first.
Step 5
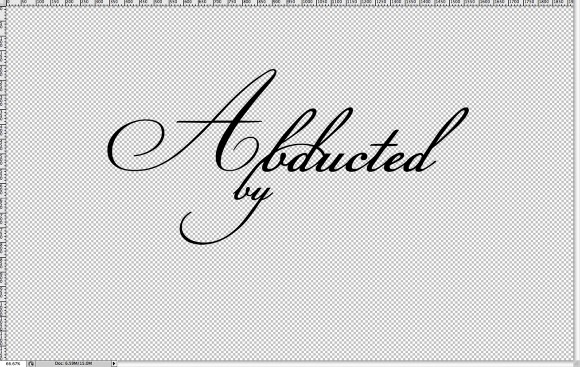
Now right below the "Abducted" line type "by". I used another font for it, "Champignon Alt S..." and you can download it at http://dafont.com as well. Use the image below for reference of position and try to connect the words like the "Bs".
Step 6
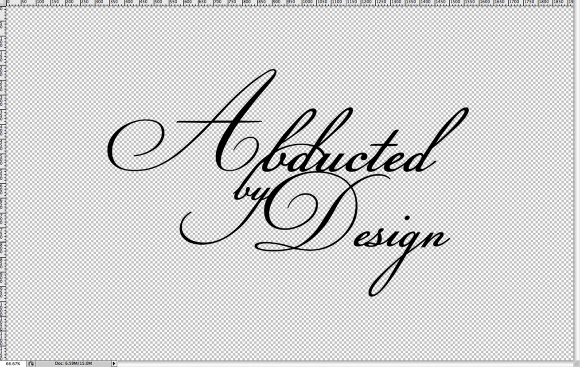
Type the word "Design". Pay use the end of the "y" to connect with the "D", it's very important that the words connect otherwise the effect won't work as well.
Step 7
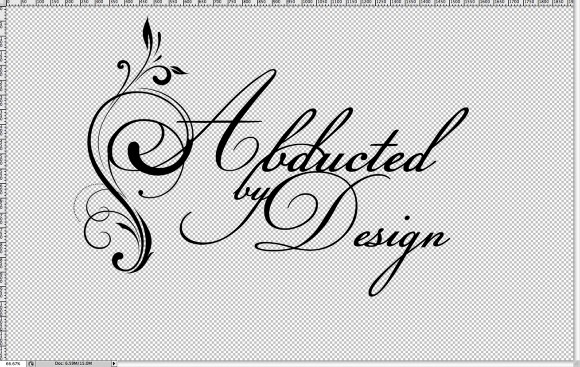
To make the effect more attractive let's add some swirls. This is pretty much the same thing I did in another tutorial the Swirl Type in Photoshop. But basically, let's import a swirl element and place it before the "A". The one I'm using was courtesy of Shutterstock and you can download it here
Step 8
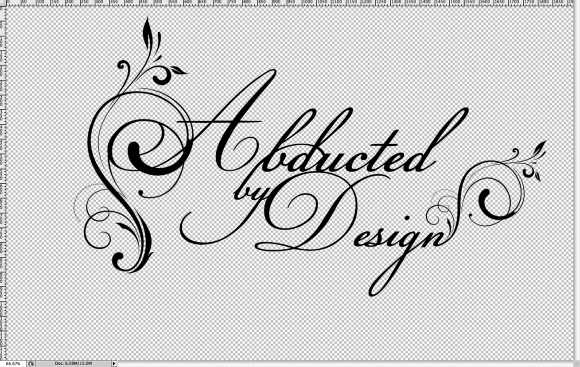
Place another element in the end of "Design" using the "n". I used the same element that I used in the previous step, just a little smaller.
Step 9
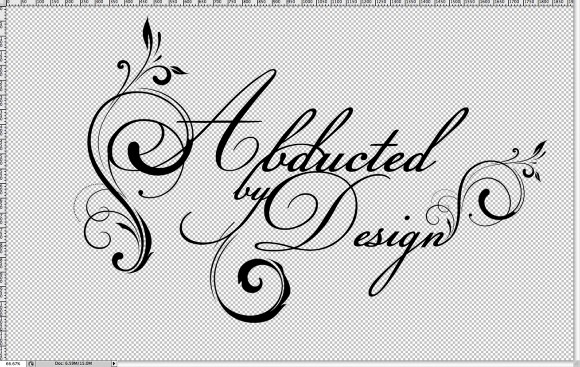
Now add another swirl in the "Y".
Step 10
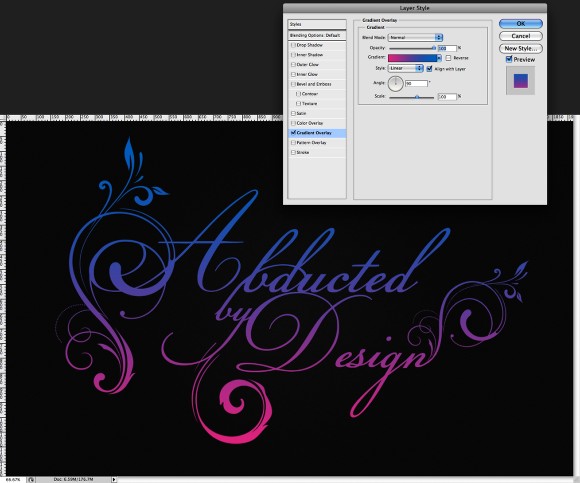
Now that you have the text with the swirls convert it to Smart Objects. That way we can edit it anytime. Then go to Layer>Layer Styles>Gradient Overlay. Use Pink and Blue for the colors, Linear for the Style, and 90º for the angle.
Step 11
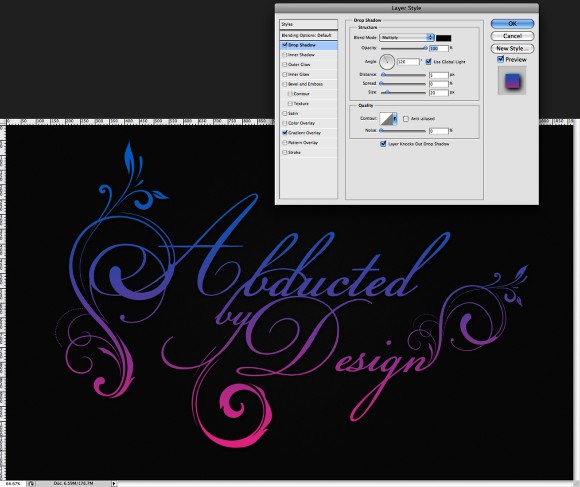
After the Gradient Overlay select Drop Shadow. Use Multiply for the Blend Mode, 120º for the Angle, 5 pixels for the Distance and 20 pixels for the Size.
Step 12
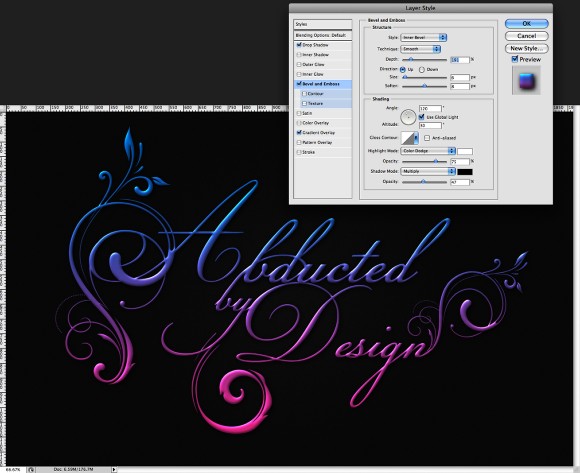
After the Drop Shadow select Bevel and Emboss. Use Inner Bevel for the Style, Smooth for the Technique, 190% for the Depth. For the Direction use Up, for the Size use 6 pixels and 8 pixels for the Soften. Now for the Shading part use 120º for the Angle, 30º for the Altitude. For the Highlight Mode use Color Dodge and white for the color with 75% Opacity. Then for the Shadow Mode use Multiply and black for the color with 45% Opacity. Select Contour as well.
Step 13
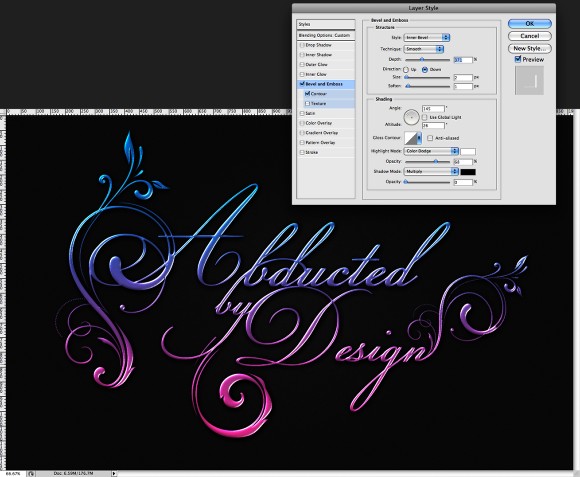
Duplicate the text layer and the the first thing to do is change the Fill to 0%. That way there won't be any color but the Layer Style will still work over a transparent layer. Disable the Gradient Overlay as well. For the Bevel and Emboss change the Direction to Down. Also increase the Depth to 370%. For the Size use 2 pixels and 8 pixels for the Soften. Now for the Shading, change the Angle to 145º, Altitude to 25º. The Highlight Mode will be Screen with white for the color and 100% Opacity, while the Shadow Mode will be 0%.

Step 14
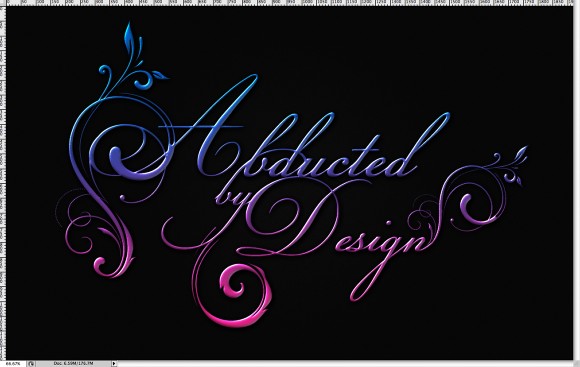
Duplicate the layer again to make the effect stronger.
Step 15
Duplicate the layer again but this time let's edit the Bevel and Emboss. Change the Soften to 1 pixel. For the Highlight Mode use Color Dodge with 70%. Also disable the Drop Shadow.
Step 16
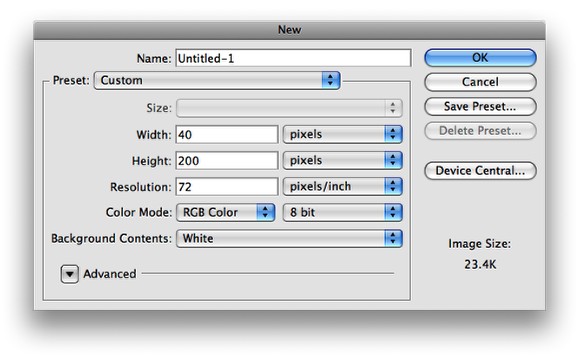
Now let's create a Pattern to use in our design. Create a new document with 40 pixels for the width and 200 pixels for the height.
Step 17
Resize the background layer so it will have 20 pixels width. The Fill the Layer with a Lienar Gradient using white for the color but different Opacities. Use 100% to 40% for the Opacities of the Gradient. Use the image below for reference.

Step 18
Go to Edit>Defin Pattern. Name it Stripe and you have a nice Pattern.

Step 19
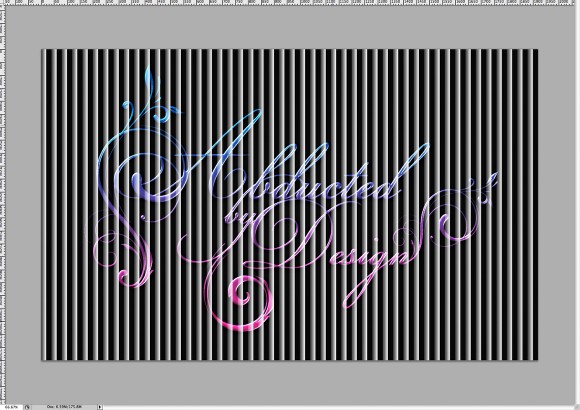
Back to our design, add a new layer and fill it with the Pattern you have just created.
Step 20
Rotate the layer with the pattern and change the Blend Mode to Soft Light.

Step 21
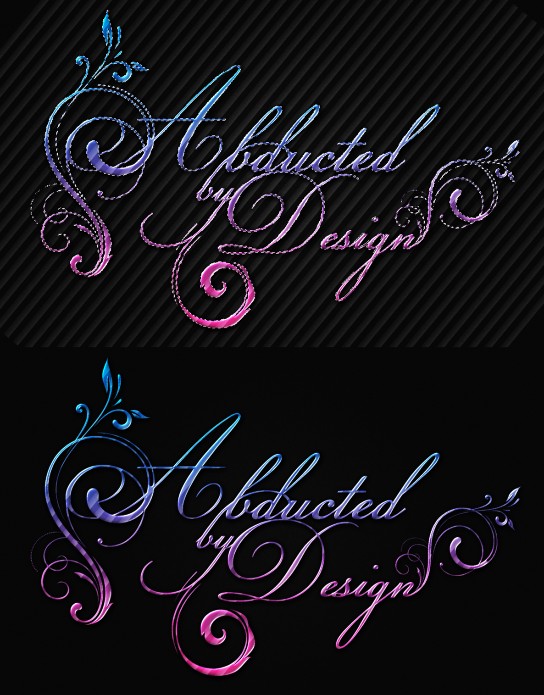
Holding Command on a MAC or Control on a PC, click on the thumb of the text layer in the Layer Panel. That way you will create a marquee selection of the text layer. It's pretty simple and very useful. After that go to Layer>Layer Mask>Reveal Selection. The pattern will be applied only over the text.
Step 22
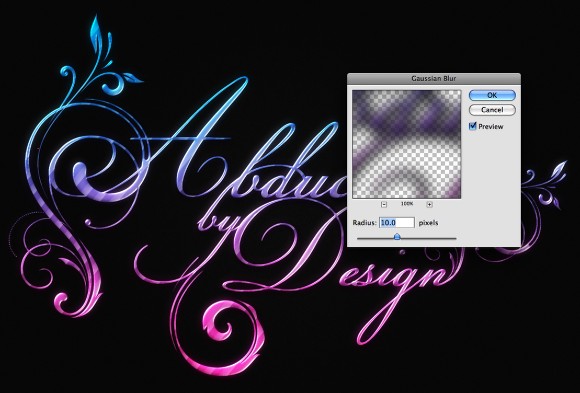
Select all layers used to create the text effect and duplicate them. The go to Layer>Merge Layers. After that go to Filter>Blur>Gaussian Blur. Use 10 pixels for the Radius and press OK. Change the Blend Mode to Screen, that will add a nice glow to the image.
Step 23
Let's add some light effects. I'm using a stock photo to create the lens flare, you can use brushes or even the Lens Flare filter. The image I used can be downloaded here. Place just the lens flare in the design and change the Blend Mode to Screen. After that go to Image>Adjustments>Hue and Saturation. Select Colorize and change the Hue Until you get a color that matches the color of the part of the text effect the light will be over it.
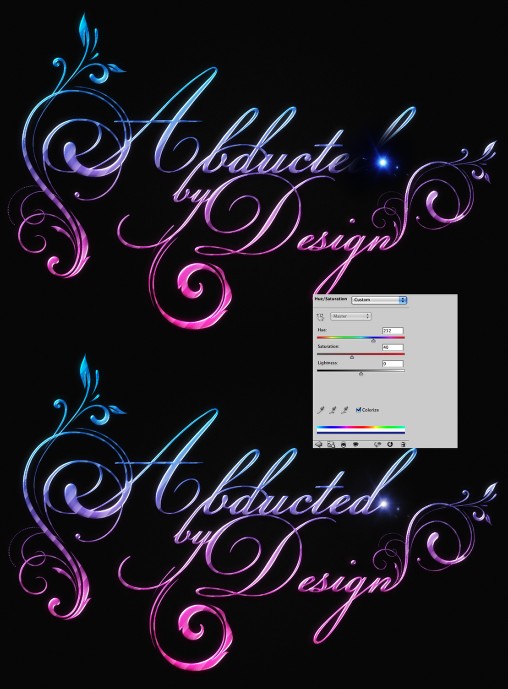
Step 24
Duplicate the Light Effect and move it over another letter.
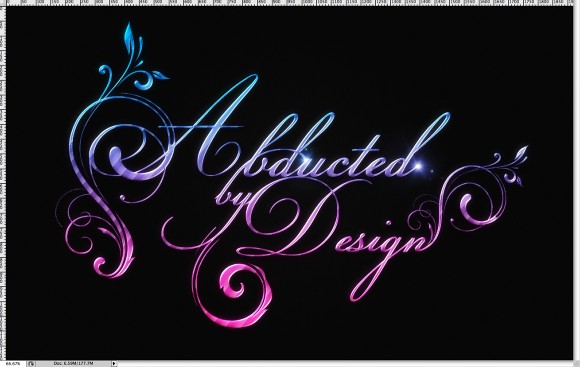
Step 25
Duplicate the lens flare again and move it over another part of the design. Go again to Image>Adjustments>Hue and Saturation and once again select colorize and try to match the color of the lens flare with the design.
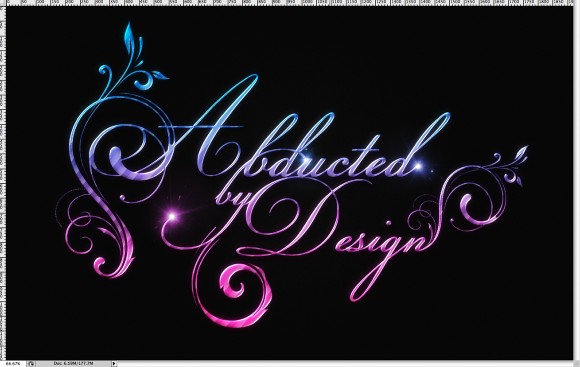
Step 26
Import a paper texture and place on top of the other layers. The image I used is courtesy of Shutterstock and you can download it here. After that change the Blend Mode to Multiply.
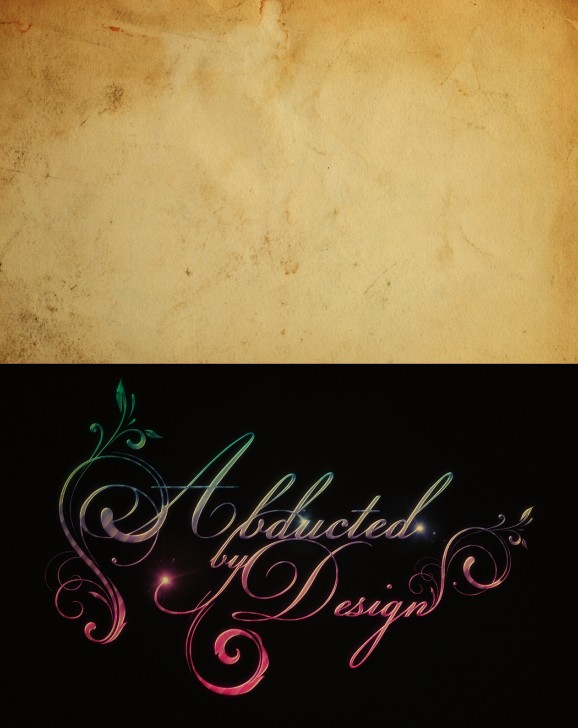
Conclusion
You can add a space scene beneath it as well or just leave it over the noise background. Also if you want to add more glow to the image, just duplicate all layers and merge to a new one, or simply press Command(MAC)/Control(PC)+Alt+Shift+E. Then apply a Gaussian Blur with 20 pixels for the Radius and change the Blend Mode to Screen.
The idea of this effect was to play with the Layer Styles to create a nice text effect in a caligraphy font. Also we went through the process of creating a pattern of stripes. The idea of this tutorials is to show some techniques that can be applied to your projects, not just how to create the design, I believe the design is just to show you an example. Now it's up to you.
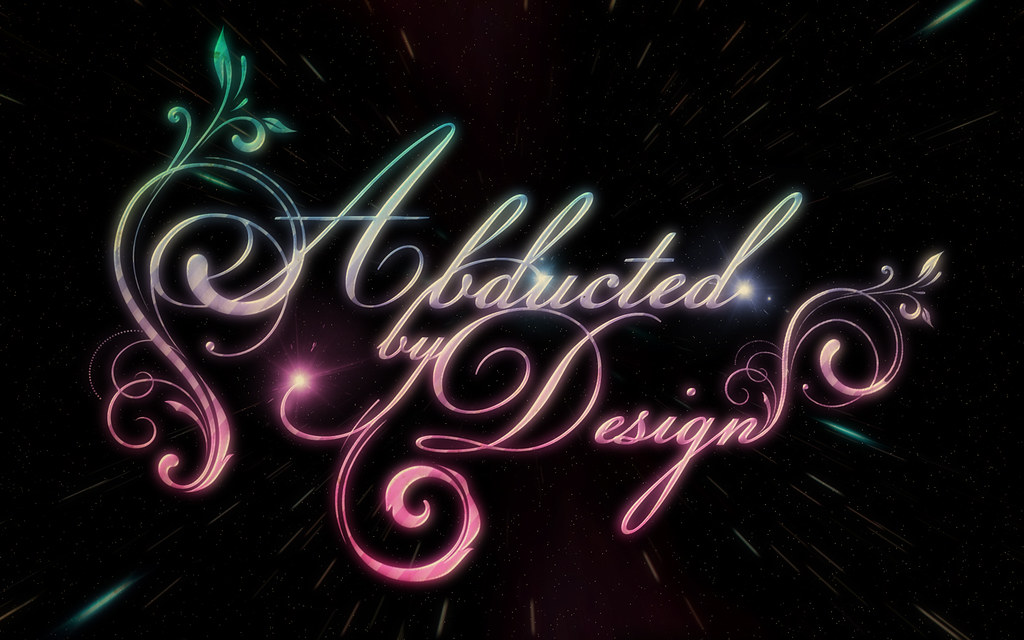
Click on the Image for full preview
Variations
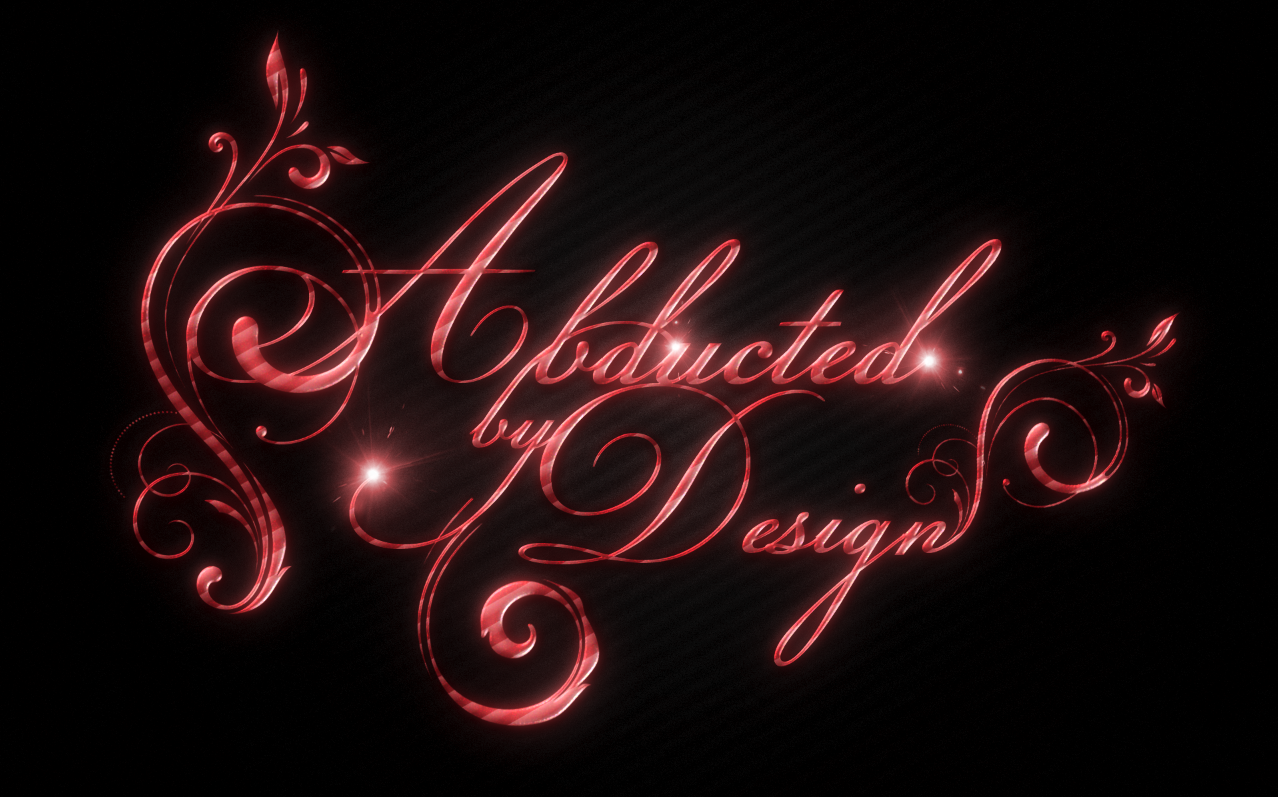
Click on the Image for full preview
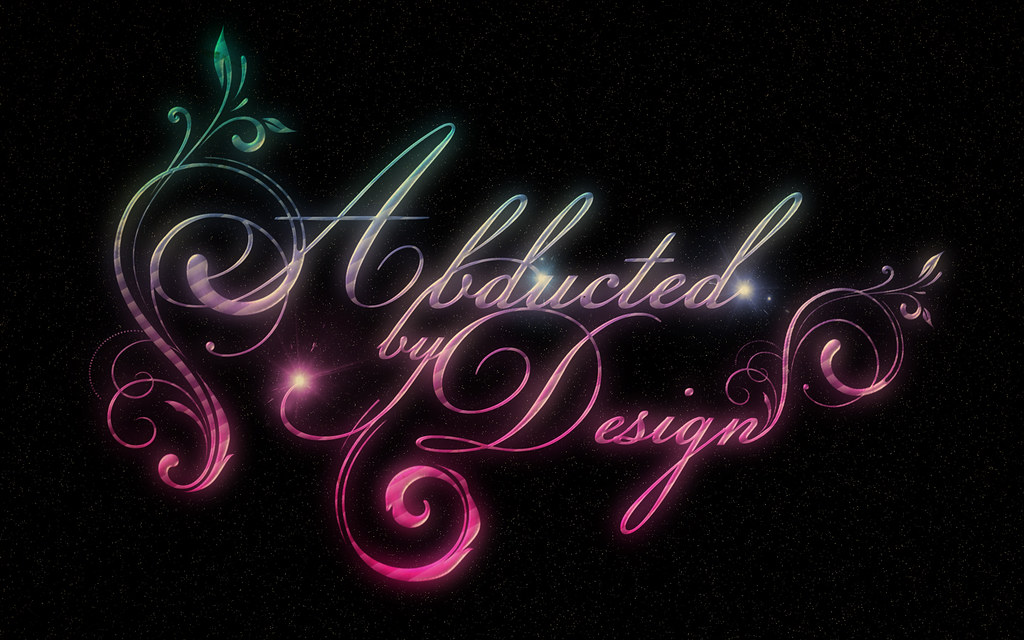
Click on the Image for full preview
Download the Photoshop file
Click here to download the Photoshop file used for this tutorial
