The Artist Inspiring Design in Illustrator and Photoshop
A few weeks ago I watched The Artist. Since the first time I saw and read about the movie, I got curious about it, especially because it was a black and white movie. I wasn't expecting that much from the movie but I got really impressed in the end and ended up loving it. The style, the story, and the little dog make it a very pleasant experience.
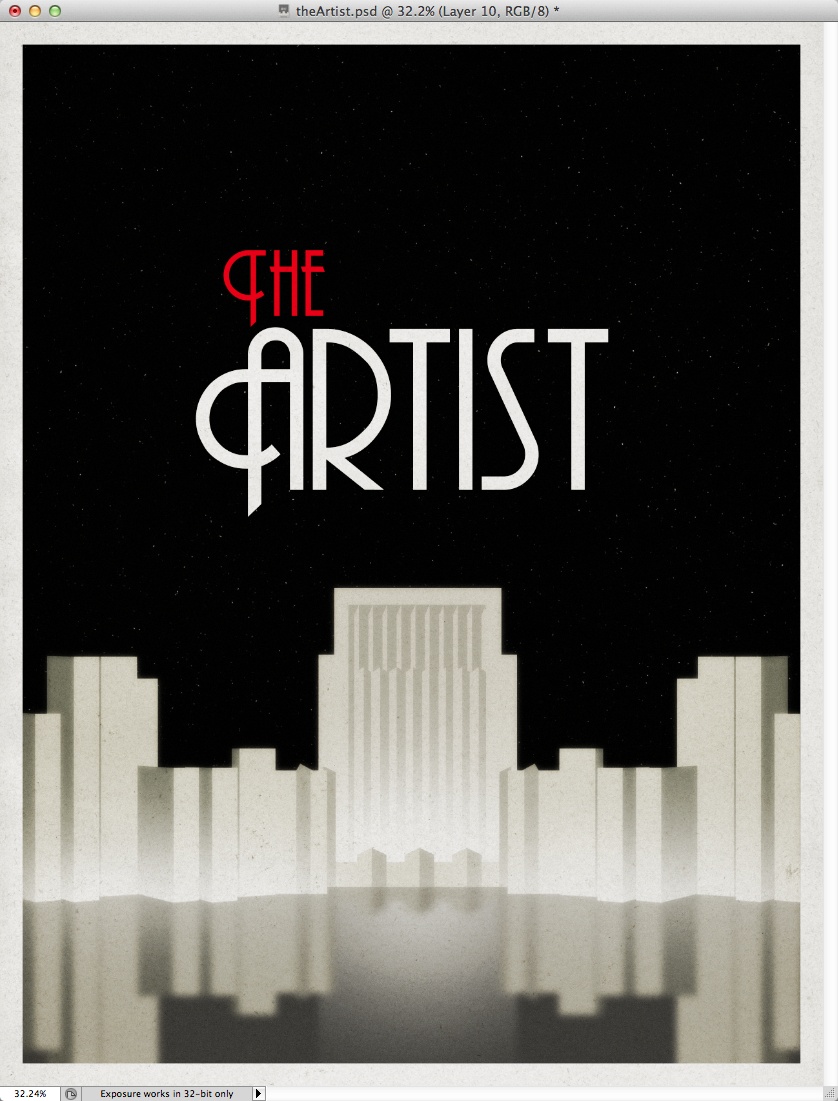
So in this tutorial, I decided to create a tutorial based on one of the scenes of the movie. The one in the very end in which there was a skyline while the 2 main characters were dancing.
The whole process won't take you more than 45 minutes to get the same result. However, this should be considered more as a case study than a tutorial in terms of details.
Step 1
Open Illustrator and create a new document. With the Rectangle Tool create two rectangles to create the first building that will be in the center.

Step 2
Using the rectangle tool again, create a rectangle and with the Direct Selection Tool (A) modify the rectangle to sort of skew it. After that duplicate it and move it to the right.
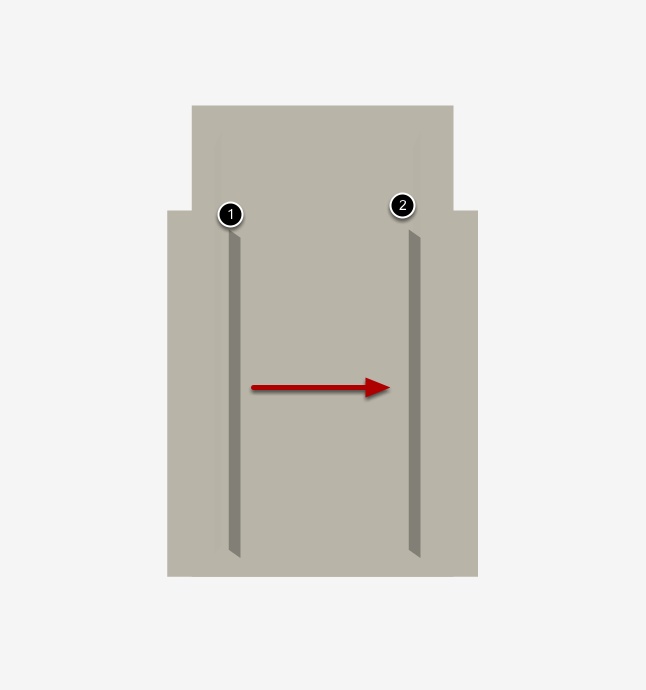
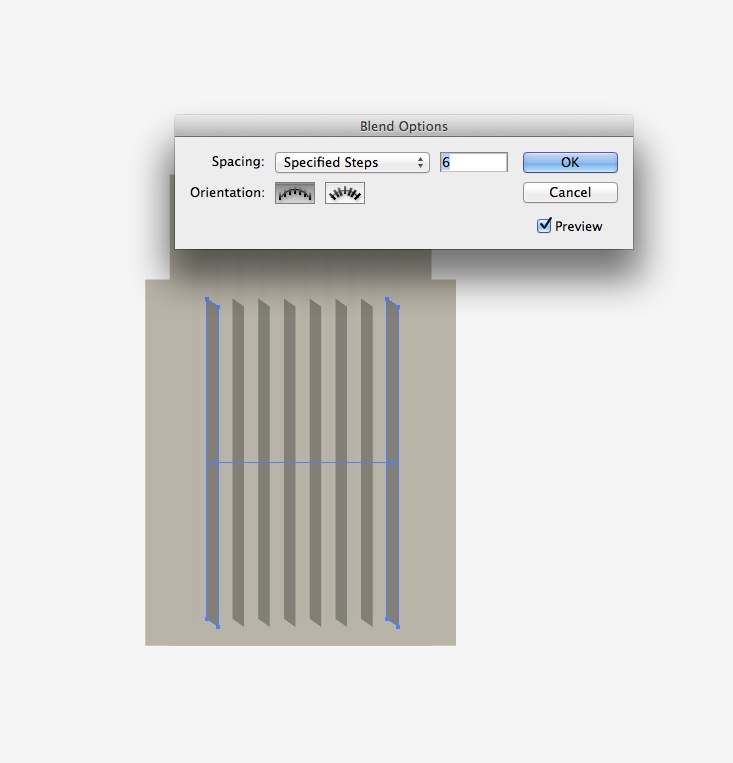
Step 3
With the Blend Tool, create the details on the facade of the building.
Step 4
Create a rectangle with dark grey and move it below. Also, duplicate the facade details and flip it horizontally. The idea is to have one side with light grey (1) and another with dark grey (2).

Step 5
Create more details using the rectangle tool and the direct selection tool to add some perspective.

Step 6
Still, with the rectangle tool, let's create some more buildings. Now with some perspective converging to the main building. The perspective doesn't need to be super perfect, but make sure it's good enough to look convincing.

Step 7
Keep adding a few more buildings. Move the higher ones behind the lower ones.
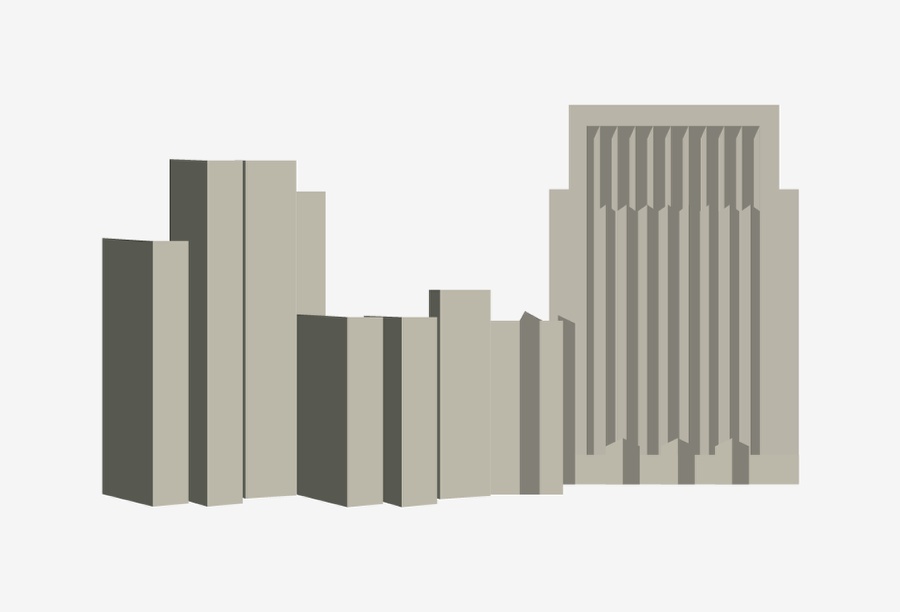
Step 8
Once you have one side right just duplicate it to make the other side.

Step 9
Time to Photoshop. Copy the main building and paste it in Illustrator.

Step 10
Copy the other buildings and arrange them in the document. The main building in the center will be behind the others.

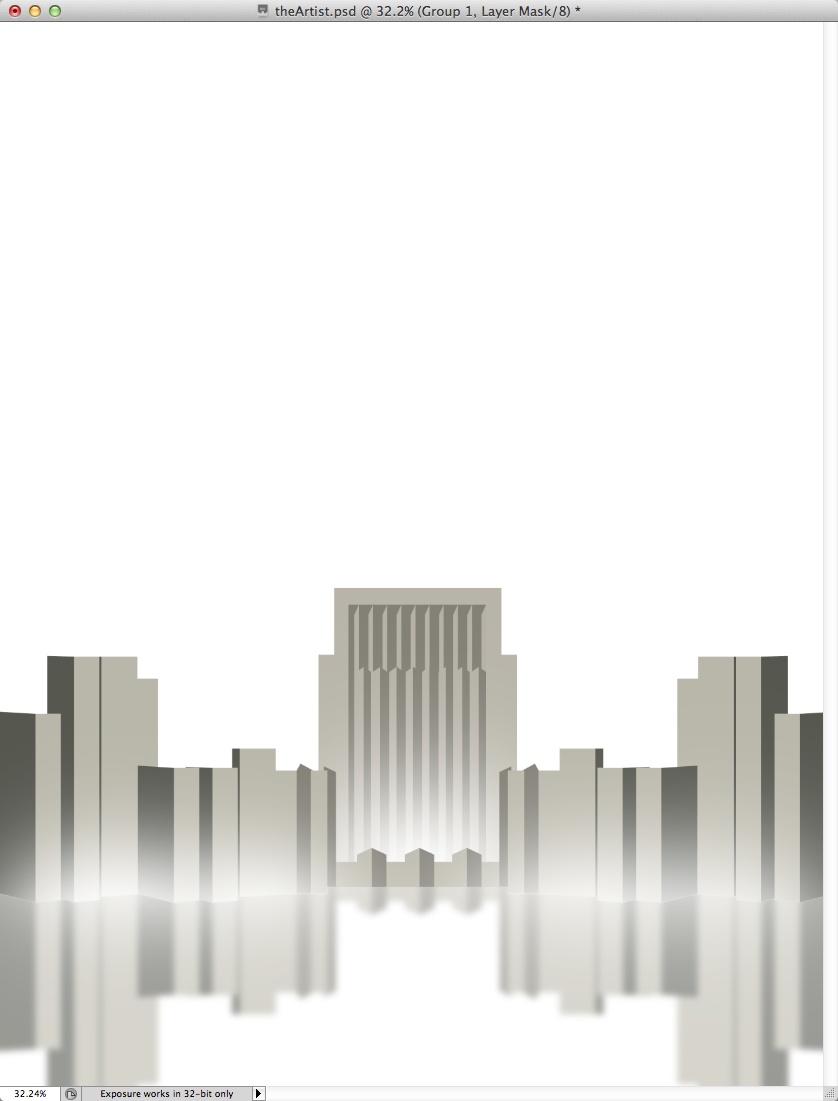
Step 11
For the main building, create a layer on top and then go to Layer>Create Clipping Mask. With the Brush Tool (B) and a very soft brush, paint with white to create a sort of radial light effect coming from the bottom. Repeat the same for the other buildings.

Step 11
Select all buildings and light effect layers, then duplicate them. Go to Layer>Merge Layers. After that go to Edit>Transform>Flip Vertically. Then go to Filter>Blur>Gaussian Blur. Use 10 for the radius.
The idea here is to create the popular wet floor effect.
Step 12
Fill the background layer with black.

Step 13
Add a new layer and fill it with black. After that go to Filter>Noise>Add Noise. Use 45% for the Amount with Gaussian for the Distribution and Monochromatic.

Step 14
Go to Image>Adjustement>Levels. Change the black input to 160 the grey to 1.00 and the white to 205. That will create some stars in the black background.

Step 15
Add a white frame to your design. To do that is pretty simple. Create a new layer and fill it with black. Go to Layer>Layer Styles>Stroke. Use 70px for the Size and white for the color. After that just change the Blend Mode of this layer to Screen. What is black will be invisible and what is white will be shown.

Step 16
Now just add your text. I used a font called the Andes for that. Also, duplicate the background and the buildings then merge them into a new layer. Go to Filter>Blur>Gaussian Blur. Use 10 for the amount.
Change the Blend Mode of this layer to Overlay at 50% Opacity. Duplicate it again and change the Blend Mode of the new one to Soft Light at 60%.

Conclusion
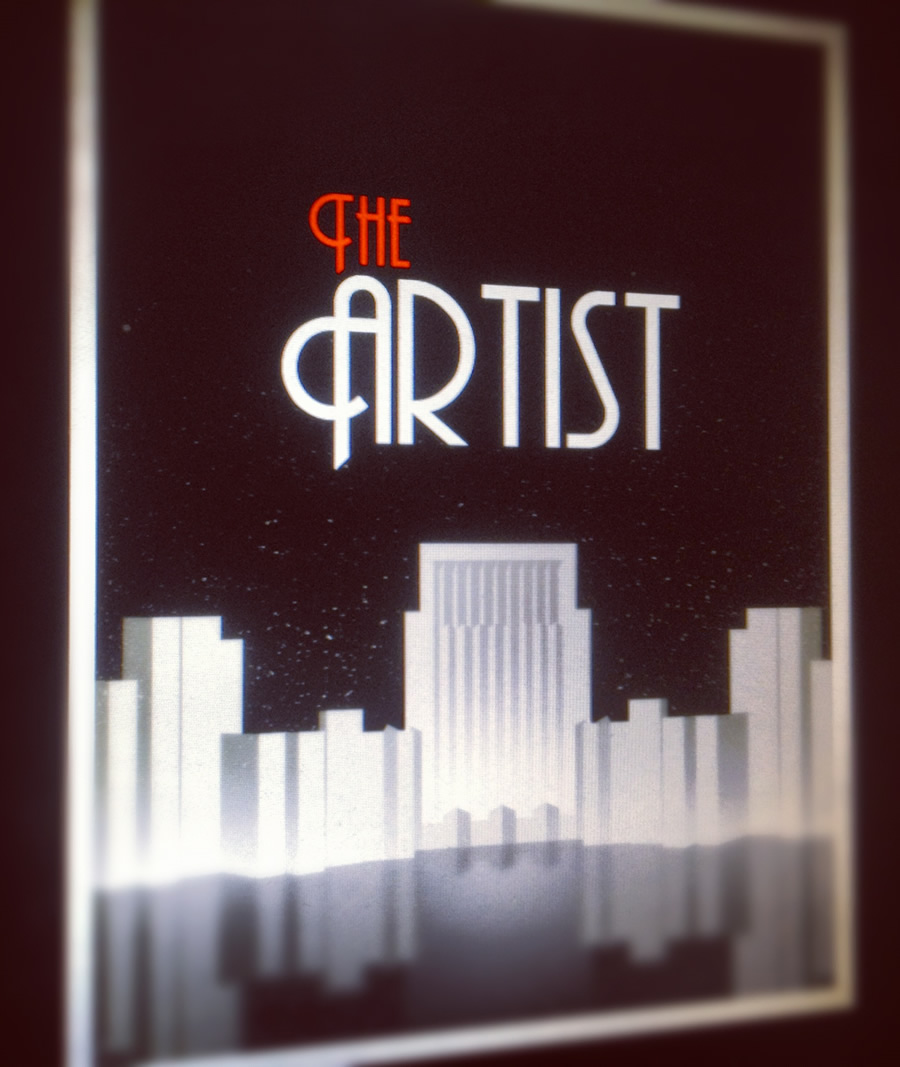
Time to add some paper texture on top of all layers to add the nice vintage look. I used two paper textures using Overlay and Multiply for the Blend Mode.
The result is simple but it looks the way I envisioned since I saw the movie. I got really impressed by the classic style of the movie and wanted to make a nice interpretation.
Download the Photoshop file
