Hexagons Bokeh Effect in Pixelmator
More than two years ago, I created an image of a digital bokeh using Pixelmator that became incredibly popular on the Internet. I easily created the image using Pixelmator’s filter, which was new at the time, called Defocus. I simply applied the filter and added a gradient overlay layer to create the effect. Therefore, in this tutorial, I will show you how to create a bokeh effect in a slightly different, but simple manner to achieve a beautiful outcome.
Step 1
Open Pixelmator and fill the background layer with a very dark grey color (#0a0a0a).
Step 2
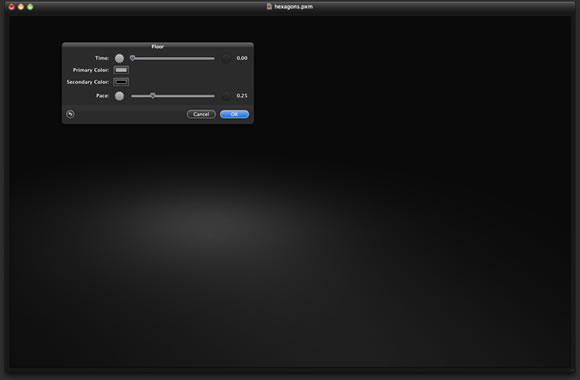
Add a new layer and change the Blending to Color Dodge. Go to Filter > Quartz Composer > Generator > Floor. Use the default values.
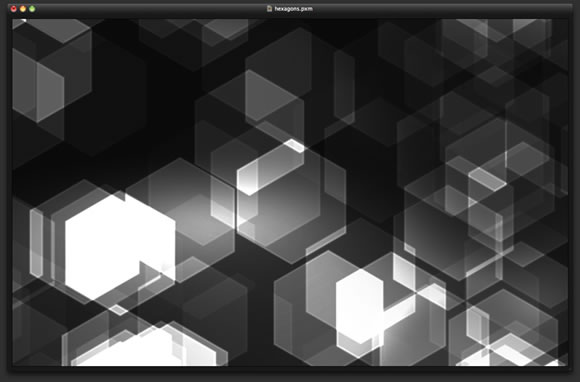
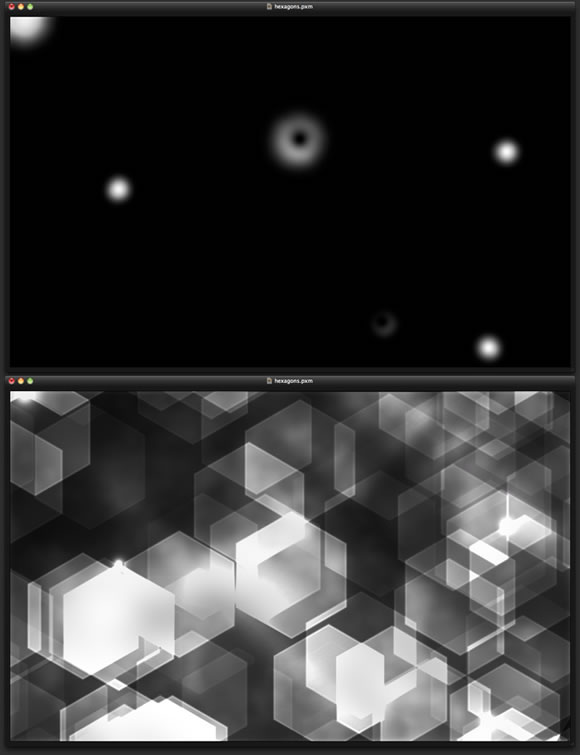
Step 3
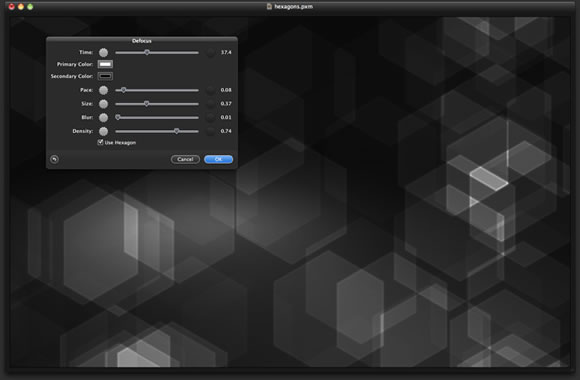
Add another layer and fill it with black. Next, change the Blending to Color Dodge. With this new layer selected, go to Filter > Quartz Composer > Generator > Defocus. This filter is random, so you will not be able to replicate the same effect I created.
Step 4
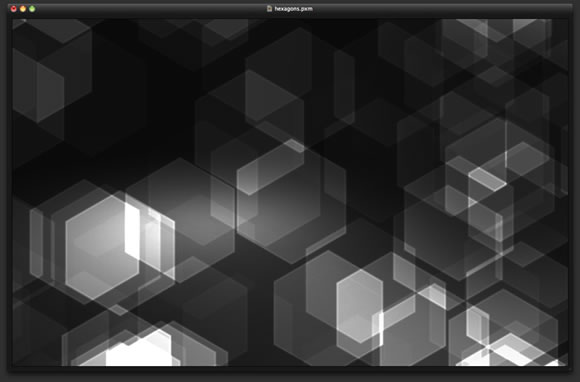
Duplicate the layer with the hexagons layer. If there are some areas that are too bright, use the Eraser Tool (E) to erase them.
Step 5
Duplicate the layer once again.
Step 6
Duplicate the layer again and go to Filter > Blur > Gaussian Blur. Use 60 for the amount. Once again, change the Blending to Color Dodge.

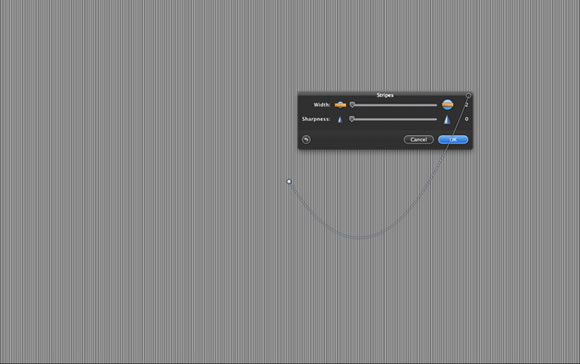
Step 7
Add another layer and go to Filter > Generator > Stripes. Use 2 for the width and 0 for the sharpness.
Step 8
Go to Edit > Free Transform. Rotate the stripes 30º to match the hexagons. Then, change the Blending to Color Dodge.
Step 9
With the stripes layer selected, go to Layer > Add Layer Mask. Select the layer mask thumb over the layer palette and then go to Filter > Generator > Clouds. Use the clouds filter to mask the stripes.
Step 10
Add a new layer on top of the others, but beneath the stripe layers. Fill this new layer with black. Then, change the Blending to Color Dodge. Next, select the Brush Tool (B). Using a basic, but very soft brush, start painting to add some white some flares to your design.
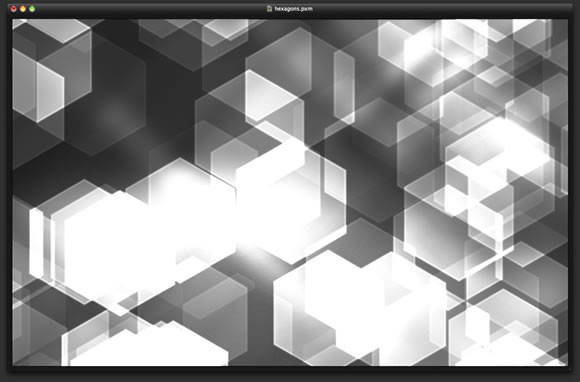
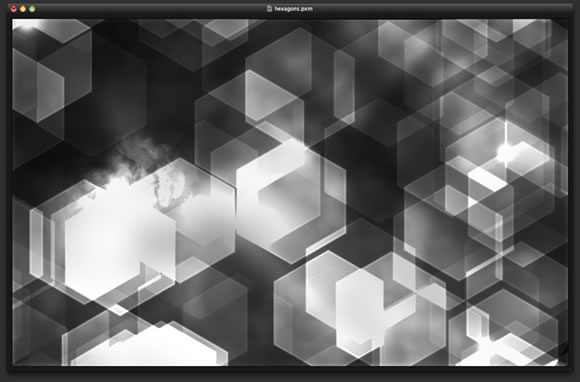
Step 11
Add another layer, fill it with black, and change the Blending to Color Dodge. With the Brush Tool (B), select the clouds default brush. Then, with white paint, add some clouds over one area.
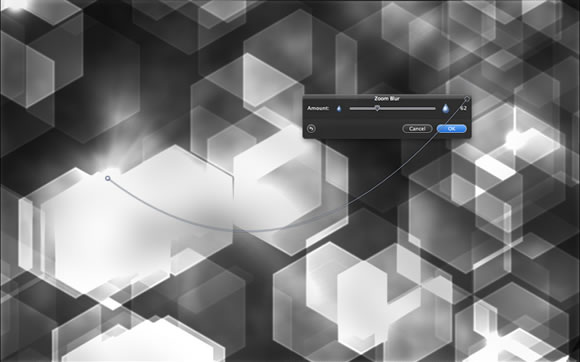
Step 12
Go to Filter > Blur > Zoom Blur. Place the controller at the center of the area where you want to create the light burst. Then, change the amount to 60.
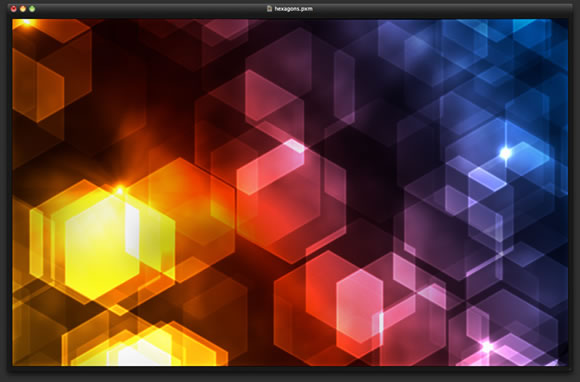
Step 13
Add a new layer on top of the floor layer and beneath the other layers. Change the blending to overlay. With the Gradient Tool (G), fill the layer with a gradient. I am using a gradient with yellow, red, and blue.
Step 14
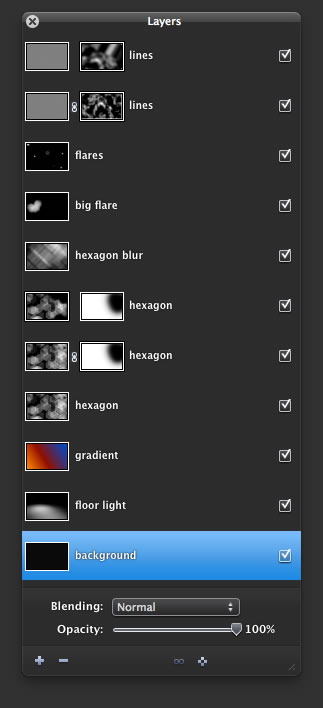
Here you can see the order of the layers.
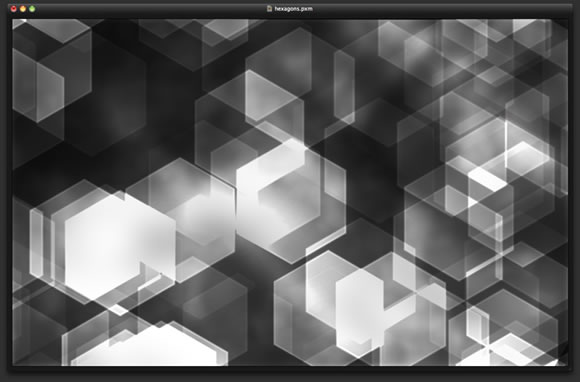
Conclusion
Here is the final result of this tutorial. As you can see, we only used basic filters and blended modes to create this effect. We did not utilize any stock photo to achieve these effects. One of the best features of Pixelmator is its speed. You complete this tutorial relatively quickly because the filters are fast. Now, it is up to you.

Dowload the Pixelmator File
