by abduzeedo
With the announcement of iOS7, Apple revealed a completely new UI for their mobile OS. With the super flat design and thin fonts, Apple said that the design would be adaptable to apps by making some of the basic UI elements transparent, therefore, some of the colors of your apps content would bleed through and define how iOS7 basic components would influence the overall appearance. Another important detail of the UI was that with the transparency a blur effect was applied, similar to Windows Vista and their Aero design. With that in mind, I decided to see how to create and share a super simple workflow to achieve this effect using Photoshop and After Effects.
So for this tutorial I will show you how to achieve the blur effect of iOS7 using Photoshop and After Effects. The cool thing about this workflow is that it clearly showcases how Adobe apps work together in a seamless way.
Step 1
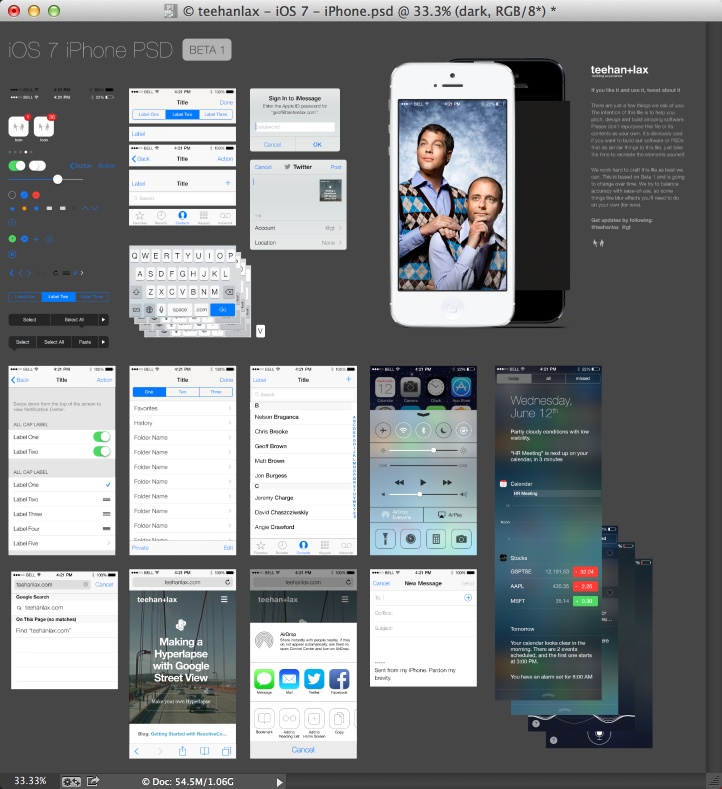
The first thing I did was to download the iOS7 iPhone PSD from teehanlax (http://www.teehanlax.com/tools/ios7/) to use the basic iOS7 UI.
Step 2
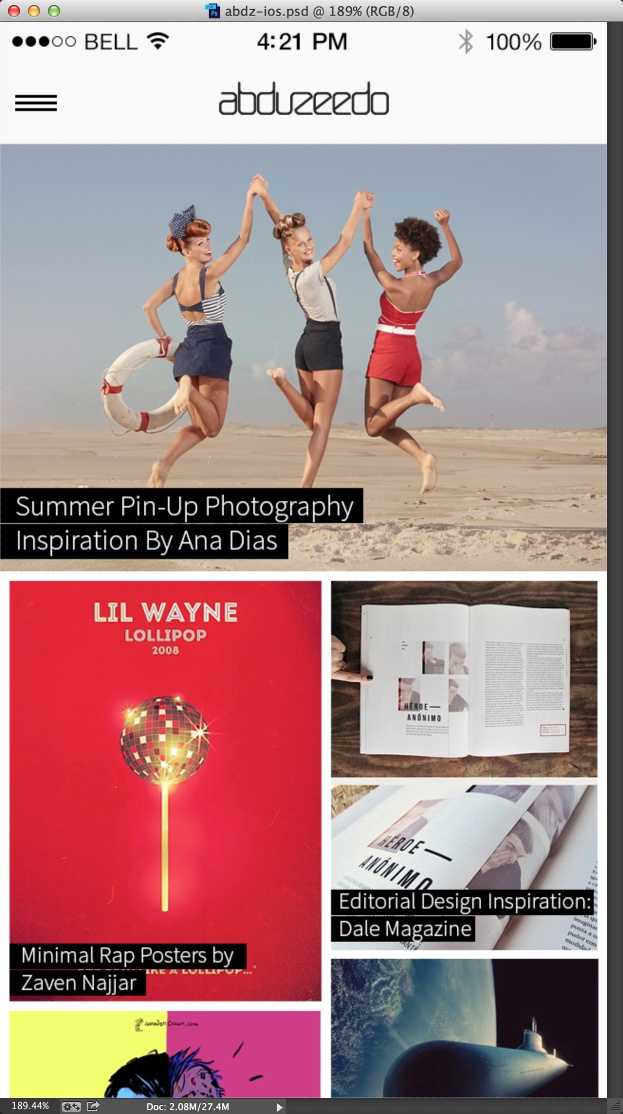
Here I created a new document in Photoshop with the dimensions of the iPhone 5, 640x1136 pixels. Then using the basic iOS7 UI I started designing the screen of my app. In this case I designed what would be the home screen of the Abduzeedo App.
Step 3
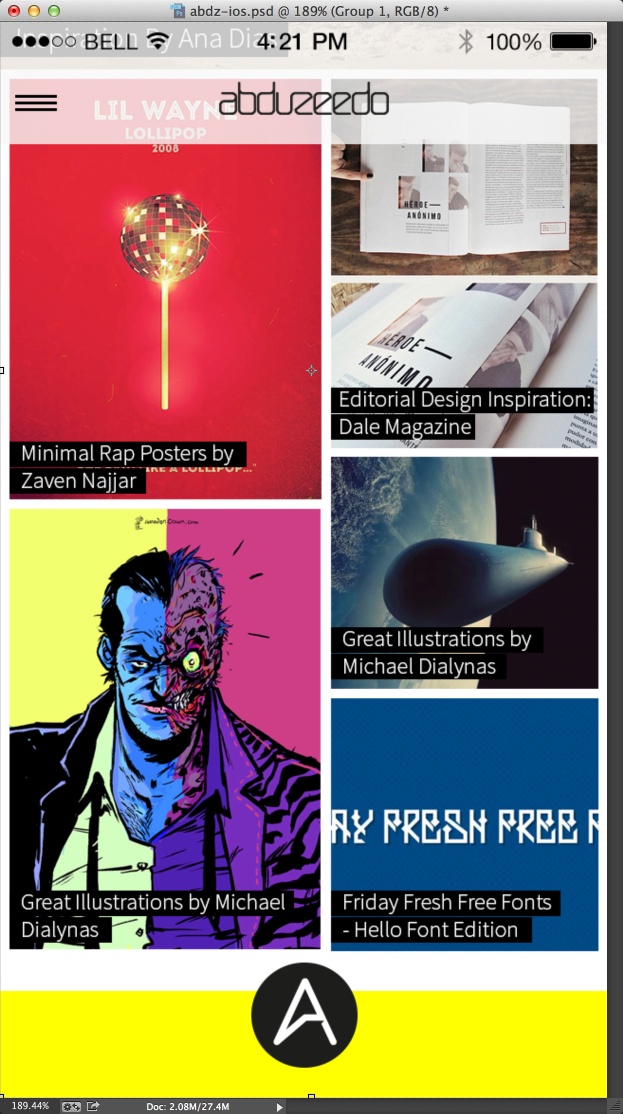
If you scroll up you can see that the iOS7 has a bunch of seethrough areas, sort of Windows Vista. For my design I just made sure that the action bar had some transparency going. The blur effect will be add in After Effects.
After you finish your design, save the PSD file so we can import it in After Effects.
Step 4
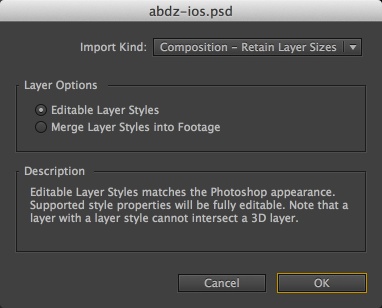
Time to open After Effects. In After Effects, drag the PSD file to the Project panel. Once you do that you will be prompt with the dialog box. For the Import Kind use Composition - Retain Layer Sizes. For the Layer Options use Editable Layer Styles.
Step 5
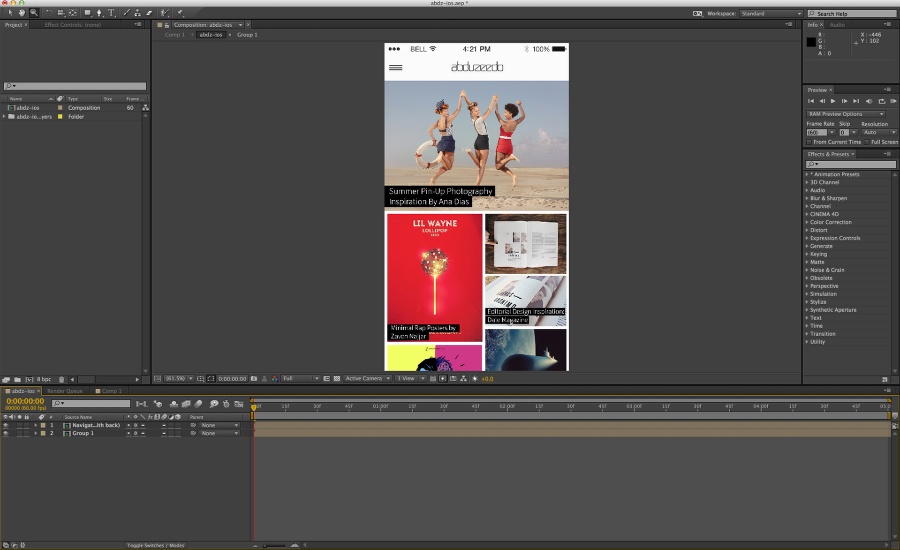
Here is what you will have in After Effects. Noticed that when importing a PSD file you will get alread a composition with the name of the file and a folder with all layers and objects. Double click on the composition to open the home screen we created in Photoshop. You will have then all layers that you have in Photoshop. I deleted the background and other unecessary layers. Another important thing to do is to change the composition background color from the default black to white.
Step 6
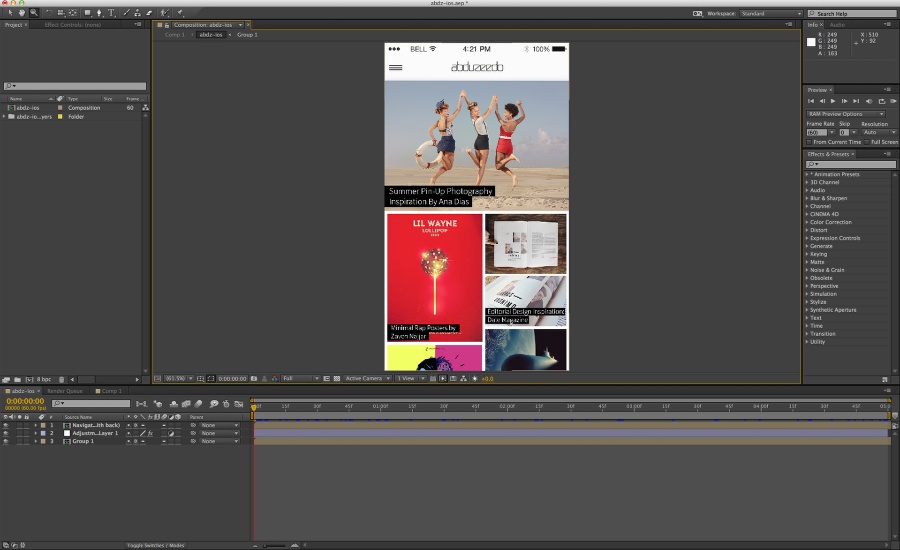
Now to make the blur effect in After Effects is pretty simple. Go to Layer>New>Adjustment Layer. Position this adjustment layer below the Navigation bar. The adjustment layer will apply the blur effect to all layers below it in the timeline. Right now we just have the layer, so let's apply some blur.
Step 7
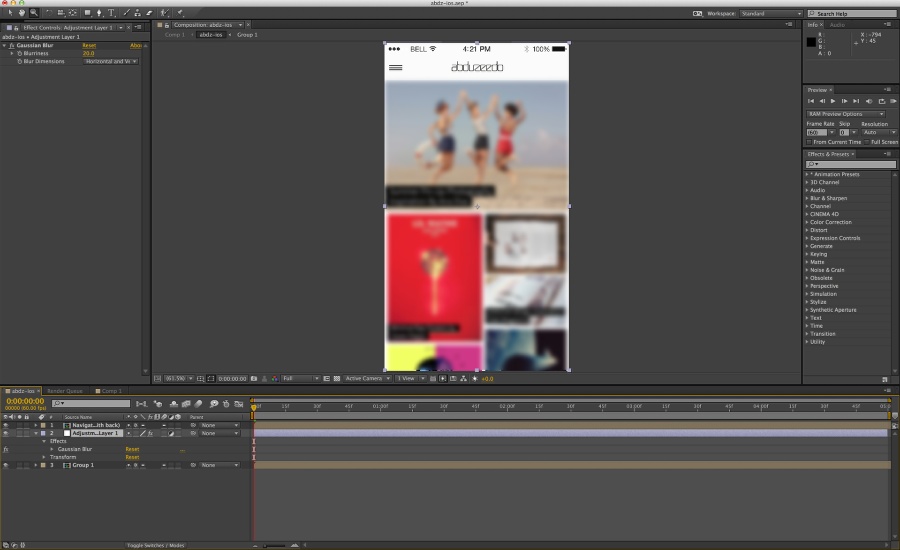
With the Adjustment Layer 1 selected go to Effect>Blur & Sharpen>Gaussian Blur. I don't know exactly how many blur Apple applies in iOS7, but for this little demo I used 20 for the Blurriness. Note that the whole Group 1 layer is blurry and the action bar is not. Our goal is to make the blurr visible only when the screen goes underneath the Navigation bar. To do that we will apply a mask to the Adjustment Layer.
Step 8
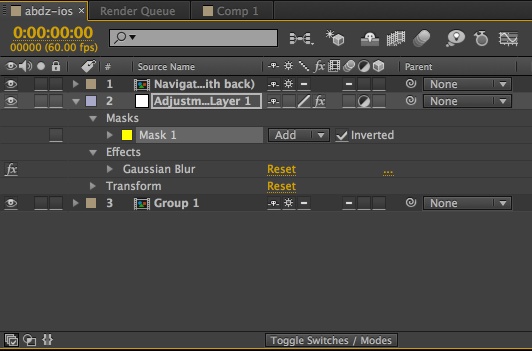
With the Adjustment Layer 1 selected, click on the Rectangle Tool Q, then create a rectlange over the area you want to show. In this case, from the Navigation bar to the bottom of the page. Also make the width way larger and off the screen, that will make the blur more uniform when passing underneath the Navigation bar.
Step 9
Try to move the Group 1 layer (the home screen) up and down to see the blur being applied underneath the Navigation bar. You can increase the blur of the Adjustment Layer 1 or you can make the Navigation Bar more transparent.
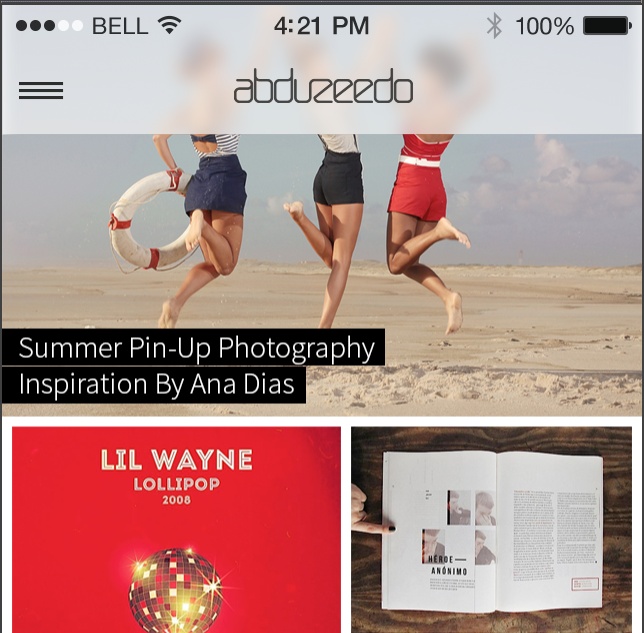
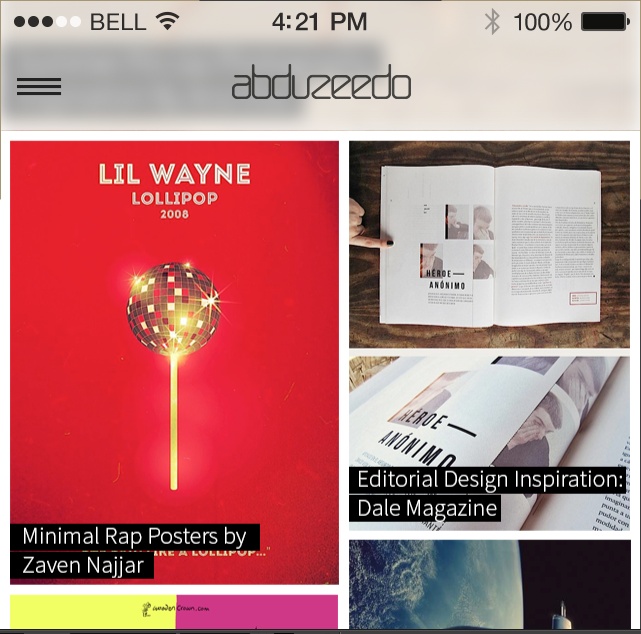
Conclusion
The whole process is pretty simple and straightforward. You can use this tutorial as a base for a template file and then reuse for future projects. You can also improve upon this or come up with your own process which I'd love to hear about. One thing to keep in mind is that in this day and age it is extremely important to start going beyond static mocks. After Effects is an amazing tool for this such work and it seems to be a smooth transition for UI designers using Photoshop.
Download After Effects file
Click here to download the After Effects file used for this tutorial