by abduzeedo
I have written some Illustrator tutorials in which I've used the Blend Tool to create swirls and other shapes, but I have never used it to create a text effect. Then we received this email suggestion from one of our readers quite a few months ago asking us how to create that effect. I really like the text effect and decided to give it a try.
So in this tutorial I will show you how to create a text effect using the Blend Tool in Illustrator and then we will use Photoshop for some final retouches to make the effect more subtle. The technique is very simple and it won't take more than 30 minutes to achieve the same effect.
Step 1
Open Illustrator and create a new document. I used A4 for the size, but it is not really important because we will copy the illustrator vector and paste it in Photoshop later on.
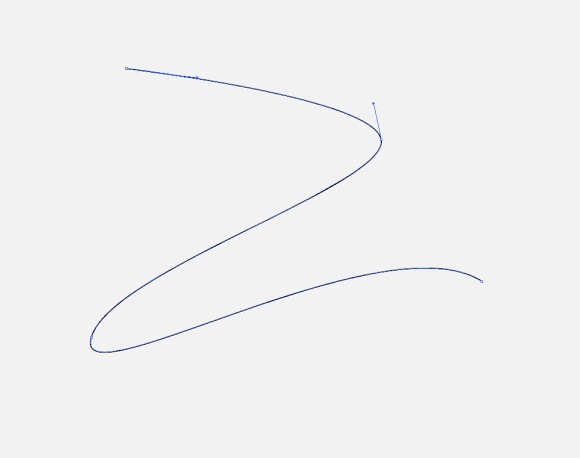
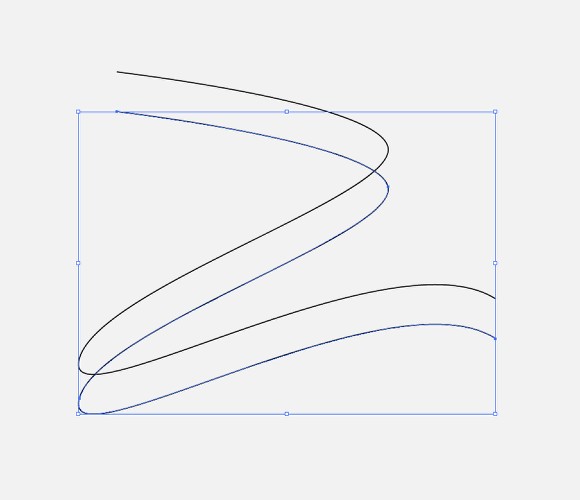
With the Pen Tool (P) create a Z with just a few points. Every time you create a new anchor point, hold the mouse button to transform it to a curve.
Step 2
Duplicate the Z and move it down a little bit.
Step 3
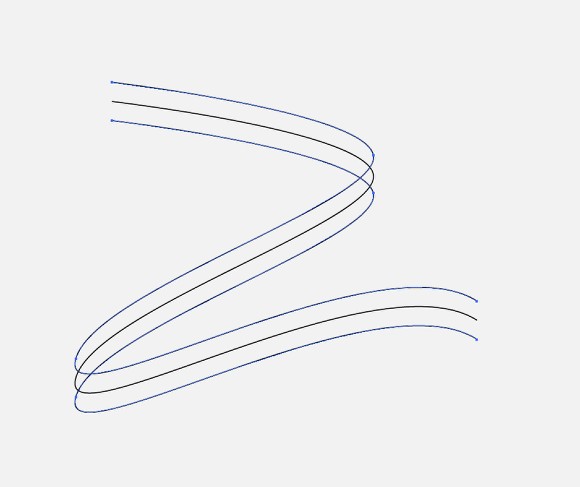
Select the Blend Tool (W), then click on one of the segments and then on the other to create the blend object.
Step 4
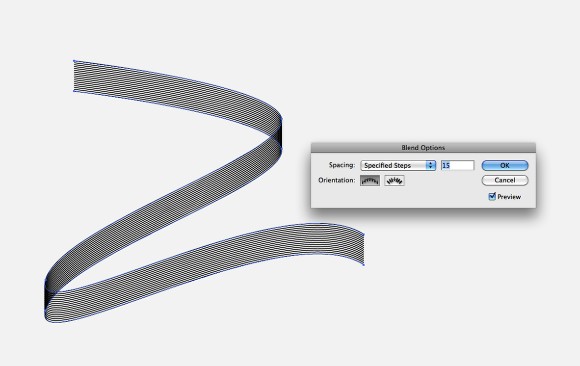
With the blend object selected double click on the Blend Tool icon or go to Object>Blend>Blend Options. Change the Spacing to Specified Steps using 15 steps.
Step 5
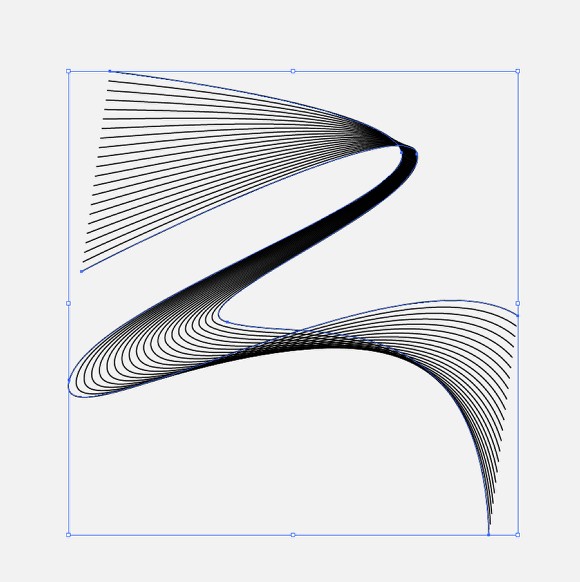
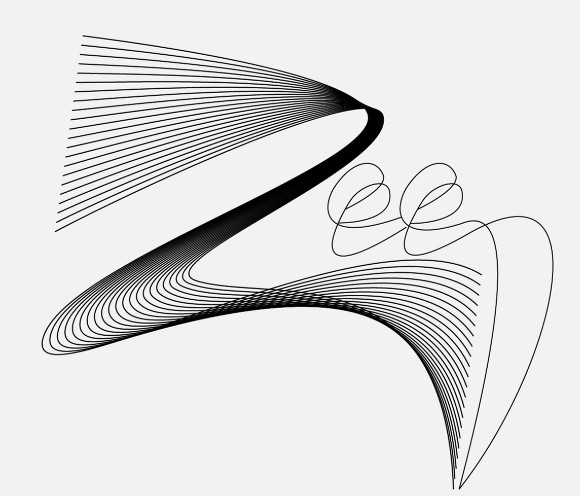
With the Direct Selection Tool (A) start moving some anchor points to change the blend object, the idea here is to add some movement to the letter Z.
Step 6
Now let's create the other letters, in my design I used the name of my design studio, Zee. Repeat the same thing we did in the Step 2, 3 and 4.
Step 7
Apply the Blend Tool (W) for the letters E. Once again, with the Direct Selection Tool (A) move some anchor points to make the necessary adjustments in order to make the design smoother.

Step 8
With the Direct Selection Tool (A) you can select the 2 lines of the Blend Object and change their colors, below you can see 2 examples with blue and pink and yellow and pink.

Step 9
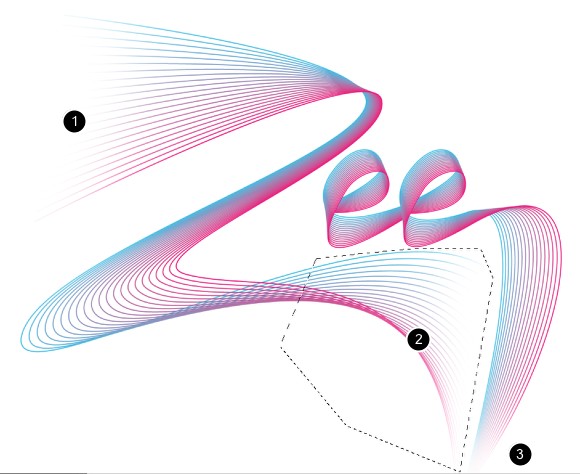
Copy the blend object in Illustrator and then paste it in Photoshop to make some adjustments. Then in Photoshop with the Eraser Tool(E) or using mask, use a very soft brush to erase some areas like on the beginning of the letter Z (1). To the end part you will have to use the Polygonal Lasso Tool(L)(2) to select just the part you want to erase, otherwise you will delete part of the E as well. Then do the same for the end of the second E. (3).
Conclusion
This tutorial was a reader's suggestion sent to us via email and it's amazing how many things we can do using the Blend Tool in Illustrator, it's a very powerful tool and using it for texts is not that common but the result is really good.

Download the Illustrator File
Click here to download the Illustrator file used for this tutorial
