by abduzeedo
I have been playing more with simple stencil style logos in my spare time, especially because it requires a lot of practice and attention to detail. I surely have a lot to improve upon and that's why I have been spending time trying to recreate this style using Illustrator and Photoshop.
For this tutorial, I will show you how to use simple Illustrator tools to create a very trendy logo. The process is quite simple and can be applied to all sorts of logos and illustrations for your future projects.
Step 1
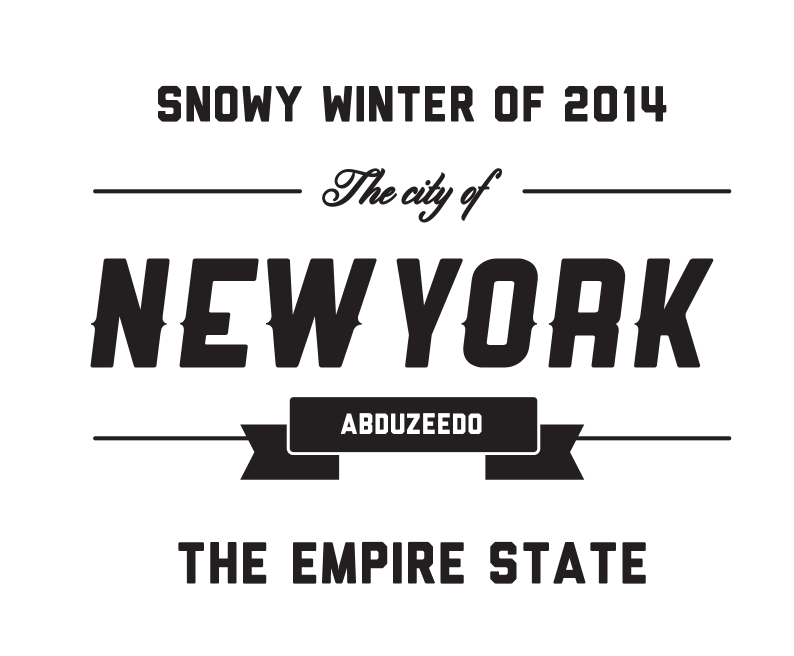
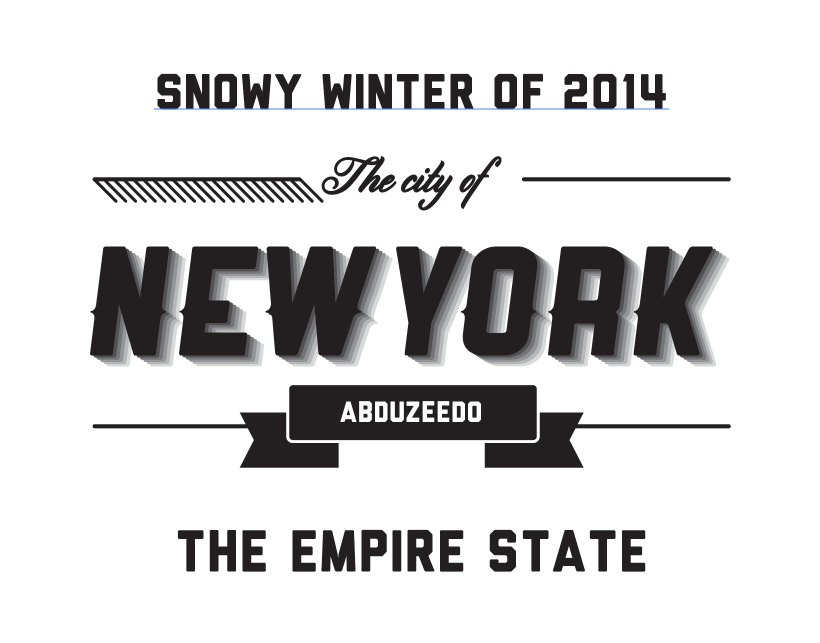
In Illustrator create a simple stencil using basic shapes and different fonts. The fonts I used here can be found at the Lost Type http://losttype.com/browse/ -
Step 2
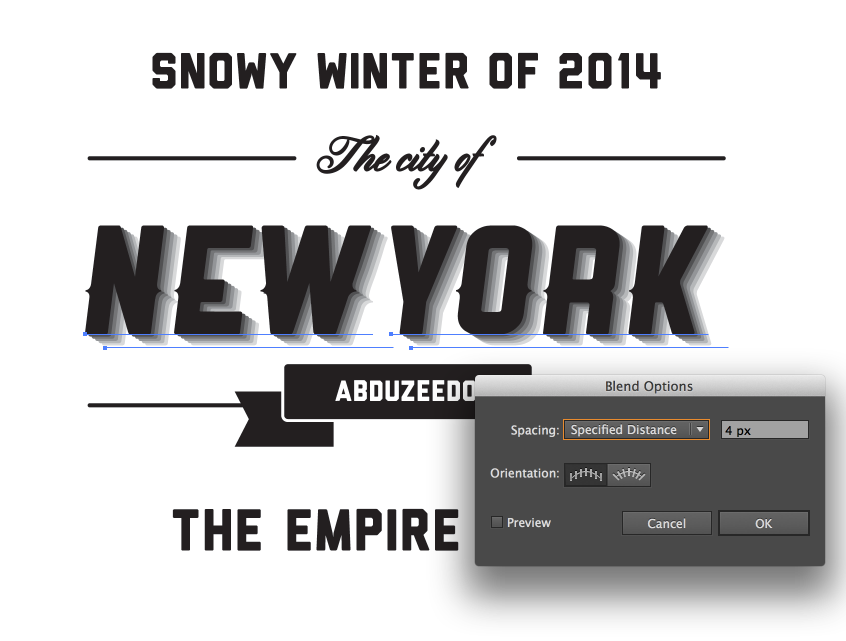
Let's start adding some effects. The first one is the Blend effect. Select the word New York and duplicate it. Change the color of the duplicated word to white and make sure it's underneath the black one. After that go to Object>Blend - Use 4 pixels for the Spacing with Specified Distance.
Step 3
Repeat the same thing to create a simple effect of diagonal lines for the top horizontal dividers.
Step 4
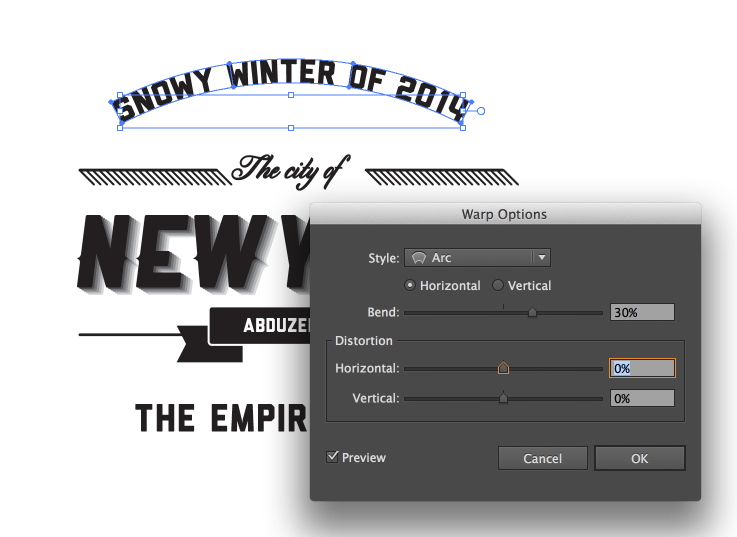
Select the first text and go to Object>Envelope Distort>Envelope with Warp. Use Arc for the Style with 30% for the Bend.
Step 5
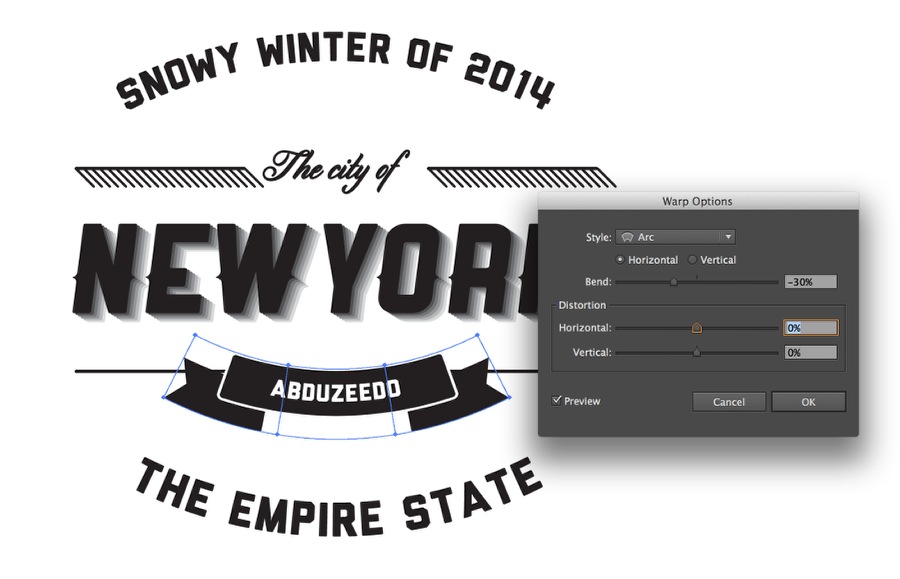
Repeat the same thing for the text at the bottom.

Step 6
Select the rectangles and text used to create the ribbon and go again to Object>Envelope Distort>Envelop with Warp... - Use -30% for the Bend with Arc for the Style.
Step 7
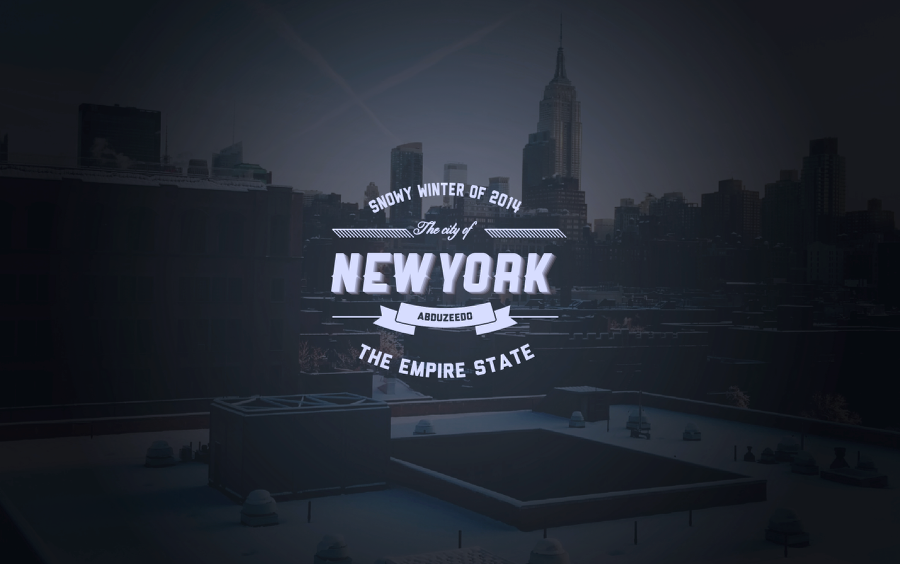
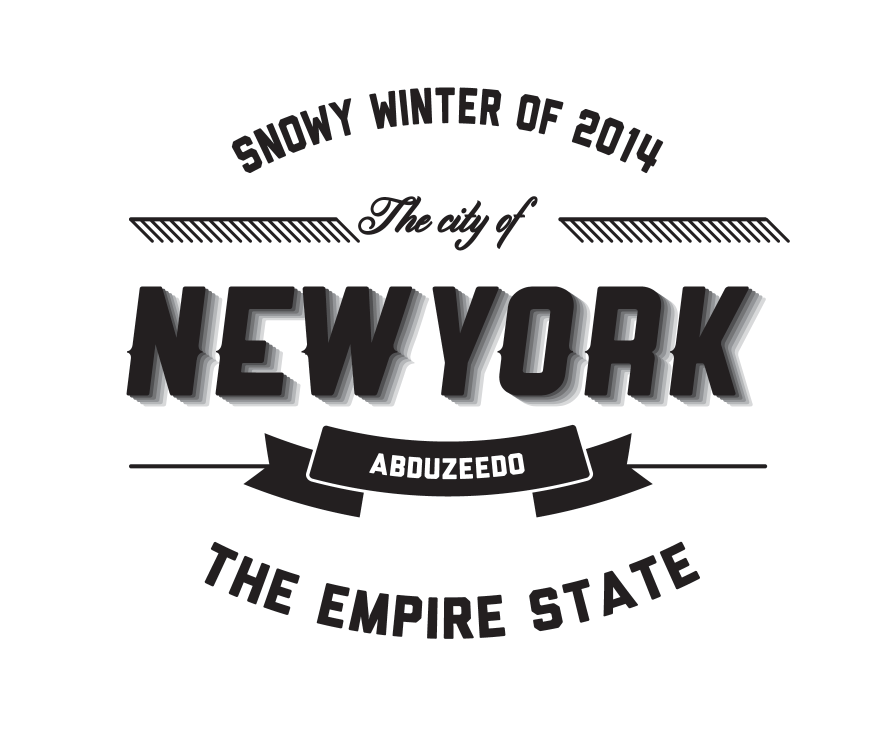
Here's the final result of the stencil.
Step 8
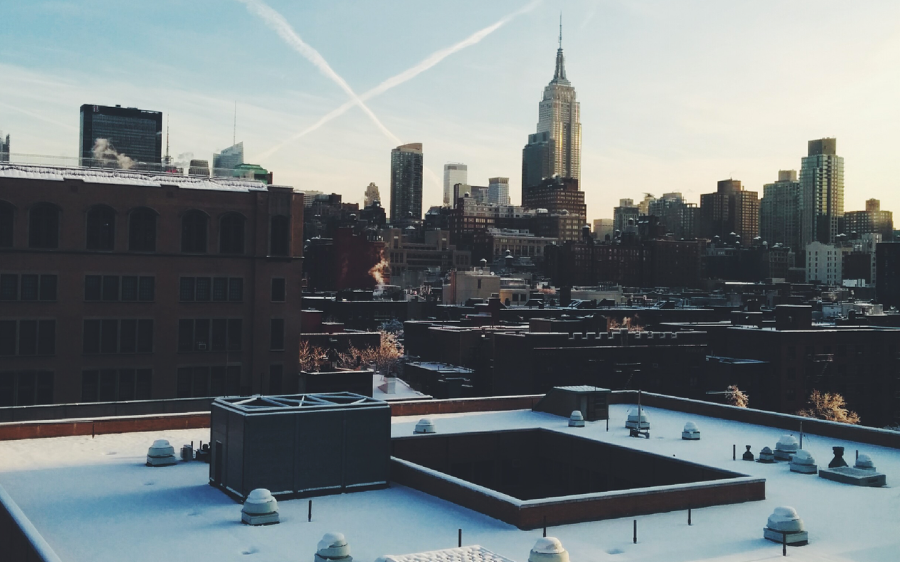
Now in Photoshop, I used one of the photos I took while I was in New York. Import it to Photoshop and crop it to fit the canvas size you are working on. In my case, 2880x1800 pixels.
Step 9
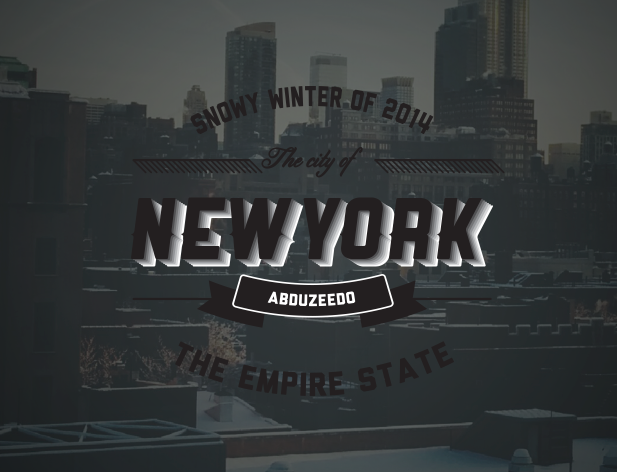
Add a new layer and fill it with a simple grey/green color. After that change the opacity to 60%.

Step 10
Add another layer and fill it with a gradient from black to white in the center. After that change the Blend Mode to Multiply at 80%.

Step 11
Copy the logo from Illustrator and paste it in Photoshop.
Step 12
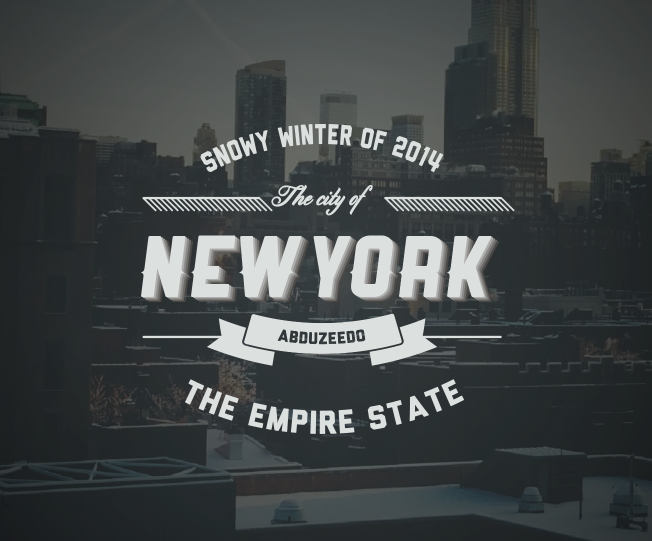
Go to Image>Adjustments>Invert. After that change the Blend Mode to Lighten.
Step 13
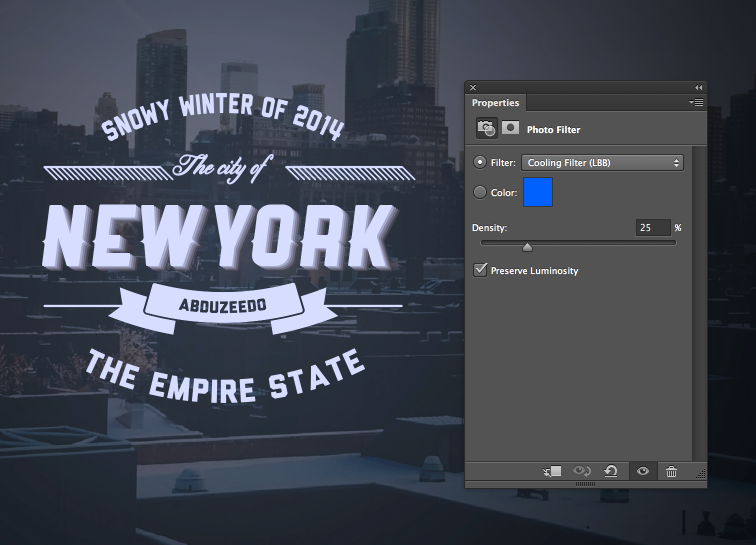
Go to Layer>New Adjustment Layer>Photo Filter. Use the Cooling Filter with 25% for Density.
Conclusion
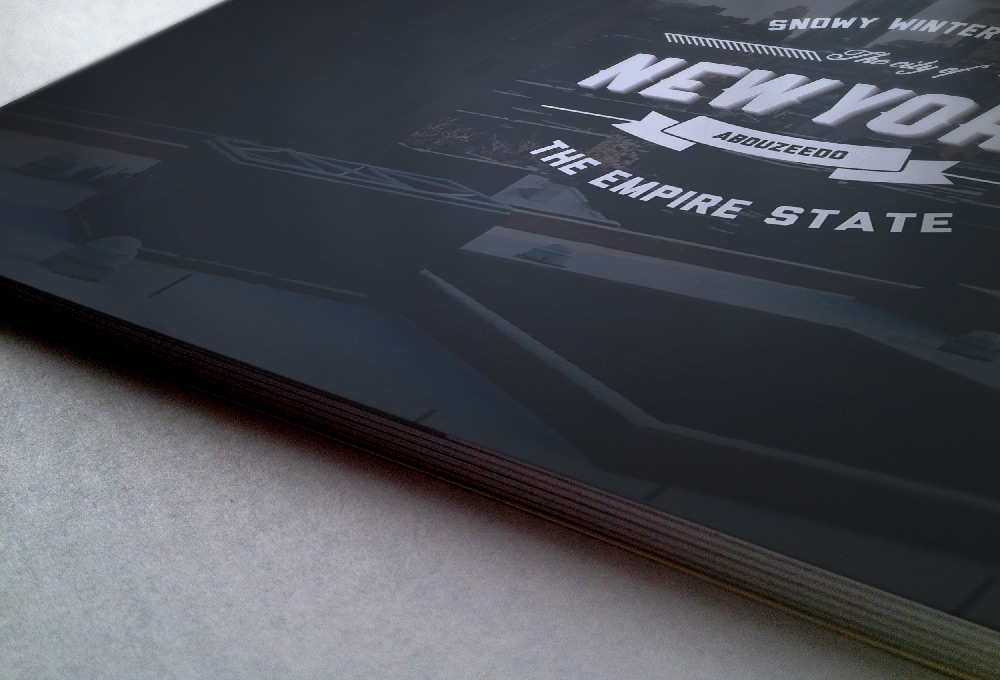
After over one hour you can have something similar to the result I got. This was a simple exercise to try to recreate some of the awesome logos I see in most of the design sites out there. I know there's a lot to refine, but this was as I said, simple playing time with Illustrator and Photoshop trying to learn more about this very trendy and I'd say hipster style. I hope you have fun creating your own version.
