by abduzeedo
Last week I published a post titled “Ode to Simplicity in Graphic Design Playing with Lines” and it featured a collection of incredible artwork and graphic design explorations using simple shapes, like lines, circles. Some of the examples had a really cool thing in common, they were simple patterns, like a grid of circles, but with a clever deformation. Imagine using Displacement effect in Photoshop on a simple grid of lines. The result is definitely striking and to continue my After Effects self-training program, I decided to try to replicate that and share here on Abduzeedo with a little After Effects Tutorial.
So for this tutorial, I will just show how I created a simple deformation effect in After Effects using just the available filters and effects. The whole process won’t take more than 20 minutes, but the render might take forever.
After Effects Tutorial
Step 1
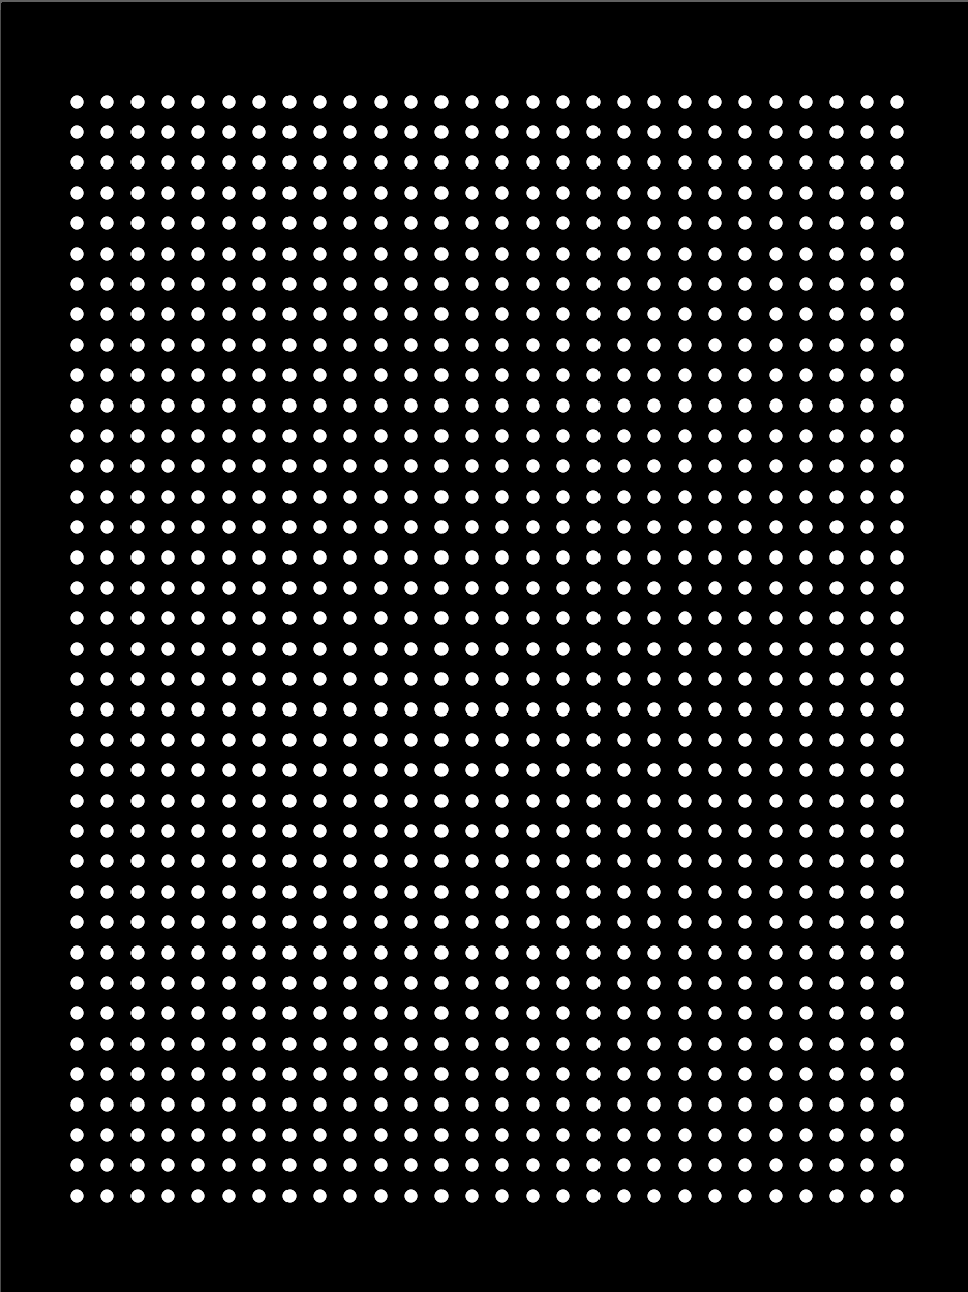
The first thing to do is to create a simple pattern and apply it to a canvas. To do that I used Illustrator. There’s probably no easier way than that.
So open Illustrator and create a new document. I am using the size of my composition in After Effects, 1080x1440 pixels.
After that just select the Ellipse Tool (L) and create a circle. Then go to Object>Pattern>Make. You will see a panel for Pattern Options. Select Size Tile to Art and Move Tile with Art. Then adjust the H Spacing and V Spacing according to your taste.

Step 2
Export the artwork in Illustrator. You can either import the Illustrator file or simply import a PNG. I did the latter just because it created a small file size. In After Effects add a new composition and name it Dots. I am using 1080x1440px. Import the dots file there.
Step 3
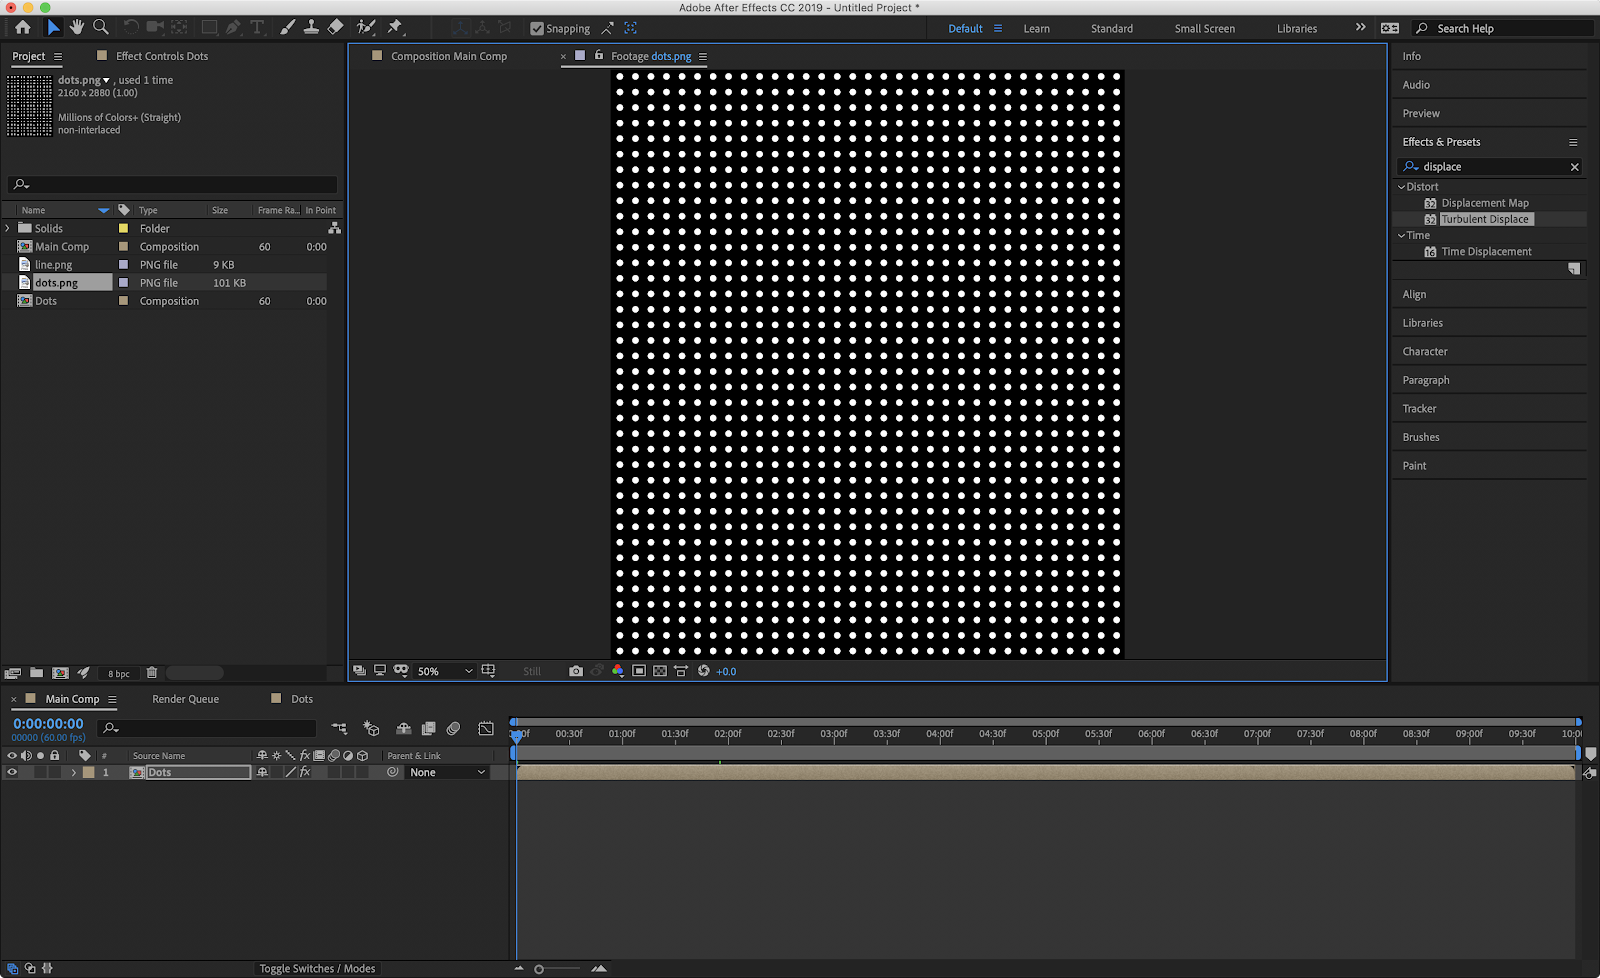
Create another composition and name it Main. Drag the Dots composition to the timeline. The reason we do this is that we can replace the image later, like from dots to lines and the main effect won’t change.
After that just select the Dots comp and go to Effects>Distort>Turbulent Displacement. Select Turbulent Smoother, or Bulge Smoother. Change the Size to something around 400-500 and the Amount to 40-50. Make sure that the Pinning is None and that Resize Layer is selected.
Step 4
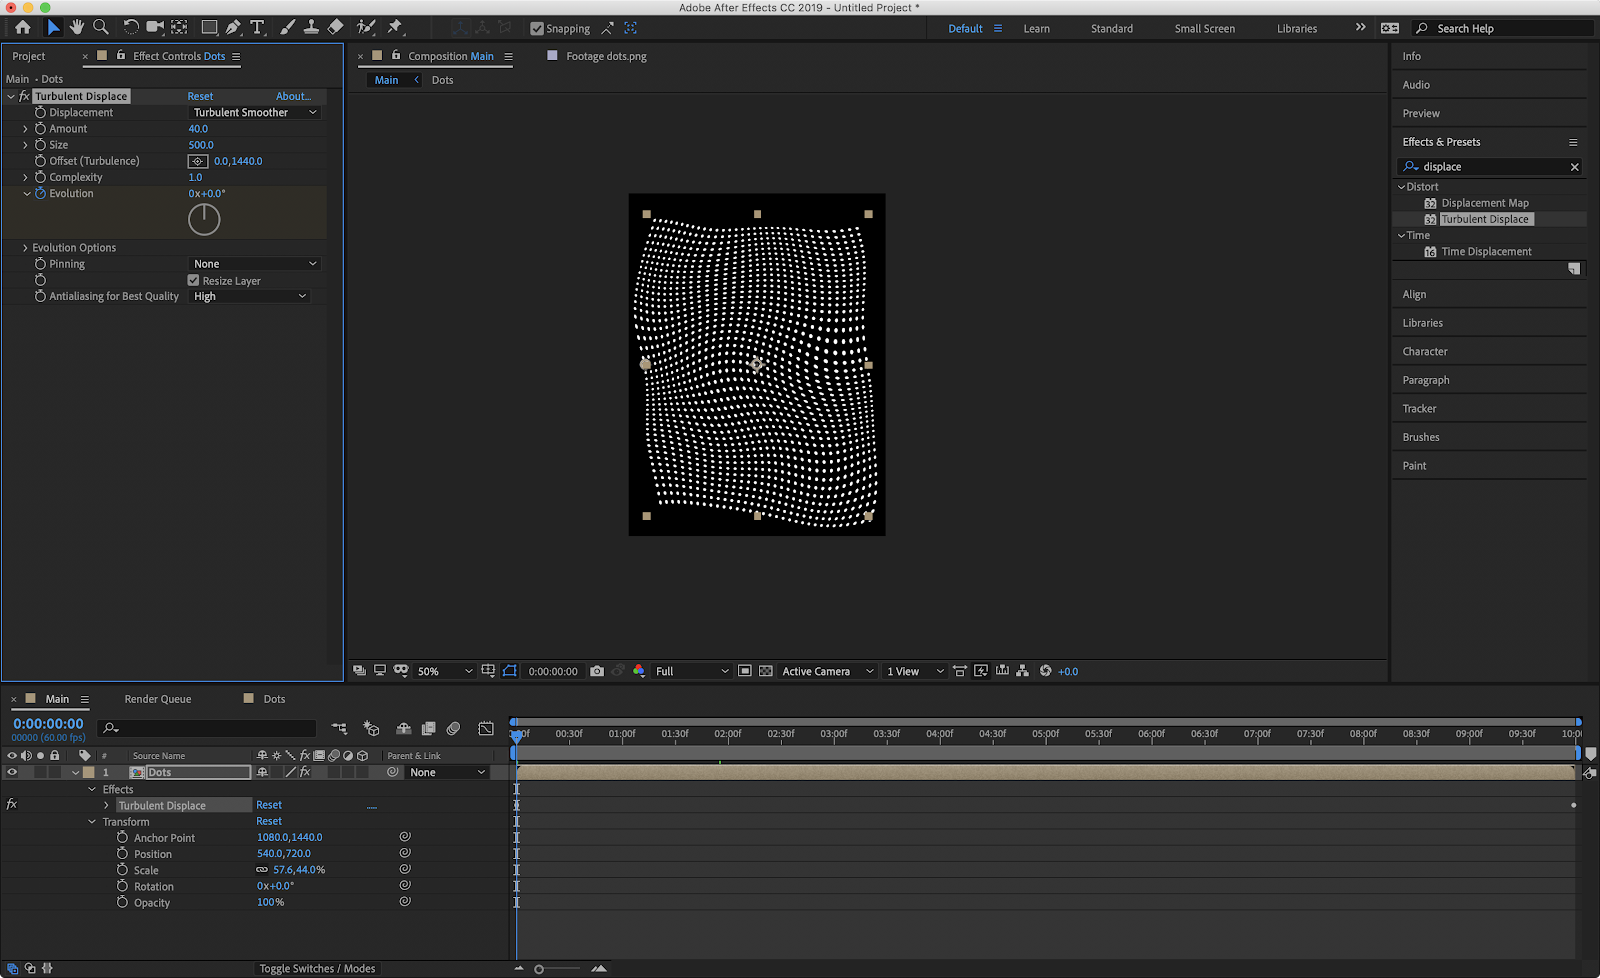
Now just animate the Evolution. The first frame you can keep it 0x00 and then for the last frame just add 3x00. It will perform the evolution 3 times.
Conclusion
Now you can simply animate it. You can also explore different pattern types or even other ways to create deformation. I play with the Wrap and the Displace Map and the results are quite interesting. Below you can see some examples.

![Neon light effect in Photoshop [revisited]](/sites/default/files/styles/square_1x1/public/originals/hero_neon.png?itok=lP4mbIak "Neon light effect in Photoshop [revisited]")


