by abduzeedo
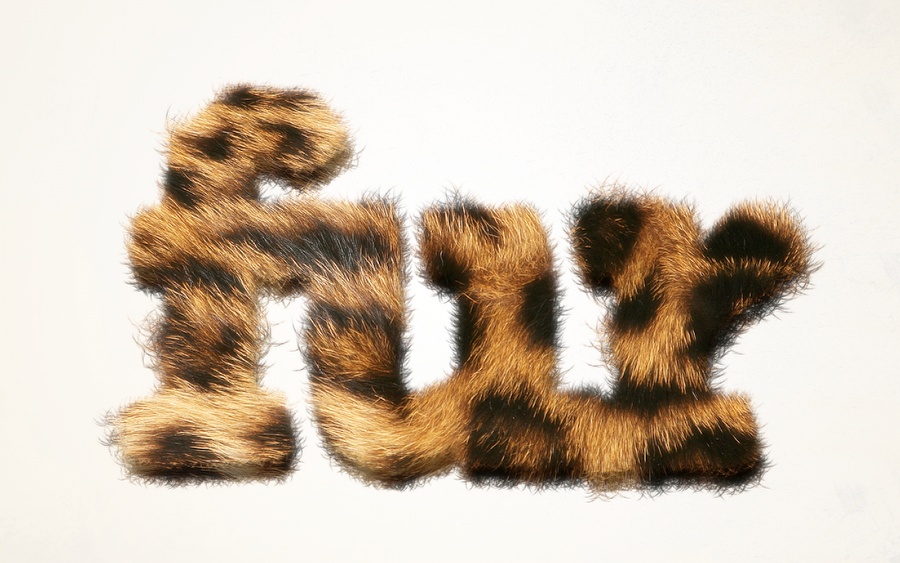
We love playing with typography, it's simple and always effective not only in terms of outcomes but the amount we can learn by experimenting with text effects. From 3D to light effects or simply creating a furry text effect with a leopard style texture. That's the idea of the following Pixelmator tutorial.
So in this tutorial we will show you how to create a Furry Text Effect using Pixelmator. The whole process won't take you more than 30 minutes and it is without any doubt a very useful technique for future projects.
Step 1
Open Pixelmator and create a new document. I am using 1650x1080 pixels.
Step 2
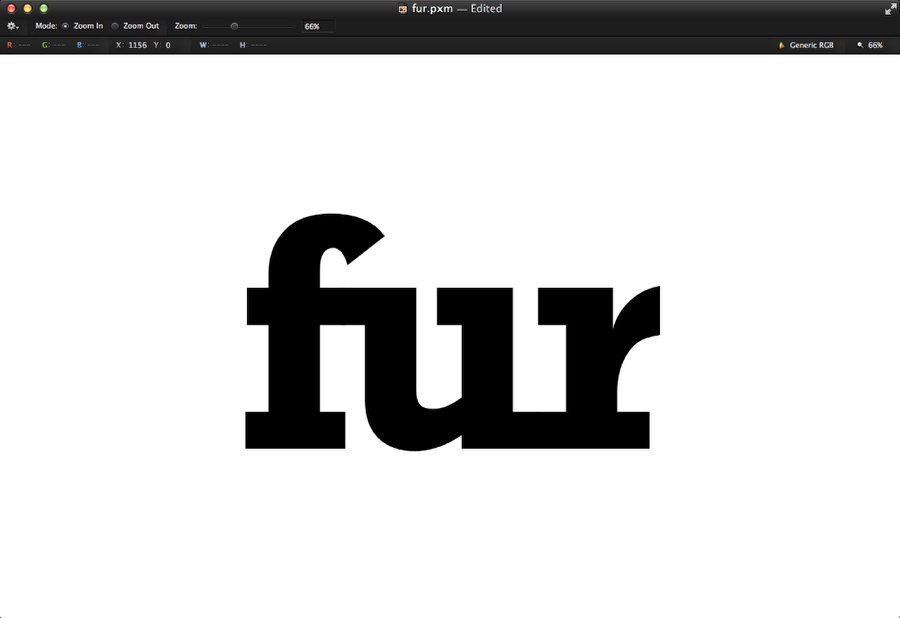
With the Type Tool (T) add the text you want. I used the word "fur" with the font Rockwell bold. I also reduced the kerning so the letters got connected.
Step 3
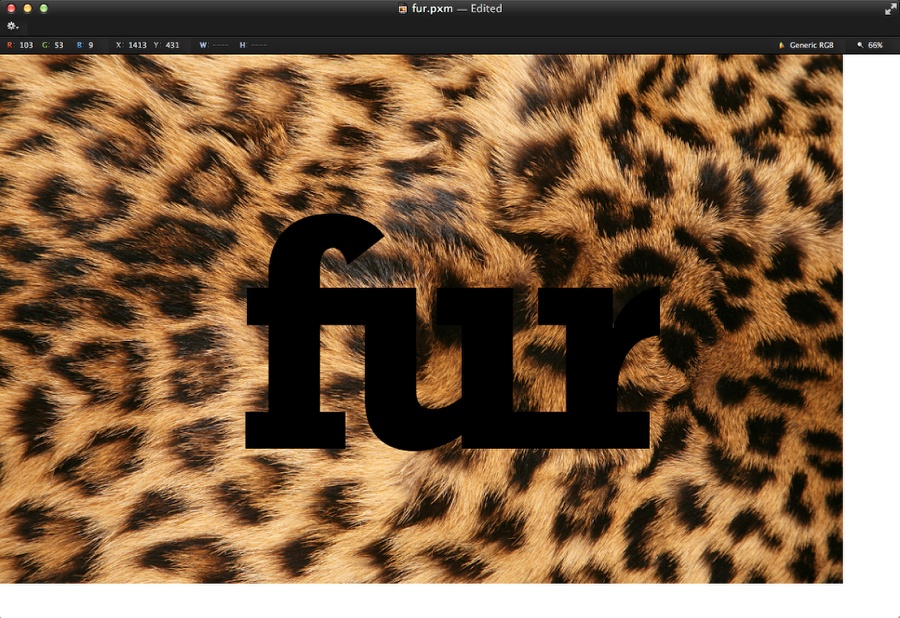
Time to use some nice texture. The one I am using is called Skin Of The Leopard by Friday, from Bigstock.
Step 4
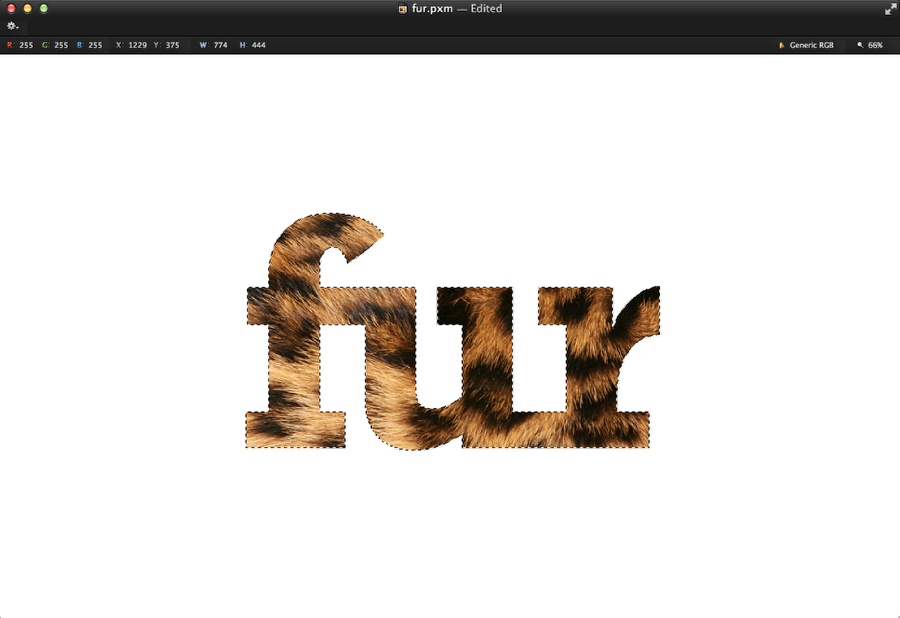
Holding Command Key, click on the thumb of the text layer to create a marquee selection. After that select the texture layer and then go to Layer>Add Layer Mask.
Step 5
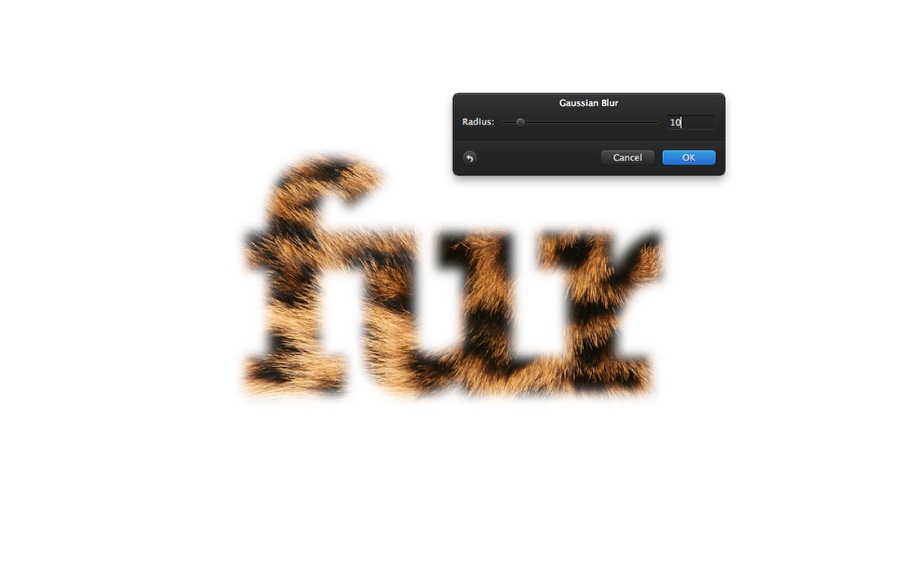
Select the mask layer and then go to Filter>Blur>Gaussian Blur. Use 10 for the Radius.
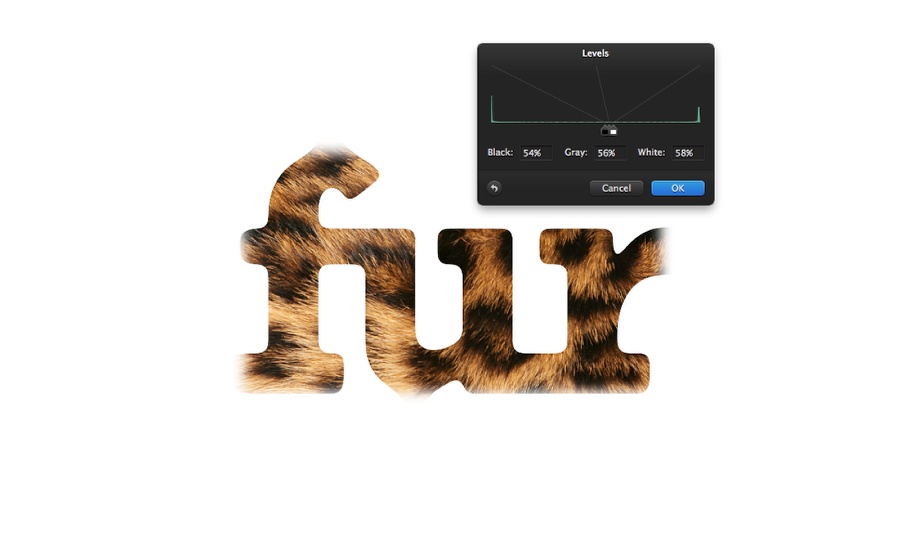
Step 6
Go to Image>Levels. Use 54% for Black, 56% for Grey and 58% for White. The idea of these 2 steps was to create a rounded corner for the text.
Step 7
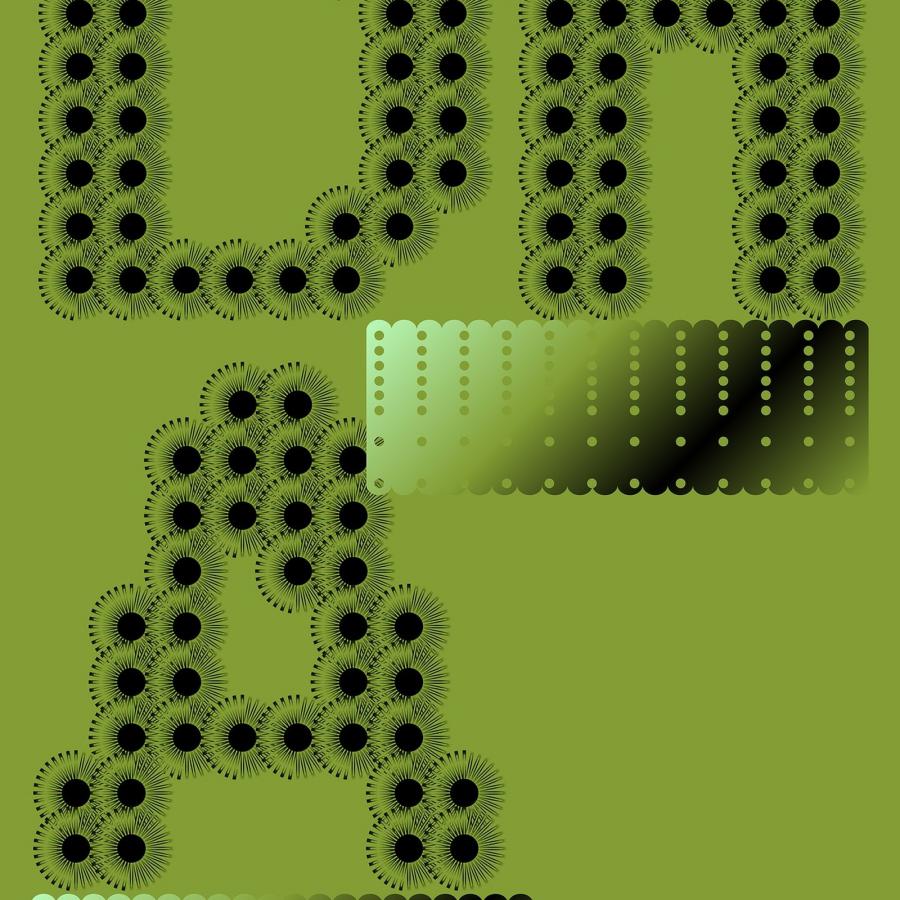
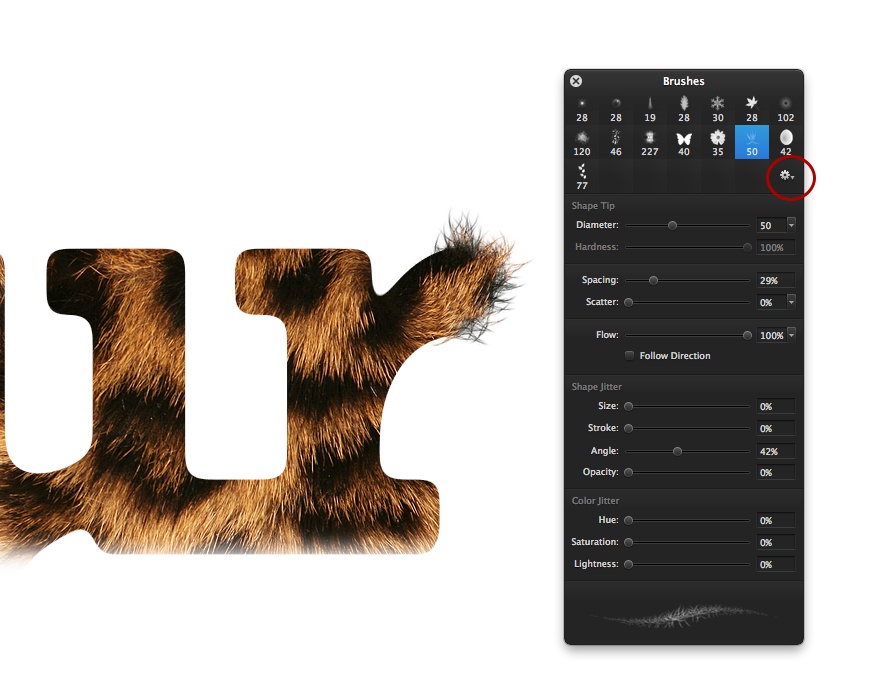
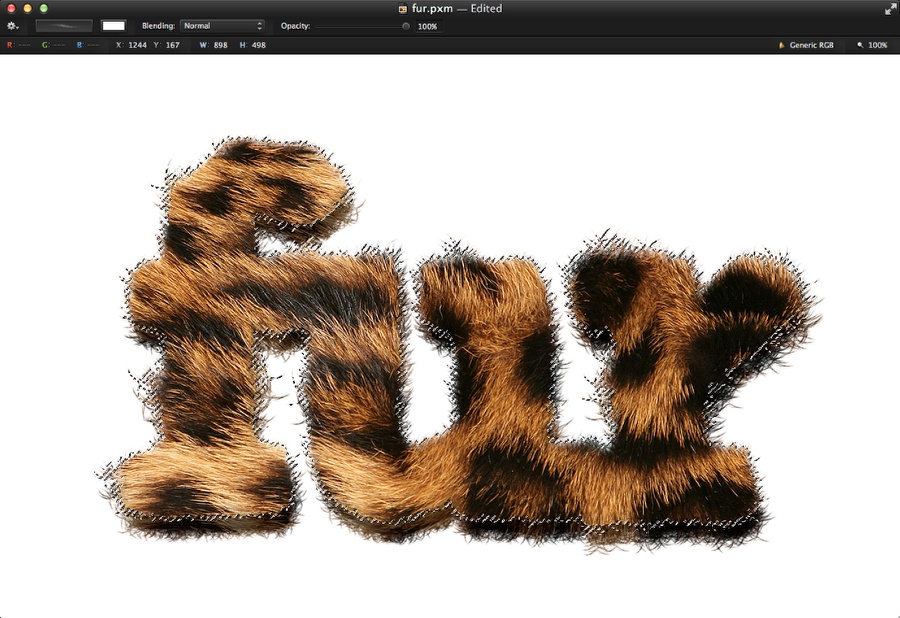
Go to View>Show Brushes. Then click on the settings icon on that panel to change another brush pack. Select Nature and use the brush I used in the image below. Once the brush is selected just start painting with white over the layer mask.
Step 8
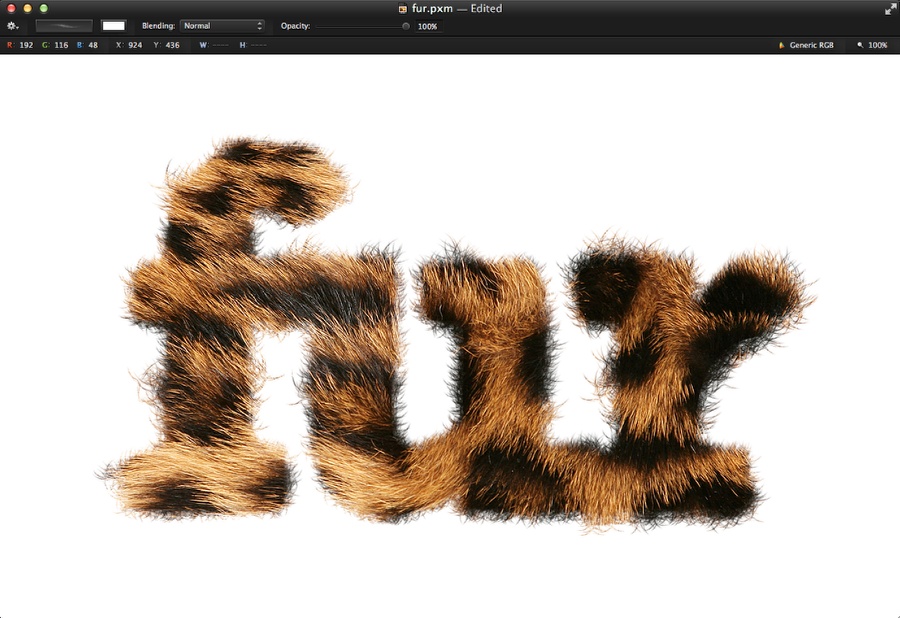
Chane the size of the brushe for some area to ake it look more realistic.
Step 9
Duplicate the layer once it's done and move it a few pixels down to add some depth.
Step 10
Darken the layer underneath to create the 3D effect. You can do that by either using Image Adjustments or just creating a black layer on top of the layer created in the previous step and use Multiply for the Blending at 70% Opacity.
Step 11
Select all layers and duplicate them. After that merge the new layers into one and go to Filter>Blur>Gaussian Blur. Use 10 for the radius.
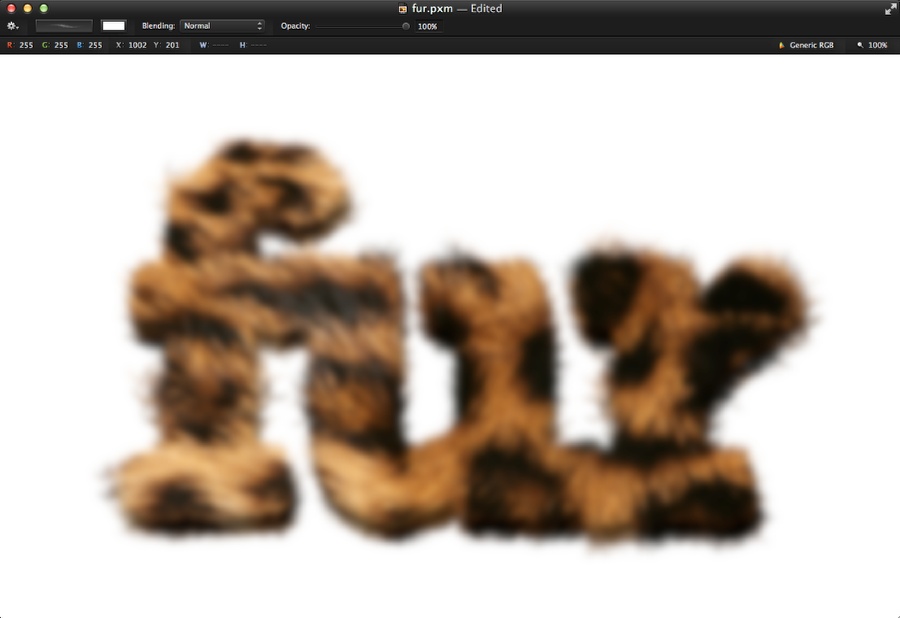
Step 12
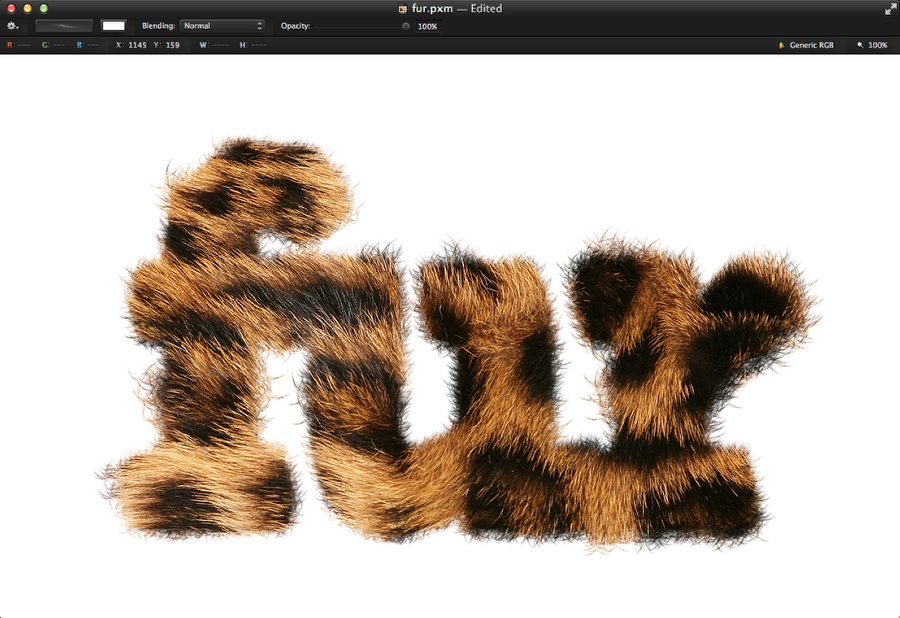
Change the Blending of the blurry layer to Screen at 50%. This will add some nice glow to the furry text.
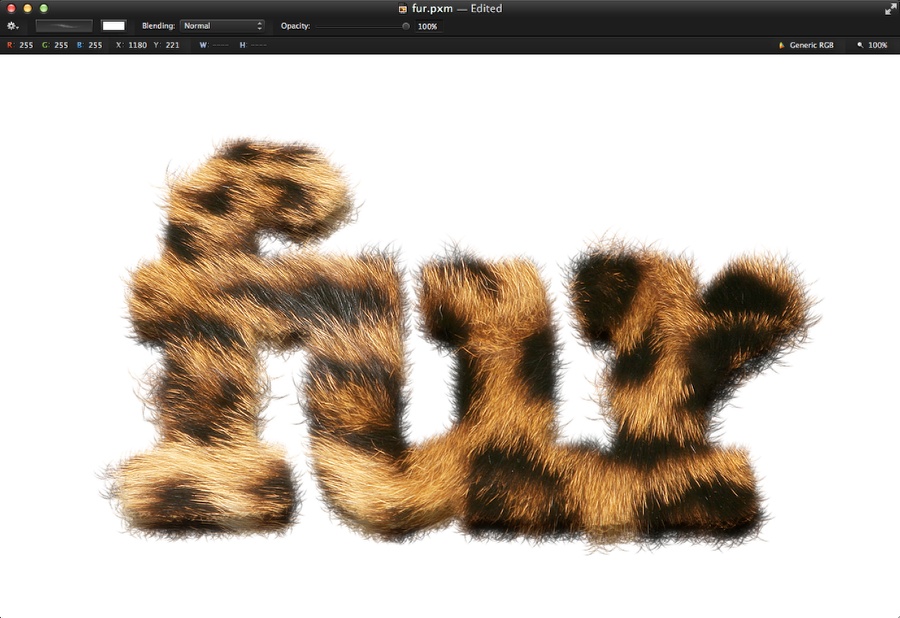
Conclusion
You can add a texture for the background now and the image will be done. You can also try different textures and this technique applies for all sorts of text effects.