by abduzeedo
In this tutorial, I will show you how to create text with water effects. To do this, we will use some stock photos with masks and image adjustments. I will also show you how to create bevels using Pixelmator.
Step 1
Open Pixelmator and create a new document. I used 1440×900 pixels. Also, keep the background white.
Step 2
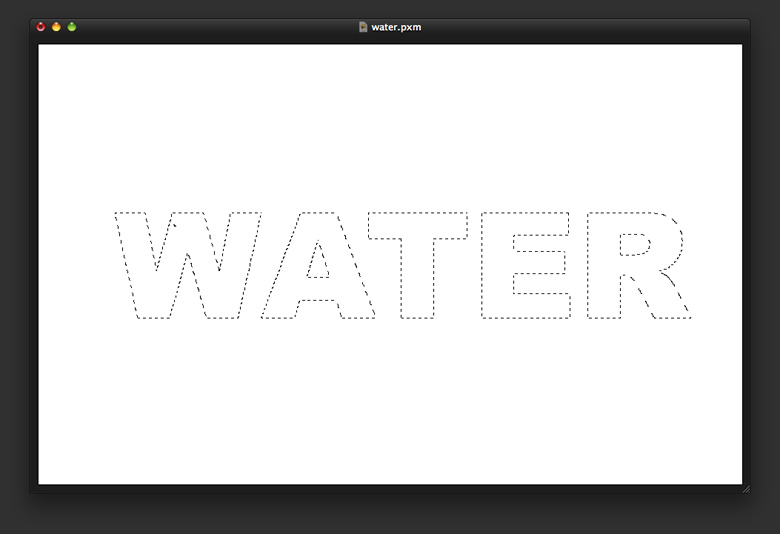
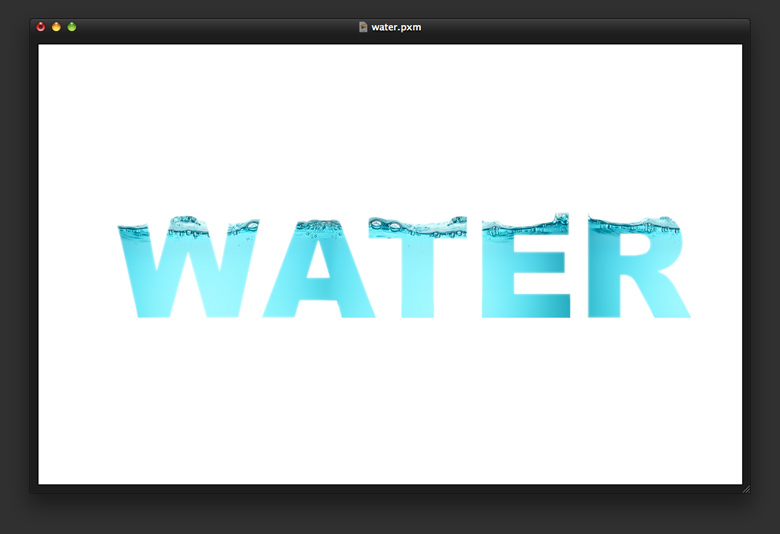
With the Type Tool (T), add a text. I typed “WATER” using Arial black for the font. The color here doesn’t matter because we will use it to mask images. To create a marquee selection of the text, just click on the thumb of the text layer while holding the Command Key.
Step 3
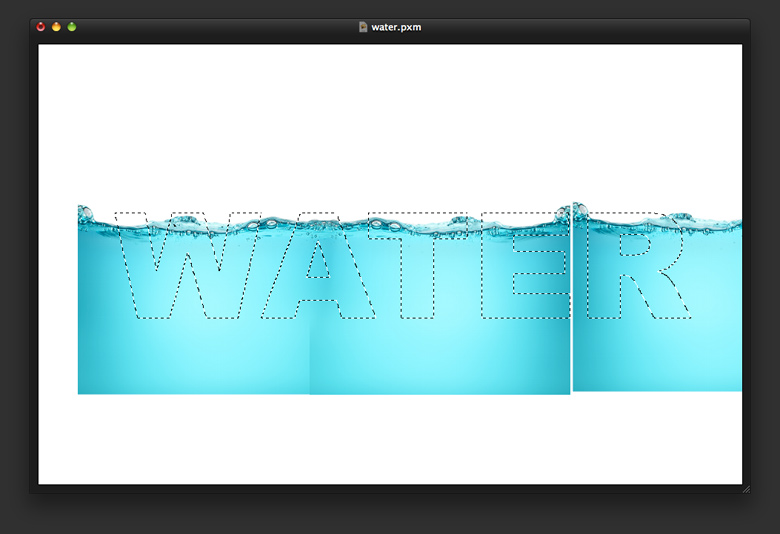
Now, let’s use a photo of water. The one I used was courtesy of Shutterstock, and you can find it here. Import it and place it in your document. Go to Edit>Transform and reduce its size; also, duplicate it 3 times, always flipping the new copy horizontally. That way, you will be able to match the sides. Use the image below for a reference.
Step 4
With the marquee selection of the text active, go to Layer>Add Layer Mask; that way, the photo will show only on the text area. You will have to repeat this 2 more times for the duplicated layers of the photo.
Step 5
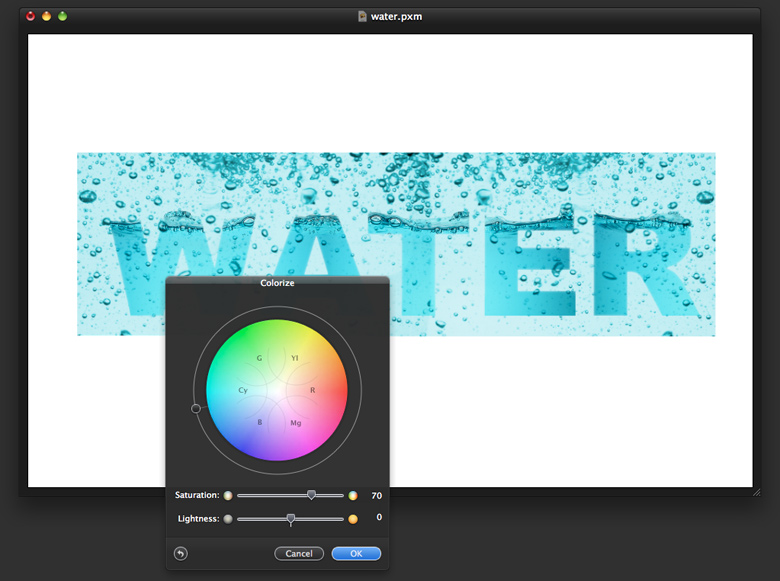
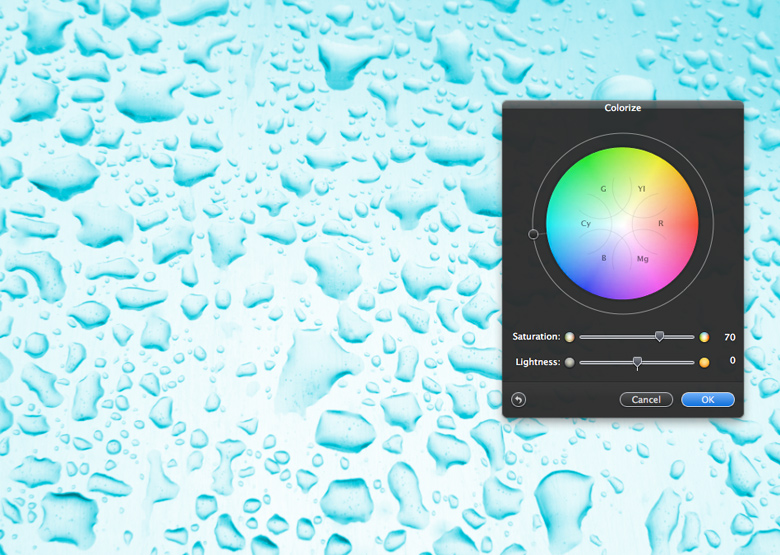
To make the water more realistic, let’s use another photo. You can find one here. This one is of some water bubbles. To make the colors of the images match, go to Image>Colorize. Move the little controller to the cyan area and increase the saturation to over 70. We will use this often for other images throughout the tutorial so keep that in mind. You also will have to try different values depending on the imagery you are using.
Step 6
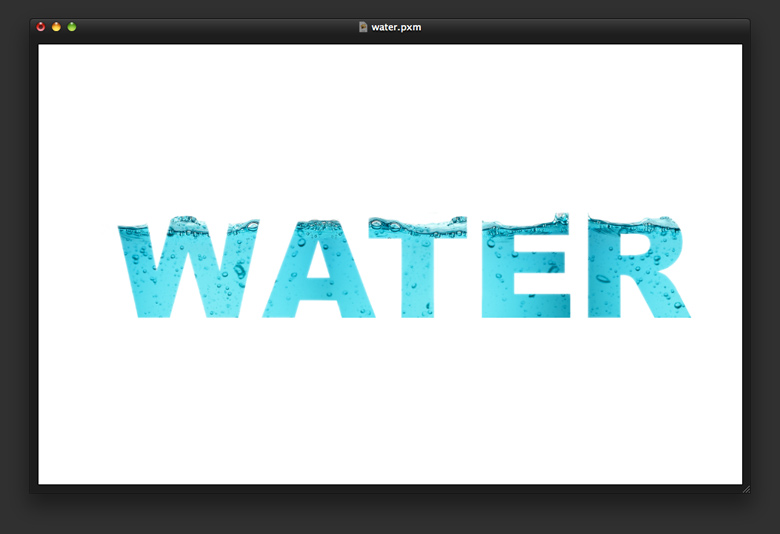
Repeat the Masking process so the bubbles will be within the text area. The result here already looks pretty cool.
Step 7
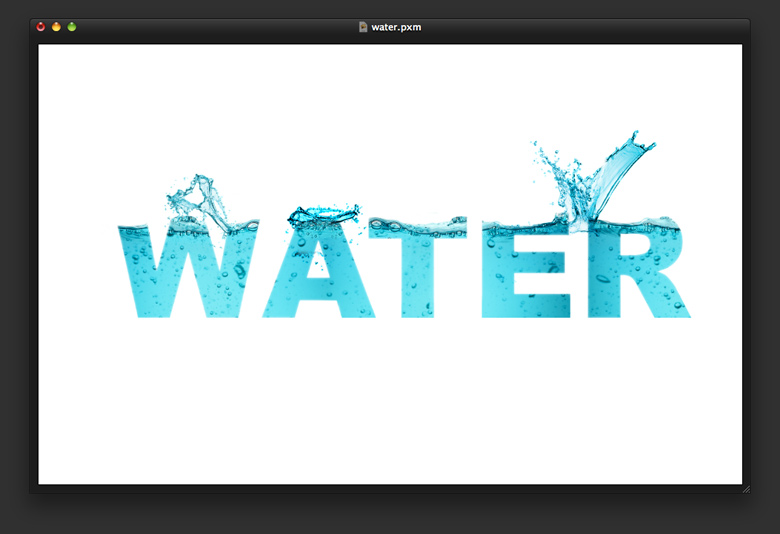
To spicy it up a little, add some water splashes. The ones I used can be found here, courtesy of Shuterstock, once again. You also will have to colorize them in order to make the colors match, exactly like we did in Step 6.
Step 8
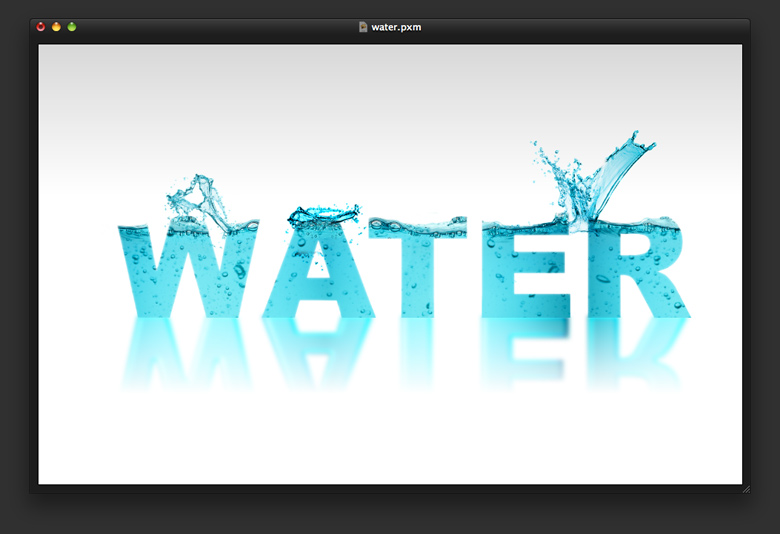
Select all layers but the white background and duplicate them. Merge all the duplicated layers (Layer>Merge Layers) and then go to Edit>Flip Vertically. Move this upside down text right below the text aligning the words. After that, go to Filter>Blur>Gaussian Blur; use 20 for the amount.
To finish the effect, go to Layer>Add Layer Mask, then select the Gradient Tool (G) and a linear gradient from black to white. Mask the layer in which the black area will be hidden and the white will be shown. Use the image below for reference or download the PXM file in the end of the tutorial.
Step 9
Add a layer on top of the others and fill it with a very subtle gradient. Use the Gradient Tool (G), and for the colors, use Grey to White and play with the Opacity in order to make it very, very subtle, exactly like the image below.
Step 10
Let’s now place a photo of some water droplets. The one I used can be found here. The image is in grey scale, so go again to Image>Colorize and change the color of the image to this cyan scheme we are using.
Step 11
Put this layer beneath the other layers; also, change its opacity to 55%. After that, go to Edit>Transform. Then, the Transform panel will open. Click on the little gear icon and choose perspective. Then, apply the perspective I used. Use the image below for a reference, but basically, the only thing you will have to do is move the controllers on the bottom area while holding shift to make them wider than the top area.

Step 12
Duplicate the droplets layer and go to Filter>Blur>Gaussian Blur. Use 30 for the amount.

Step 13
With the Eraser Tool (E), delete the areas close to the text in order to remove the blur. Also, notice that the horizon is sort of fading out. That’s because I added a gradient from white to cyan and applied an overlay for the blending.

Step 14
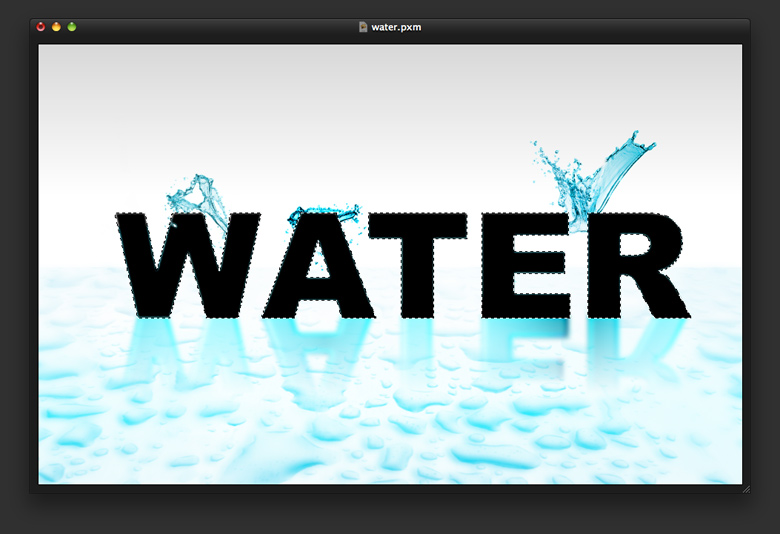
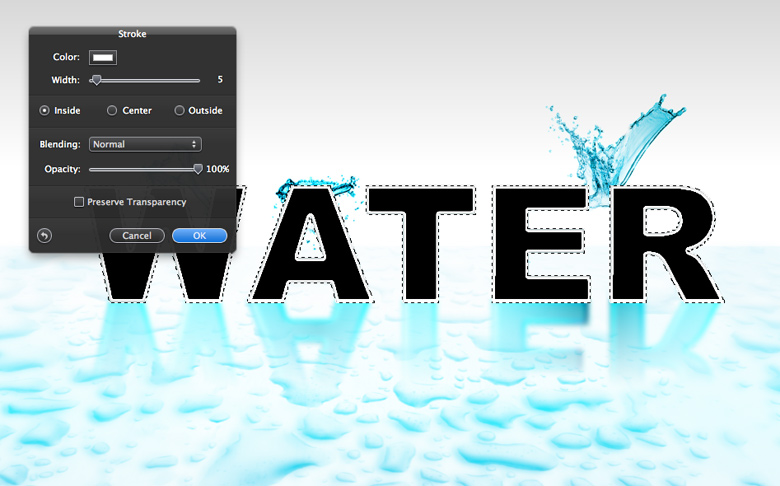
Again, repeat the “WATER” text with the marquee selection like we did in Step 2; however, this time, the text has to be black.
Step 15
Go to Edit>Stroke. Use white for the color and 5 for the width. Also, make sure that the Inside option is selected.
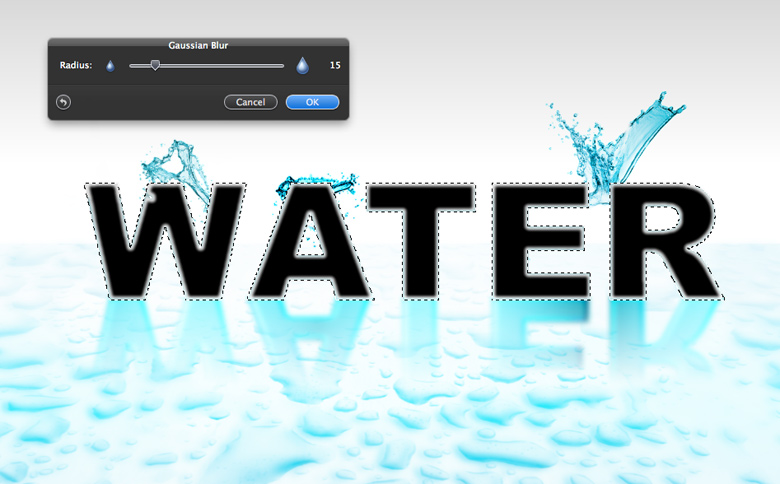
Step 16
Now, still with the marquee selection active, go to Filter>Blur>Gaussian Blur. Use 15 for the Radius.
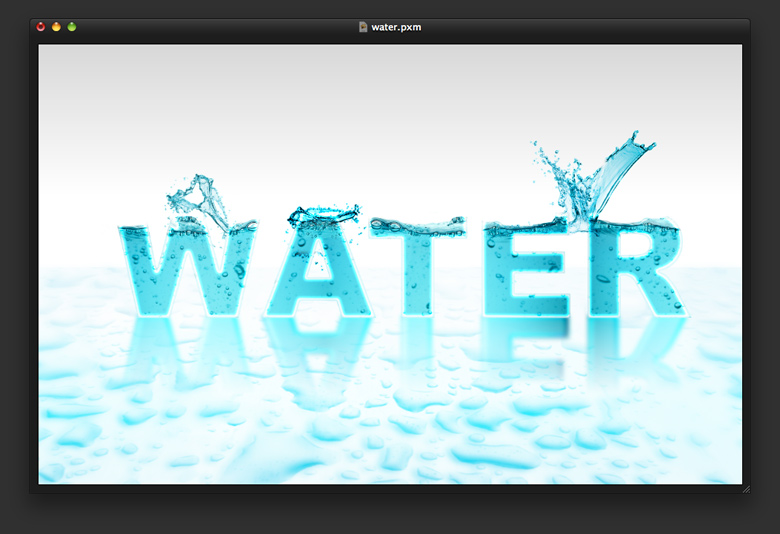
Step 17
Just change the Blending of the layer to Color Dodge and you will already have a really nice bevel effect.
Step 18
With the Eraser Tool (E), delete the bottom left areas of the bevel to try to match the droplets.

Step 19
Select all layers and duplicate them. Then, merge all of them into a layer and go to Filter>Blur>Gaussian Blur. Use 20 for the Radius.
Step 20
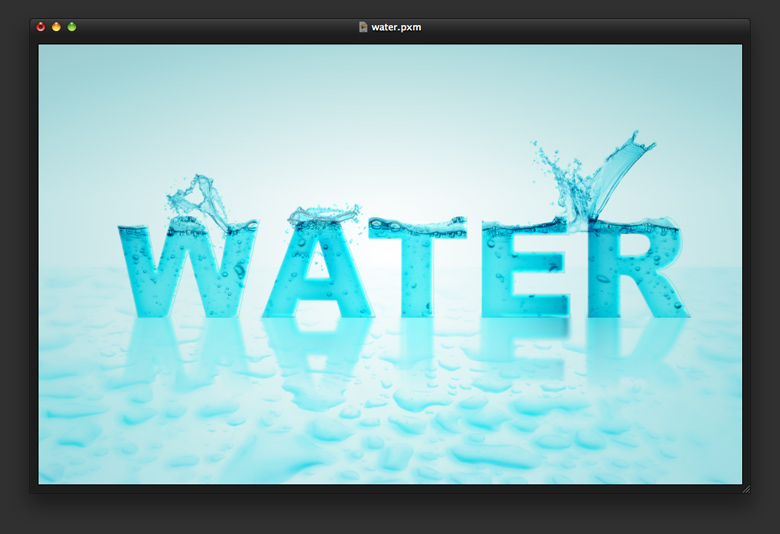
Change the Blending to Screen.
Step 21
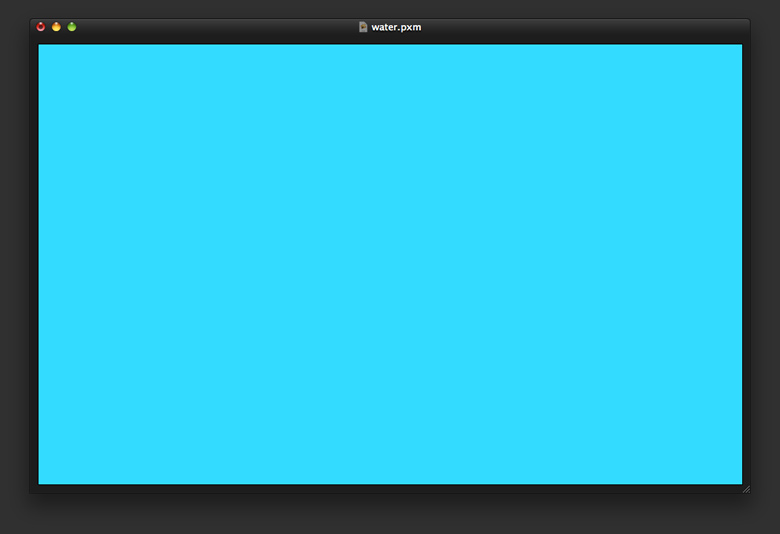
Add a new layer on top of the others and fill it with cyan using the Paint Bucket Tool (N). Then, change the Blending to Color Burn with 30% Opacity.
Step 22
Now, add another layer, this time, beneath the cyan layer and fill it with a radial gradient from white in the center to grey. Change the Blending to Multiply with 25% for the Opacity.
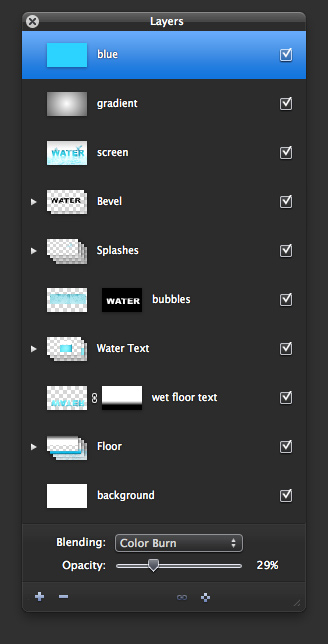
Layers Order
I love that we can now have groups of layers in Pixelmator.
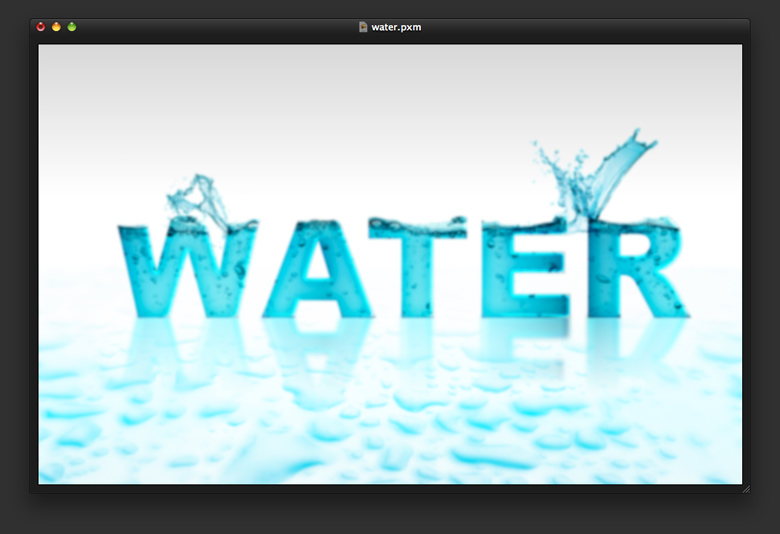
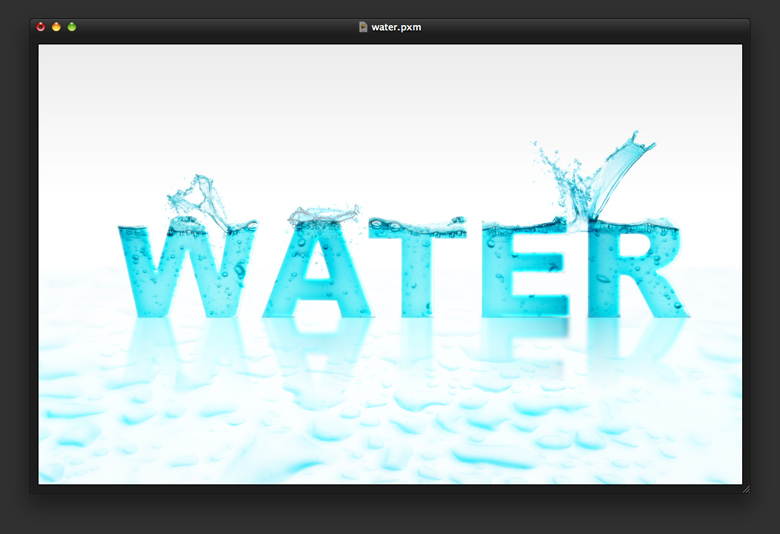
Conclusion
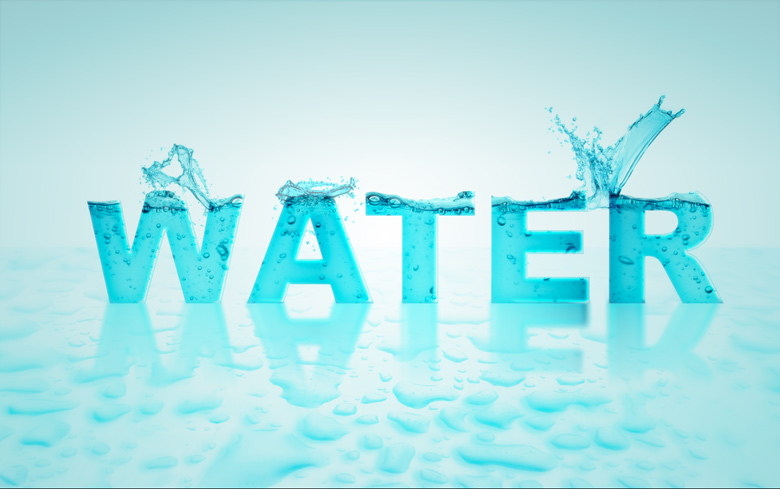
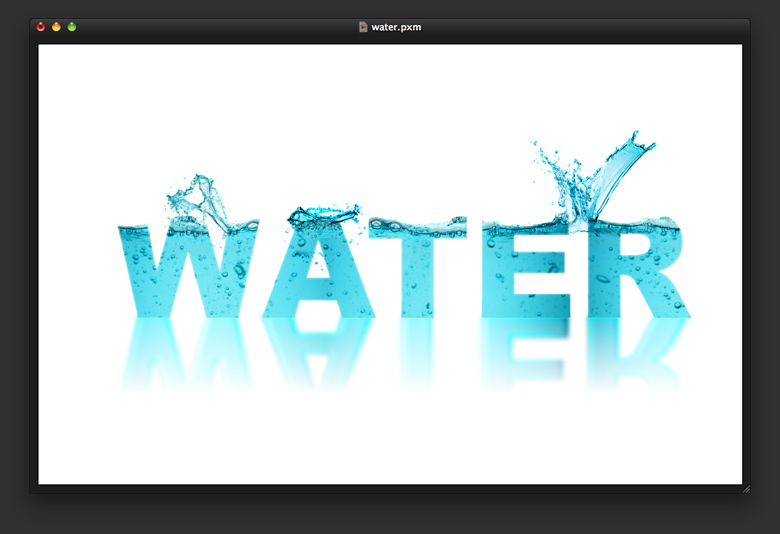
This is the outcome you will have. The idea is pretty simple and straight forward; we are just mixing some photos and masking them with text. However, I believe the Bevel technique will be very useful for your projects in Pixelmator because there is no filter for that yet.